
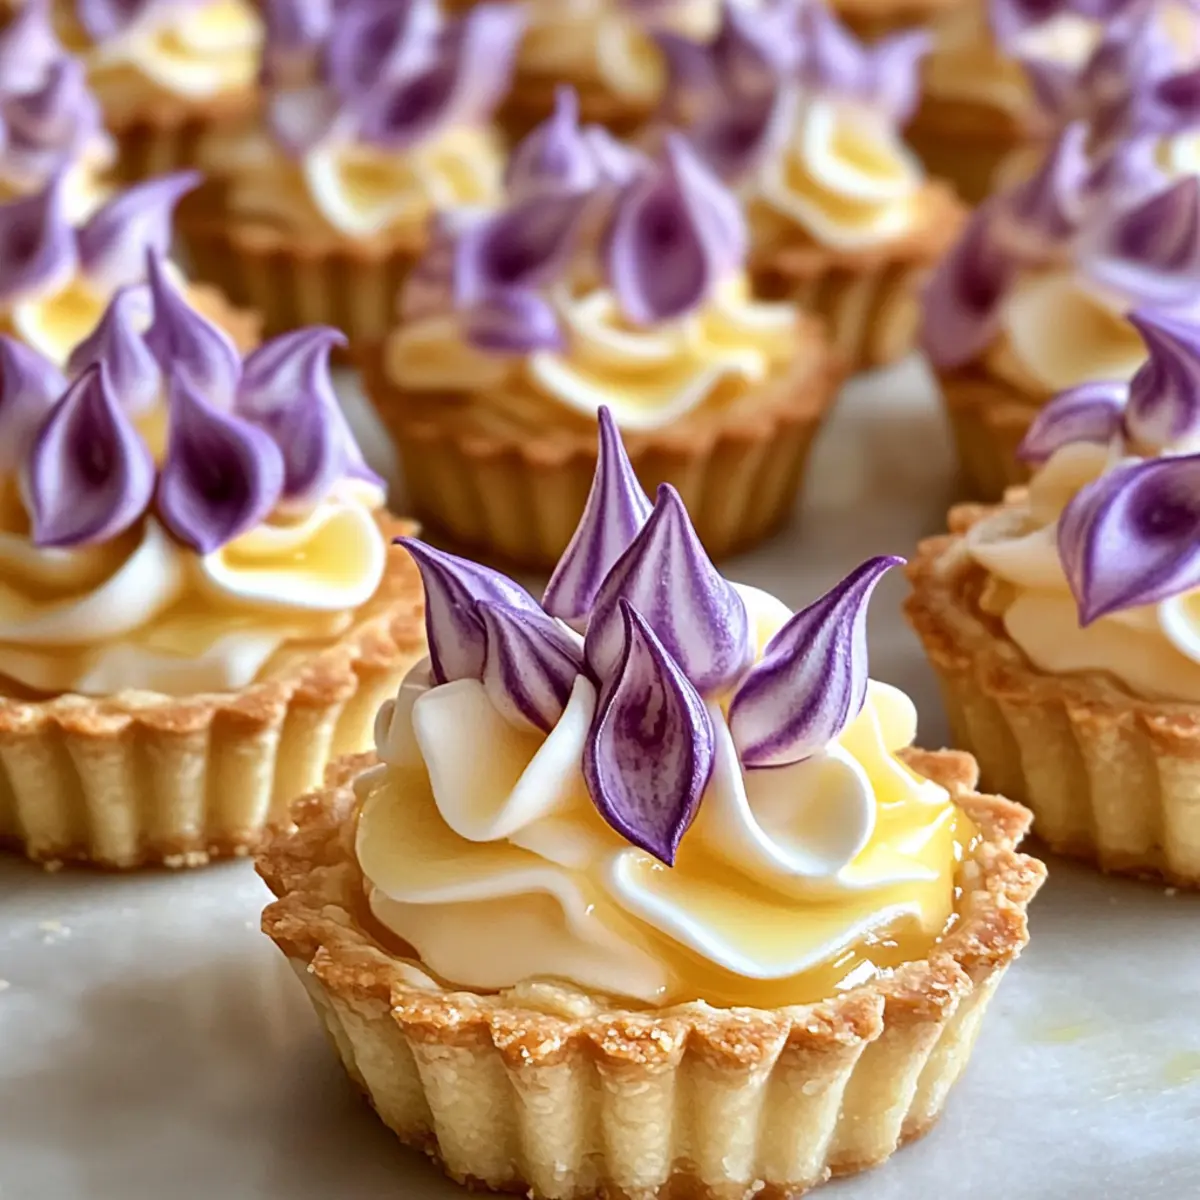
As I stood in my kitchen, the fragrant aroma of fresh lemons wafted through the air, transporting me to a sunlit orchard. That’s when inspiration struck for the perfect dessert: Mini Lemon Tarts with Lilac Meringue. These delightful bites aren’t just a visual showstopper; they bring a bright, zesty burst of flavor paired with an airy pop of lilac sweetness. With their quick prep and elegant presentation, they’re bound to impress your family or guests at any gathering. Each mini tart delivers a harmonious balance of tangy lemon curd and fluffy meringue, making them a gourmet treat that feels indulgent yet approachable. Are you ready to create a little magic in your kitchen? Let’s get started!

Why are Mini Lemon Tarts irresistible?
Unexpected Elegance: These Mini Lemon Tarts are not only delicious but also elevate your dessert game with their stunning presentation.
Sweet and Tangy: The zesty lemon curd delivers a delightful punch, perfectly balanced by the airy lilac meringue on top.
Quick and Easy: With straightforward steps, even novice bakers can whip up these gourmet treats in no time.
Perfect for Any Occasion: From dinner parties to casual get-togethers, these tarts are guaranteed to impress, much like my Tortellini Soup with Sausage.
Versatile Flavors: Feel free to experiment and add unique twists, like a hint of lavender in the curd or changing up the meringue color—there’s no limit to your creativity!
Fresh Ingredients: These tarts use wholesome components, so you can enjoy a sweet treat without the guilt.
Mini Lemon Tart Ingredients
• Whip up these delicious Mini Lemon Tarts with Lilac Meringue using the freshest ingredients!
For the Tart Shell
- All-Purpose Flour – Provides structure for the tart shell. Substitution: Use gluten-free flour for a gluten-free version.
- Powdered Sugar – Adds sweetness and a delicate texture to the crust.
- Salt – Enhances flavor in the tart shell.
- Chilled Butter – Gives flakiness to the crust. Tip: Keep butter cold to achieve the best texture.
For the Lemon Curd
- Fresh Lemon Juice – The main flavor in the lemon curd, providing tang. Note: Use freshly squeezed juice for superior taste.
- Granulated Sugar – Sweetens the lemon curd while balancing its tartness.
- Eggs – Provides richness and helps the curd set.
- Lemon Zest – Adds an intense lemon flavor.
- Vanilla Extract – Enhances the flavor profile of the lemon curd.
For the Lilac Meringue
- Egg Whites – Base for the lilac meringue, adding fluffiness and volume.
- Lilac Food Coloring – For visual appeal of the meringue. Note: Use sparingly for desired color effect.
With these fresh ingredients, you’re well on your way to creating a batch of stunning Mini Lemon Tarts with Lilac Meringue! Enjoy the process and let your creativity shine!
Step‑by‑Step Instructions for Mini Lemon Tart with Lilac Meringue
Step 1: Crust Preparation
In a mixing bowl, combine all-purpose flour, powdered sugar, and a pinch of salt, ensuring even distribution. Cut in chilled butter using a pastry cutter or your fingers until the mixture resembles coarse crumbs. You should see small pea-sized pieces of butter throughout, indicating a flaky tart shell.
Step 2: Shaping the Crust
Gather the dough into a ball and gently roll it out on a floured surface to a thickness of about 1/8 inch. Cut out circles with a cookie cutter or glass, then carefully fit the circles into mini tart pans, pressing them into the edges. Chill these pans in the refrigerator for 30 minutes to firm up the dough before baking.
Step 3: Baking
Preheat your oven to 350°F (175°C). Once the shells are chilled, prick the bases with a fork to prevent puffing. Bake them in the preheated oven for 15-20 minutes, until they’re lightly golden and firm to the touch. Remove the tart shells and allow them to cool completely on a wire rack.
Step 4: Lemon Curd Prep
While the crust cools, prepare the lemon curd. In a medium saucepan, whisk together fresh lemon juice, granulated sugar, eggs, lemon zest, and vanilla extract. Cook this mixture over medium heat, stirring constantly, until it thickens and coats the back of a spoon, about 8-10 minutes. Remove from heat and let it cool slightly.
Step 5: Filling the Tarts
Pour the cooled lemon curd into the cooled tart shells, filling them generously to the top. Use a spatula to smooth the surface if necessary. Let the filled tarts rest for at least 30 minutes at room temperature, allowing the curd to set further.
Step 6: Meringue Preparation
In a clean mixing bowl, beat egg whites using an electric mixer on medium speed until soft peaks form, about 2-3 minutes. Gradually add granulated sugar, about a tablespoon at a time, and continue beating until stiff, glossy peaks form. This process should take about 5-7 minutes.
Step 7: Coloring Meringue
Gently fold in lilac food coloring until you achieve a beautiful pastel hue. Be careful not to deflate the whipped meringue. Once colored, transfer the meringue into a piping bag fitted with a star tip for a decorative finish on the Mini Lemon Tarts.
Step 8: Toasting Meringue
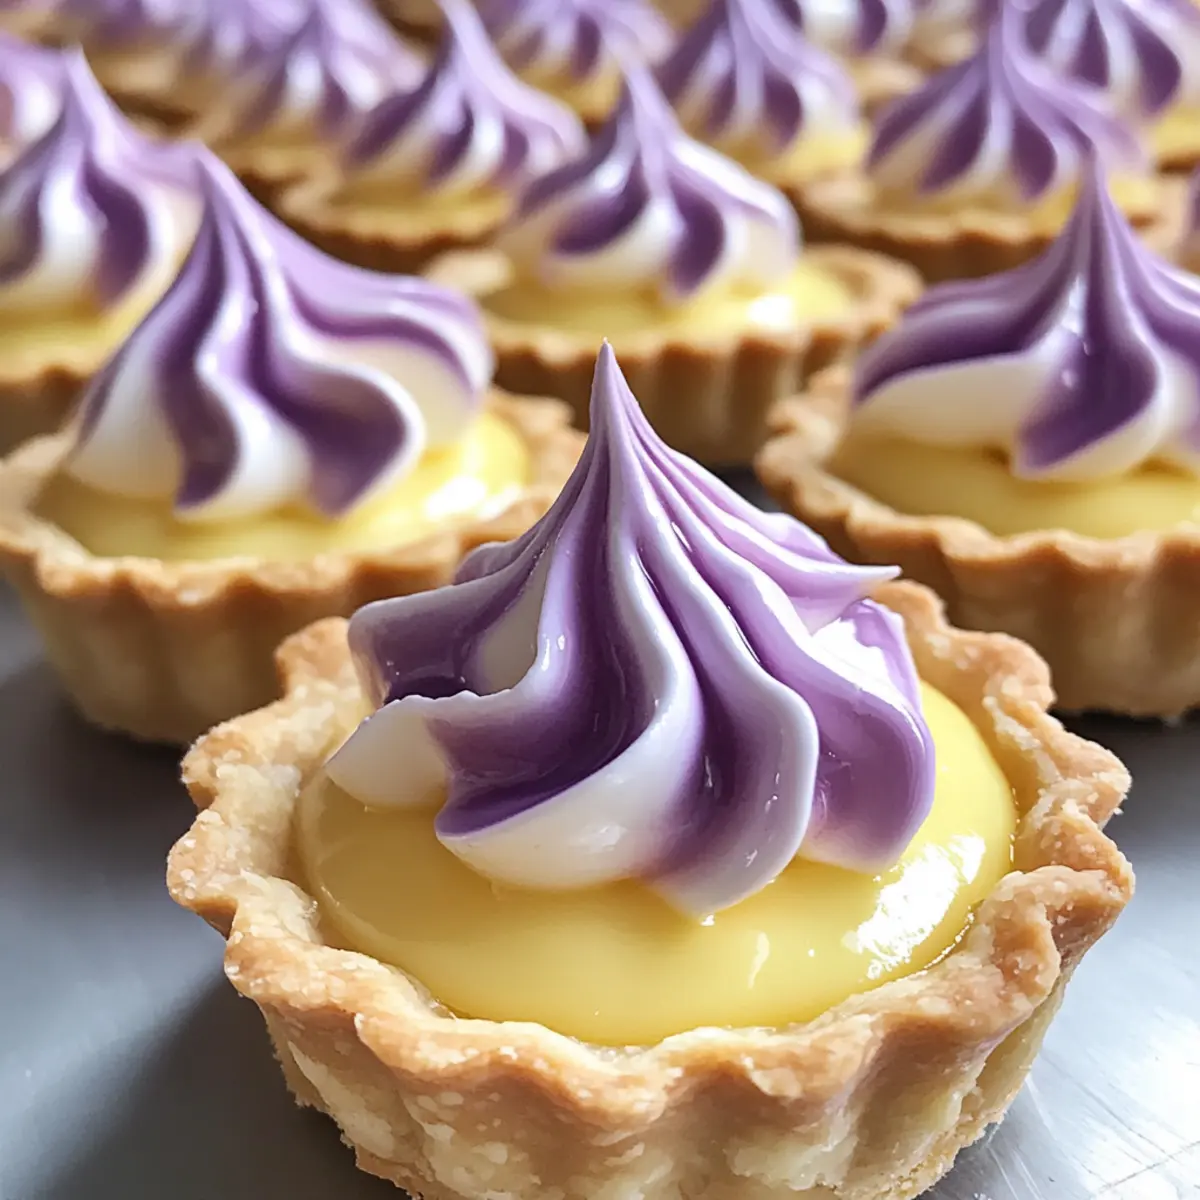
Pipe the lilac meringue on top of each tart, creating decorative swirls and peaks. Using a kitchen torch or placing them under the broiler, lightly toast the meringue until golden brown—this should take only a minute, so keep a close eye to prevent burning.
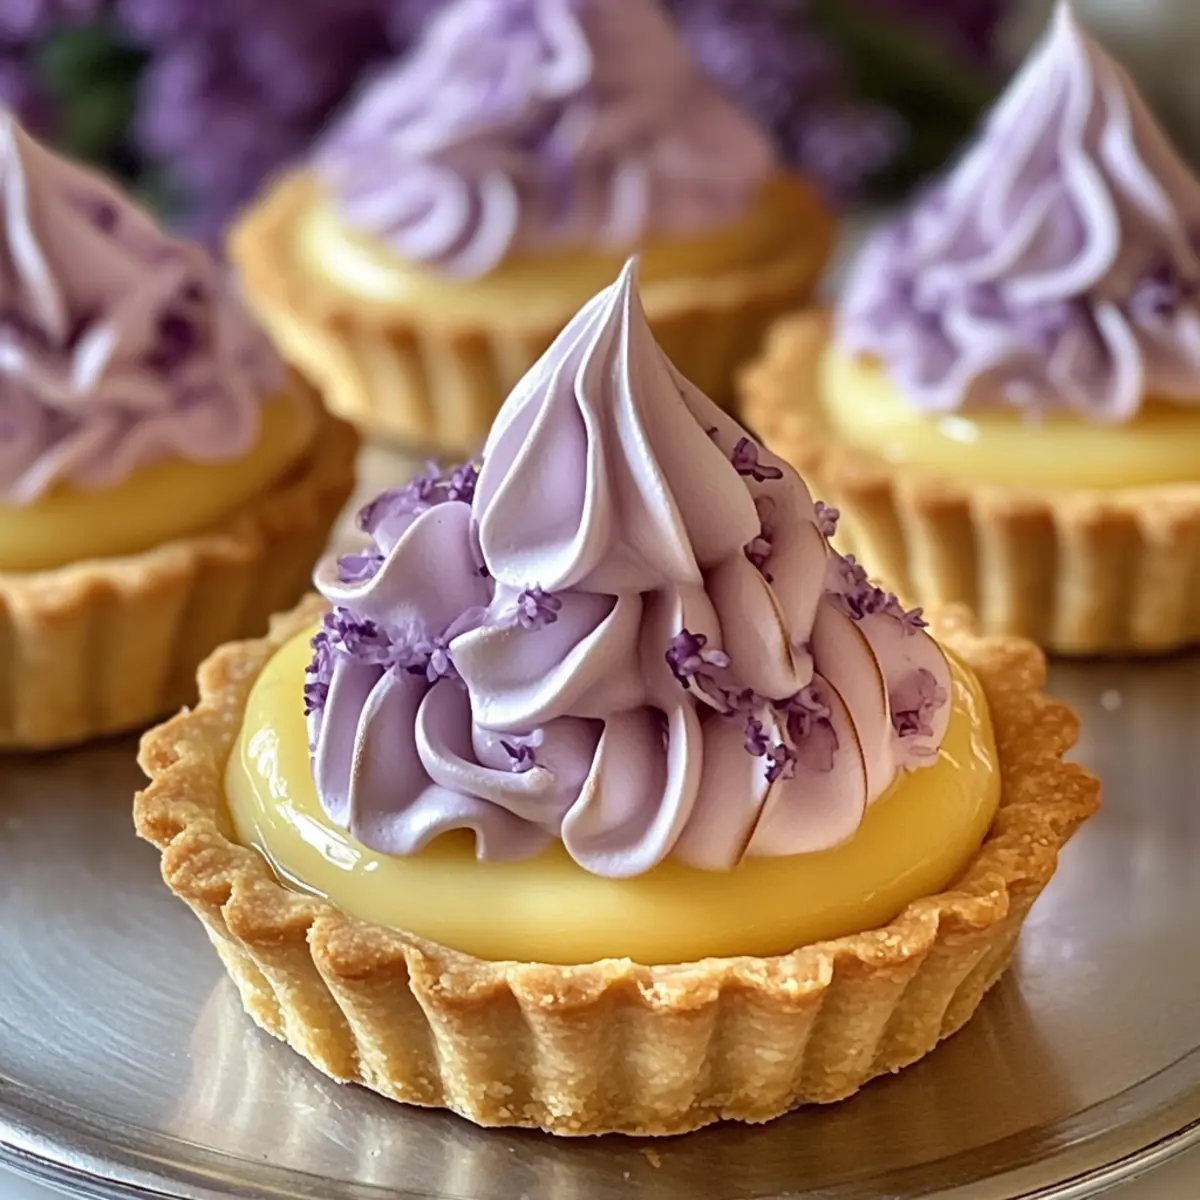
Step 9: Garnishing
If desired, garnish each tart with a fresh mint leaf for an extra touch of elegance. The Mini Lemon Tarts with Lilac Meringue are now ready to be served, showcasing their stunning colors and delightful textures.
Expert Tips for Mini Lemon Tart with Lilac Meringue
-
Room Temperature Ingredients: Ensure all ingredients, especially eggs and butter, are at room temperature for a smoother lemon curd and more stable meringue.
-
Chill the Dough: Chill the tart dough for at least 30 minutes before baking to help maintain its shape and achieve the perfect flaky texture.
-
Watch the Meringue: Avoid over-beating the meringue; stop as soon as you see stiff peaks, ensuring it remains light and fluffy.
-
Toasting Meringue: Monitor the meringue closely under the broiler or with a kitchen torch; it can go from perfectly toasted to burnt in mere seconds.
-
Garnish Smartly: Add fresh mint leaves or edible flowers just before serving to enhance the visual appeal of your Mini Lemon Tarts.
What to Serve with Mini Lemon Tart with Lilac Meringue
Complete your dessert experience with delightful pairings that will elevate the zesty charm of these adorable tarts.
-
Fresh Berries: The natural sweetness and tartness of berries create a refreshing contrast, enhancing the lemon flavor beautifully. Consider a medley of strawberries, blueberries, and raspberries for a colorful touch.
-
Creamy Vanilla Ice Cream: A scoop of creamy vanilla ice cream adds a luscious richness that balances the tartness of the lemon curd, making every bite a heavenly delight.
-
Mint Tea: A soothing cup of mint tea refreshes the palate while complementing the citrus notes of the tart. The herbal qualities provide a fragrant touch that’s perfect after a rich meal.
-
Chocolate Drizzle: A drizzle of dark chocolate can add depth to the experience; its slight bitterness beautifully offsets the tangy lemon and sweet meringue.
-
Pistachio Crumble: A sprinkle of crushed pistachios introduces a delightful crunch and nutty flavor, enhancing the visual appeal and adding textural contrast.
-
Sparkling Rosé: If you’re serving these mini treats at a gathering, a chilled glass of sparkling rosé can elevate the occasion. The effervescence brightens up the sweet and citrusy notes.
How to Store and Freeze Mini Lemon Tart with Lilac Meringue
Refrigerator: Store the Mini Lemon Tarts in an airtight container for up to 2 days. To preserve the meringue’s texture, consider adding it just before serving.
Freezer: For long-term storage, freeze the tart shells without filling for up to 1 month. Wrap individually in plastic wrap and foil to prevent freezer burn.
Meringue: If prepared in advance, freeze meringue separately for up to 1 month. Thaw in the fridge before piping onto the tarts for a fresh look.
Reheating: While best served chilled, if desired, allow the tarts to come to room temperature for about 30 minutes before serving for an optimal taste experience.
Make Ahead Options
These Mini Lemon Tarts with Lilac Meringue are perfect for busy home cooks looking to save time! You can prepare the tart shells and lemon curd up to 24 hours in advance. Simply bake and cool the tart shells, then refrigerate them in an airtight container. Make the lemon curd and allow it to cool before pouring it into the cooled shells, which can also be stored in the fridge. When you’re ready to serve, whip the meringue and pipe it onto the tarts, toasting it just before enjoying for that fresh, fluffy texture. This way, you’ll have a delightful gourmet dessert ready with minimal effort, just as delicious as if you made it all in one go!
Mini Lemon Tart with Lilac Meringue Variations
Feel free to get creative with these Mini Lemon Tarts; your taste buds will thank you for the excitement!
-
Gluten-Free: Substitute all-purpose flour with a gluten-free blend for a delightful gluten-free dessert without losing the tart’s charm.
Some gluten-free flours can offer a slightly different texture, yet they still create a deliciously flaky crust. -
Fruit-Infused Curd: Consider adding pureed raspberries or strawberries to the lemon curd for a fruity twist.
This burst of flavor not only enhances the fragrance but also adds vibrant color to your tarts. -
Lavender Lemon Curd: Infuse your lemon curd with dried culinary lavender for a sophisticated floral note.
It’s a simple addition that transforms the flavor profile into something unique and enchanting. -
Coconut Meringue: Whip up a fluffy coconut meringue by adding coconut extract to the egg whites for a tropical flair.
This creamy enhancement captures the essence of paradise, making your dessert even more desirable. -
Mini Oreo Crust: Swap the traditional crust with crushed Oreo cookies pressed into the tart pans for a chocolatey base.
This surprising twist creates a dynamic flavor balance between sweet lemon and chocolate. -
Butterfly Pea Flower: Use butterfly pea flower powder instead of lilac food coloring for a natural, color-changing meringue.
The meringue will not only look stunning but can also shift from blue to purple when touching acidic ingredients, like lemon curd. -
Meringue Variations: Create a citrus-flavored meringue by replacing a portion of the sugar with lemon zest or orange zest.
This tangy meringue will beautifully complement the tartness of the lemon curd and add an exciting layer to your treat. -
Decadent Chocolate Drizzle: Add a drizzle of melted dark chocolate over the topped meringue for a rich finish.
This indulgent layer enhances not just the flavor but also the visual appeal of the tarts, calling for attention at any gathering.
Dive into these variations to make each batch of Mini Lemon Tarts with Lilac Meringue uniquely yours! You’ll be amazed at how small tweaks can turn a classic dessert into a fresh and exciting experience.
Mini Lemon Tart with Lilac Meringue Recipe FAQs
How do I select the best lemons for my tart?
Absolutely! When choosing lemons, look for ones that are firm and bright yellow, with a slight shine. They should feel heavy for their size, indicating juiciness. Avoid lemons with blemishes or soft spots, as these may be overripe.
What is the best way to store Mini Lemon Tarts?
To keep your Mini Lemon Tarts fresh, store them in an airtight container in the refrigerator for up to 2 days. A key tip: meringue can weep over time, so I recommend adding it just before serving for the best texture.
Can I freeze the Mini Lemon Tarts?
Yes, you can! For the best results, freeze the tart shells without the filling. Wrap them individually in plastic wrap, followed by aluminum foil, and store them in the freezer for up to 1 month. When you’re ready to enjoy, simply thaw the shells at room temperature before filling them with lemon curd and topping with meringue.
What if my meringue isn’t forming stiff peaks?
Very! If your meringue isn’t forming stiff peaks, ensure that your mixing bowl and beaters are completely clean and free of any grease or moisture. Make sure the egg whites are at room temperature, and add the sugar gradually while beating. If the meringue is still too runny, you may need to beat it longer until it reaches desired peaks.
Is there a way to modify this recipe for dietary restrictions?
Absolutely! If you’re looking for allergen-friendly options, you can substitute the all-purpose flour with a gluten-free blend for a gluten-free version. For those who avoid dairy, make sure your butter substitute is dairy-free as well. Always check labels for any hidden allergens, especially in powdered sugar and food coloring.
Mini Lemon Tart with Lilac Meringue: A Sweet Showstopper
Ingredients
Equipment
Method
- In a mixing bowl, combine all-purpose flour, powdered sugar, and salt, ensuring even distribution. Cut in chilled butter until the mixture resembles coarse crumbs.
- Gather the dough into a ball and gently roll it out on a floured surface to about 1/8 inch thick. Cut out circles and fit them into mini tart pans. Chill for 30 minutes.
- Preheat your oven to 350°F (175°C). Prick the bases of the shells and bake for 15-20 minutes until lightly golden. Allow cooling completely.
- Whisk together fresh lemon juice, granulated sugar, eggs, lemon zest, and vanilla extract in a saucepan. Cook over medium heat until thickened, about 8-10 minutes.
- Remove from heat and let cool slightly.
- Pour the cooled lemon curd into the cooled tart shells, filling them generously. Allow to rest for 30 minutes.
- In a clean mixing bowl, beat egg whites until soft peaks form. Gradually add sugar, continuing to beat until stiff peaks form.
- Fold in lilac food coloring until combined. Transfer to a piping bag.
- Pipe the meringue on top of each tart and toast lightly using a kitchen torch or under a broiler.
- Optionally garnish with a fresh mint leaf before serving.
Leave a Reply