
As I stood in my kitchen, the aroma of roasted vegetables wafting through the air, I was reminded of the delightfully simple pleasures of cooking. My mouth watered at the thought of crispy Parmesan crusted broccoli florets, a healthy twist to transform an ordinary veggie side into something spectacular. This recipe is not only quick to whip up, making it a perfect option for busy weeknights, but it also adds a delightful crunch that’s sure to impress family and friends alike. Plus, it’s a fantastic way to sneak in that extra serving of greens without complaints! Are you ready to elevate your broccoli game and turn a humble vegetable into a culinary hero? Let’s dive into this easy and delicious recipe!
Why are these bars so irresistible?
Decadent Flavors: Imagine biting into rich chocolate complemented by the lusciousness of creamy peanut butter—pure bliss!
Quick and Easy: With no baking required, these bars come together in mere minutes, making them perfect for busy chefs and families.
Versatile Options: Gluten-free or vegan? No problem! Substitute ingredients easily for your dietary preferences without compromising on taste.
Crowd-Pleasing Delight: Whether for parties or late-night cravings, these bars are sure to satisfy everyone and keep them coming back for more.
Satisfying Texture: The combination of chewy oats and fudgy chocolate creates a delightful treat that’s both hearty and indulgent.
For more tasty ideas, check out these Garlic Parmesan Chicken recipes for easy weeknight meals or learn how to whip up a Garlic Parmesan Crockpot dish that your family will love!
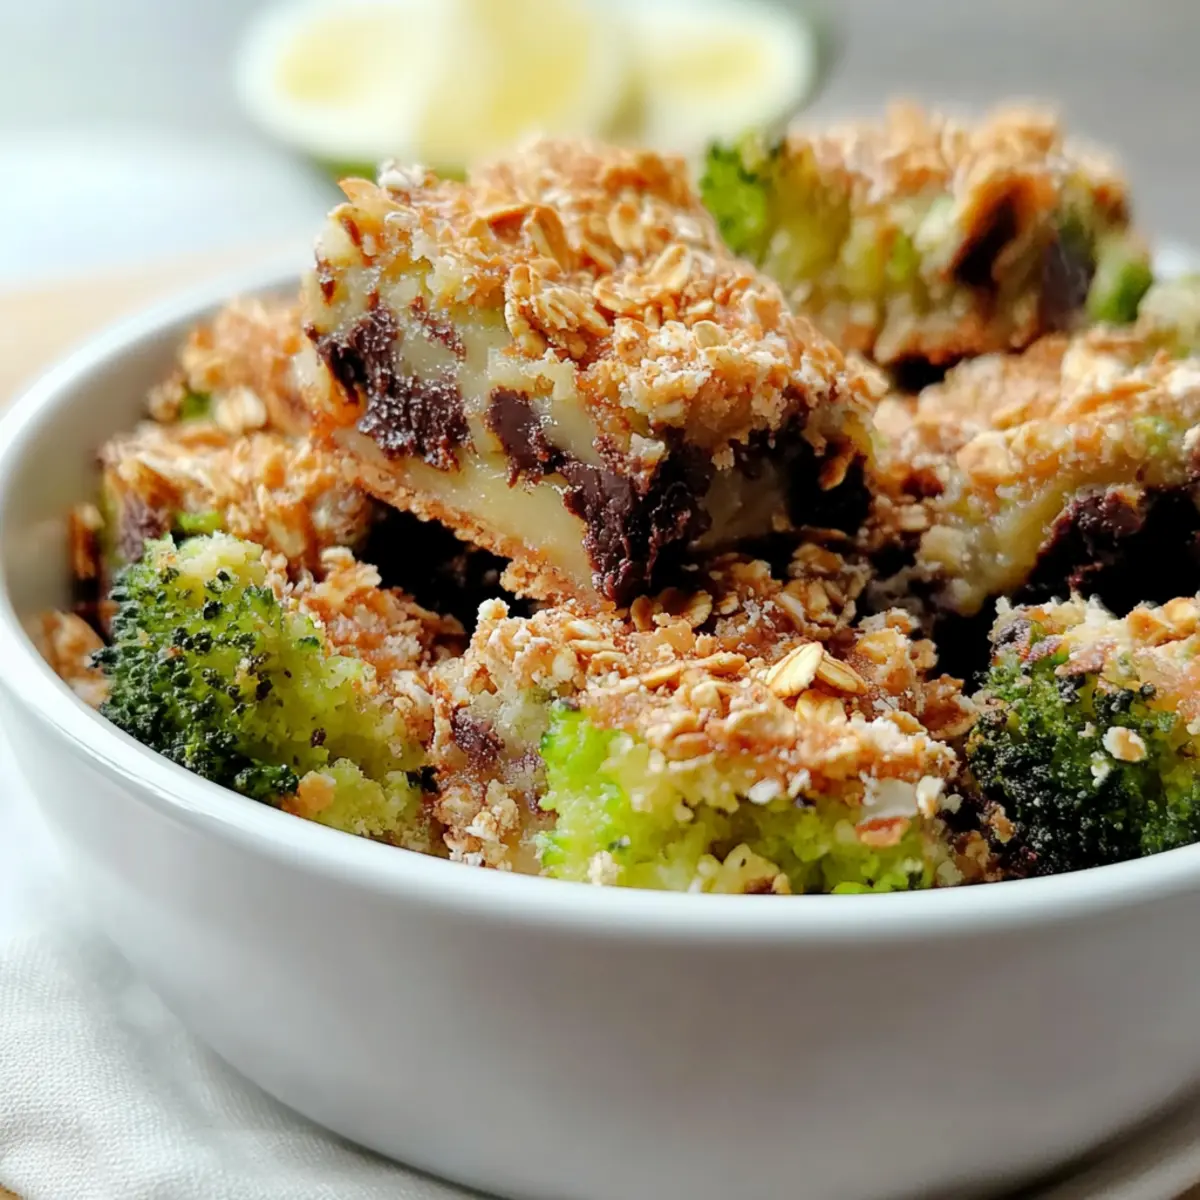
No-Bake Chocolate Peanut Butter Bar Ingredients
For the Bars
- Oats – Rolled oats provide structure and a chewy texture; quick oats can be used, too.
- Peanut Butter – Acts as a binding agent and adds creaminess; almond butter or sunflower seed butter work for nut-free options.
- Honey or Maple Syrup – Sweetens the bars and helps hold everything together; agave syrup is a great vegan alternative.
- Cocoa Powder – Deepens the chocolate flavor; ensure it’s unsweetened for the best balance.
For the Chocolate Topping
- Dark Chocolate – Adds a rich finish; use dairy-free chocolate chips for a vegan-friendly treat.
These ingredients come together to create an irresistible no-bake chocolate peanut butter bar that’s perfect for any occasion!
Step‑by‑Step Instructions for Crispy Parmesan Crusted Broccoli Florets
Step 1: Prep the Broccoli
Begin by preheating your oven to 425°F (220°C) for optimal crispiness. While the oven warms, wash and thoroughly dry 1 pound of fresh broccoli florets. Trim any excess stems and place the florets in a large mixing bowl. Make sure they are well-separated to allow even roasting.
Step 2: Create the Coating
In a separate bowl, mix together ½ cup of grated Parmesan cheese, 1 cup of breadcrumbs, 1 teaspoon of garlic powder, and a pinch of salt and pepper. Stir until combined, ensuring the cheese and breadcrumbs are evenly distributed. This mixture will give your crispy Parmesan crusted broccoli florets that delicious flavor and texture.
Step 3: Add the Oil and Toss
Drizzle 2 tablespoons of olive oil over the broccoli florets, ensuring they are well-coated. Use your hands or a spatula to toss the broccoli until each piece is glistening with oil. This step is crucial as the oil will help the coating adhere and promote added crispiness during roasting.
Step 4: Coat the Broccoli
Sprinkle the breadcrumb and cheese mixture over the oil-coated broccoli. Toss again, making sure each floret is generously covered in the crispy topping. This will create a delectable crust that complements the natural flavor of the broccoli and elevates the dish to a whole new level.
Step 5: Arrange for Baking
Transfer the coated broccoli florets onto a parchment-lined baking sheet, spreading them out in a single layer. Avoid overcrowding the pan to ensure they bake evenly and become wonderfully crispy. This visual cue is important to achieve perfectly roasted Parmesan crusted broccoli florets.
Step 6: Roast in the Oven
Place the baking sheet in the preheated oven and roast for 15-20 minutes, or until the florets are tender and the topping is golden brown and crispy. Keep an eye on them during the last few minutes, as oven temperatures can vary, ensuring that they don’t burn but achieve that perfect crunch.
Step 7: Serve Hot
Once done, remove the crispy Parmesan crusted broccoli florets from the oven and let them cool for a couple of minutes. Serve them immediately as a delightful side dish or a healthy snack. Pair with your favorite dip or enjoy them just as they are for a quick, flavorful treat!
What to Serve with Quick and Easy No-Bake Chocolate Peanut Butter Bars
These no-bake delights are perfect for rounding out a fulfilling meal or snack time, offering a sweet contrast to savory flavors.
- Creamy Vanilla Ice Cream: A scoop of velvety ice cream enhances the rich chocolate flavor while providing a sumptuous temperature contrast. Perfect for those who love a sweet and cold treat!
- Fresh Berries: Juicy strawberries or raspberries add a burst of brightness that cuts through the richness of the bars. They also give a refreshing, tangy counterpart to the peanut butter and chocolate.
- Nutty Granola: A sprinkle of nutty granola on the side offers a delightful crunch, enhancing the bar’s texture and making it a great breakfast alternative. Enjoy alongside a cup of coffee for a comforting start to your day.
- Coconut Whipped Cream: Light and fluffy, coconut whipped cream is a dairy-free option that complements the bars beautifully while adding a subtle tropical twist. It’s a decadent addition everyone can savor!
- Chilled Almond Milk: A glass of smooth almond milk provides a nutty flavor that pairs nicely with the chocolate, making for a well-rounded snack or dessert. It’s a great way to keep things refreshing!
- Chocolate-Covered Pretzels: The salty crunch of chocolate-covered pretzels creates a delightful sweet-salty balance. Serve them alongside the bars for a delightful treat that contrasts both in texture and flavor.
- Coffee or Espresso: The bold flavors and comforting warmth of coffee or espresso make an ideal beverage pairing, accentuating the dessert’s richness while providing a delightful pick-me-up.
- Caramel Sauce Drizzle: Add a drizzle of caramel sauce for an extra layer of sweetness that complements the chocolate and peanut butter beautifully, inviting indulgence with every bite.
- Oatmeal Raisin Cookies: Serve a couple of oatmeal raisin cookies alongside to enhance the wholesome vibe from the oats in the bars, creating a comforting yet indulgent snacking experience.
- Dark Chocolate-Covered Almonds: For an added crunch, dark chocolate-covered almonds bring a nuttiness that complements the bars while giving you another layer of chocolate bliss.
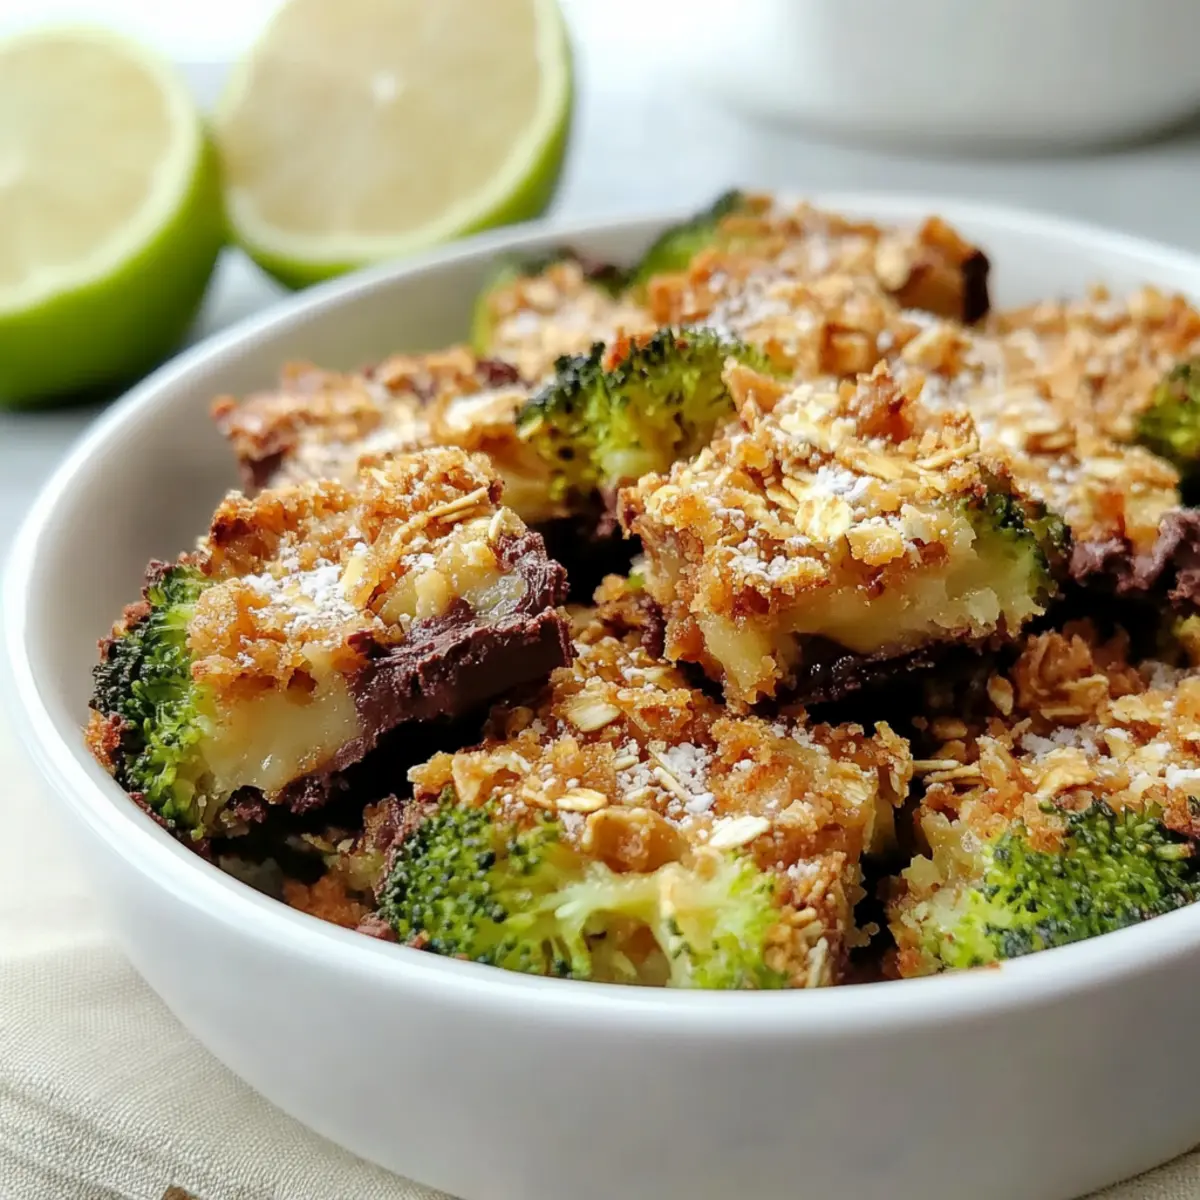
How to Store and Freeze No-Bake Chocolate Peanut Butter Bars
Fridge: Store your no-bake chocolate peanut butter bars in an airtight container in the fridge for up to 1 week to keep them fresh and delicious.
Freezer: For longer storage, freeze the bars wrapped tightly in plastic wrap or in an airtight container for up to 2 months. Thaw in the fridge before serving.
Cutting: When ready to enjoy, cut the bars into squares while frozen for cleaner edges; let them sit at room temperature for a few minutes for easier biting.
Reheating: If you prefer a warm treat, microwave a bar for 10-15 seconds to soften slightly without melting the chocolate topping.
Expert Tips for No-Bake Chocolate Peanut Butter Bars
- Mix Well: Ensure ingredients are fully combined before pressing to avoid crumbly bars. A homogeneous mixture guarantees a consistent and delightful texture.
- Firm Pressure: Press the mixture firmly into the dish, as a loose press can lead to bars that fall apart. This key step helps ensure your no-bake chocolate peanut butter bars stay intact when cut.
- Parchment Use: Line your baking dish with parchment paper for easy removal and cutting later. This simple trick saves time and hassle!
- Substitution Savvy: Don’t hesitate to substitute nut butter or syrup for dietary needs; make it gluten-free or vegan while retaining delicious flavor.
- Chill Time: Allow these bars to firm up in the fridge for at least two hours. Rushing this step may result in a gooey texture instead of the perfect bite!
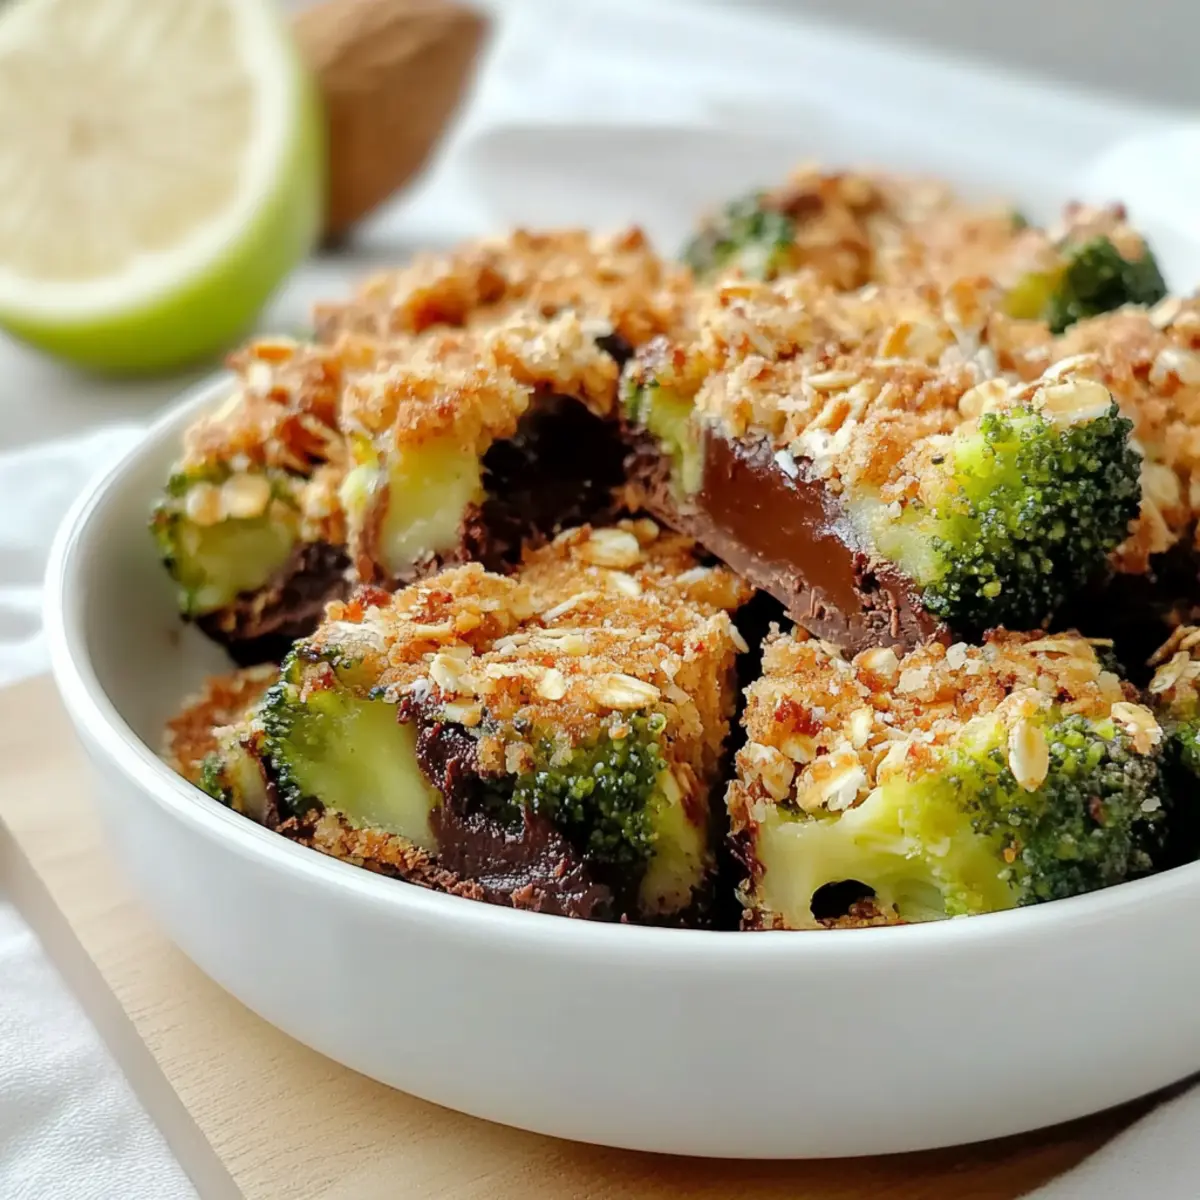
Variations & Substitutions for No-Bake Chocolate Peanut Butter Bars
Feel free to get creative! These delightful bars can easily adapt to suit your tastes and dietary needs.
- Vegan-Friendly: Substitute honey with agave syrup to keep it completely plant-based while maintaining sweetness.
- Nut-Free Alternative: Use sunflower seed butter instead of peanut butter for a rich flavor without nuts, perfect for allergies.
- Gluten-Free Option: Ensure your oats are certified gluten-free and use gluten-free breadcrumbs in the coating for safe indulgence.
- Flavor Boost: Mix in a teaspoon of vanilla extract to enhance the flavor profile, bringing a warm depth to your bars.
- Texture Twist: Add in mini chocolate chips or chopped nuts to the mix for a delightful crunch and bursts of flavor.
- Spicy Kick: If you’re feeling adventurous, sprinkle a pinch of cayenne pepper into the mix for a savory twist that pairs wonderfully with chocolate.
- Fruit Infusion: Fold in dried fruits such as cranberries or raisins for a sweet and chewy texture that adds a pop of color and taste.
- Cookie Crust: For a new take, use crushed graham crackers or your favorite cookies as a base instead of oats, creating a delightful dessert layer.
For even more inspiration, try pairing these bars with a side of Garlic Parmesan Crockpot chicken or serving them alongside a warm bowl of Chinese Beef and Broccoli for a complete meal that’s sure to impress loved ones!
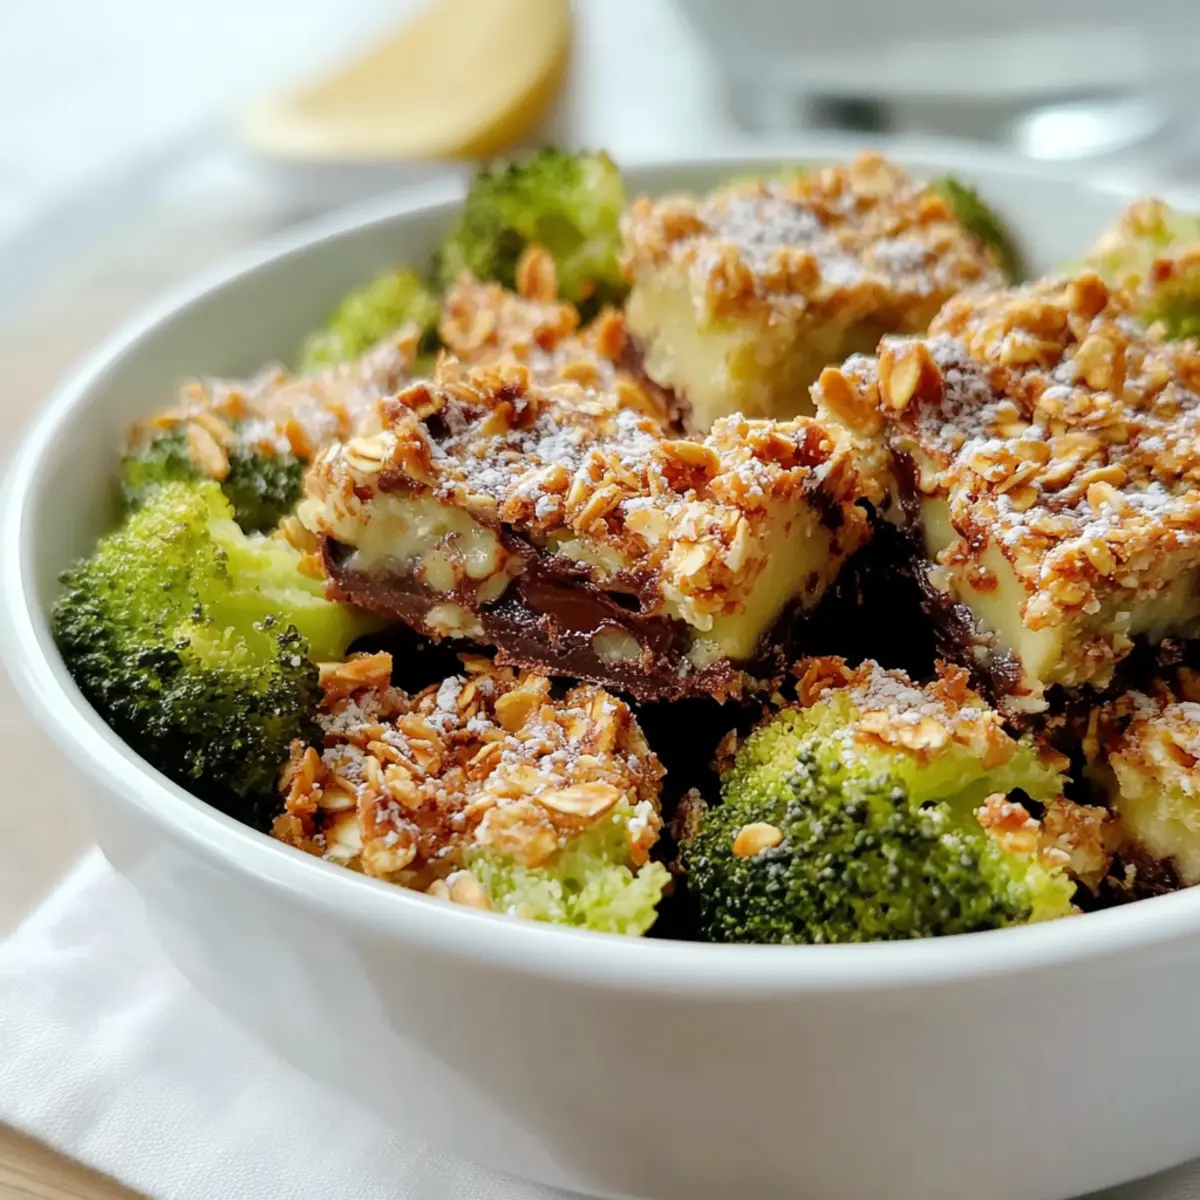
Make Ahead Options
These Quick and Easy No-Bake Chocolate Peanut Butter Bars are perfect for meal prep, saving you time during busy days! You can prepare the bar mixture up to 24 hours in advance by combining oats, peanut butter, honey, and cocoa powder, then pressing it into a lined baking dish. Simply refrigerate it until firm. To maintain the bars’ delightful texture, store them in an airtight container. When you’re ready to enjoy your treat, melt the dark chocolate and spread it over the chilled mixture, allowing it to set for just a few minutes before cutting into squares. You’ll have a delicious dessert with minimal effort, ready to impress!
No-Bake Chocolate Peanut Butter Bars Recipe FAQs
How do I select ripe ingredients for my no-bake chocolate peanut butter bars?
Absolutely! When choosing peanut butter, opt for a creamy variety without added sugars or oils for the best binding and flavor. For honey or maple syrup, look for raw or pure forms, ensuring maximum sweetness and richness. If using oats, stick to rolled oats as they provide the perfect chewy texture; avoid quick oats that may become mushy.
What’s the best way to store no-bake chocolate peanut butter bars?
Very! Store your no-bake chocolate peanut butter bars in an airtight container in the fridge for up to 1 week. This keeps them fresh and maintains their flavors. You can also keep them at room temperature for a short time but note that they’ll last longer and taste better chilled.
Can I freeze the no-bake chocolate peanut butter bars?
Absolutely! For longer preservation, wrap the bars tightly in plastic wrap or place them in an airtight container and freeze for up to 3 months. To thaw, simply move them to the fridge overnight before enjoying. For cleaner edges, slice the bars while they’re still frozen!
What can I do if my bars turn out crumbly?
Ah, a common concern! Crumbliness often comes from not mixing the ingredients well enough or not pressing the mixture firmly enough into the dish. I recommend mixing thoroughly until the oats, peanut butter, and other ingredients are well incorporated. Then, press the mixture firmly and evenly in the dish for a solid base. This ensures your bars will hold together when cut.
Are there any dietary considerations for making these bars?
Definitely! If you have allergies, you can use sunflower seed butter as a nut-free alternative to peanut butter. To make it vegan, substitute honey with agave syrup or maple syrup. Always check labels for any gluten-free certifications if using oats or syrup to ensure they meet your dietary needs. Be mindful if serving to young children or pets, as chocolate and some sweeteners can be harmful.
What is the best way to cut the bars for perfect squares?
Great question! For the neatest cuts, freeze the bars for 30 minutes to an hour before slicing. This helps the mixture set up and become firmer, preventing it from crumbling. Use a sharp knife, running it under hot water for a few seconds between cuts if needed. This trick helps achieve clean edges, making your bars look appealing!
Crispy Parmesan Crusted Broccoli Florets You Can't Resist
Ingredients
Equipment
Method
- Preheat your oven to 425°F (220°C) and wash and thoroughly dry 1 pound of fresh broccoli florets. Trim excess stems.
- In a bowl, mix ½ cup grated Parmesan cheese, 1 cup breadcrumbs, 1 teaspoon garlic powder, and a pinch of salt and pepper.
- Drizzle 2 tablespoons olive oil over the broccoli and toss to coat.
- Sprinkle the breadcrumb mixture over the broccoli and toss well.
- Transfer the coated broccoli to a parchment-lined baking sheet in a single layer.
- Roast in the oven for 15-20 minutes until tender and golden brown.
- Remove from the oven, let cool for a couple of minutes, and serve immediately.
Leave a Reply