
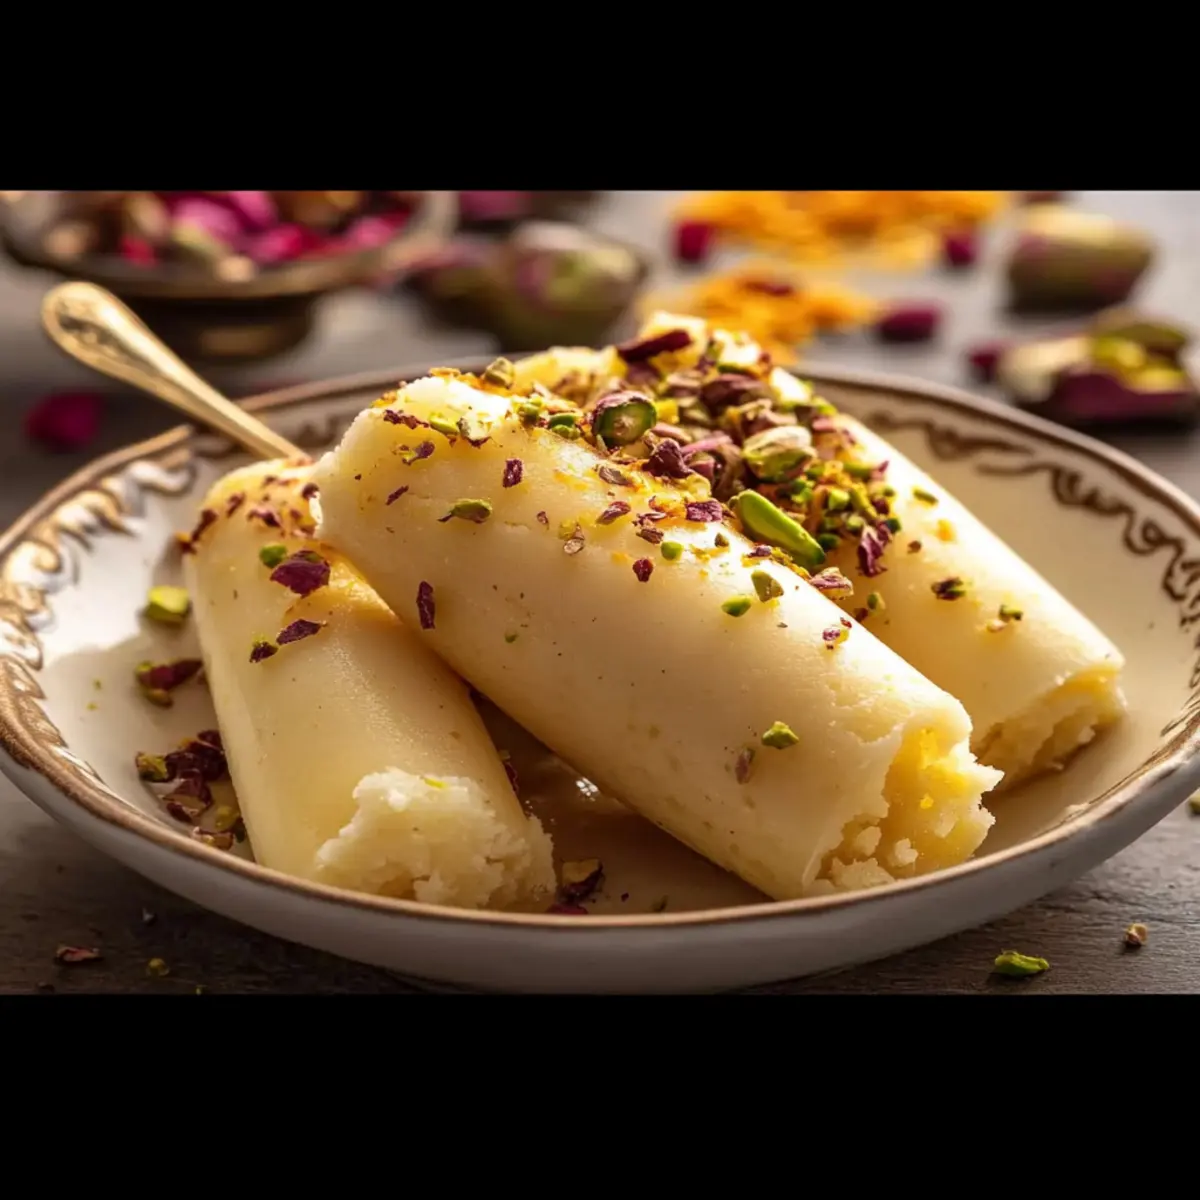
As I stirred the simmering milk, the warm aroma of cardamom began to fill my kitchen, instantly transporting me to a bustling Indian market. This exhilarating journey through flavors brings us to the exquisite world of homemade Kulfi Ice Cream—a no-churn Indian frozen dessert that is as delightful to make as it is to savor. With its rich, creamy texture and the option to infuse modern flavors like salted caramel or traditional chai spices, this recipe is not just a treat for the taste buds but also a quick, crowd-pleasing indulgence that’s perfect for hot days. Are you ready to create a sweet slice of cultural heritage that everyone will adore? Let’s dive into this easy no-churn kulfi recipe!
Why Is Homemade Kulfi Ice Cream Special?
Creamy Delight: This no-churn kulfi promises a velvety, indulgent experience that rivals any ice cream shop treat. Cultural Connection: Enjoying homemade kulfi lets you embrace a rich heritage, bringing a taste of India to your kitchen. Quick and Easy: With just a few simple ingredients and minimal effort, you can whip up this frozen delight in no time. Flavor Versatility: Experiment with flavors like salted caramel or traditional chai spices to impress your guests or satisfy your cravings. If you love creamy desserts, don’t forget to check out my recipe for Parmesan Chicken Pasta that also captures rich flavors effortlessly!
Homemade Kulfi Ice Cream Ingredients
For the Base
• Full-Fat Milk – Essential for achieving the creamy texture that’s signature to homemade kulfi ice cream.
• Condensed Milk – Sweetens and thickens the mixture; for a dairy-free version, opt for coconut cream.
• Sugar – Enhances sweetness; adjust based on your taste preferences for a personalized touch.
• Heavy Cream – enriches the flavor and ensures a silky consistency; substitute with coconut cream for dairy-free options.
For the Flavoring
• Cardamom – Provides a warm, aromatic flavor; vanilla extract works as a delightful alternative if desired.
• Saffron – Delivers stunning color and unique flavor; feel free to omit if you’re out, but it adds authenticity to your kulfi.
For the Crunch
• Nuts (Pistachios/Almonds) – Add a delightful crunch and richness; any preferred nuts or seeds can be substituted.
Create your homemade kulfi ice cream with these simple ingredients and enjoy a creamy, frozen dessert that beautifully captures the essence of India!
Step‑by‑Step Instructions for Homemade Kulfi Ice Cream
Step 1: Simmer the Milk
In a heavy-bottomed saucepan, pour in the full-fat milk and set the heat to medium. Stir the milk frequently as it simmers for about 15-20 minutes, allowing it to reduce by one-third. Keep an eye on it; you’ll know it’s ready when the milk thickens slightly and coats the back of a spoon, showcasing a rich texture that sets the stage for your homemade kulfi ice cream.
Step 2: Incorporate the Sweetness
Once the milk is reduced, add in the condensed milk, sugar, and heavy cream, stirring well to combine. Sprinkle in the cardamom and saffron, then let the mixture simmer for an additional 5 minutes, ensuring you stir constantly to prevent it from sticking to the pan. At this point, the kitchen will fill with a delightful aroma, hinting at the delicious homemade kulfi ice cream to come.
Step 3: Cool the Mixture
After simmering, remove the saucepan from the heat and allow the mixture to cool completely, which should take about 30 minutes. Stir occasionally to help the cooling process and to prevent any skin from forming on top. This cooling step is crucial for achieving that creamy texture in your homemade kulfi ice cream, so patience is key!
Step 4: Add the Crunch
Once the mixture is completely cool, fold in the chopped nuts of your choice, such as pistachios or almonds, which will offer a delightful crunch in every bite. Ensure the nuts are evenly distributed throughout the rich base. This step not only enhances the texture but also adds a beautiful visual appeal to your homemade kulfi ice cream.
Step 5: Prepare for Freezing
Pour the luscious kulfi mixture into your chosen moulds—kulfi moulds, silicone popsicle molds, or even small paper cups work perfectly. If you’d like, insert sticks into the mixture for easy handling when serving. Using the right containers allows for easy unmolding later, so choose wisely for your homemade kulfi ice cream.
Step 6: Freeze Until Solid
Place the filled moulds in the freezer for a minimum of 6 hours, or preferably overnight, allowing the kulfi to solidify completely. As it freezes, ensure the environment is undisturbed to maintain the smooth texture. You’ll know it’s ready when the surface appears firm and the richness beckons, promising a delightful treat when you take your first bite.
Step 7: Unmould and Serve
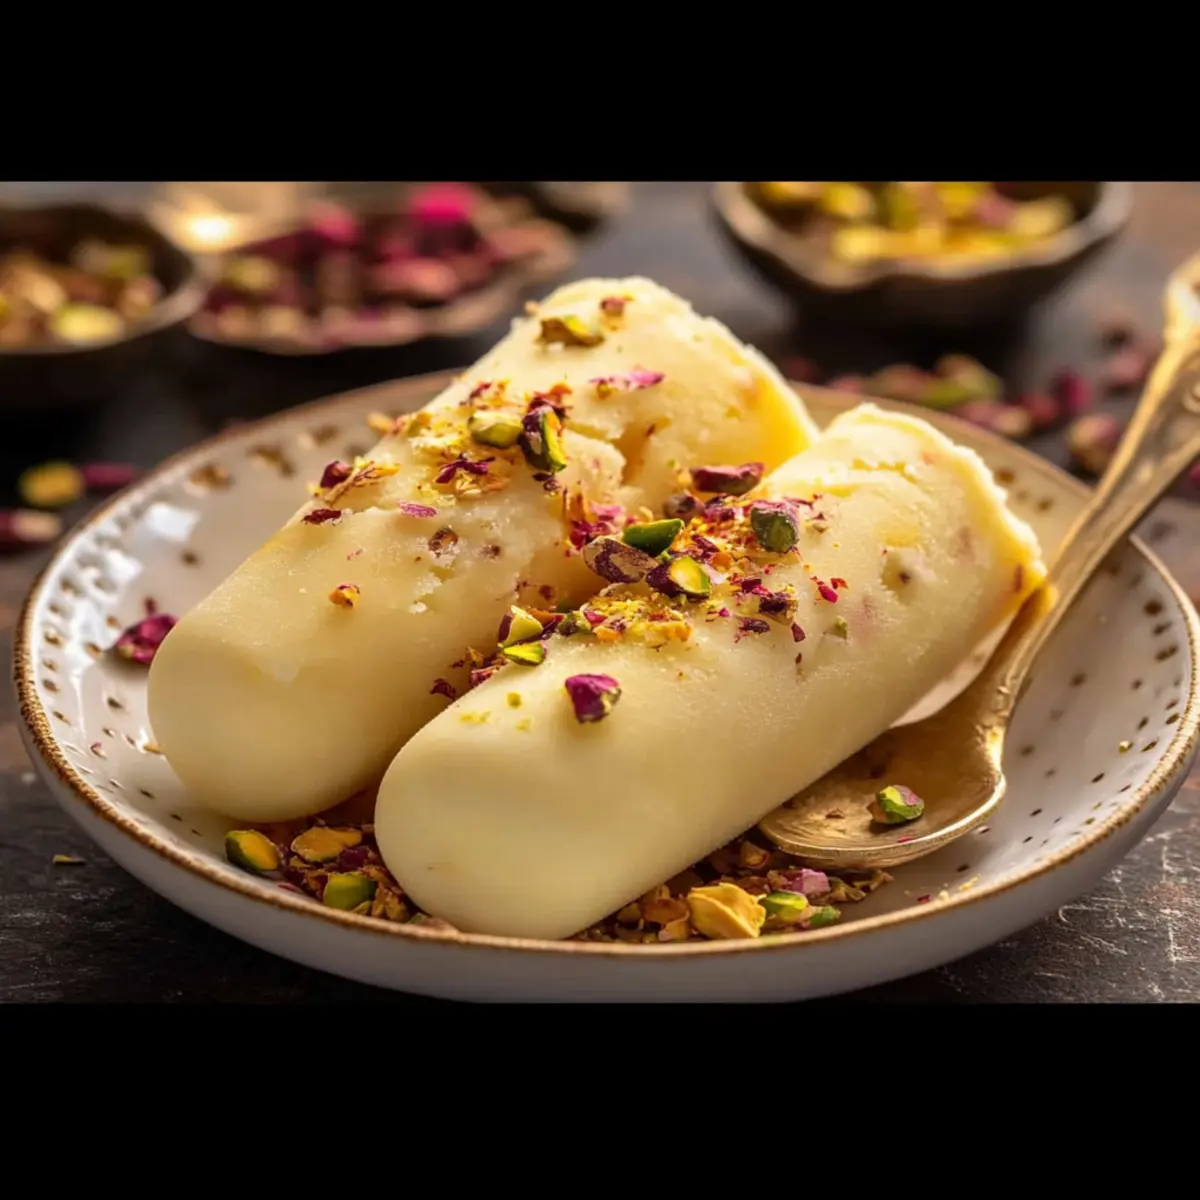
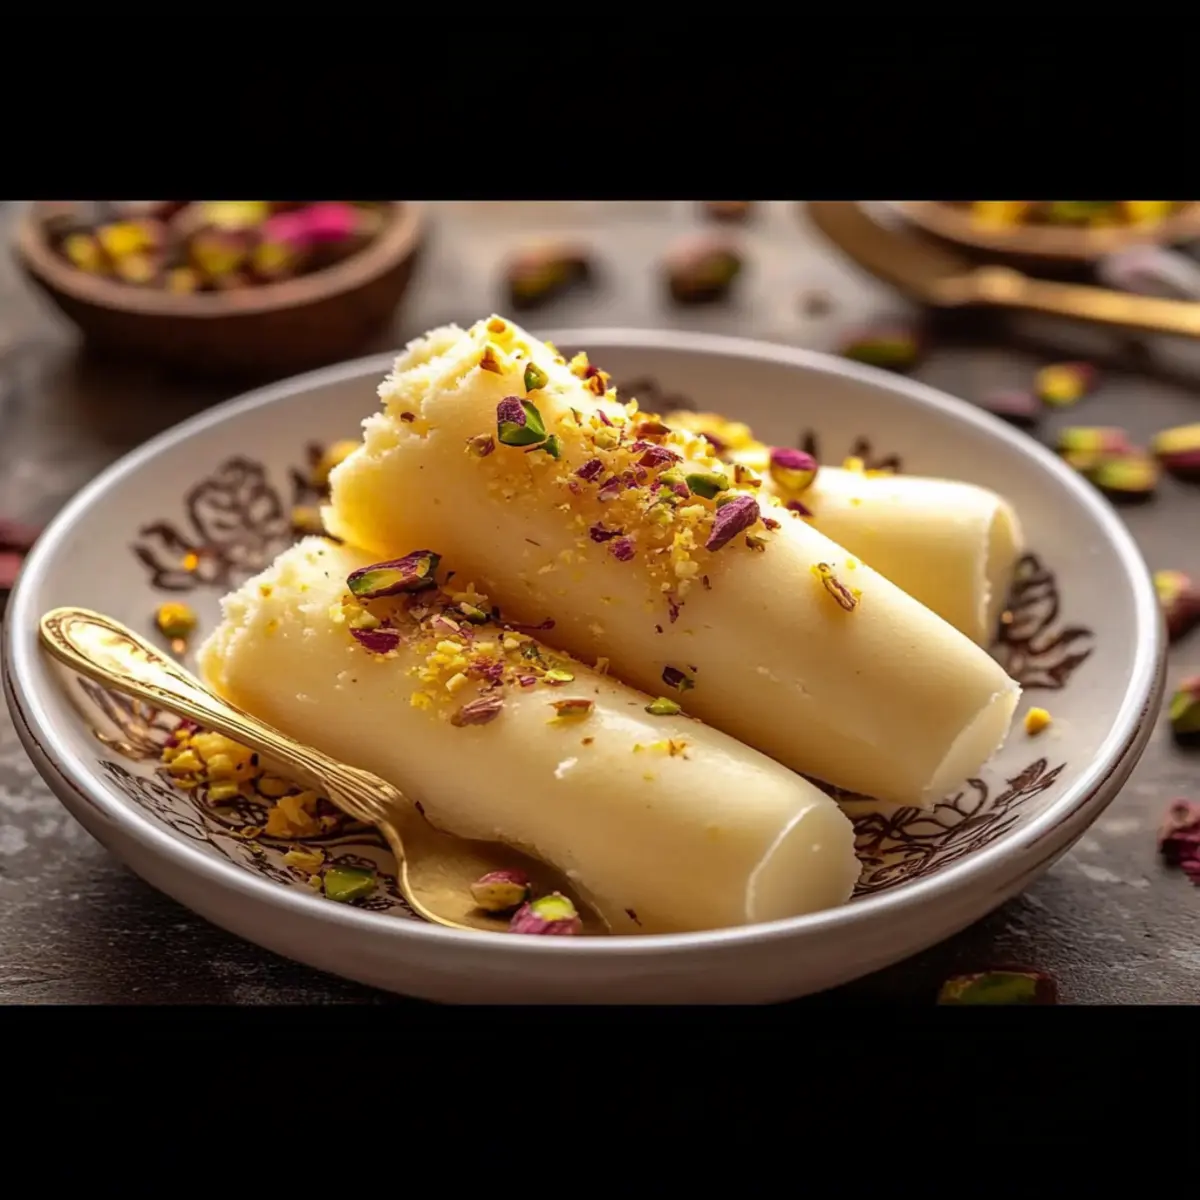
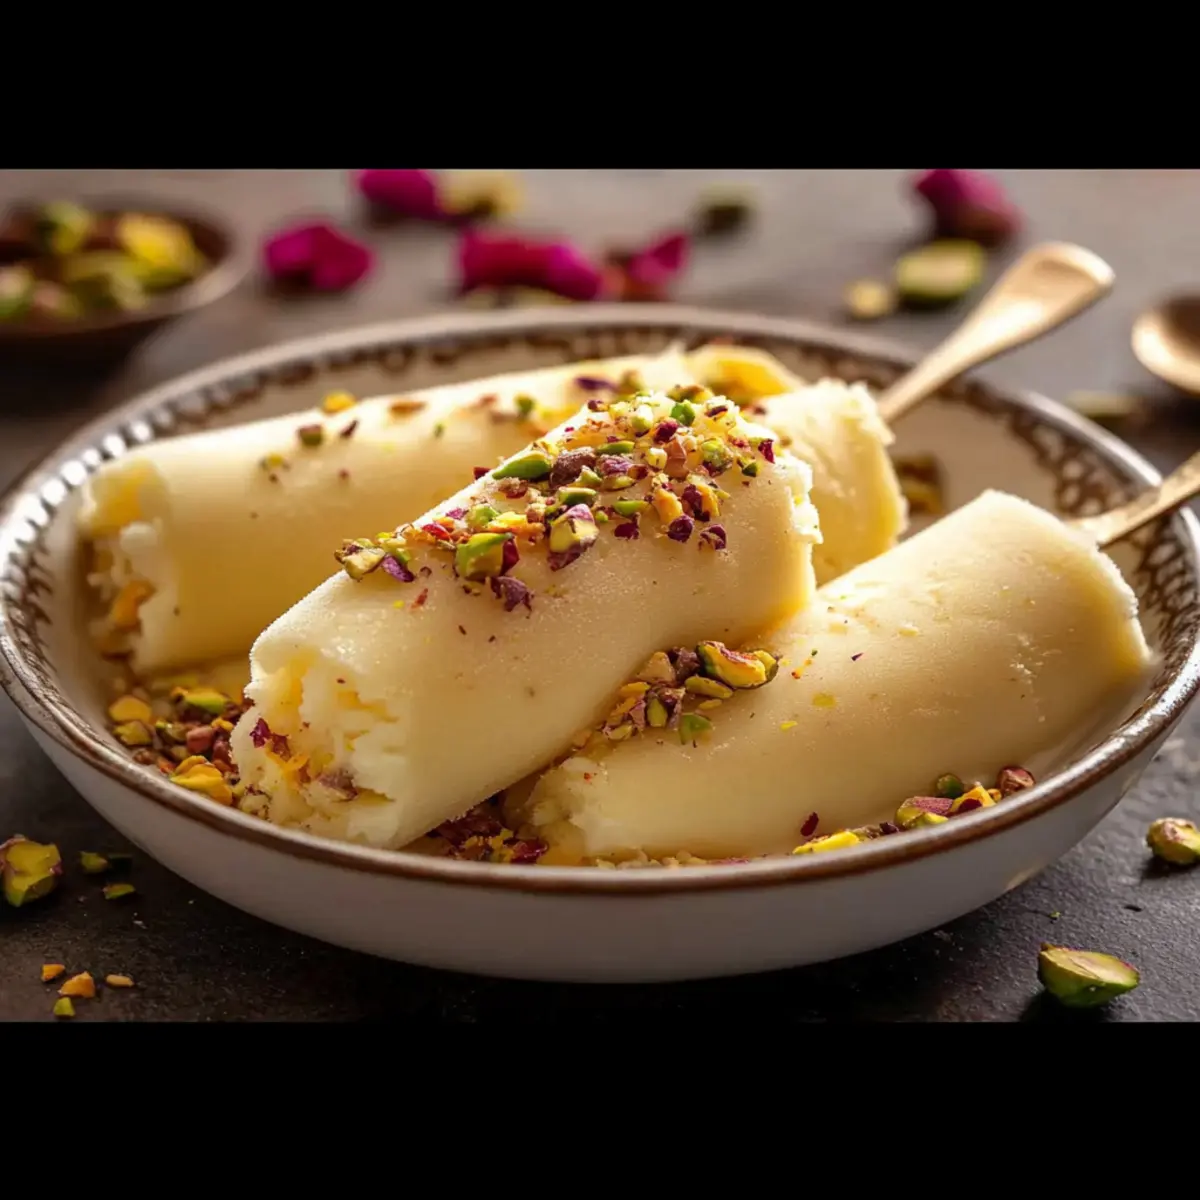
When you’re ready to enjoy your homemade kulfi ice cream, carefully remove it from the freezer. Briefly dip the base of the mould in warm water to loosen the kulfi. Gently pull it out, revealing a beautifully creamy dessert. Serve immediately to achieve that memorable “wow” moment, complementing it with a drizzle of rose syrup or a sprinkle of more nuts if you desire.
How to Store and Freeze Homemade Kulfi Ice Cream
Fridge: Keep leftover kulfi in the fridge for up to 3 days if you plan to enjoy it soon, but it’s best stored in the freezer for optimal texture.
Freezer: Store homemade kulfi ice cream in an airtight container for up to 2 weeks. Cover it well to prevent ice crystals from forming and maintain its creamy goodness.
Reheating: No need to reheat kulfi; simply let it sit at room temperature for a few minutes before serving to soften slightly. This will enhance the rich, melt-in-your-mouth experience.
What to Serve with No-Churn Kulfi
As you prepare to plunge into the creamy adventure of kulfi, consider these delightful companions that elevate your dessert experience!
-
Spiced Chai: This comforting tea, with its warm spices, perfectly balances the sweetness of kulfi, creating a cozy pairing that enchants the senses.
-
Fresh Mango Salsa: Bright and tangy, this fruit salsa adds a refreshing contrast to the dense creaminess of kulfi, making each bite invigorating and delightful.
-
Roasted Nuts: A sprinkle of roasted pistachios or almonds adds a delightful crunch that enhances the kulfi’s texture, providing a satisfying taste that keeps your palate intrigued.
-
Sweet Gulab Jamun: These syrup-soaked, melt-in-your-mouth dumplings steal the show! Their rich sweetness complements the flavors of the kulfi, creating an irresistible dessert duo.
-
Cardamom Tea: The warmth of cardamom in tea echoes the spices in the kulfi. This familiar flavor makes for a harmonious and inviting experience.
-
Mini Samosas: Crispy, savory samosas filled with spiced potatoes create a fun savory-sweet contrast, making your dessert spread feel complete.
-
Mint Chutney: The coolness of mint chutney acts as a zesty palate cleanser, refreshing your taste buds between bites of rich kulfi.
-
Rose Syrup Drizzle: A simple drizzle over the kulfi can elevate its visual appeal and add a floral sweetness, enhancing the overall indulgence.
-
Gulab Pudding: A silky, rose-flavored pudding offers a luscious and aromatic pairing that transports your dessert experience to a whole new level.
Homemade Kulfi Ice Cream Variations
Feel free to get creative with this homemade kulfi ice cream recipe—your taste buds will thank you!
- Chai-Spiced: Add a blend of chai spices like cinnamon and ginger for a warm, aromatic twist.
- Salted Caramel: Swirl in prepared salted caramel sauce before freezing for a rich, indulgent flavor.
- Fruit-Infused: Incorporate mango or strawberry puree for a refreshing fruitiness—just fold it in before freezing.
- Nuts Galore: Try using different nuts like cashews or walnuts for varied textures and tastes—mix it up!
- Coconut Cream: Replace heavy cream and condensed milk with coconut cream for a tropical, dairy-free delight.
- Chocolate Delight: Stir in cocoa powder for a chocolatey version that’s sure to please chocolate lovers.
- Rose Water: Add a splash of rose water for a fragrant, floral hint that pairs exquisitely with traditional flavors.
- Spicy Kick: For a heat boost, mix in a pinch of cayenne pepper or chili powder to kick up the excitement!
As you explore these variations, be sure to savor the experience! If you’re craving even more creamy deliciousness, you might also want to check out my recipe for Creamy Smothered Chicken Rice. Each twist can transform your homemade kulfi into an unforgettable treat!
Expert Tips for Homemade Kulfi Ice Cream
Frequent Stirring: Keep stirring the milk while simmering to avoid scorching. This is crucial for achieving the rich and creamy texture of homemade kulfi ice cream.
Cooling Matters: Allow the mixture to cool completely before adding nuts. This helps retain the creamy consistency and prevents the nuts from sinking.
Measuring Sweetness: Taste the mixture before freezing to adjust sweetness. This allows you to personalize your kulfi ice cream to your liking.
Moulding Techniques: If using silicone moulds, ensure they’re fully frozen before unmoulding. This prevents breakage and allows for easy release.
Flavor Experimentation: Don’t hesitate to try new flavor infusions! Mixing in chai spices or your favorite fruits can elevate your homemade kulfi ice cream experience.
Make Ahead Options
These delicious homemade kulfi ice cream treats are perfect for busy home cooks looking to save time! You can prepare the kulfi mixture up to 24 hours in advance by simmering the milk and adding the condensed milk, sugar, cream, and spices. Allow it to cool completely and then store it in an airtight container in the refrigerator. For the best texture, fold in the nuts just before you pour the mixture into moulds to prevent them from becoming soggy. When you’re ready to serve, simply pour the mixture into your chosen moulds and freeze for at least 6 hours or overnight. With these make-ahead steps, you can enjoy a creamy, indulgent dessert with minimal effort when the time comes!
Homemade Kulfi Ice Cream Recipe FAQs
What type of milk should I use for making kulfi?
Using full-fat milk is essential for creating a rich and creamy texture in your homemade kulfi ice cream. Whole milk thickens beautifully during the simmering process, ensuring that your kulfi has that luxurious mouthfeel. If you prefer a lighter option, you could use 2% milk, but it may not yield the same creamy result.
How should I store homemade kulfi ice cream?
For the best texture, homemade kulfi should be stored in the freezer in an airtight container for up to 2 weeks. Make sure to cover it well to prevent ice crystals from forming. If you’re planning to enjoy it within a few days, you can keep it in the fridge for up to 3 days, but be mindful that the quality will diminish over time.
Can I freeze kulfi in different molds?
Absolutely! You can freeze homemade kulfi ice cream in various molds such as traditional kulfi molds, silicone popsicle molds, or even small paper cups. Just ensure whichever mold you use is suitable for freezing and can easily release the kulfi once it’s frozen. If you’re using paper cups, you can simply peel them off after freezing!
What should I do if my kulfi doesn’t freeze properly?
If your kulfi isn’t freezing correctly, it may be due to too much liquid in the mixture or insufficient chilling time. Ensure that all the ingredients are well combined, and the mixture is completely cooled before pouring it into molds. If the mixture was not stirred frequently while simmering, it could also affect the texture. You can rectify this by following the recipe steps carefully next time to achieve that desired density.
Can I use alternative sweeteners if I’m watching my sugar intake?
Yes, you can certainly experiment with alternative sweeteners like agave syrup or stevia. Just remember that different sweeteners have varying levels of sweetness, so adjust according to your taste preferences when making your homemade kulfi ice cream. Start with small amounts and gradually increase until you reach your desired sweetness level.
Is it safe for pets to eat homemade kulfi ice cream?
No, it’s best to keep homemade kulfi ice cream away from pets. Ingredients like sugar and chocolate can be harmful to dogs and cats, and some nuts can be toxic. Always store your kulfi securely, out of reach, to ensure your furry friends stay safe!
Creamy Homemade Kulfi Ice Cream for a Dreamy Dessert Delight
Ingredients
Equipment
Method
- In a heavy-bottomed saucepan, pour in the full-fat milk and simmer for 15-20 minutes, reducing it by one-third.
- Add the condensed milk, sugar, and heavy cream, stirring well. Sprinkle in the cardamom and saffron, and simmer for an additional 5 minutes.
- Remove from heat and allow the mixture to cool completely, about 30 minutes. Stir occasionally.
- Once cool, fold in the chopped nuts evenly.
- Pour the mixture into moulds and insert sticks if desired. Freeze for a minimum of 6 hours or overnight.
- To serve, dip the mould base in warm water and gently pull out the kulfi.
Leave a Reply