
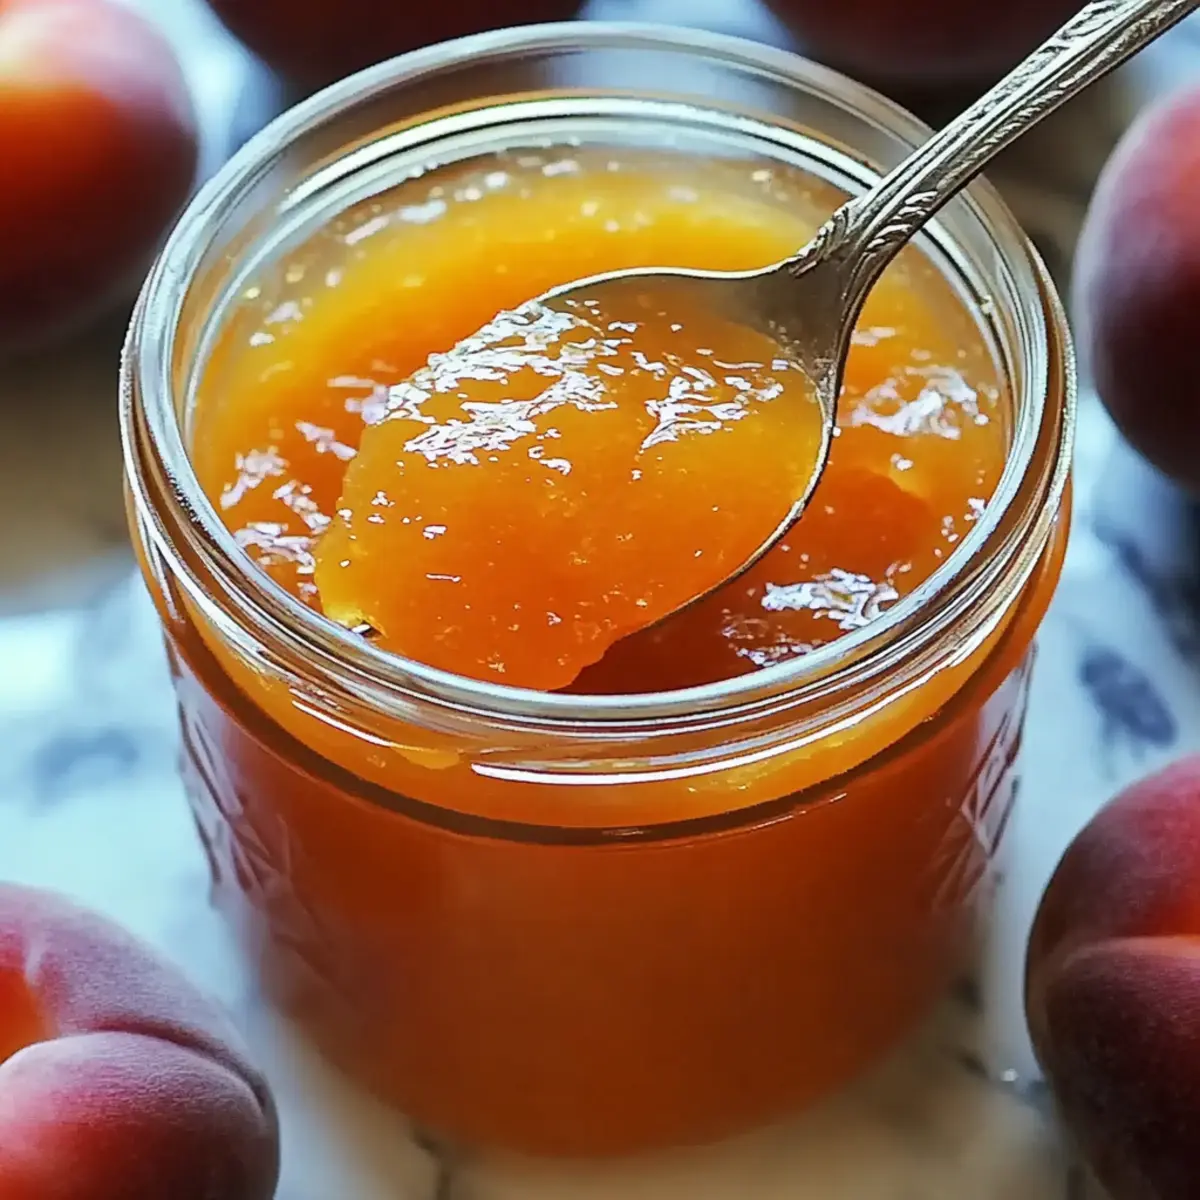
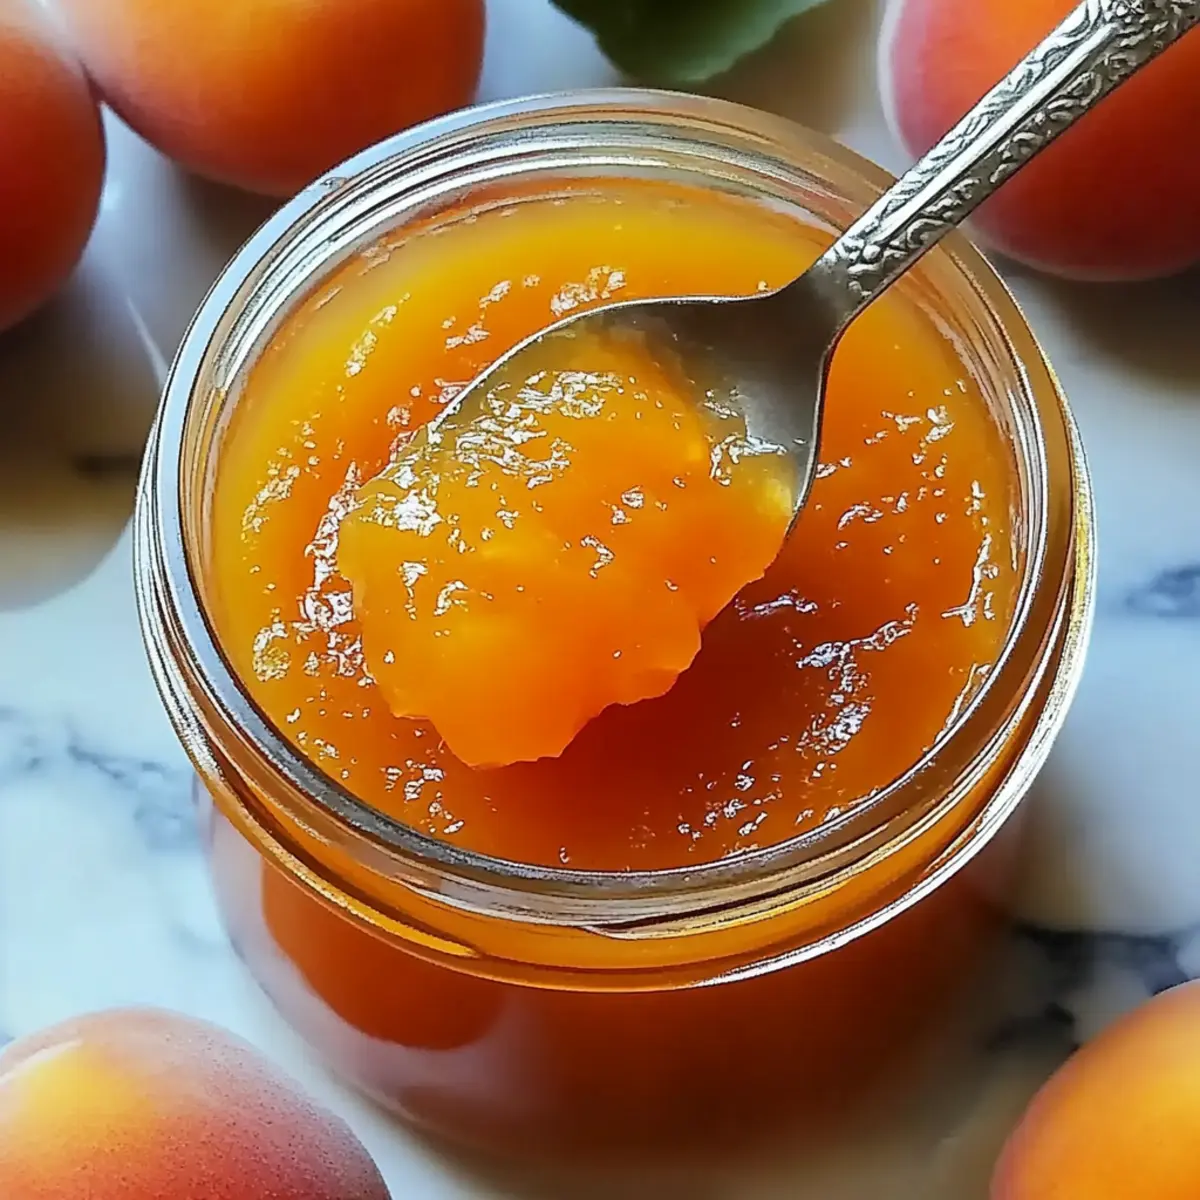
As I sat on the porch enjoying the warm summer breeze, the sweet and tangy smell of ripe apricots wafted through the air, reminding me of my childhood. There’s something truly magical about making homemade apricot jam; it’s not just a recipe, but a way to capture the essence of summertime in a jar. This easy homemade apricot jam is not only a delightful spread for your morning toast, but it also serves as a fantastic gift that brings joy to friends and family. With minimal ingredients and quick prep time, you can create a luscious, smooth jam that elevates any meal and fills your kitchen with an irresistible aroma. Ready to learn how to turn those beautiful apricots into a glorious preserve? Let’s dive into this delicious adventure!

Why Make Homemade Apricot Jam?
Ease of Preparation: This recipe requires minimal ingredients and straightforward steps, making it perfect for beginners and seasoned cooks alike.
Taste Sensation: The sweet and tangy notes of freshly ripe apricots create a flavor explosion that store-bought jams simply can’t match.
Perfect for Gifting: Elegant jars of homemade apricot jam make thoughtful gifts, leaving your loved ones feeling cherished and appreciated.
Customizable Delight: Enhance the flavors by adding a touch of vanilla extract or cinnamon, or experiment with other fruits for unique variations. You might enjoy trying it with Homemade Butter Chicken for a cozy dinner!
Nostalgic Experience: Making jam is a beautiful way to connect with traditions, creating memories while savoring the essence of summertime.
Homemade Apricot Jam Ingredients
For the Jam
• 4.8 lb apricots – Use ripe, fragrant apricots for the best flavor; can substitute with peaches or plums for different tastes.
• 3.3 lb sugar – This sweetener balances the tartness of the apricots and helps in preservation; consider reducing the amount if you’re looking for a healthier option.
• 1/3 cup lemon juice – Freshly squeezed lemon juice brightens the flavor and preserves color; it’s essential for that perfect homemade apricot jam zing.
Step‑by‑Step Instructions for Homemade Apricot Jam
Step 1: Prepare Jars
Begin by sterilizing your jars and tools in hot, soapy water, then rinse and dry thoroughly. This step is crucial for ensuring your homemade apricot jam stays fresh and safe. While your jars dry, place 2-3 small plates in the freezer; you’ll use them later to test the jam’s thickness.
Step 2: Prepare Canner
Set up your canner by adding the rack inside and filling it with enough water to submerge the jars completely. Bring the water to a simmer over medium heat, which will help warm the jars and keep the homogenized apricot jam hot during processing.
Step 3: Prepare Apricots
Rinse the apricots under cool water, then dry them gently with a cloth. Cut each apricot in half, removing the pits and any spoiled areas. You’ll want about 4.8 lb of ripe apricots, as their flavor is key to making a luscious homemade apricot jam. Finally, juice your lemons to have fresh juice ready to mix.
Step 4: Cook the Jam
In a large, heavy-bottomed saucepan, combine the prepared apricots, freshly squeezed lemon juice, and 3.3 lb of sugar. Cook over medium heat, stirring constantly until the sugar dissolves. Bring the mixture to a rapid boil, and keep stirring for about 10 minutes; you’ll see bubbles forming and the jam thickening.
Step 5: Testing and Processing
Continue boiling the mixture for 25-30 minutes, checking the jam’s thickness by using your refrigerated plates. If the jam holds its shape when a spoonful is placed on a plate, it’s ready. Use a candy thermometer to ensure the temperature reaches 220ºF for proper set. Preheat the sterilized jars in hot water to prevent cracking when filled.
Step 6: Ladle and Seal
Once the jam is thickened to your liking, carefully ladle the hot homemade apricot jam into the prepared jars, leaving about ¼-inch headspace. Remove any air bubbles by gently tapping the jar, wipe the rims clean, and secure the lids tightly to ensure a proper seal for your precious preserves.
Step 7: Canning (if applicable)
Place the filled jars back into the canner, ensuring they are covered by at least one inch of water. Process the jars for 10 minutes, then allow them to rest in the canner for 5 minutes after the time is up. Once done, transfer the jars to a towel-lined countertop, allowing them to cool completely for 24 hours before storing away your delightful homemade apricot jam.
Homemade Apricot Jam Variations
Get ready to savor the limitless possibilities of this delightful jam!
-
Fruity Twist: Substitute apricots with peaches or plums for a refreshing change in flavor. Each fruit offers its unique sweetness and tartness, providing a perfect opportunity to experiment with seasonal fruits.
-
Spiced Delight: Add a pinch of cinnamon or a hint of nutmeg to elevate the warmth of your jam. These spices complement apricots perfectly, enriching the jam with cozy undertones, making it feel that much more special.
-
Zesty Lemon-Lime: Replace some lemon juice with fresh lime juice for a bright, zesty flavor. This brings a new level of tartness that pairs beautifully with the sweetness of the apricots.
-
Honey-Sweetened: For a healthier alternative, swap some or all granulated sugar with honey. It offers a richer flavor and natural sweetness without the processed sugars, making your jam a sweet treat you can feel good about.
-
Herb-Infused: Try adding fresh basil or mint leaves during cooking for a herbal note. These gentle flavors create a unique jam that can really surprise and delight your tastebuds—perfect for summer gatherings.
-
Berry Blend: Mix in some crushed raspberries or strawberries for a mixed berry jam. The addition of berries adds a delightful sweetness and integrates beautifully, giving a burst of color and flavor.
-
Spicy Kick: If you prefer a bit of heat, incorporate finely chopped jalapeños or a dash of cayenne pepper. It brings an exciting twist that enhances both the flavor and overall experience, reminiscent of a spicy-sweet chutney.
-
Serving Suggestions: This jam pairs delightfully with toast, pastries, or even as a topping for ice cream or pancakes. For a delightful dinner, consider serving it alongside Potsticker Soup for a unique fusion of flavors!
Explore these variations to create a homemade apricot jam that’s uniquely yours, capturing the flavors and memories of summer like no store-bought spread ever could!
What to Serve with Easy Homemade Apricot Jam?
Imagine spreading a luscious, vibrant jam on warm, buttery toast while sipping your morning coffee.
-
Toasted Baguette Slices: Toasted baguette provides a crunchy base that perfectly contrasts the smoothness of the jam, making every bite delightful.
-
Creamy Greek Yogurt: The rich, tangy flavor of Greek yogurt pairs wonderfully with apricot jam, creating a perfect breakfast or snack option.
-
Fresh Scones: Flaky, buttery scones become a heavenly treat when topped with homemade apricot jam, bringing a touch of elegance to your tea time.
-
Zesty Cheese Platter: A combination of aged cheddar or brie and apricot jam offers a wonderful sweet and savory contrast, perfect for entertaining.
-
Simple Vanilla Ice Cream: Drizzling warm apricot jam over vanilla ice cream transforms dessert into a memorable experience that everyone will love.
-
Herb-Infused Chicken: Marinating chicken with a touch of apricot jam adds a subtle sweetness and enhances the overall flavor of the dish.
-
Sparkling Water with Lemon: A refreshing beverage like sparkling water with a splash of lemon complements the sweet notes of the jam beautifully.
-
Chocolate Chip Muffins: For a sweet twist, spread warm apricot jam on freshly baked chocolate chip muffins, creating a flavor pairing that feels indulgent.
-
Fruit Salad Garnish: Use a dollop of apricot jam as a topping for your fruit salad, enhancing its freshness and making every bite burst with flavor.
How to Store and Freeze Homemade Apricot Jam
Fridge: Store your homemade apricot jam in sterilized jars and keep it in the refrigerator for up to 3 weeks. Always use a clean spoon to prevent spoilage.
Freezer: For longer storage, freeze your jam in airtight containers for up to a year. Make sure to leave some headspace in the container, as the jam will expand when frozen.
Thawing: When ready to use your frozen homemade apricot jam, simply transfer it to the refrigerator overnight to thaw. Enjoy it spread on toast or as part of a delightful dessert.
Reheating: If you prefer a warm spread, reheat thawed jam in a saucepan over low heat until warmed through, stirring gently to achieve the perfect consistency.
Expert Tips for Homemade Apricot Jam
Testing Readiness: Use a candy thermometer or the refrigerated plate method to determine when your homemade apricot jam has reached the perfect thickness.
Preheat Jars: Preheating jars helps prevent cracking when filled with hot jam, ensuring all your hard work isn’t wasted.
Avoid Overcooking: Keep an eye on the jam to prevent scorching or a rubbery texture. Stir continuously during cooking for the best results.
Enhance Flavor: Feel free to add spices like vanilla or cinnamon for a unique twist on your homemade apricot jam that will surprise your guests.
Proper Storage: Once opened, refrigerate your jam and use it within a few weeks for optimal flavor and freshness.
Make Ahead Options
Making homemade apricot jam in advance is a fantastic way to save time, especially for busy home cooks! You can prepare the apricots by washing, drying, and removing the pits up to 24 hours before cooking the jam. Simply store them in an airtight container in the refrigerator to maintain freshness. Additionally, you can measure out the sugar and lemon juice ahead of time, keeping them covered until you’re ready to mix. When you’re set to make the jam, just combine the prepared ingredients and follow the cooking instructions as usual. This way, you’ll enjoy delicious homemade apricot jam without the last-minute rush!

Easy Homemade Apricot Jam Recipe FAQs
What should I look for when selecting apricots?
Absolutely! Choose ripe, fragrant apricots that are slightly soft to the touch for the best flavor. Avoid any with dark spots or bruises, as these can affect both taste and texture. If you can, smell the apricots — ripe ones will have a sweet, natural aroma.
How long can I store homemade apricot jam?
You can store your homemade apricot jam in sterilized jars in the refrigerator for up to 3 weeks. Once opened, make sure to use a clean spoon to scoop out the jam to prevent spoilage. If you want to keep it longer, consider freezing!
Can I freeze my homemade apricot jam?
Yes, absolutely! To freeze, pour your cooled jam into airtight containers, leaving about ½ inch of headspace for expansion. Your jam can be frozen for up to a year! When you’re ready to use it, just move it to the fridge and let it thaw overnight.
What if my jam is too runny?
If your homemade apricot jam hasn’t thickened as desired, don’t worry! You can re-cook it. Pour the jam back into a saucepan, add a bit more sugar if necessary, and bring it back to a rapid boil. Keep boiling for an additional 5 to 10 minutes, checking for thickness using the cold-plate method.
Are there any dietary concerns I should be aware of with apricot jam?
Very! Be cautious if you’re serving to guests with allergies. Apricots are generally safe for most people, but check for allergies to stone fruits. For health-conscious friends, consider reducing the sugar or substituting it with honey in moderation. Also, make sure that the jars used are gluten-free if that’s a consideration.
What’s the best way to gift my homemade apricot jam?
Absolutely, gifting your homemade apricot jam is a delightful idea! Package it in charming, sterilized glass jars. Add a lovely label with the date made and any special notes about the ingredients. A rustic ribbon or twine around the jar adds a personal touch, making it perfect for holidays or as a sweet surprise for someone special!
Deliciously Easy Homemade Apricot Jam for Gifting Joy
Ingredients
Equipment
Method
- Begin by sterilizing your jars and tools in hot, soapy water, then rinse and dry thoroughly. Place 2-3 small plates in the freezer.
- Set up your canner by adding the rack and filling it with enough water to submerge the jars completely. Bring to a simmer over medium heat.
- Rinse apricots under cool water, dry with a cloth. Cut in half, remove pits, and juice the lemons.
- In a large saucepan, combine apricots, lemon juice, and sugar. Cook over medium heat, stirring until sugar dissolves, then bring to a boil for about 10 minutes.
- Continue boiling for 25-30 minutes, checking thickness with refrigerated plates. Use a thermometer to ensure mixture reaches 220ºF.
- Carefully ladle the jam into prepared jars, leaving ¼-inch headspace, and secure the lids tightly.
- Process the jars in the canner for 10 minutes, then let them rest for 5 minutes. Transfer jars to a towel-lined countertop to cool completely.
Leave a Reply