
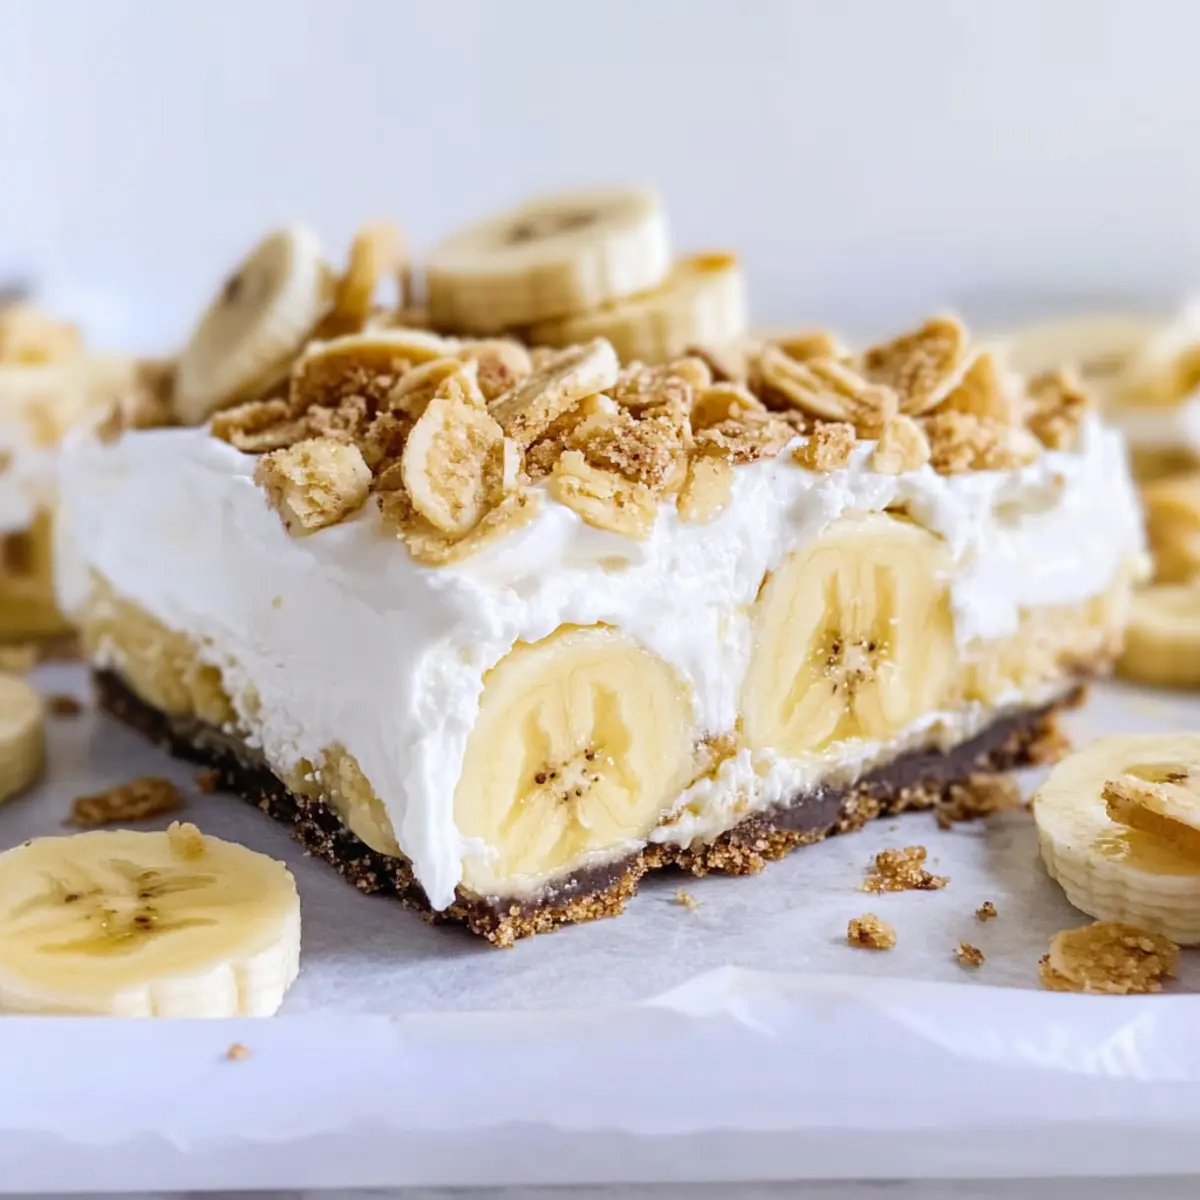
As I was sifting through my dessert archives, I stumbled upon a glorious no-bake recipe that perfectly captures the essence of comfort food: Banana Pudding Dream Bars. This delightful twist on traditional banana pudding features a sweet Golden Oreo crust, layers of fresh bananas, and a creamy, rich cream cheese layer that will make every bite a moment to cherish. The best part? These bars come together in a snap, making them an ideal choice for those busy days when you’re craving something sweet without the fuss. Plus, they’re perfect for sharing at gatherings, ensuring that everyone leaves with a smile. Curious how these dreamy layers come together? Let’s dive into the recipe!
Why Are These Bars a Must-Try?
No-Bake Perfection: You won’t believe how easy these bars are to whip up. With no baking required, they save time and still deliver irresistible flavors.
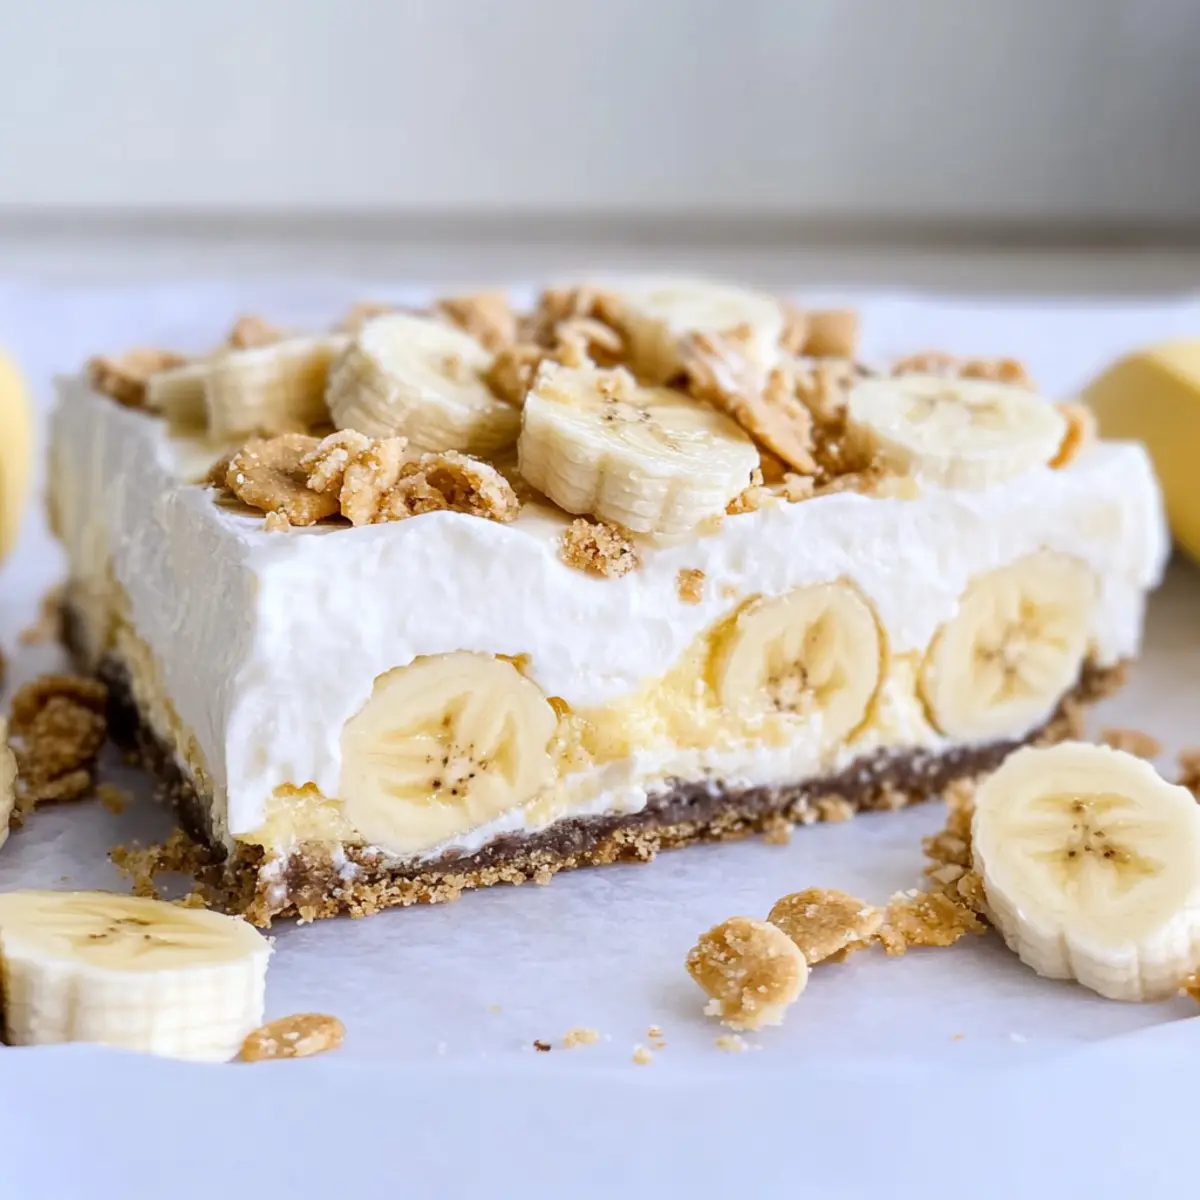
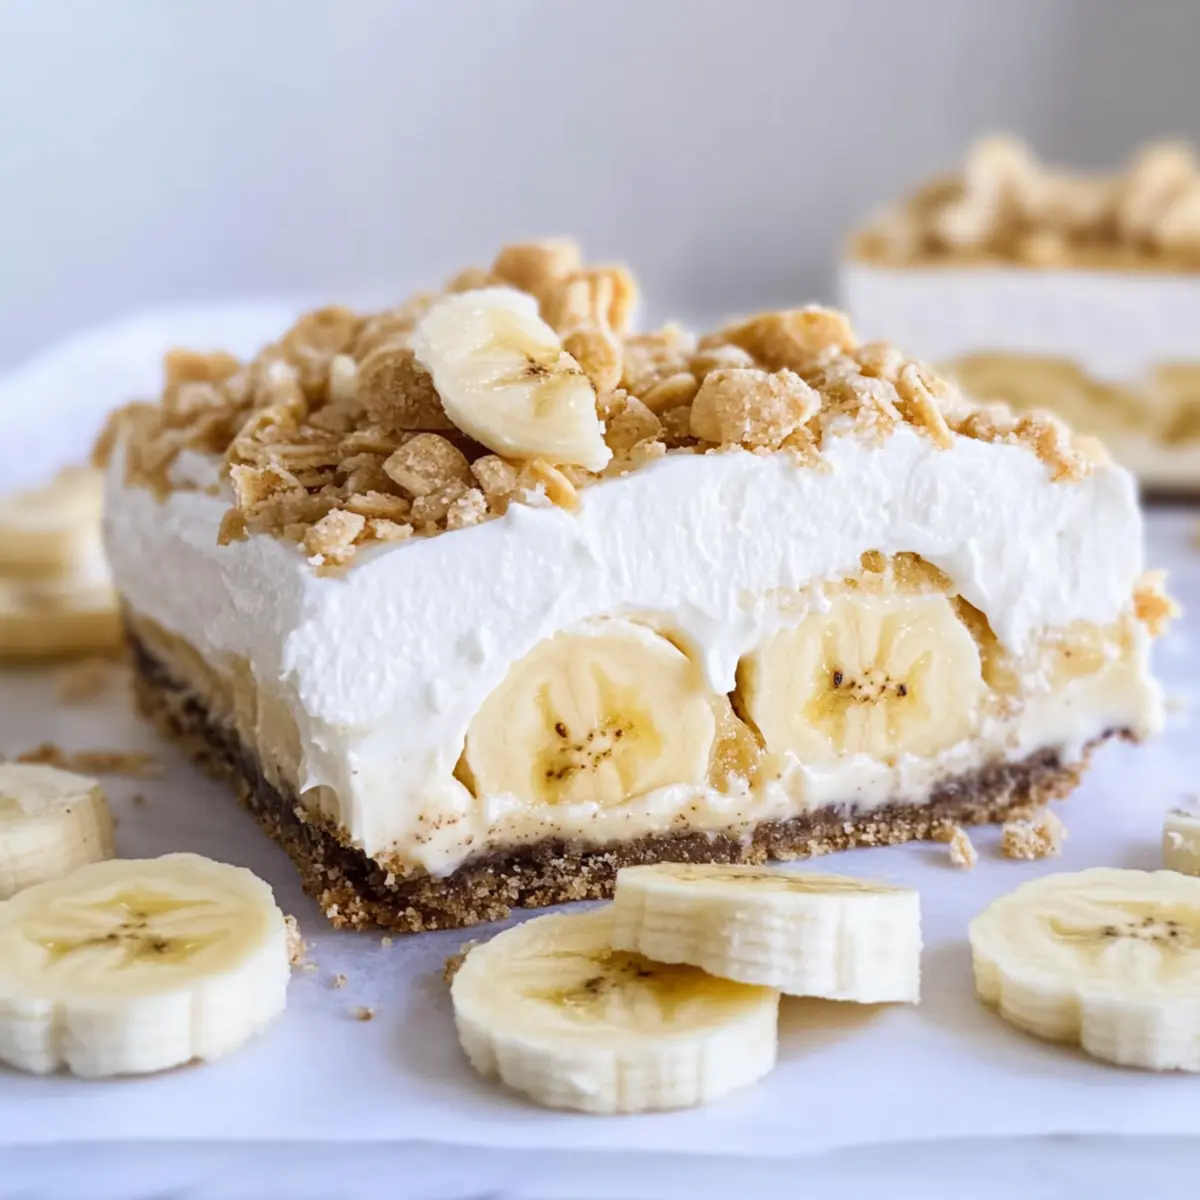
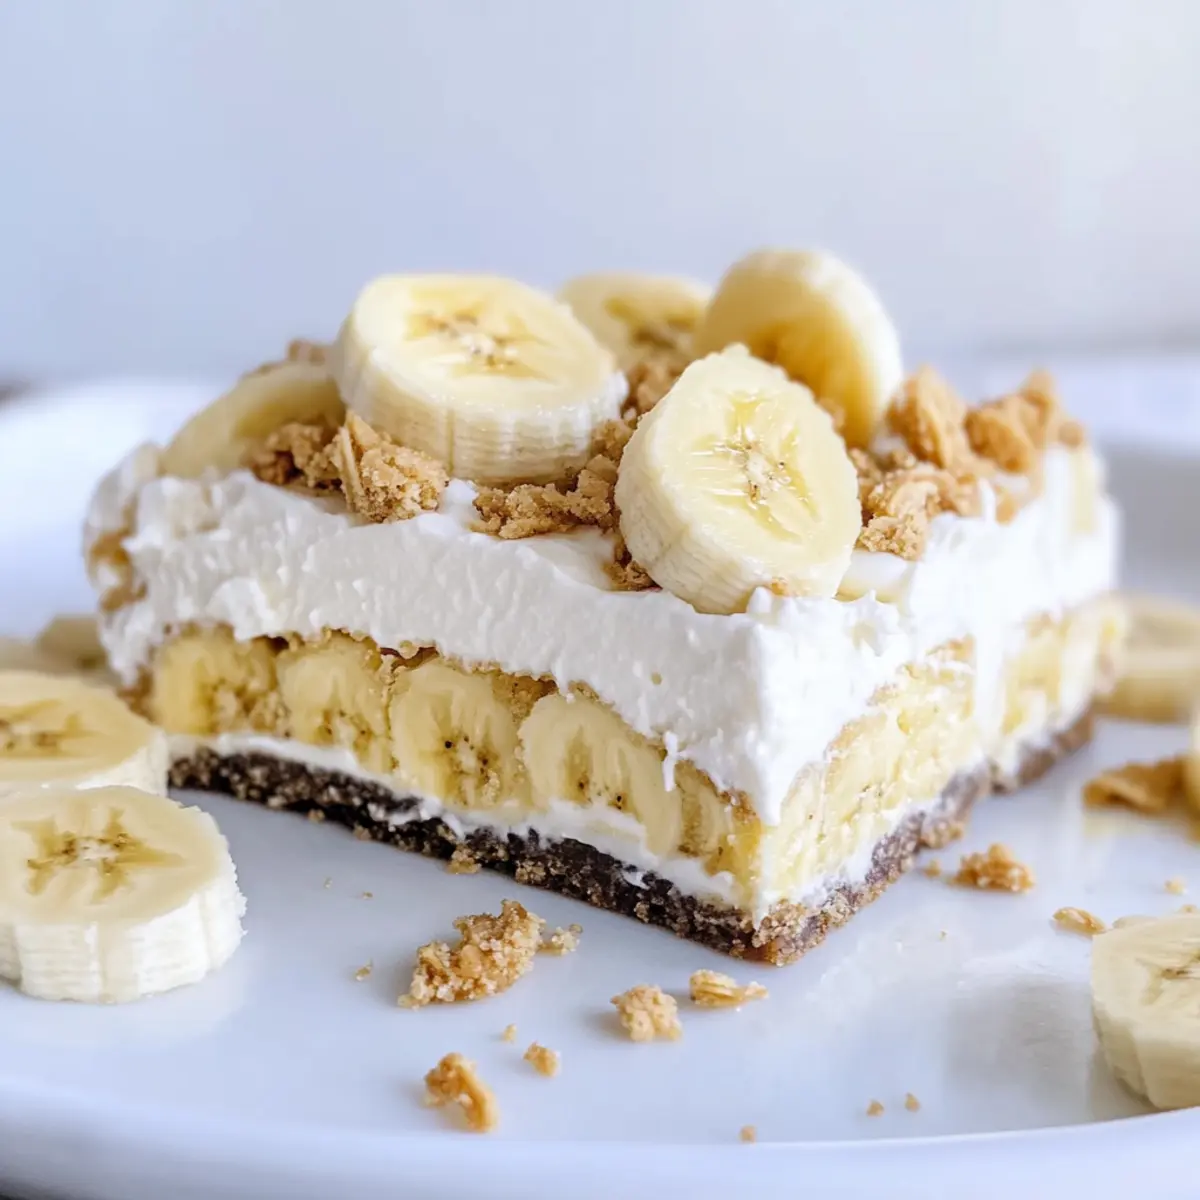
Irresistible Layers: Each bite combines a crunchy Oreo crust with luscious bananas and a creamy filling, making a delightful texture contrast that’s simply heavenly.
Crowd-Pleasing Delight: Perfect for gatherings, these Banana Pudding Dream Bars will have everyone coming back for seconds — they’re a guaranteed hit for any occasion!
Quick and Simple: Designed for busy folks, this recipe is a simple solution to satisfy your sweet tooth without spending hours in the kitchen.
Versatile Twist: Want to switch it up? Try using chocolate sandwich cookies for the crust or add a creamy layer with homemade 4-Ingredient No-Bake Peanut Butter Chocolate Bars.
These bars capture the essence of nostalgia while being accessible to everyone, making them perfect for sharing and enjoying.
Banana Pudding Dream Bars Ingredients
For the Crust
• Golden Oreos – These provide the crust’s sweetness and crunch; use with filling intact for optimal flavor.
• Unsalted Butter – Binds the Oreo crumbs to create a firm crust; margarine may substitute, but adjust the amount for moisture.
For the Banana Layer
• Bananas – Adds a fresh, fruity flavor; use three ripe bananas—one for mashing and two for slicing.
For the Cream Layer
• Cream Cheese – Contributes richness to the cream layer, helping achieve a smooth texture; ensure it’s at room temperature for easy mixing.
• Confectioners’ Sugar – Sweetens the cream cheese mixture, balancing flavors; adjust the amount to taste if preferred less sweet.
• Pure Vanilla Extract – Enhances overall flavor with subtle sweetness; no direct substitutes needed.
• Cool Whip – Brings a light, fluffy texture to the cream layer; alternatively, use homemade stabilized whipped cream.
For the Pudding Layer
• Instant Banana Pudding – Forms the pudding layer; a 3.9 oz package is necessary—do not use more than specified for proper consistency.
• Milk – Activates the pudding mix; use 1½ cups for a thicker pudding layer; avoid the standard 2 cups for regular pudding.
For the Topping
• Remaining Oreos – Crush the leftover cookies for a crunchy sprinkle on top, enhancing the visual appeal and taste of your Banana Pudding Dream Bars.
Step‑by‑Step Instructions for Banana Pudding Dream Bars
Step 1: Prepare the Oreo Crust
In a blender, crush 20 Golden Oreos until they’re fine crumbs. Melt 4 tablespoons of unsalted butter and mix it with the crumbs until combined. Press this mixture firmly into an ungreased 8×8-inch dish, making an even base. Place the dish in the freezer for 30 minutes to set the crust firmly.
Step 2: Make Banana Pudding
In a mixing bowl, combine a 3.9 oz package of instant banana pudding with 1½ cups of milk. Whisk the mixture vigorously for about 2 minutes or until it thickens and is smooth with no lumps. Set the banana pudding aside to firm up a bit while you create the creamy layer.
Step 3: Create Banana Cheesecake Layer
Take one ripe banana and mash it in a bowl. In another mixing bowl, beat together 8 oz of softened cream cheese, ½ cup of confectioners’ sugar, and 1 teaspoon of pure vanilla extract until smooth. Gently fold in 1 cup of Cool Whip until fully incorporated, creating a light and fluffy cream layer.
Step 4: Assemble the Layers
Once the crust is set, slice the remaining two bananas into thin rounds. Layer the sliced bananas evenly over the chilled Oreo crust. Next, spread the cream cheese mixture carefully on top of the bananas, smoothing it out to ensure an even layer. Finally, spoon the banana pudding over the cream cheese layer, spreading it gently to avoid mixing.
Step 5: Final Touch
Crush the remaining 8 Golden Oreos and sprinkle them generously over the top of the banana pudding layer, adding an extra crunch. Place the assembled Banana Pudding Dream Bars in the refrigerator to chill for at least 2 hours. This allows the flavors to meld beautifully before serving.
Make Ahead Options
These Banana Pudding Dream Bars are perfect for meal prep! You can prepare the Oreo crust and the cream cheese layer up to 24 hours in advance. Simply crush the Oreos and combine them with melted butter, then press into the dish and refrigerate. For the cream layer, make it and store it in an airtight container, keeping it chilled to maintain its fluffy texture. When you’re ready to serve, simply slice the bananas and layer everything together with the banana pudding, then refrigerate for at least 2 hours before enjoying. This prep-ahead method ensures your bars are just as delicious and saves you time on busy days!
What to Serve with Banana Pudding Dream Bars?
These dreamy treats are a delightful addition to any meal, inviting flavors that complement and enhance every bite.
- Fresh Berries: Add a handful of mixed berries for a pop of color and a tart contrast to the creamy sweetness of the bars.
- Whipped Cream: Serve a dollop of whipped cream on the side for indulgent creaminess that pairs beautifully with the pudding.
- Coffee or Espresso: The rich, bold flavors of coffee balance the sweetness, creating a perfect ending to your dessert experience.
- Ice Cream: A scoop of vanilla or banana ice cream provides an extra layer of richness, enhancing the overall dessert experience.
- Chocolate Drizzle: A light chocolate drizzle on top can add an elegant touch and a rich flavor contrast to the creamy bars.
- Nutty Toppings: Sprinkle crushed nuts over the bars for an added crunch and nutty goodness that complements the silky texture.
With these delightful pairings, your Banana Pudding Dream Bars will transform into a truly captivating dessert experience, perfect for any occasion!
Storage Tips for Banana Pudding Dream Bars
-
Refrigerator: Store your Banana Pudding Dream Bars in an airtight container in the fridge for up to 3 days. This keeps them fresh and maintains the best texture.
-
Freezer: For longer storage, you can freeze the bars. Wrap individual slices in plastic wrap and place them in a freezer-safe container for up to 2 months.
-
Thawing: When you’re ready to enjoy, simply transfer the frozen bars to the fridge to thaw overnight or at room temperature for a few hours.
-
Serving After Storage: Serve chilled directly from the fridge or after thawing from the freezer for the best taste experience!
Banana Pudding Dream Bars Variations
Feel free to get creative and tailor these dreamy bars to your liking, enhancing their flavors and textures!
- Dairy-Free: Substitute cream cheese with a dairy-free cream cheese alternative and use coconut whipped topping for a coconut twist.
- Chocolate Crust: Use chocolate sandwich cookies instead of Golden Oreos for a deliciously rich and decadent crust.
- Nutty Crunch: Sprinkle crushed nuts, like walnuts or pecans, between the banana and cream layer for a delightful crunch that adds extra flavor.
- Caramel Drizzle: Drizzle melted caramel over the top layer before serving for a sweet, gooey addition that complements the banana perfectly.
- Boozy Option: Add a splash of rum or bourbon to the cream cheese mixture for an adult version of these bars, creating a unique flavor twist.
- Tropical Flair: Incorporate shredded coconut into either the cream layer or sprinkle on top for a tropical texture and flavor. Pair with homemade Banana Cobbler Southern for a delicious dessert duo!
- Fruit Medley: Layer different fruits like strawberries or diced mango with your bananas for a colorful and fruity twist that brightens each bite!
- Spice It Up: Sprinkle a touch of cinnamon or nutmeg into the cream cheese mixture for a warm, cozy flavor that tantalizes the taste buds.
With these swaps and twists, you can ensure your Banana Pudding Dream Bars are uniquely yours every time you make them!
Expert Tips for Banana Pudding Dream Bars
-
Room Temperature Key: Always ensure your cream cheese is at room temperature for smooth blending; this prevents lumpy textures in your cream layer.
-
Thicker Pudding: For a better consistency, mix the instant banana pudding with 1½ cups of milk rather than the regular 2 cups; this ensures cleaner slices of your bars.
-
Freezer Steps: Don’t skip freezing the crust! It ensures your banana pudding dream bars have a firm base, which makes slicing easier and cleaner.
-
Use Ripe Bananas: Choose bananas that are fully ripe but still firm; this allows for the perfect balance of sweetness without making the layers mushy.
-
Chill Well: Allow the bars to chill for at least 2 hours after assembly; this not only set the flavors but also makes for easy serving.
-
Adjust Sweetness: Feel free to tweak the amount of confectioners’ sugar in the cream layer; balance sweetness to your liking, especially if you prefer a less sweet dessert.
Banana Pudding Dream Bars Recipe FAQs
What type of bananas should I use for the filling?
Absolutely! For the perfect flavor and texture, use fully ripe bananas that are still firm. Aim for three bananas: one for mashing and two for slicing. This will add a fresh, fruity taste without the layers becoming too mushy.
How do I store Banana Pudding Dream Bars?
You can store your Banana Pudding Dream Bars in an airtight container in the refrigerator for up to 3 days. This helps maintain their fresh flavor and creamy texture. If you want to keep them longer, wrap individual slices in plastic wrap and place them in a freezer-safe container for up to 2 months.
Can I freeze these bars for later?
Yes, you certainly can! To freeze, wrap each bar tightly in plastic wrap and store them in a freezer-safe container. When you’re ready to enjoy them, thaw the bars in the refrigerator overnight or leave them out at room temperature for a few hours. This way, they retain their delightful taste and texture.
What can I do if my cream cheese layer is lumpy?
No worries, it happens! Ensure your cream cheese is at room temperature before mixing, which allows for easier blending. If you do end up with lumps, try blending the mixture with a hand mixer or food processor until smooth. A bit of patience goes a long way in achieving that creamy texture!
Can pets eat Banana Pudding Dream Bars?
Absolutely not! While bananas are generally safe for pets in moderation, the other ingredients like cream cheese and sugar can be harmful. It’s best to keep these bars away from your furry friends and stick to pet-safe treats for them.
What should I do if the pudding layer doesn’t set properly?
If your banana pudding layer doesn’t set as expected, it could be a result of using too much milk—be sure to stick to the 1½ cups specified. Another tip is to let it chill in the refrigerator for at least 2 hours, as this will help it firm up. If needed, you can also try remixing it with a little more instant pudding and chilling it again.
Banana Pudding Dream Bars That'll Brighten Your Day
Ingredients
Equipment
Method
- In a blender, crush 20 Golden Oreos until they're fine crumbs. Melt 4 tablespoons of unsalted butter and mix it with the crumbs until combined. Press this mixture firmly into an ungreased 8x8-inch dish, making an even base. Place the dish in the freezer for 30 minutes to set the crust firmly.
- In a mixing bowl, combine a 3.9 oz package of instant banana pudding with 1½ cups of milk. Whisk the mixture vigorously for about 2 minutes or until it thickens and is smooth with no lumps. Set the banana pudding aside to firm up a bit while you create the creamy layer.
- Take one ripe banana and mash it in a bowl. In another mixing bowl, beat together 8 oz of softened cream cheese, ½ cup of confectioners' sugar, and 1 teaspoon of pure vanilla extract until smooth. Gently fold in 1 cup of Cool Whip until fully incorporated.
- Once the crust is set, slice the remaining two bananas into thin rounds. Layer the sliced bananas evenly over the chilled Oreo crust. Next, spread the cream cheese mixture carefully on top of the bananas, smoothing it out. Finally, spoon the banana pudding over the cream cheese layer.
- Crush the remaining 8 Golden Oreos and sprinkle them generously over the top of the banana pudding layer. Place the assembled Banana Pudding Dream Bars in the refrigerator to chill for at least 2 hours.
Leave a Reply