
As I stood in the kitchen, the warm aroma of sizzling oil beckoned me, bringing back memories of vibrant street markets in Japan. I couldn’t resist trying out a vegan twist on a classic favorite, and that’s how my love for Crispy Eggplant ‘Katsu’ blossomed. This dish features a beautifully crunchy exterior that gives way to a silky, tender inside, making it the perfect comforting meal or appetizer. Not only is it quick and easy to whip up, but it also caters to both vegan and gluten-free diets—truly a crowd-pleaser! Whether paired with aromatic Japanese curry or a tangy dipping sauce, each bite is sure to transport your taste buds to Tokyo. Are you ready to elevate your home cooking game with this delightful recipe?
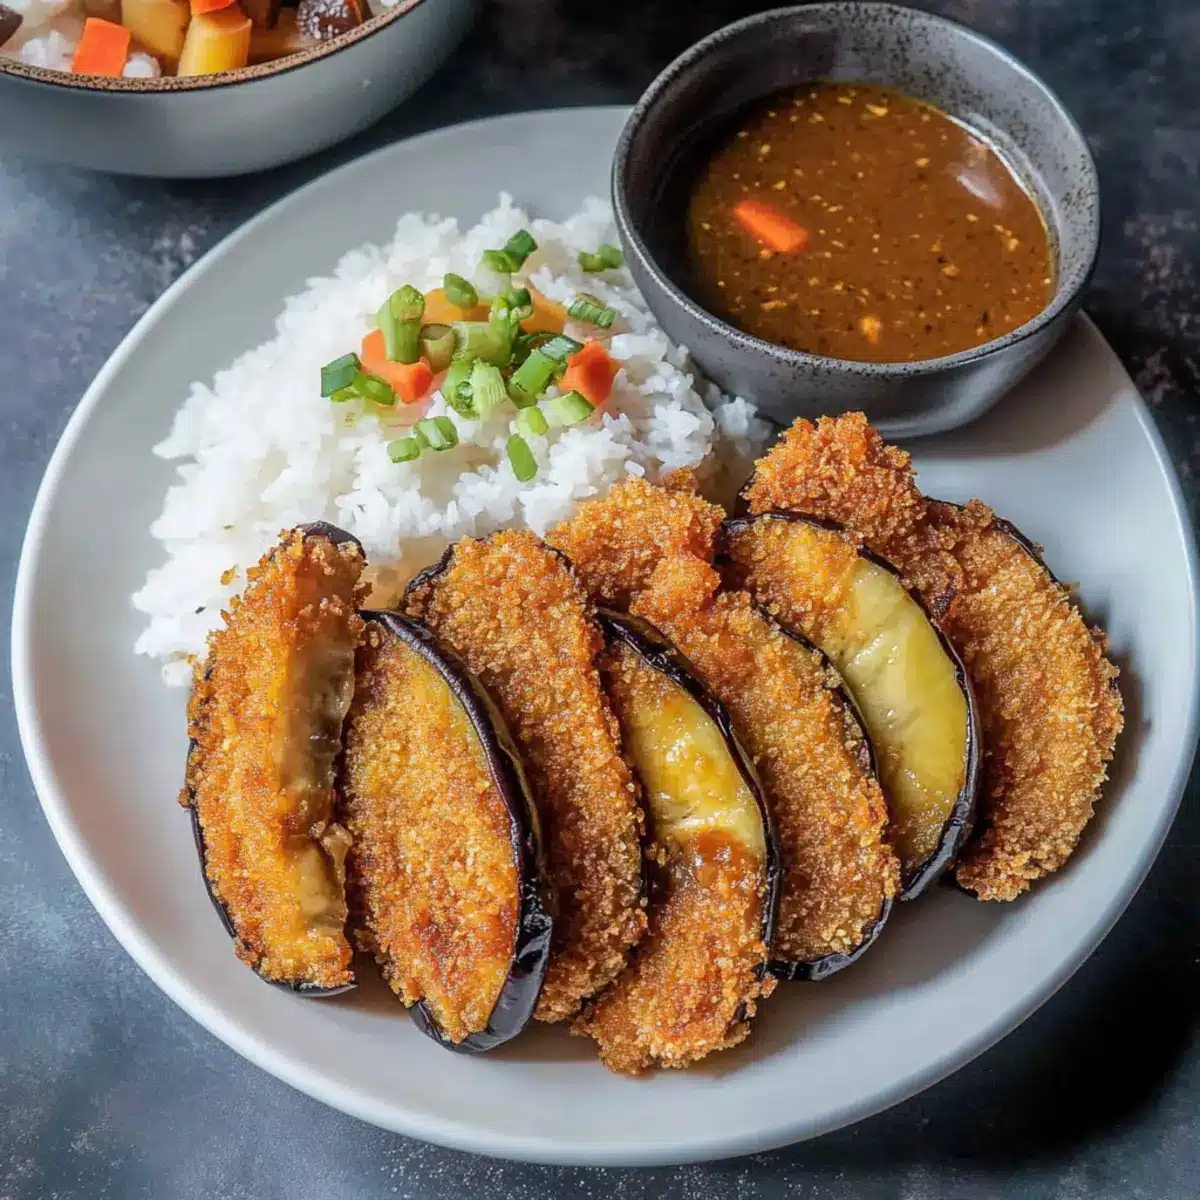
Why is Crispy Eggplant ‘Katsu’ a Must-Try?
Irresistible Crunch: The unique batter creates a satisfying crispy coating that’s incredibly tempting, giving traditional dishes a run for their money.
Versatile Dish: Enjoy it as a main course or appetizer; it pairs beautifully with Japanese Curry or your favorite dipping sauces.
Healthy Comfort Food: This dish is a guilt-free indulgence, offering a delicious way to enjoy plant-based eating while keeping calories in check.
Quick and Easy: This recipe simplifies the cooking process, making it feasible even for busy weeknights or novice chefs looking to impress.
Family-Friendly: Watch as everyone, even the most devoted meat lovers, devours each golden-brown slice, making mealtime a fun and inclusive experience!
Crispy Eggplant ‘Katsu’ Ingredients
For the Eggplant
• Chinese Eggplants (or American Eggplants) – Main ingredient providing a silky texture; you can substitute with any eggplant variety if necessary.
For the Batter
• Neutral Oil – Used for frying the eggplant to achieve a crisp finish; coconut oil makes a flavorful alternative.
• All-Purpose Flour – Creates the batter base for coating; gluten-free flour can substitute for a gluten-free variant.
• Corn Starch – Enhances crispness of the batter; arrowroot starch works if corn starch isn’t available.
• Baking Powder – Helps leaven the batter for a lighter texture.
• Salt – Adds essential flavor to the batter.
• Water – Adjusts batter consistency; add more if necessary to reach a thick pancake-like texture.
For the Coating
• Bread Crumbs (Japanese Panko) – Coats the eggplant for a crispy exterior; choose gluten-free breadcrumbs for gluten-sensitive diets.
Optional Additions
• Japanese Curry – A traditional accompaniment for serving; feel free to substitute with any curry sauce of your choice.
• Steamed Short Grain Rice – Complements the dish nicely, serving as a hearty base.
Step‑by‑Step Instructions for Crispy Eggplant ‘Katsu’
Step 1: Prep Eggplant
Begin by slicing the eggplant into 3/4 to 1-inch thick pieces at an angle, ensuring uniformity for even cooking. As you cut, you’ll notice the vibrant color and silky texture of the eggplant. Lay the slices on a paper towel to absorb excess moisture while you prepare the batter.
Step 2: Make Batter
In a mixing bowl, combine all-purpose flour, corn starch, baking powder, and salt. Gradually add water, whisking until you achieve a smooth, thick pancake-like batter. Ensure there are no lumps, and adjust the consistency by adding more water if needed. The batter should coat the eggplant slices nicely for your crispy eggplant ‘katsu’.
Step 3: Coat Eggplant
Using one hand for wet and the other for dry, dip each eggplant slice into the batter, ensuring it’s fully coated. Next, roll the battered slice in Japanese panko breadcrumbs until generously covered. This method helps keep your hands clean and ensures a delightful crunch on your finished crispy eggplant ‘katsu’.
Step 4: Heat Oil
In a deep frying pan or wok, pour neutral oil to a depth of about 1 inch and heat it to 350°F (180°C). Use a thermometer for accuracy; the oil should shimmer gently when ready. This temperature is crucial for achieving that coveted crispy coating without sogginess.
Step 5: Fry Eggplant
Carefully place the coated eggplant slices into the hot oil, frying them for 2-3 minutes on each side. Keep an eye on them; they should turn a beautiful golden brown. Use tongs to flip the pieces and ensure even cooking while enjoying the aromatic sizzle that fills your kitchen.
Step 6: Drain and Serve
Once golden and crispy, remove the fried eggplant ‘katsu’ and place them on a cooling rack to drain excess oil. This step helps preserve their crunchiness. Serve immediately with a side of steaming short grain rice and drizzle with Japanese curry or a tangy dipping sauce to complete your experience.
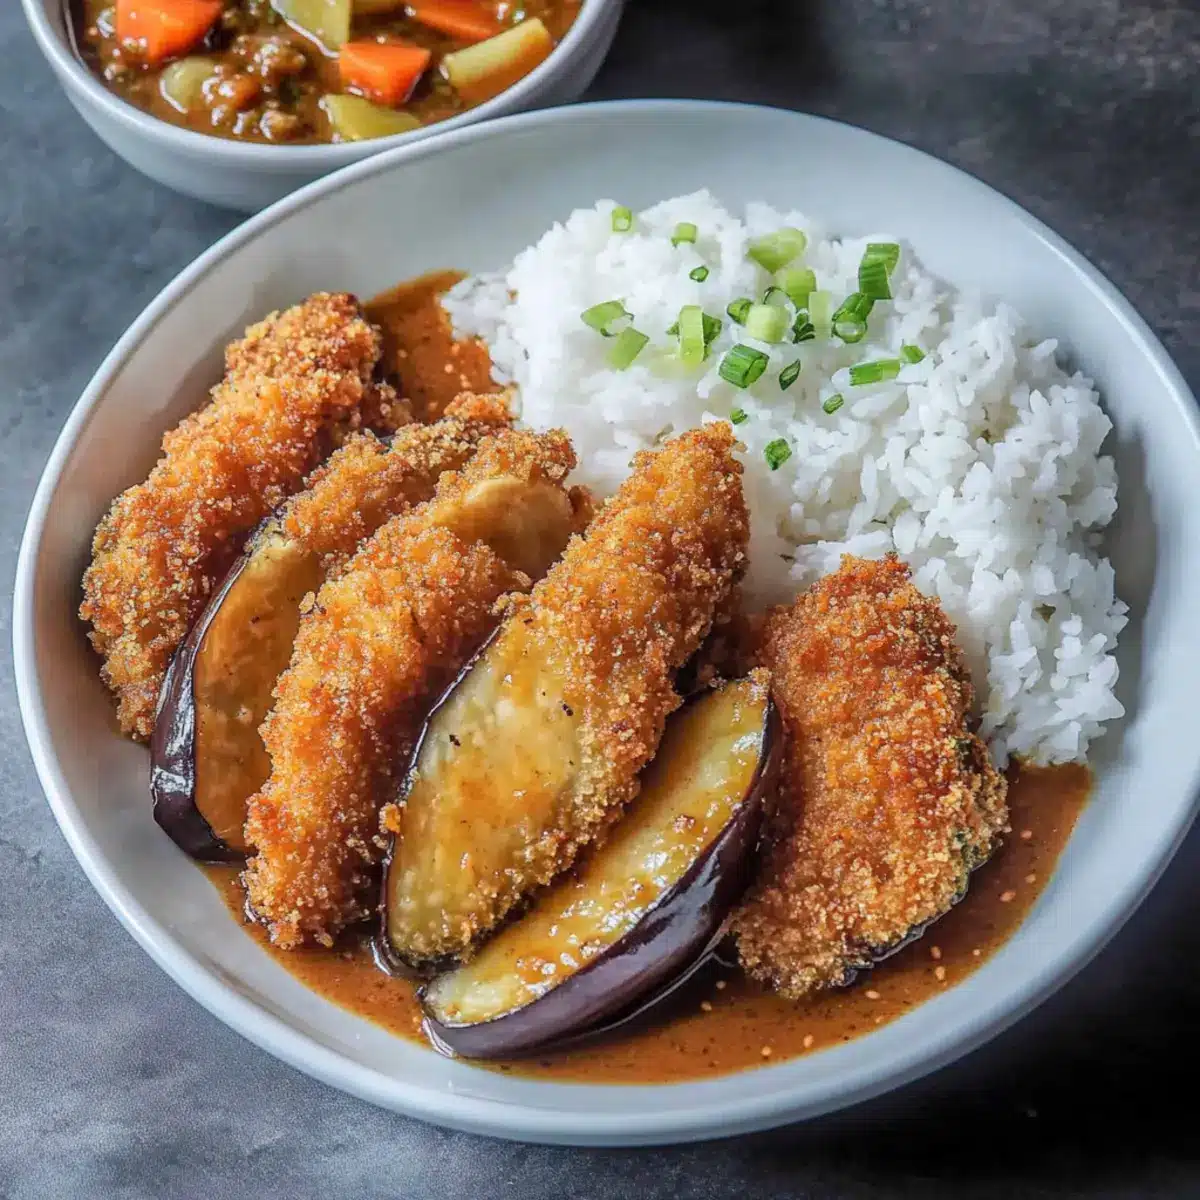
How to Store and Freeze Crispy Eggplant ‘Katsu’
• Fridge: Store leftover crispy eggplant ‘katsu’ in an airtight container for up to 3 days. Reheat in an oven at 350°F (175°C) to restore some crispiness.
• Freezer: For longer storage, freeze un-fried, coated slices on a baking sheet. Once solid, transfer to a freezer bag for up to 2 months. Fry directly from frozen for convenience.
• Reheating: Whenever you’re ready to enjoy, reheat in an air fryer or oven instead of a microwave to maintain that irresistible crunch!
• Avoid Moisture: Never cover the fried katsu right after cooking, as this will trap moisture and make them soggy. Enjoy fresh for the best texture!
Expert Tips for Crispy Eggplant ‘Katsu’
• Preheat Oil Properly: Make sure the oil reaches 350°F (180°C) before frying to avoid sogginess and ensure a perfect crispy eggplant ‘katsu’.
• One Hand Technique: Use one hand for dipping and the other for coating. This keeps your fingers clean and helps maintain the crispiness of the batter.
• Keep Them Uncovered: Once fried, do not cover the eggplant to maintain their crunch. Serve immediately for the best texture.
• Crisp Alternatives: For a lighter version, consider air-frying your crispy eggplant ‘katsu’. Just preheat your air fryer and lightly spray with oil for even cooking.
• Batter Consistency: Ensure your batter is smooth and thick. Adjust with water as needed; it should cling well to the eggplant slices for optimal crunch.
Variations & Substitutions for Crispy Eggplant ‘Katsu’
Feel free to customize your crispy eggplant ‘katsu’ to match your taste preferences and dietary needs!
- Gluten-Free: Use gluten-free flour and breadcrumbs to keep this dish entirely gluten-free without sacrificing crunch.
- Oven-Baked: For a healthier alternative, try baking the coated eggplant at 400°F (200°C) for about 20 minutes, flipping halfway through.
- Zucchini Twist: Substitute eggplant with zucchini slices for a lighter variation; they’ll offer a lovely flavor and texture.
- Mushroom Delight: Swap in shiitake or portobello mushrooms for a meaty texture, adding depth to your crispy katsu experience.
- Spice It Up: Add a pinch of cayenne or smoked paprika to the batter for a delightful, spicy kick.
- Herb Infusion: Incorporate fresh herbs like basil or cilantro into your batter for an aromatic twist that elevates flavor.
- Sauce Variety: Experiment with different dipping sauces like chimichurri or spicy mayo for an unexpected flavor elevation alongside your katsu.
- Pairing Options: Serve with a side of tangy slaw or pickled vegetables to complement the crispy exterior with zesty freshness.
These ideas can help add your personal touch to this delightful dish! If you’re feeling adventurous, why not check out some other tasty options like the Chicken Caesar Sandwich for a unique twist on your dinner repertoire?
What to Serve with Crispy Eggplant ‘Katsu’
Elevate your dining experience with delightful sides that beautifully complement the flavors and textures of your crispy creation.
- Steamed Short Grain Rice: The tender grains provide a comforting base that balances the crunch of the katsu while soaking up flavorful sauces.
- Japanese Curry: Rich and aromatic, pouring this sauce over your eggplant adds a warm, slightly spicy element, enhancing each bite to perfection.
- Pickled Vegetables: Their tangy bite cuts through the richness of the dish, offering a refreshing contrast that invigorates the palate.
- Chilled Soba Noodles: Tossed with a light sesame dressing, these noodles bring a nutty flavor and a pleasing chewiness to your plate.
- Miso Soup: A warm, savory broth that complements the dish’s crispiness while providing comforting, umami-rich flavors to round out your meal.
- Simple Cucumber Salad: Crunchy cucumber tossed in rice vinegar and sesame oil adds brightness and freshness, balancing the heavier elements of the meal.
- Green Tea: The subtle earthiness of this beverage pairs beautifully with the dish, cleansing the palate with each sip while enhancing the meal’s warmth.
- Mochi for Dessert: End your meal on a sweet note with this chewy treat, which can be filled with red bean paste or ice cream for a delightful surprise.
- Tonkatsu Sauce: A sweet and tangy dipping sauce that enhances the katsu with its rich flavor, making every bite a taste sensation you won’t forget.
Make Ahead Options
These Crispy Eggplant ‘Katsu’ are perfect for busy cooks who appreciate the art of meal prep! You can slice the eggplant and prepare the batter up to 24 hours in advance. Simply store the sliced eggplant in a container with a layer of paper towel between the pieces to absorb moisture, which prevents browning. The batter should be mixed and kept in the refrigerator (airtight) until you’re ready to fry. When it’s time to cook, coat the prepped eggplant and fry them as directed. Not only will this save you time on busy weeknights, but you’ll still achieve delicious, restaurant-quality results that everyone will love!
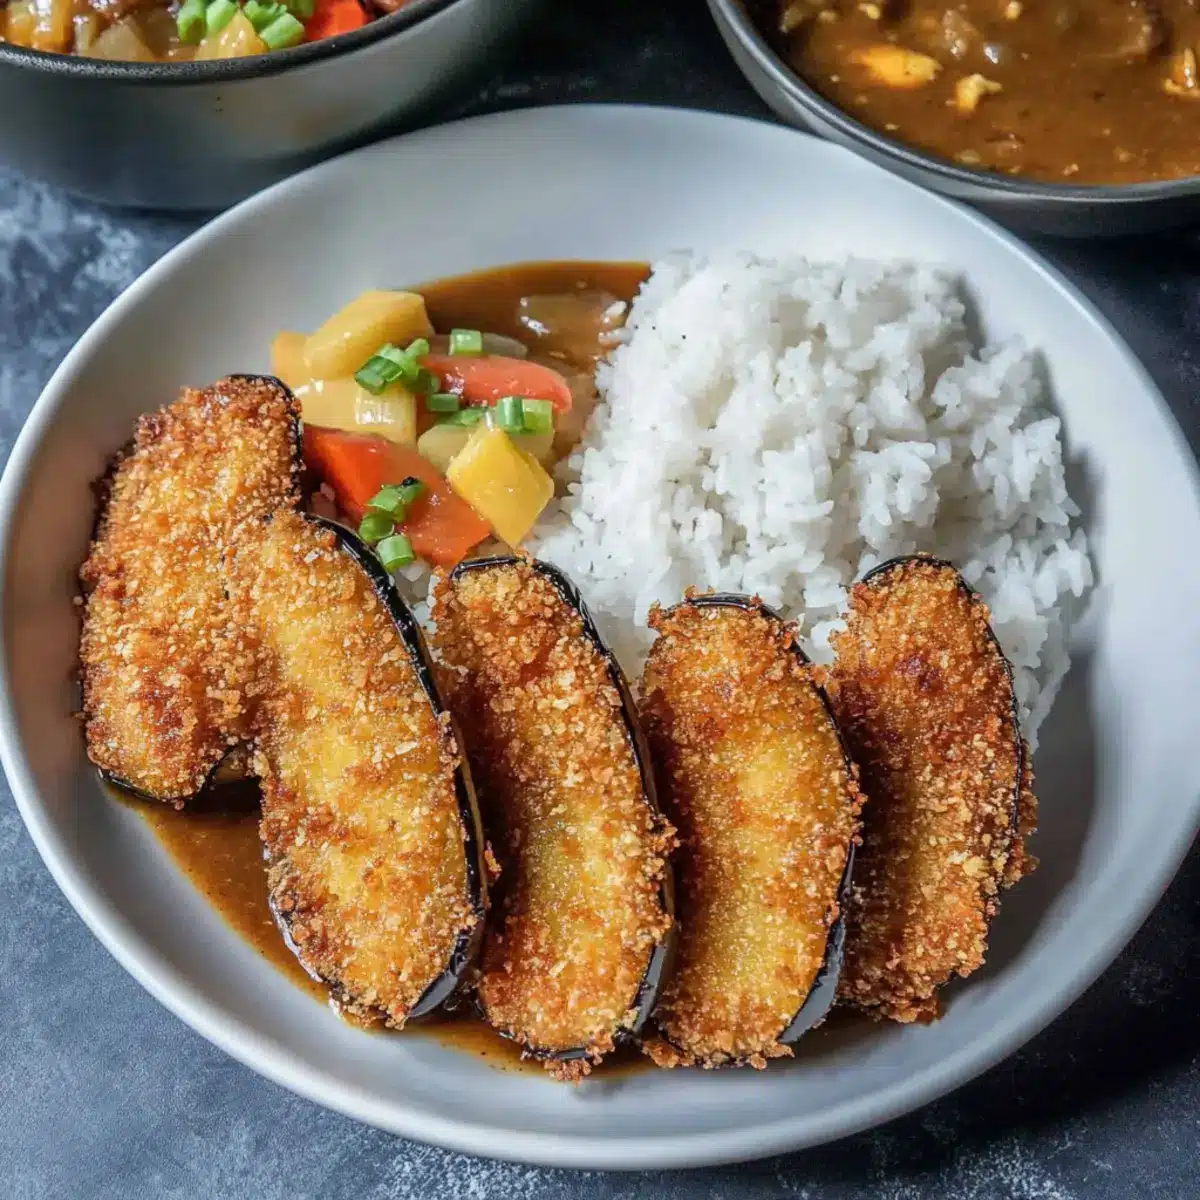
Crispy Eggplant ‘Katsu’ Recipe FAQs
How can I select the best eggplants for this recipe?
Absolutely! Look for Chinese or American eggplants that are firm and shiny with no dark spots or blemishes. The skin should have a vibrant color and feel smooth to the touch. When you pick them up, they should feel heavy for their size, indicating freshness, and the ends should be green and not dried out.
How should I store leftover crispy eggplant ‘katsu’?
You can store leftover crispy eggplant ‘katsu’ in an airtight container in the refrigerator for up to 3 days. To reheat and preserve that satisfying crunch, place them in an oven preheated to 350°F (175°C) for about 10-15 minutes. This way, they regain their crispy texture and won’t become soggy.
Can I freeze crispy eggplant ‘katsu’?
Absolutely! For freezing, I recommend preparing the coated, un-fried eggplant slices first. Lay them in a single layer on a baking sheet, freeze until solid, then transfer to a freezer bag. They can be stored this way for up to 2 months. When you’re ready to enjoy, fry them from frozen, adding a couple of extra minutes to cooking time for the perfect crispy result.
What adjustments can I make for dietary considerations?
If you’re looking to make this dish gluten-free, simply swap all-purpose flour with gluten-free flour and use gluten-free panko breadcrumbs. Additionally, for those sensitive to oil, you can consider using coconut oil for frying, which provides a lovely flavor without compromising dietary needs. Always check ingredients if you’re cooking for those with allergies.
How can I troubleshoot if my eggplant ‘katsu’ isn’t crispy?
Very good question! First, ensure your oil is preheated to the right temperature of 350°F (180°C) before frying. If it’s not hot enough, the batter will absorb oil and become soggy. Additionally, avoid covering your fried katsu after cooking as this traps steam and moisture. Lastly, your batter should be thick enough to cling to the eggplant slices without dripping excessively. If you notice that it’s too runny, add a bit more flour or cornstarch next time.
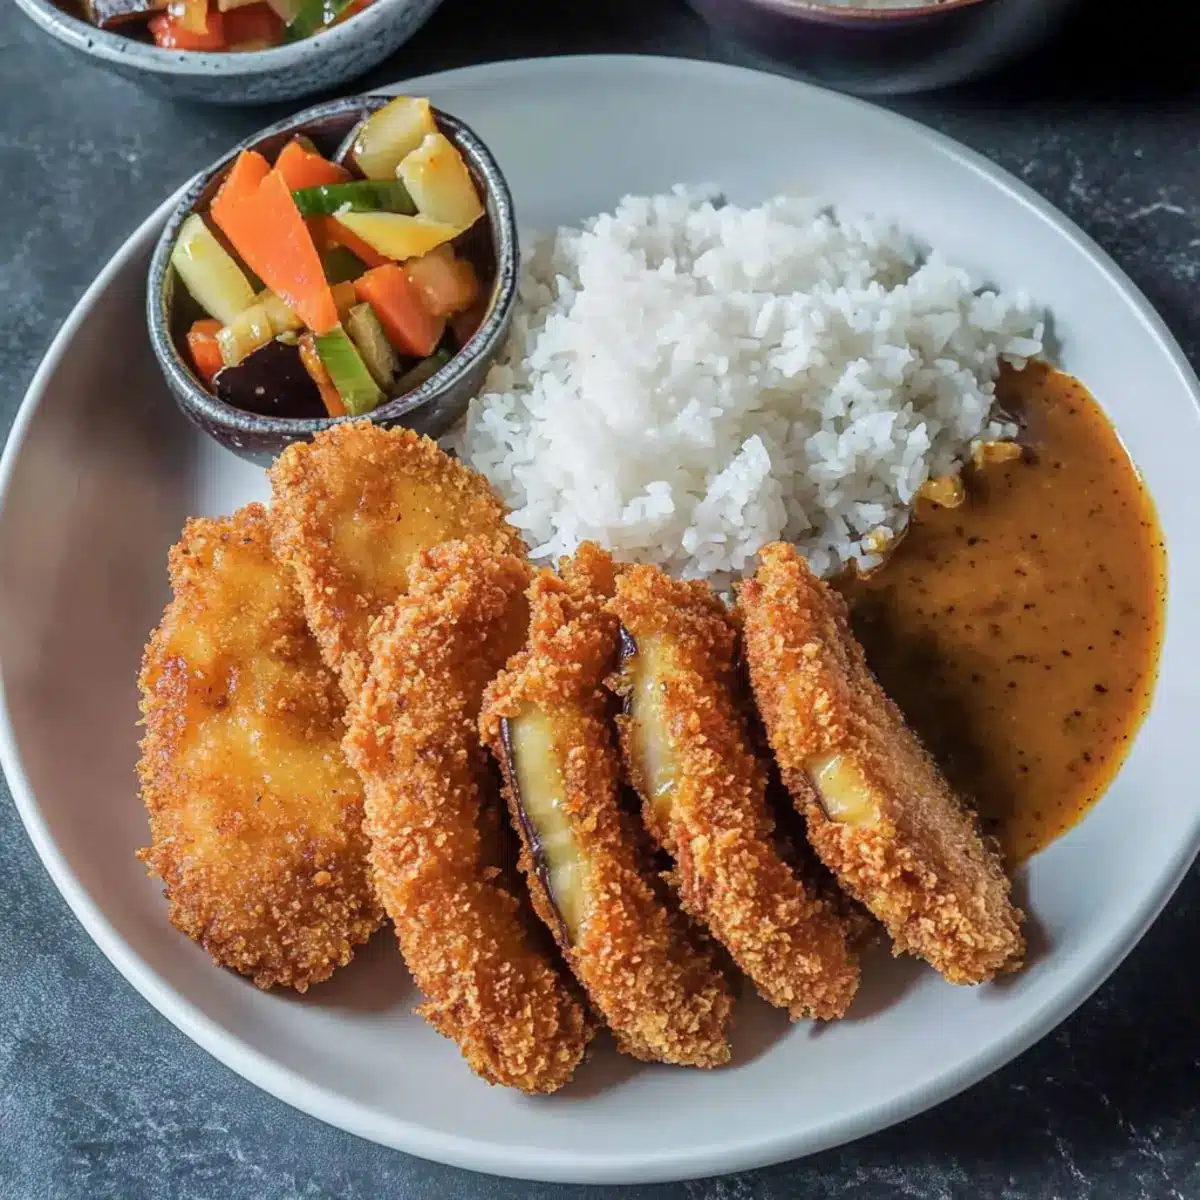
Crispy Eggplant ‘Katsu’ That Will Impress Anyone at Dinner
Ingredients
Equipment
Method
- Slice the eggplant into 3/4 to 1-inch thick pieces at an angle, ensuring uniformity for even cooking.
- Lay the slices on a paper towel to absorb excess moisture while you prepare the batter.
- In a mixing bowl, combine all-purpose flour, corn starch, baking powder, and salt. Gradually add water, whisking until you achieve a smooth batter.
- Dip each eggplant slice into the batter, ensuring it’s fully coated, then roll in breadcrumbs.
- Heat oil to 350°F (180°C) in a deep frying pan or wok.
- Fry the coated eggplant slices for 2-3 minutes on each side until golden brown.
- Drain excess oil on a cooling rack and serve immediately.
Leave a Reply