
The sun had just risen, casting a warm glow in my kitchen as the zesty scent of lemons filled the air—there’s something magical about that moment. I couldn’t wait to share my recipe for Buttery Lemon Crumb Bars, a delightful dessert that beautifully balances the creaminess of the filling with a crumbly oat base. These Lemon Crumb Bars not only come together in a snap, making them perfect for busy days, but they also shine as a show-stopper for family gatherings or casual get-togethers. With a gluten-free option available, they’re irresistible to everyone, whether you’re a lemon lover or just looking for a refreshing twist on dessert. Curious how these bars manage to bring a burst of sunshine to your table? Let’s dive in and find out!
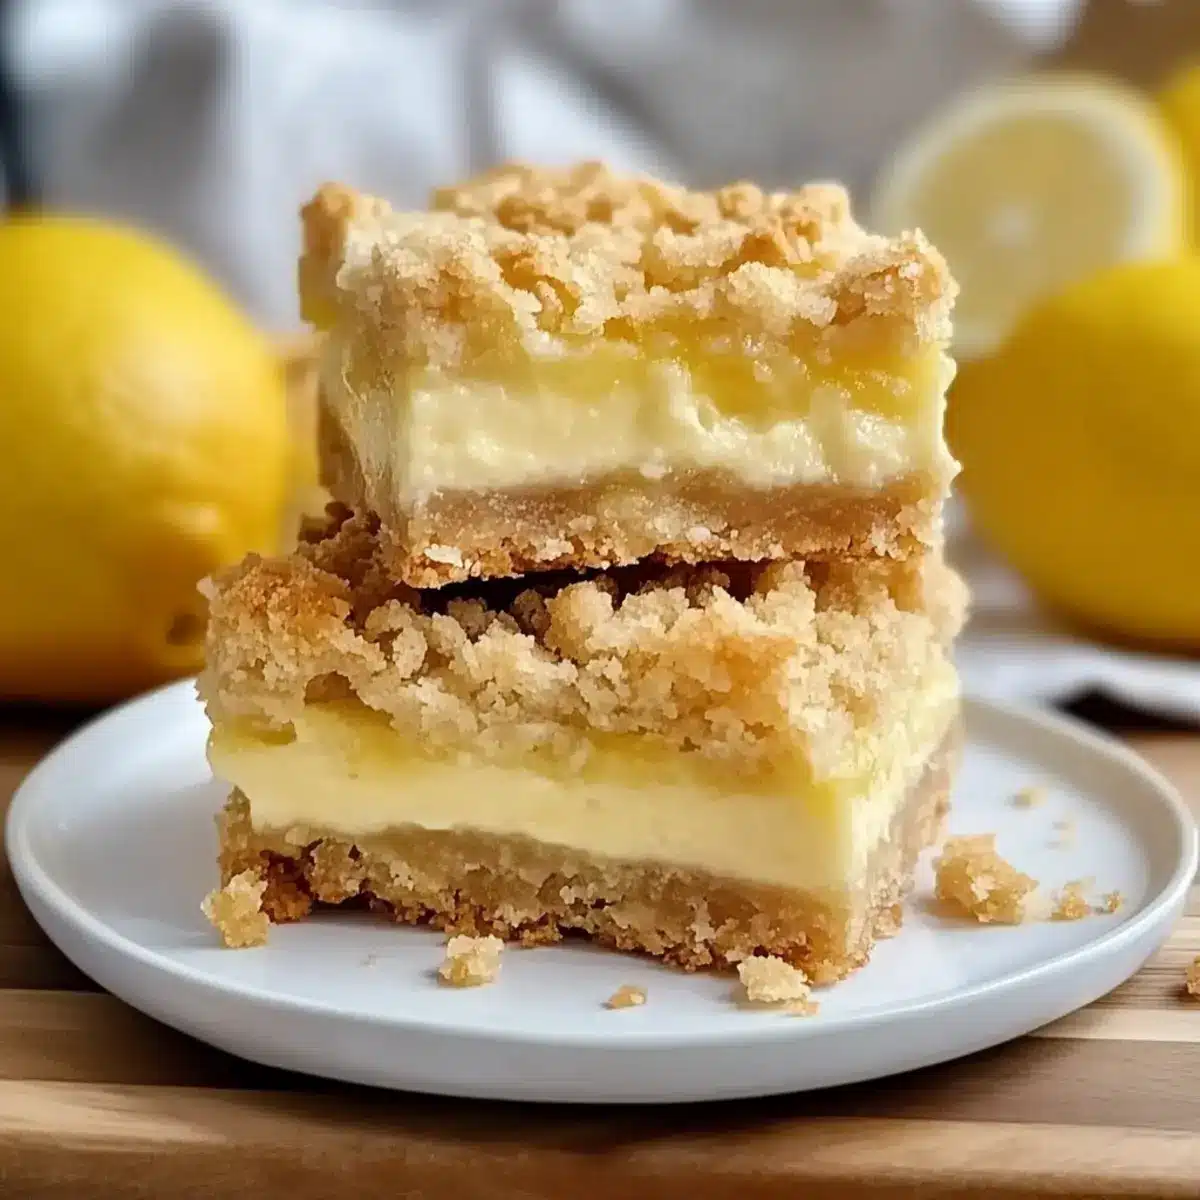
Why Are Lemon Crumb Bars So Special?
Simplicity at Its Best: These bars require just a few basic ingredients and straightforward steps, making them a must-try for any home cook.
Versatile Flavor Options: Whether you prefer classic lemon, zesty lime, or even orange, this recipe can easily be adapted to suit your taste.
Perfect for Any Occasion: They shine as a delightful dessert at gatherings or a refreshing treat for your afternoon coffee break.
Crowd-Pleasing Appeal: Their bright flavor and inviting texture are loved by both kids and adults alike, ensuring everyone keeps coming back for more!
Make Ahead & Store Easily: These bars can be prepared in advance, and they store beautifully in the fridge or freezer, making them a versatile choice for busy weeks. If you enjoy easy make-ahead options, check out these Crumbl Pumpkin Pie or Ingredient Bake Bars for more tasty ideas!
Lemon Crumb Bars Ingredients
• Discover the key components for scrumptious Lemon Crumb Bars!
For the Crust and Topping
- Flour – Builds structure for the crust and topping; use a gluten-free flour blend for a gluten-free version.
- Oats – Provides a chewy texture and rustic edge for that comforting crunch.
- Salt – Enhances sweetness and heightens lemon flavor for a brighter taste.
- Baking Soda – Gives the crust and topping a lift, improving texture and chewiness.
- Butter – Adds richness and creates a soft, golden base that melts in your mouth.
- Brown Sugar – Imparts depth and a hint of caramel flavor that complements the lemon beautifully.
- Vanilla – Balances sharp citrus notes and smooths the overall taste for a harmonious blend.
For the Creamy Filling
- Sweetened Condensed Milk – Creates a creamy filling with minimal effort, making it a breeze to whip together.
- Sour Cream or Yogurt – Adds tang and richness to the filling, enhancing its creamy texture.
- Egg Yolk – Adds body and helps set the filling, providing a delightful creaminess.
- Lemon Juice – Essential for the primary flavor; always opt for fresh juice for the best results.
- Lemon Zest – Adds vibrant aroma, enhancing the overall lemon profile for that zesty punch.
Embrace these ingredients, and you’re just a step away from enjoying these delightful Lemon Crumb Bars!
Step‑by‑Step Instructions for Lemon Crumb Bars
Step 1: Preheat the Oven
Begin by preheating your oven to 350°F (175°C). While the oven warms up, line an 8×8-inch baking pan with parchment paper, allowing some overhang for easy removal later. This will give your Lemon Crumb Bars the perfect base and help with clean slicing once they cool.
Step 2: Prepare the Dry Ingredients
In a medium mixing bowl, whisk together 1 cup of flour, 1 cup of oats, a pinch of salt, and ½ teaspoon of baking soda until well combined. The mixture should have a consistent texture and aroma that invites you to dive deeper into your baking adventure. Set this bowl aside as you move on to the next step.
Step 3: Mix the Wet Ingredients
In another bowl, melt ½ cup of butter and allow it to cool slightly. Stir in ¾ cup of brown sugar and 1 teaspoon of vanilla extract, mixing until smooth and creamy. This luscious mixture will enrich your Lemon Crumb Bars, providing that delightful buttery flavor that pairs wonderfully with the zesty lemon.
Step 4: Form the Crust Mixture
Add the dry ingredient mixture into the bowl with the wet ingredients. Stir until the mixture comes together into a thick, crumbly dough. Reserve ¾ cup of this mix for the topping later. Press the remaining mixture firmly and evenly into the prepared pan to create the crust, ensuring it’s nicely compacted for stability.
Step 5: Bake the Crust
Place the pan in your preheated oven and bake the crust for about 10 minutes. You want it to be just set but not browned. When you see the edges firm up, it’s time to remove it from the oven. Allow the crust to cool slightly while you whip up the zesty filling.
Step 6: Make the Creamy Filling
In a clean mixing bowl, whisk together one 14-ounce can of sweetened condensed milk, ¼ cup of sour cream or yogurt, one egg yolk, ⅓ cup of fresh lemon juice, the zest of one lemon, and an extra splash of vanilla. Continue whisking until the filling is smooth and creamy, filling your kitchen with a refreshing scent.
Step 7: Combine and Spread the Filling
Pour the creamy lemon filling over the warm crust, spreading it evenly with a spatula. This filling will create a rich layer that compliments the crumbly base wonderfully. Finally, sprinkle the reserved crumb mixture on top, using your fingers to create a loose, delightful topping.
Step 8: Bake Again
Return the pan to the oven and bake for an additional 17 to 20 minutes, or until the topping is lightly golden and the edges of the filling are set. Keep an eye out for a golden hue, which signals that your Lemon Crumb Bars are nearly ready to delight your taste buds.
Step 9: Cool Before Slicing
Once baked, remove the pan from the oven and let your Lemon Crumb Bars cool on a wire rack. Allowing them to cool completely before slicing is crucial for clean cuts and perfect presentation. Patience here will reward you with beautiful, delectable bars.
Step 10: Serve or Store
Once cooled, lift the bars out using the parchment paper overhang. Slice them into squares and serve as a refreshing treat or dessert. If not enjoyed immediately, store your delicious Lemon Crumb Bars in an airtight container in the fridge for up to five days, or freeze for longer-lasting indulgence.
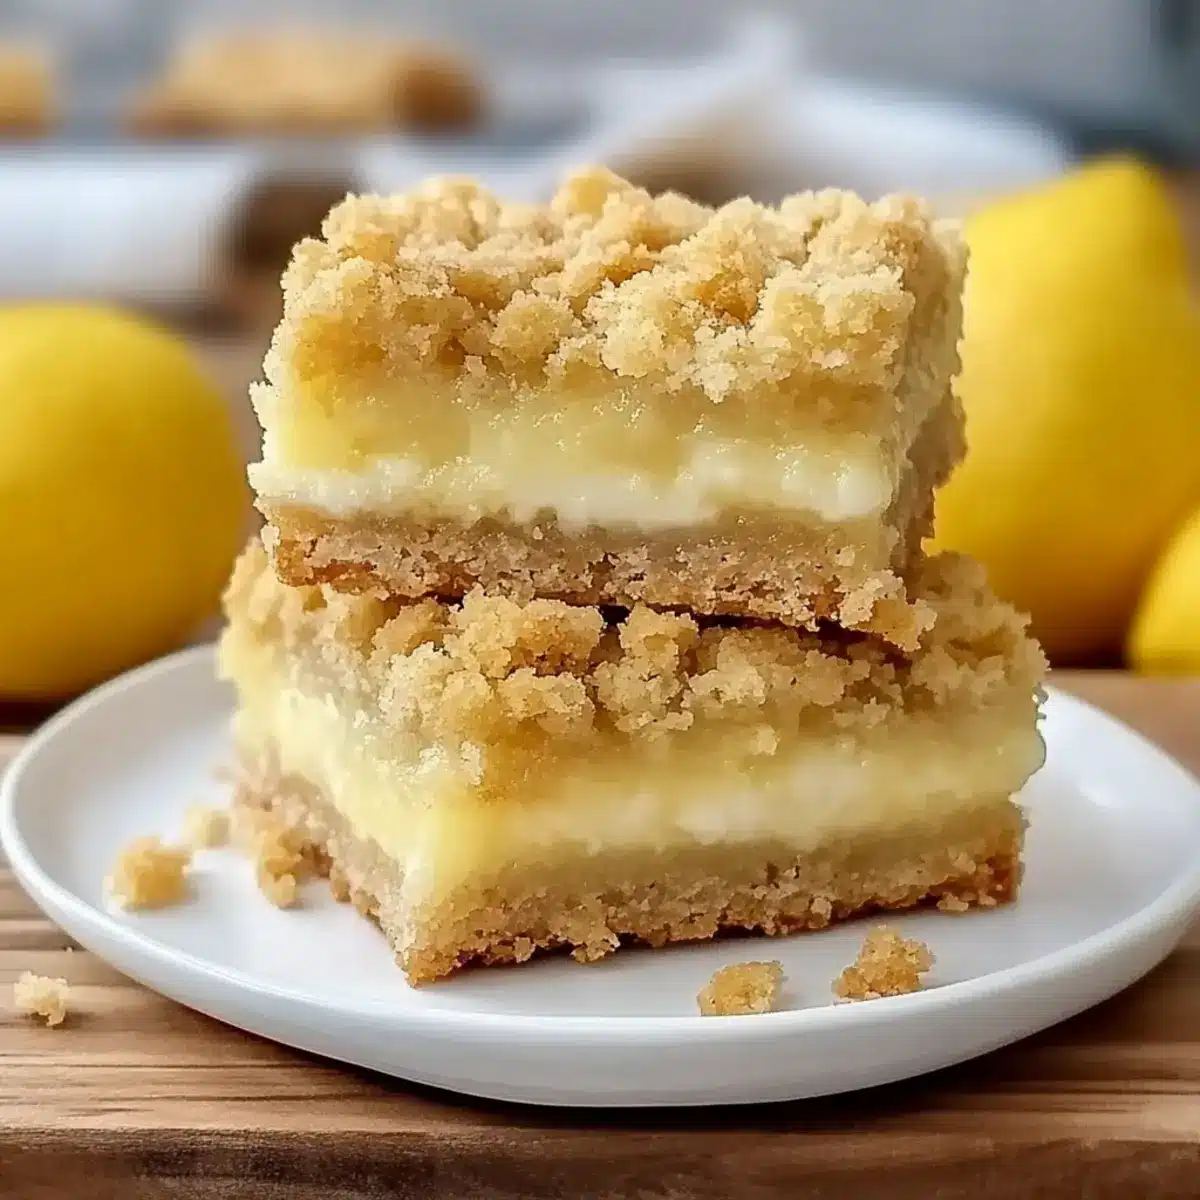
Lemon Crumb Bars Variations & Substitutions
Feel free to play around with these Lemon Crumb Bar ideas and let your creativity shine!
- Citrus Swap: Substitute lime or orange juice and zest for a delightful twist on the classic lemon flavor.
- Berry Topping: Add fresh raspberries or blueberries on top for a pop of color and added freshness.
- Nutty Crunch: Stir in chopped almonds or walnuts into the crumble topping for a satisfying, crunchy texture.
- Sweeten the Deal: Top with a light glaze of powdered sugar and lemon juice for an extra touch of sweetness that dazzles.
- Gluten-Free Version: Swap regular flour for a gluten-free blend without sacrificing flavor or texture.
- Cheesecake Style: Mix in some cream cheese with the filling for an even creamier, cheesecake-like experience.
- Zesty Thyme: Add finely chopped fresh thyme to the crumble for an unexpected herbaceous note that pairs beautifully with lemon.
- Reduce the Sugar: For a less sweet option, reduce the brown sugar on the crust and topping while maintaining that buttery flavor.
These variations can transform your Lemon Crumb Bars into something uniquely yours, too! For more delicious ideas, don’t miss these Crumbl Pumpkin Pie cookies or our tempting Ingredient Bake Bars. Get ready to enjoy a burst of creativity in your kitchen!
Expert Tips for Lemon Crumb Bars
Cool Completely: Allow the bars to cool fully before slicing to achieve neat, beautiful squares that are perfect for sharing.
Fresh Ingredients Are Key: Use fresh lemon juice and zest for the most vibrant flavor—avoid bottled varieties for best results!
Watch the Baking Time: Keep an eye on the topping—it should be lightly golden but not overbaked. Overbaking can lead to a dry texture.
Substitution Success: For a gluten-free option, substitute with a gluten-free flour blend to enjoy these tasty Lemon Crumb Bars without worry!
Add a Glaze: Drizzle a light glaze made from powdered sugar and lemon juice over the cooled bars for an extra touch of sweetness and elegance.
How to Store and Freeze Lemon Crumb Bars
Fridge: Store your Lemon Crumb Bars in an airtight container in the fridge for up to 5 days. This helps retain their freshness and deliciousness for those mid-week cravings.
Freezer: If you’d like to save them for later, individually wrap each bar in plastic wrap, then place them in a freezer-safe bag. They can be frozen for up to 2 months.
Thawing: When ready to enjoy, simply let the bars thaw in the fridge overnight or at room temperature for a couple of hours. You can even warm them slightly in the microwave for a cozy treat!
Cutting Tips: To maintain their beautiful presentation, make sure the bars have completely cooled before slicing, ensuring each piece is perfectly shaped for sharing.
Make Ahead Options
These Lemon Crumb Bars are a fantastic choice for meal prep, allowing you to enjoy their vibrant flavor with ease! You can prepare the crust and crumb topping up to 24 hours in advance. Simply mix the dry ingredients and combine them with the wet ingredients, then press the mixture into the pan. Store the unbaked crust covered in the refrigerator, ensuring it stays fresh. The creamy filling can also be whipped together up to 3 days ahead; just store it separately in an airtight container in the fridge. When you’re ready to finish, simply bake the crust, pour in the chilled filling, and top it with the reserved crumbs for a delicious treat that’s just as delightful!
What to Serve with Buttery Lemon Crumb Bars
Indulging in these delightful bars opens up a world of pairing possibilities that can elevate your dessert experience.
-
Fresh Berries: The sweetness of strawberries or blueberries adds a refreshing contrast that brightens each bite. They also add a beautiful color to your dessert table!
-
Vanilla Ice Cream: A scoop of creamy vanilla complements the tartness of the lemon filling, offering a luscious balance that’s hard to resist. Serve it warm for a delightful, melting combo!
-
Whipped Cream: Light and airy, freshly whipped cream adds a touch of indulgence, providing a soft texture that pairs beautifully with the crumbly base.
-
Mint Tea: A warm cup of mint tea refreshes the palate, enhancing the vibrant citrus flavors of the bars. Its soothing qualities make it a perfect match for dessert.
-
Chocolate Drizzle: For those who crave a little decadence, a drizzle of chocolate sauce adds a contrasting flavor that intrigues while enhancing the buttery notes of the bars.
-
Lemonade: Cool, refreshing lemonade echoes the bold fruitiness of the bars, creating a harmonious and uplifting pairing that’s particularly delightful on a warm day.
-
Coffee: A strong cup of coffee or an espresso offers a rich backdrop that amplifies the lemon’s brightness, making each bite a balanced delight.
-
Cheesecake Bites: Offering a rich and creamy alternative, cheesecake bites provide a delightful contrast that complements the crumbly topping.
-
Citrus Salad: A light salad of mixed citrus fruits brings a fresh, zesty element that perfectly complements the lemon notes, refreshing your palate wonderfully.
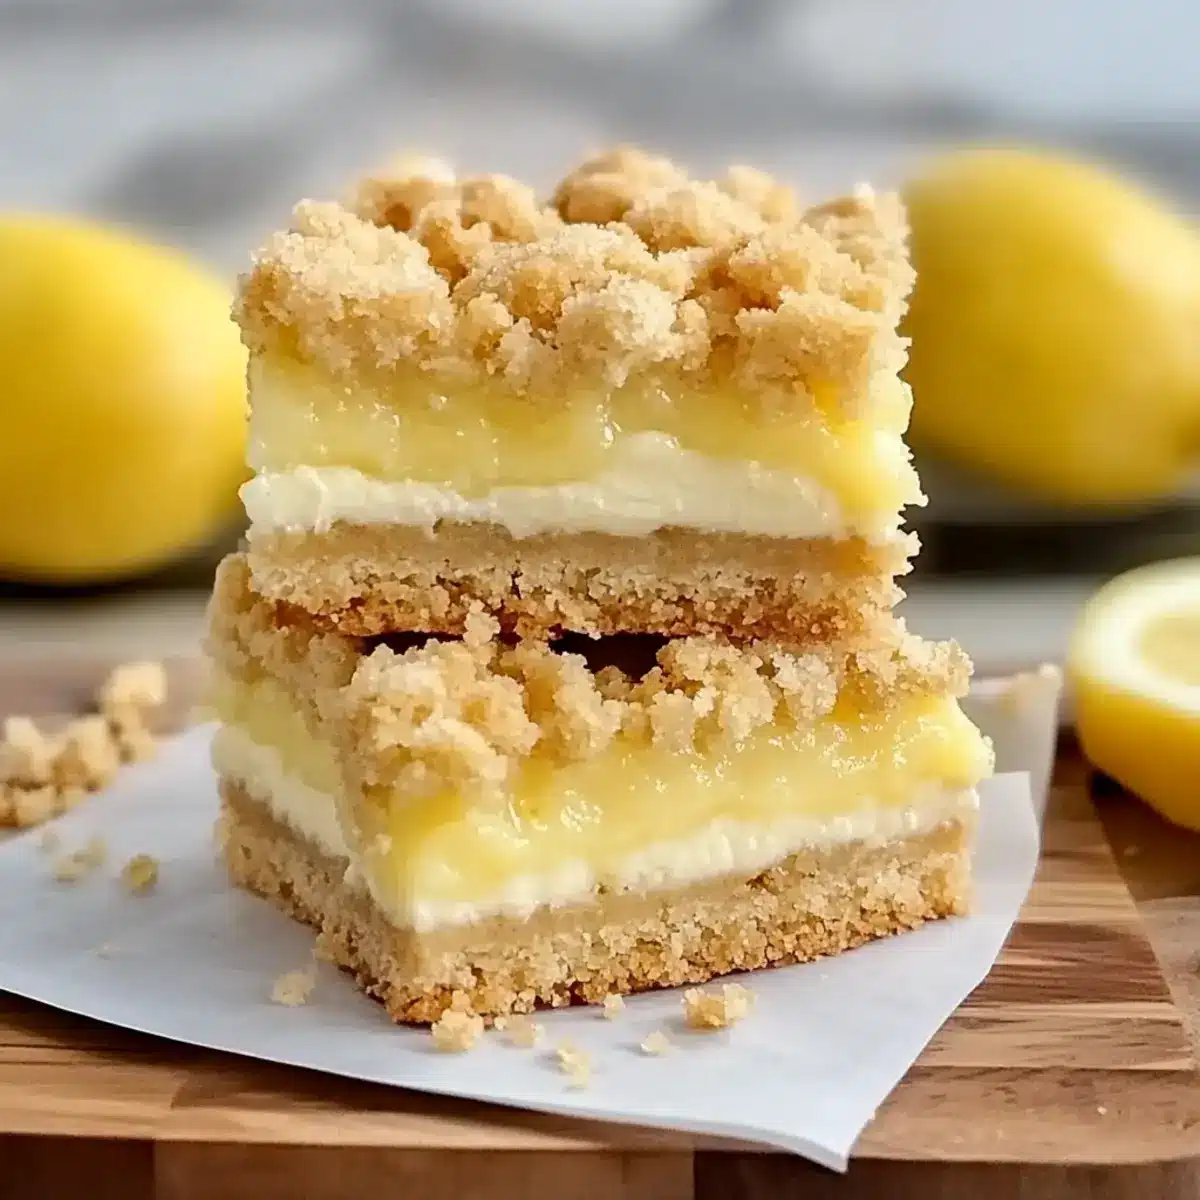
Lemon Crumb Bars Recipe FAQs
How do I choose the best lemons for this recipe?
Absolutely! Look for lemons that are bright yellow and firm to the touch. Avoid ones with dark spots or wrinkles, as these may be overripe or dried out. Fresh lemons yield the best juice and zest, giving your Lemon Crumb Bars that vibrant, zesty flavor they deserve.
What is the best way to store Lemon Crumb Bars?
You can store your Lemon Crumb Bars in an airtight container in the fridge for up to 5 days. This will keep them fresh and delicious for any cravings you might have throughout the week. Just make sure they are completely cooled before sealing them up!
Can Lemon Crumb Bars be frozen?
Yes, you can freeze them! Individually wrap each bar in plastic wrap and then place them in a freezer-safe bag. They will keep well for up to 2 months. When you’re ready to enjoy, thaw them overnight in the fridge or simply at room temperature for a couple of hours. For a warm treat, you can heat them in the microwave for about 15 seconds!
What should I do if my filling doesn’t set correctly?
No worries! If your filling doesn’t set as expected, it might be due to not baking it long enough. Make sure to allow the bars to cool completely; this can sometimes help the filling firm up. If you prefer a firmer texture next time, you can add an additional egg yolk to the filling mixture for more stability.
Are Lemon Crumb Bars safe for people with nut allergies?
Yes! The traditional recipe for Lemon Crumb Bars does not include nuts, making it a safe option for those with nut allergies. However, if you’re using a gluten-free flour blend that might contain almond flour, ensure to check for any cross-contamination with nuts if allergies are a concern.
How can I modify the recipe for gluten-free needs?
To make these Lemon Crumb Bars gluten-free, simply substitute all-purpose flour with a gluten-free flour blend. It’s best to use a blend that includes xanthan gum to help achieve the right texture. Also, ensure any additional ingredients, like baking powder or oats, are certified gluten-free to avoid any issues. Enjoy the bright flavors without worry!
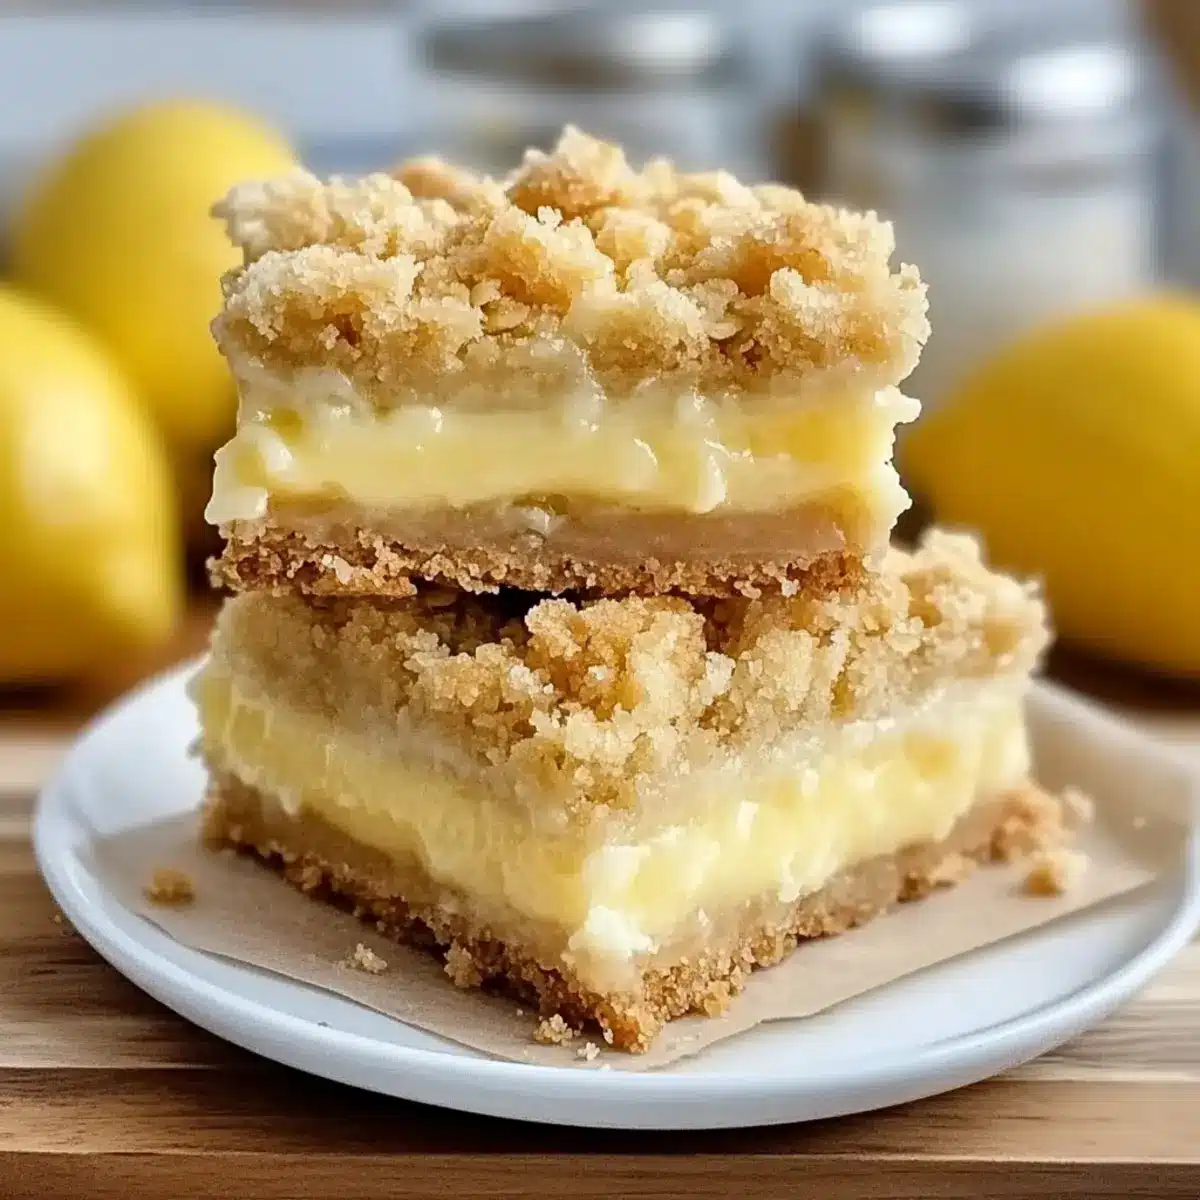
Lemon Crumb Bars That Brighten Your Day with Every Bite
Ingredients
Equipment
Method
- Preheat your oven to 350°F (175°C). Line an 8x8-inch baking pan with parchment paper.
- In a medium bowl, whisk together flour, oats, salt, and baking soda until well combined.
- In another bowl, melt butter and let it cool slightly. Stir in brown sugar and vanilla until smooth.
- Combine wet and dry mixtures to form a thick, crumbly dough. Reserve ¾ cup for topping.
- Press the remaining mixture evenly into the prepared pan to form the crust.
- Bake the crust for about 10 minutes until set but not browned.
- In a clean bowl, whisk together sweetened condensed milk, sour cream, egg yolk, lemon juice, zest, and vanilla until smooth.
- Spread the creamy filling over the warm crust and sprinkle the reserved crumb mixture on top.
- Bake for an additional 17 to 20 minutes until lightly golden.
- Allow the bars to cool completely on a wire rack before slicing.
- Once cooled, lift the bars out and slice into squares to serve.
Leave a Reply