
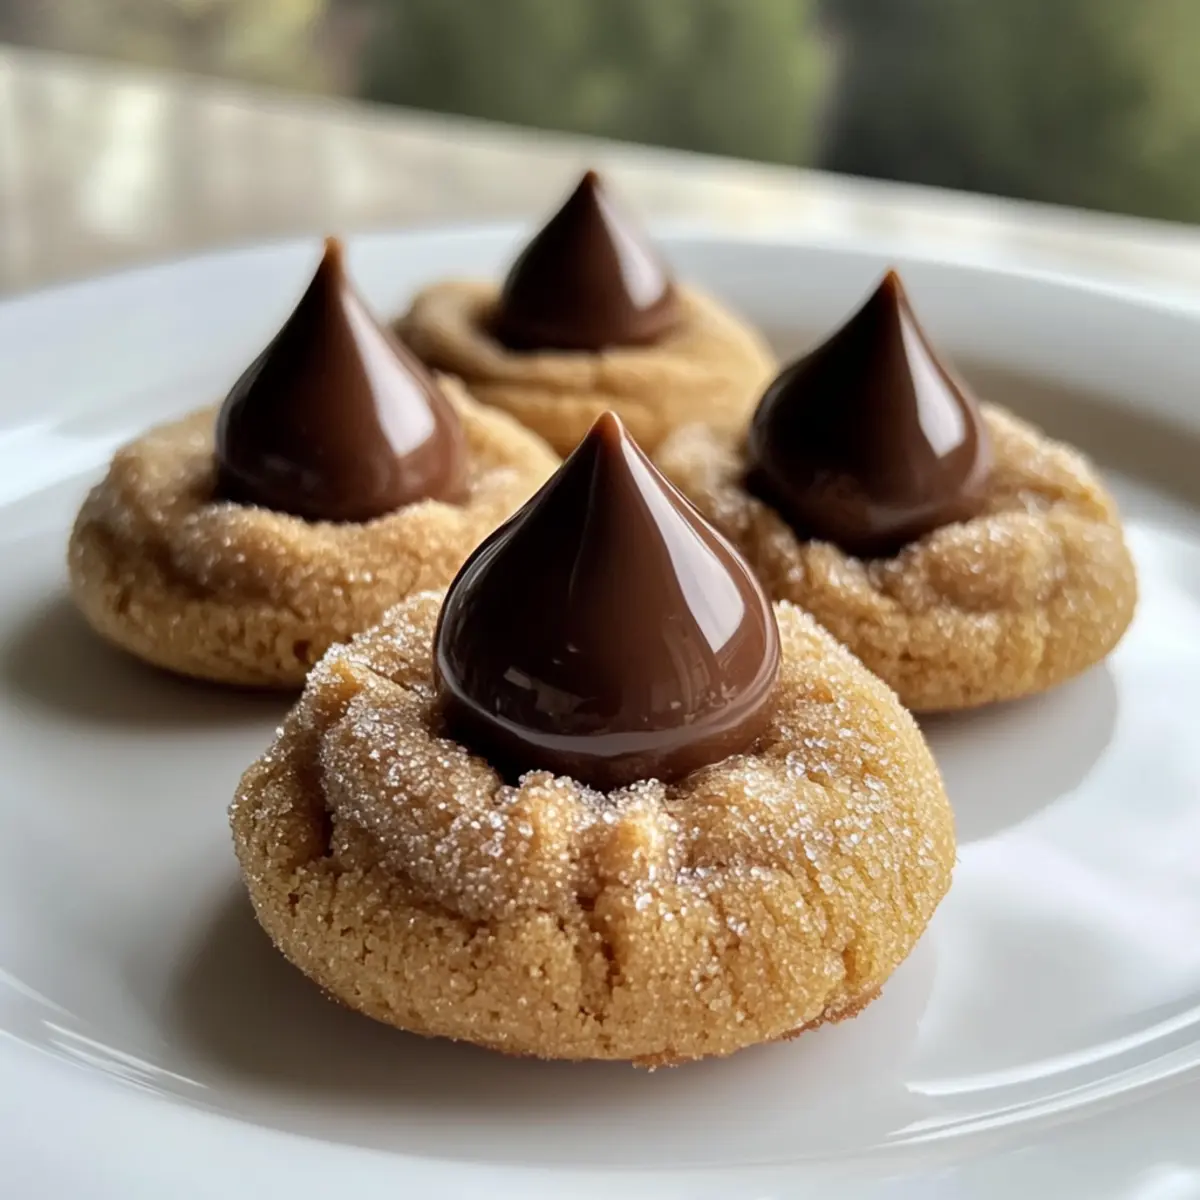
As I pulled a batch of Peanut Butter Blossoms from the oven, the sweet, nutty aroma danced through my kitchen, instantly transporting me to my grandmother’s home during the holidays. These delightful little cookies, with their crunchy sugar coating and chewy centers, make for the perfect holiday treat. Not only are they easy to whip up, but their combination of sweet and salty flavors is simply irresistible. Whether you’re baking alone or getting the whole family involved, creating these classic Christmas cookies brings joy, warmth, and a sprinkle of nostalgia. And if you’re feeling adventurous, why not try a twist with dark chocolate or peppermint-flavored Kisses? Your taste buds are in for a treat—what kind of festive variations will you come up with?
Why Are Peanut Butter Blossoms a Must-Bake?
Nostalgic Connection: The sweet aroma and chewy texture will remind you of cherished childhood memories around holiday baking with family.
Simple Delight: With just a handful of common ingredients, these cookies are incredibly easy to whip up—perfect for novice bakers!
Versatile Variations: Switch up the toppings with dark chocolate or peppermint Kisses to create festive flavors that keep things exciting during the holidays.
Crowd-Pleasing Treat: These cookies are sure to be a hit at holiday gatherings, offering a delightful sweet and salty balance that everyone loves.
Quick Baking: Ready in just 15 minutes from prep to plate, they’re an excellent solution for last-minute holiday treats or bake sales.
Peanut Butter Blossoms Ingredients
For the Cookie Dough
- All-purpose flour – Provides structure to the cookies; substitute with gluten-free flour for a gluten-free option.
- Granulated sugar – Sweetens the dough and creates a slightly crunchy exterior; coconut sugar makes a wonderful lower glycemic alternative.
- Packed light brown sugar – Adds moisture and a delightful caramel-like flavor; dark brown sugar can be used for a richer taste.
- Unsalted butter – Offers a rich flavor and moisture; replace with vegan butter to make it dairy-free.
- Creamy peanut butter – The star ingredient, providing a creamy texture and binding; natural peanut butter works best if stirred well.
- Large egg – Binds the ingredients together and adds richness; a flax egg can substitute for a vegan-friendly option.
- Vanilla extract – Enhances the overall flavor; feel free to adjust the amount to suit your taste.
- Baking soda – A key leavening agent that helps the cookies rise; it’s essential for achieving that perfect texture.
- Salt – Balances the sweetness and enhances all the flavors; an integral part of the recipe.
- Milk chocolate Hershey’s Kisses – Adds a creamy chocolatey center; experiment with dark chocolate or peppermint-flavored Kisses for fun variations.
Optional Add-ins
- Chopped nuts – Introduce extra texture and flavor; walnuts or pecans complement peanut butter beautifully.
- Flaky sea salt – Sprinkling on top before baking provides a delightful contrast to the sweetness of the cookies.
These Peanut Butter Blossoms are bound to become a holiday favorite, capturing hearts and taste buds with their irresistible sweet and salty flavor!
Step‑by‑Step Instructions for Peanut Butter Blossoms
Step 1: Preheat Your Oven
Begin by preheating your oven to 375°F (190°C) while you prepare your baking sheets. Line two baking sheets with parchment paper to prevent sticking and facilitate easy cleanup. This preparation ensures everything is ready as you whip up the dough for your delightful Peanut Butter Blossoms.
Step 2: Cream the Butters and Sugars
In a large mixing bowl, combine the unsalted butter, granulated sugar, packed light brown sugar, and creamy peanut butter. Using an electric mixer, beat the mixture on medium speed until it becomes light and fluffy, about 2-3 minutes. This process creates a smooth base that enhances the texture of your Peanut Butter Blossoms.
Step 3: Incorporate Egg and Vanilla
Next, add in the large egg and vanilla extract, mixing until fully combined. Scrape down the sides of the bowl as necessary to ensure all ingredients are thoroughly blended. This step adds richness and depth of flavor, essential for creating those melt-in-your-mouth Peanut Butter Blossoms.
Step 4: Mix the Dry Ingredients
In a separate bowl, whisk together the all-purpose flour, baking soda, and salt until evenly mixed. Gradually add this dry mixture to your wet ingredients, stirring gently until just combined. Be careful not to overmix; your goal is a tender dough that doesn’t lose its delightful texture.
Step 5: Shape the Cookies
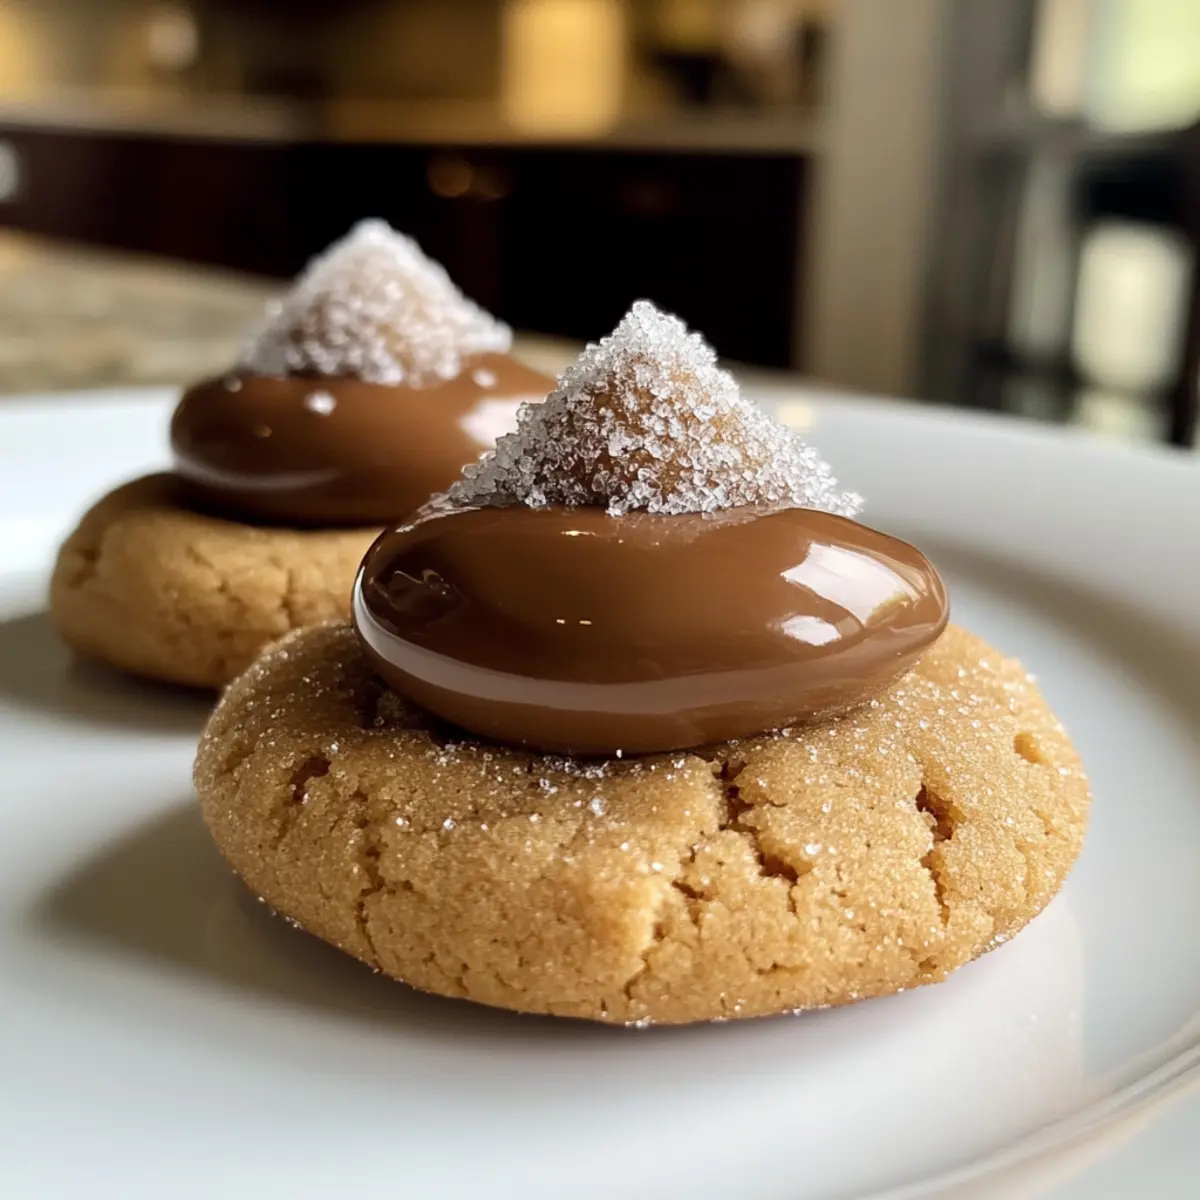
Using your hands, roll the dough into 1-inch balls, then coat them in granulated sugar for a sweet crunch. Arrange the dough balls on the prepared baking sheets, spacing them about 2 inches apart to allow for spreading during baking. This step helps ensure your Peanut Butter Blossoms maintain a lovely shape.
Step 6: Bake the Cookies
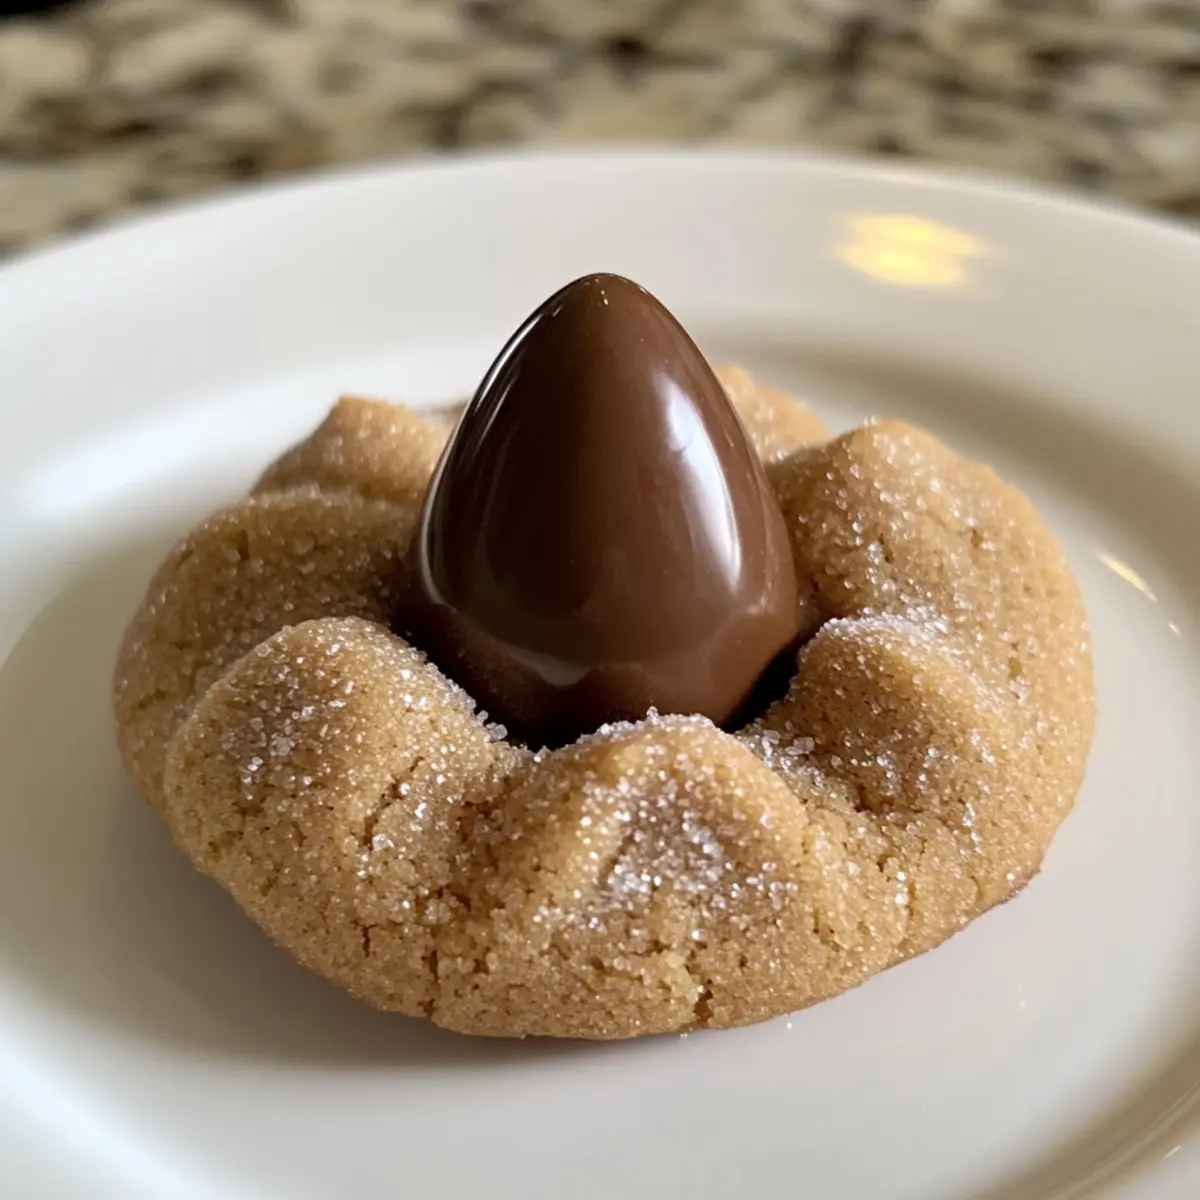
Place the baking sheets in your preheated oven and bake for 10-12 minutes, until the edges are golden and the cookies look puffed. As soon as you remove them from the oven, gently press a Hershey’s Kiss into the center of each cookie, allowing it to melt slightly and create that signature blossom effect.
Step 7: Cool and Enjoy
Let the cookies cool on the baking sheets for about 5 minutes, allowing them to firm up. Afterward, transfer the Peanut Butter Blossoms to a wire rack to cool completely. This cooling period enhances their chewy texture, making each bite a delicious treat filled with sweet and salty goodness.
Expert Tips for Perfect Peanut Butter Blossoms
- Room Temperature Butter: Ensure your butter is soft and at room temperature for easy creaming. This will help achieve that light, fluffy texture which is key for delicious Peanut Butter Blossoms.
- Avoid Overmixing: Once you combine the dry ingredients with the wet, mix until just combined to maintain a tender texture. Overmixing can lead to tough cookies.
- Chill for Shape: For perfectly shaped cookies, consider chilling the dough for 20-30 minutes before baking. This prevents spreading and keeps your Peanut Butter Blossoms looking lovely.
- Immediate Kiss Pressing: Remember to press the Hershey’s Kiss into the cookie right after baking. This ensures the chocolate melts slightly and adheres beautifully to the cookie.
- Experiment with Flavors: Feel free to swap regular Hershey’s Kisses for dark chocolate or peppermint versions for a fun twist on this classic cookie.
Peanut Butter Blossoms Variations
Feel free to get creative and tailor these delightful cookies to suit your taste buds! Each variation brings a fun twist that will elevate your holiday baking experience.
-
Dark Chocolate: Swap milk chocolate Kisses for dark chocolate ones to intensify the flavor and add a sophisticated touch. The bittersweet contrast with peanut butter is truly heavenly.
-
Peppermint Twist: Use peppermint-flavored Kisses for a festive holiday burst. These cookies will not only taste great but also bring a delightful seasonal aroma to your kitchen. Imagine the refreshing mint mingling with the peanut butter!
-
Nutty Addition: Fold in chopped walnuts or pecans into the dough for an extra crunch. Nuts provide a delightful texture and further enrich the cookie’s flavor profile, making them doubly irresistible.
-
Flaky Sea Salt: Sprinkle a pinch of flaky sea salt on top of the cookies just before baking. This savory addition enhances the sweet and salty flavor balance beautifully, making each bite even more satisfying.
-
Gluten-Free Delight: Substitute all-purpose flour with a 1:1 gluten-free blend. Your gluten-sensitive friends will adore these cookies just as much, and they won’t even realize they’re enjoying a gluten-free treat!
-
Cocoa Twist: Mix in a couple of tablespoons of cocoa powder into the dough for a chocolatey spin on the classic. The chocolatey richness will complement the peanut butter perfectly, making these cookies a true chocolate lover’s dream.
-
Spiced Variation: Add a dash of cinnamon or nutmeg to the dough for a warm, spiced flavor. This adds a nostalgic seasonal touch that pairs wonderfully with the sugar coating and enhances the overall festive vibe.
-
No-Bake Option: If you’re in a hurry, you can make no-bake Peanut Butter Blossoms with a base of oats and peanut butter, topped with melted chocolate. This quick treat satisfies those sweet cravings without turning on the oven!
For more delicious ideas, check out my Bake Peanut Butter recipes or explore the delightful flavors in Cowboy Butter Chicken.
Make Ahead Options
These Peanut Butter Blossoms are perfect for busy home cooks seeking time-saving meal prep options! You can prepare the dough and refrigerate it for up to 2 days before baking, ensuring that flavors meld beautifully. Just roll the dough into balls and coat them in sugar, then store them in an airtight container in the fridge. For the best texture, allow the dough to come to room temperature for about 15 minutes before baking. Alternatively, baked cookies can be stored in an airtight container at room temperature for up to 5 days; they’ll stay just as delicious and chewy. This way, you can enjoy freshly baked Peanut Butter Blossoms with minimal effort on hectic days!
How to Store and Freeze Peanut Butter Blossoms
Airtight Container: Store your baked Peanut Butter Blossoms in an airtight container at room temperature for up to 5 days to keep them fresh and chewy.
Refrigeration: If you want to extend their shelf life, place the cookies in the fridge for up to 1 week. Be sure to layer them with parchment paper to prevent sticking.
Freezer: For longer storage, wrap the cookies tightly in plastic wrap and then place them in a freezer-safe bag. They can last up to 3 months in the freezer.
Reheating: To enjoy frozen Peanut Butter Blossoms, simply thaw them at room temperature for a couple of hours, or warm them in the microwave for 10-15 seconds for that fresh-out-of-the-oven taste.
What to Serve with Classic Peanut Butter Blossoms?
There’s nothing quite like a festive spread that perfectly complements these sweet and salty delights, enriching your holiday gathering experience.
-
Hot Cocoa: The warm, rich chocolate flavor enhances the classic chocolate kiss atop the cookies, creating a cozy pairing. This combination is sure to bring smiles to all ages, evoking treasured holiday memories with every sip and bite.
-
Spiced Chai: Aromatic spices in a cup of spiced chai will balance the peanut butter’s creaminess and elevate your holiday ambiance. The warmth of chai adds a comforting touch, making every family gathering feel intimate and joyful.
-
Coffee: A steaming cup of coffee summons your senses and contrasts the cookies’ sweetness with its robust flavor. This timeless pairing makes for an invigorating treat that gives everyone a moment to pause and savor.
-
Milk: A classic pairing for cookies, milk rounds out the rich peanut butter and chocolate experience. It’s the ultimate nostalgic combination that’ll transport you back to simpler times of childhood indulgence.
-
Vanilla Ice Cream: Introducing a scoop of vanilla ice cream beside your warm cookies creates a heavenly dessert experience. The cold creaminess may temper the sweetness, creating a balanced end to your meal.
-
Fruit Salad: Bright, fresh fruits add a refreshing contrast to the rich flavors of peanut butter and chocolate. This colorful side brings a lightness that sparks joy in every mouthful.
-
Nutty Granola: Serve your cookies alongside a handful of nutty granola for a crunchy textural contrast that echoes their beloved peanut butter flavor. The additional health benefits make this pairing an excellent guilt-free option for snack lovers.
-
Peppermint Tea: Complement your cookies with a cup of peppermint tea for a refreshing finish that whispers holiday cheer. This fabulous pairing leaves your palate feeling rejuvenated while the festive spirit lingers on.
-
Cream Cheese Frosting: For a decadent dessert experience, serve your cookies with a dollop of cream cheese frosting for an added layer of richness that contrasts the classic flavors beautifully. This twist adds a fun element that guests will rave about long after the last bite.

Peanut Butter Blossoms Recipe FAQs
What kind of peanut butter should I use for the cookies?
Absolutely! I recommend using creamy peanut butter for a smooth texture, but you can opt for natural peanut butter as long as it’s well-stirred. Avoid crunchy varieties, as they can alter the cookie’s texture.
How do I store Peanut Butter Blossoms after baking?
Store your baked Peanut Butter Blossoms in an airtight container at room temperature for up to 5 days for optimal freshness. For longer preservation, you can refrigerate them for up to 1 week, just remember to layer parchment paper between cookies to prevent sticking.
Can I freeze Peanut Butter Blossoms?
Yes, you can! To freeze, wrap each cookie tightly in plastic wrap and place them in a freezer-safe bag. They can stay in the freezer for up to 3 months. When you’re ready to enjoy, simply thaw them at room temperature for a couple of hours, or warm them in the microwave for around 10-15 seconds.
Why did my cookies come out flat?
Very! A common culprit for flat cookies could be melted butter or over-mixing the dough after adding the dry ingredients. Ensure your butter is at room temperature, and mix just until combined to maintain that tender texture.
Are Peanut Butter Blossoms suitable for a gluten-free diet?
Yes! You can make Peanut Butter Blossoms gluten-free by substituting all-purpose flour with a gluten-free flour blend. Just be sure to check the blend for best results, and adjust baking times if necessary.
How can I modify the recipe for allergy concerns?
For those with egg allergies, you can use a flax egg as a substitute—mix 1 tablespoon of ground flaxseed with 2.5 tablespoons of water, let it sit for 5 minutes to thicken. Additionally, replace unsalted butter with vegan butter to cater to dairy sensitivities.
Peanut Butter Blossoms: Irresistibly Sweet Holiday Treats
Ingredients
Equipment
Method
- Preheat your oven to 375°F (190°C) and line two baking sheets with parchment paper.
- In a large mixing bowl, cream the unsalted butter, granulated sugar, packed light brown sugar, and creamy peanut butter until light and fluffy, about 2-3 minutes.
- Add the large egg and vanilla extract to the mixture and mix until fully combined.
- In a separate bowl, whisk the all-purpose flour, baking soda, and salt, then gradually add to the wet ingredients and mix until just combined.
- Roll dough into 1-inch balls and coat in granulated sugar. Place on prepared baking sheets, spacing about 2 inches apart.
- Bake for 10-12 minutes until the edges are golden. Press a Hershey’s Kiss into the center of each cookie immediately after baking.
- Cool the cookies on the baking sheets for 5 minutes, then transfer to a wire rack to cool completely.
Leave a Reply