
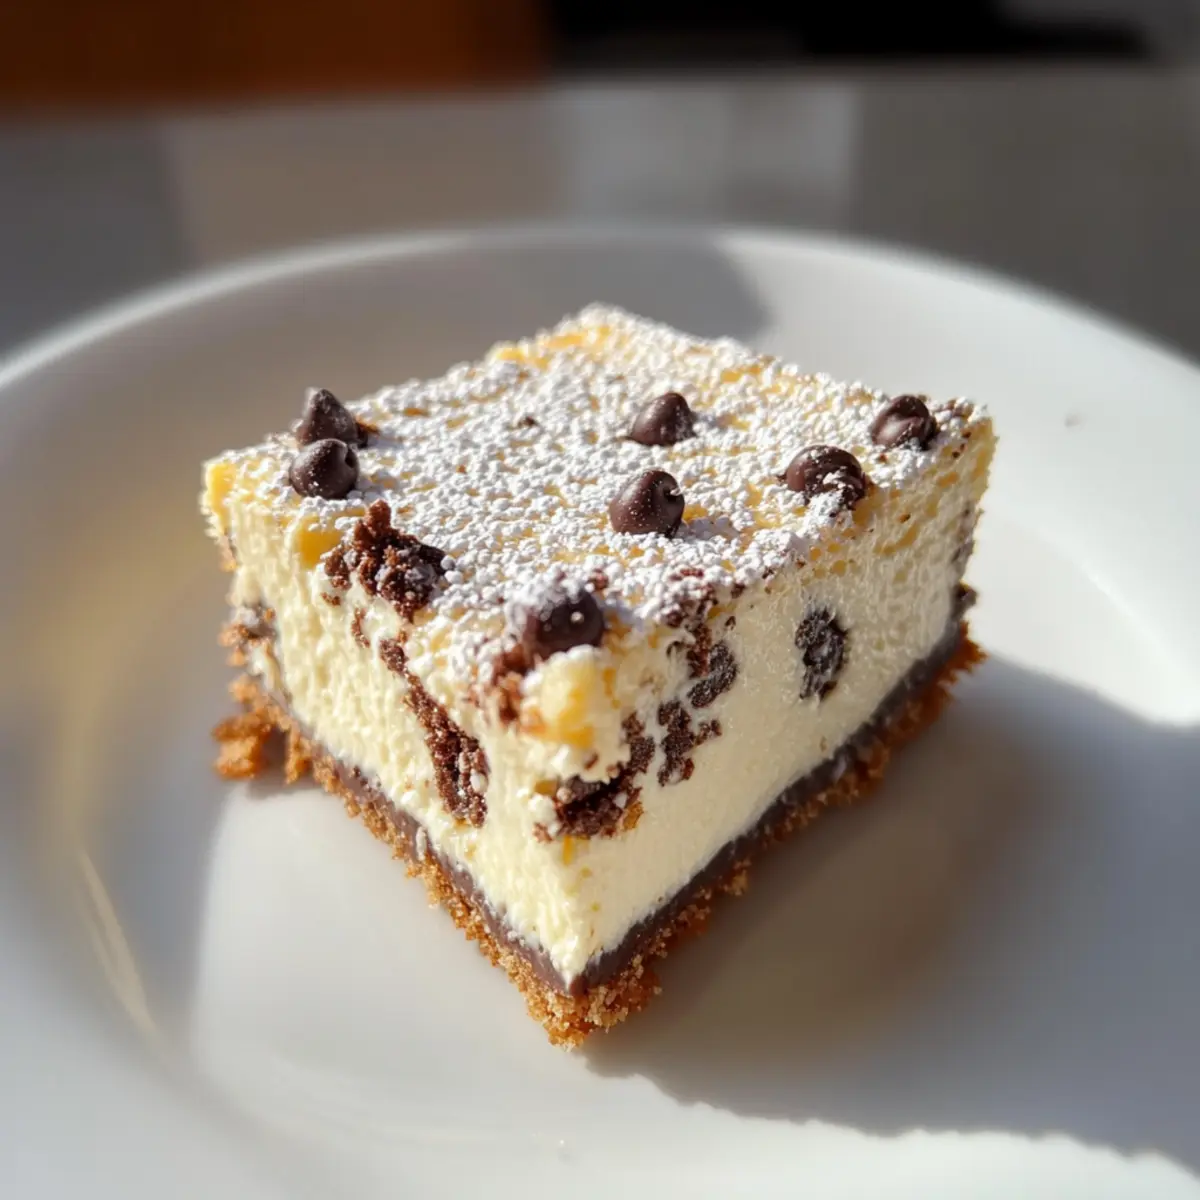
Stirring together history and flavor in my kitchen, I often find myself enchanted by the melding of classic recipes with a modern twist. Today, I’m excited to share my take on Cannoli Cheesecake Bars, a delightful creation that captures the rich essence of traditional Italian cannoli in an easy-to-make dessert form. Not only can these bars be whipped up in just 15 minutes of hands-on time, but they also afford you the delight of a crowd-pleaser that’s perfect for any occasion. Whether you’re hosting a gathering or just treating yourself, these bars offer a luscious, creamy filling with chocolate chips for added indulgence. Plus, with easy options for gluten-free and dairy-free diets, there’s something for everyone to enjoy. Ready to dive into this sweet journey and impress your taste buds? Let’s get started!
Why are Cannoli Cheesecake Bars so beloved?
Irresistible flavors: This recipe fuses creamy ricotta with chocolate chips for a decadent twist on the classic cannoli.
Quick & Easy: With only 15 minutes of hands-on time, you can whip these up in a flash and satisfy any sweet tooth.
Customizable: Easily adjust ingredients to create gluten-free bars using almond flour or dairy-free options with coconut cream cheese.
Crowd-Pleasing: These bars are a showstopper, perfect for gatherings or a comforting treat at home.
Smooth Texture: The bars glide smoothly on your palate, combining the richness of cheesecake with the playful elements of cannoli.
Don’t miss the chance to explore more delightful desserts, like my Chocolate Chip Cheesecake Cookies or Pumpkin Cheesecake Truffles!
Cannoli Cheesecake Bars Ingredients
• Get ready to indulge in a delightful mix of flavors and textures!
For the Crust
- Graham Cracker Crumbs – The perfect base structure for these bars; substitute with almond flour mixed with sugar for gluten-free options.
- Sugar – Sweetens both the crust and filling for balanced flavor; standard granulated sugar works best.
- Melted Butter – Binds the crust together beautifully; ensure it’s unsalted for the best taste.
For the Filling
- Cream Cheese (room temperature) – Integral for a silky smooth texture; be sure it’s at room temperature to avoid any lumps.
- Ricotta Cheese – Adds a delicious creaminess; for dairy-free options, use strained almond milk ricotta.
- Eggs – Provides structure and richness; add them one at a time for a smooth batter.
- Vanilla Extract – Elevates the overall flavor; choose pure vanilla for the best results.
- Mini Chocolate Chips – For delightful bursts of sweetness and texture; avoid standard chips to prevent sinking in the filling.
For Finishing Touches
- Powdered Sugar – Dust on top before serving to enhance presentation and sweetness; it’s the cherry on top for Cannoli Cheesecake Bars.
These Cannoli Cheesecake Bars are not only a treat for the taste buds but also adaptable for various dietary preferences, making them a go-to recipe for every occasion!
Step‑by‑Step Instructions for Cannoli Cheesecake Bars
Step 1: Prepare the Crust
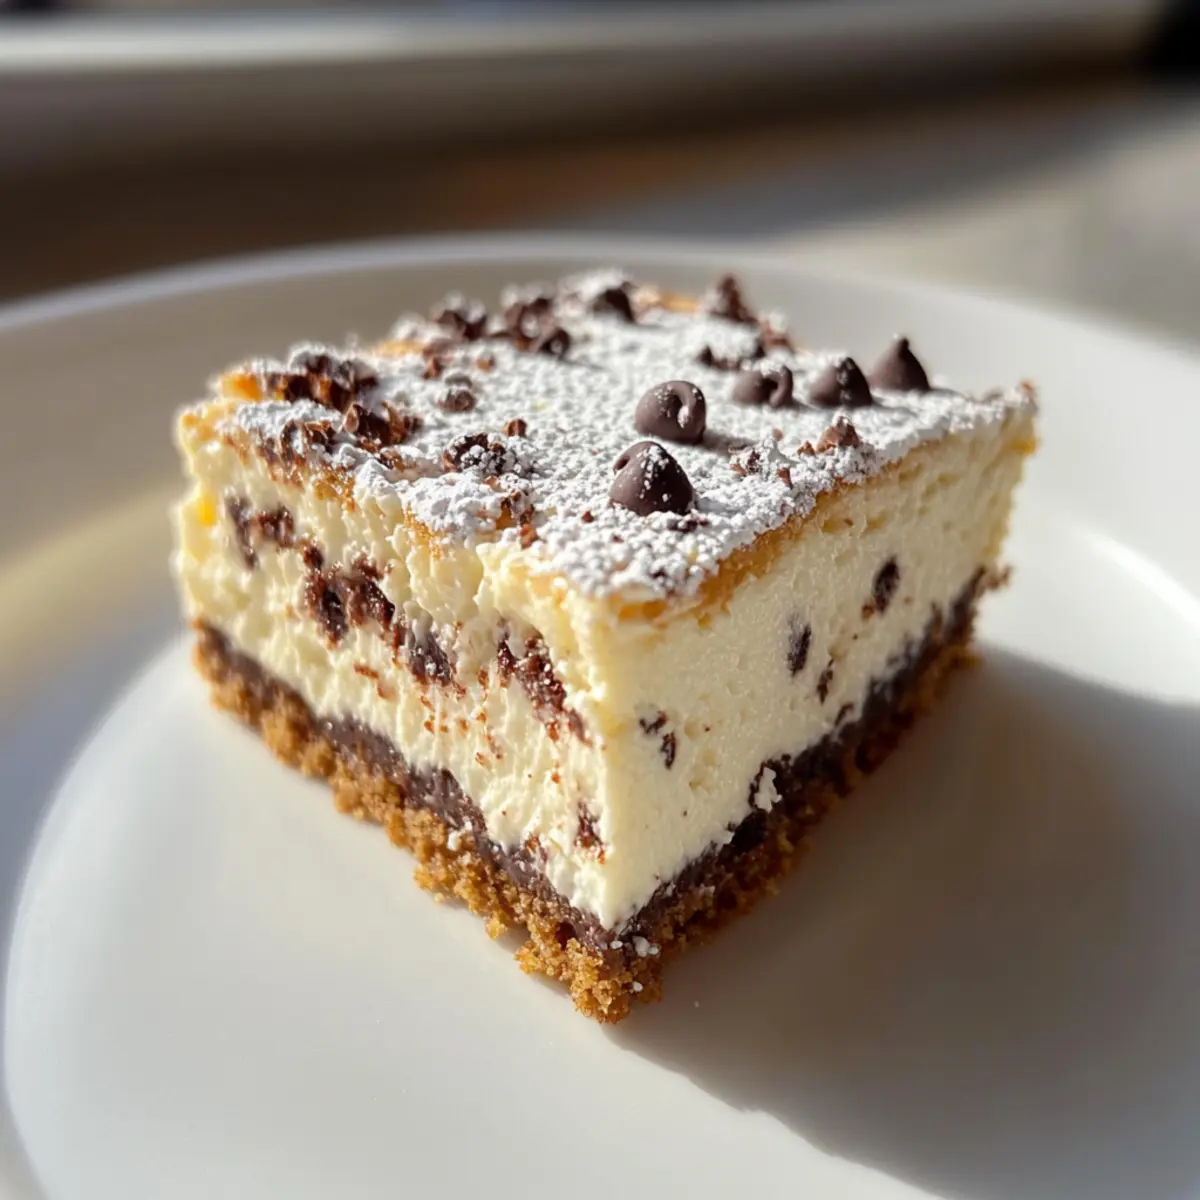
In a medium bowl, combine the graham cracker crumbs, sugar, and melted butter. Mix until the mixture resembles wet sand. Line a 9×9-inch baking pan with parchment paper, leaving an overhang for easy removal. Press the crumb mixture firmly into the bottom of the prepared pan, forming a slightly raised edge. Bake at 350°F for about 10 minutes until golden and fragrant, then let it cool slightly while preparing the filling.
Step 2: Make the Filling
Using an electric mixer, beat the room-temperature cream cheese and granulated sugar in a large bowl until smooth and creamy, about 2 minutes. Gradually add the eggs, one at a time, ensuring each is fully incorporated before adding the next. Mix in the vanilla extract and then gently fold in the ricotta cheese and mini chocolate chips, creating a luscious, thick batter for your Cannoli Cheesecake Bars.
Step 3: Bake the Bars
Pour the creamy filling over the pre-baked crust in the pan, smoothing the top with a spatula for an even layer. Bake in the preheated oven at 325°F for 40-45 minutes. Keep an eye on the edges; they should be set and slightly puffed while the center remains slightly jiggly. This indicates the perfect balance between a firm outer layer and a creamy interior.
Step 4: Cooling Process
Once baked, turn off the oven and crack the door open, allowing the Cannoli Cheesecake Bars to cool gradually for 30 minutes. This helps prevent cracking as they cool down. After the initial cooling, transfer the pan to room temperature to finish cooling for about 1 hour before refrigerating. For best flavor, chill in the fridge for at least 4 hours or, even better, overnight to fully set.
Step 5: Serve Your Creation
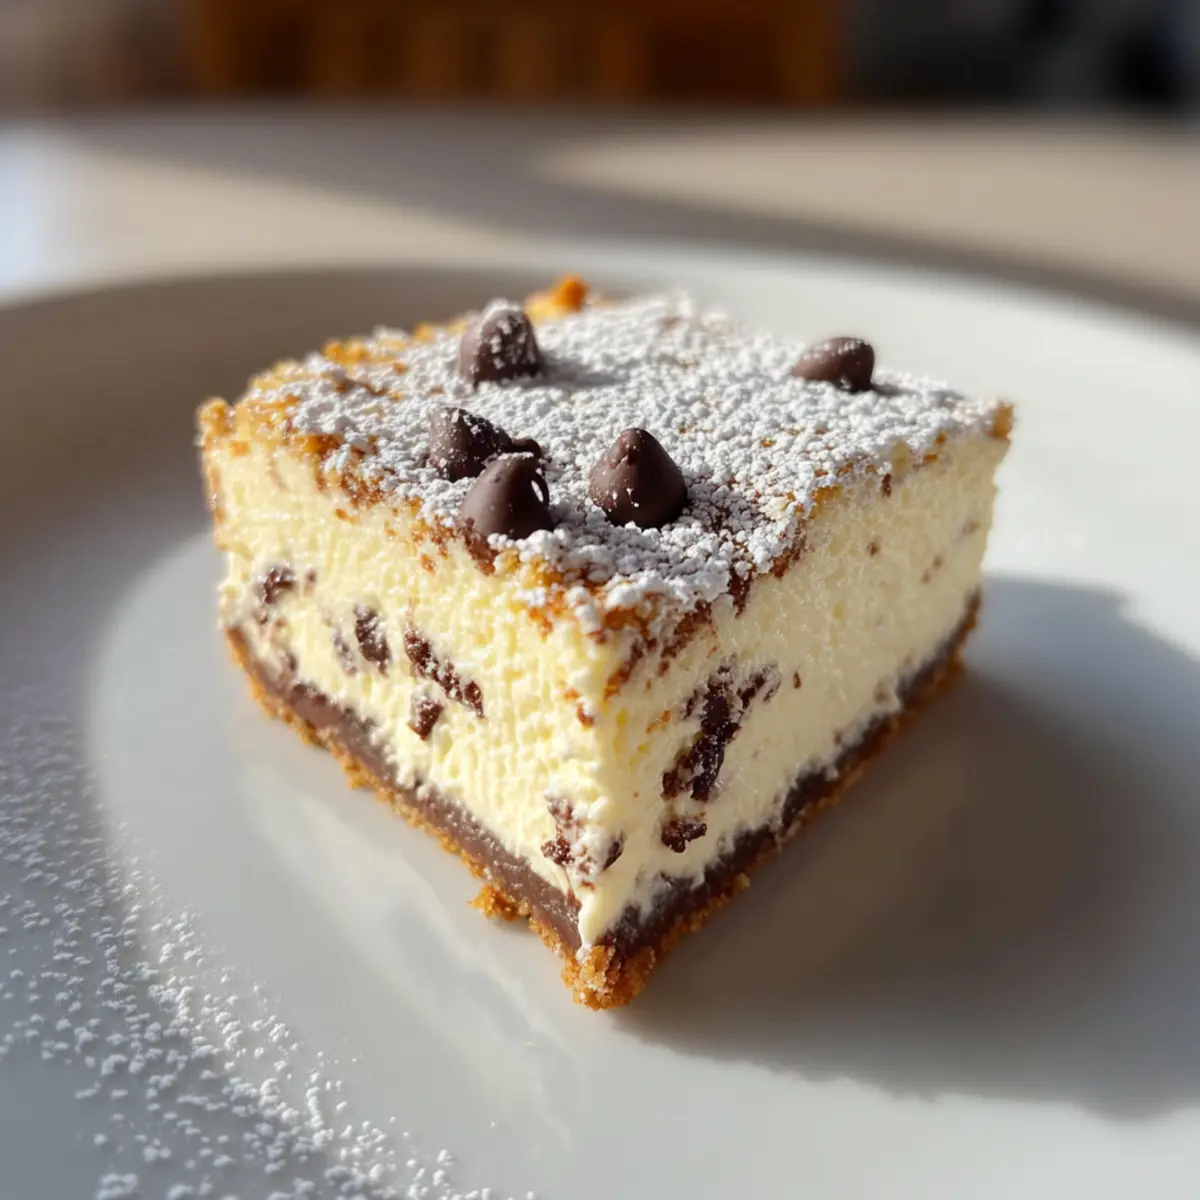
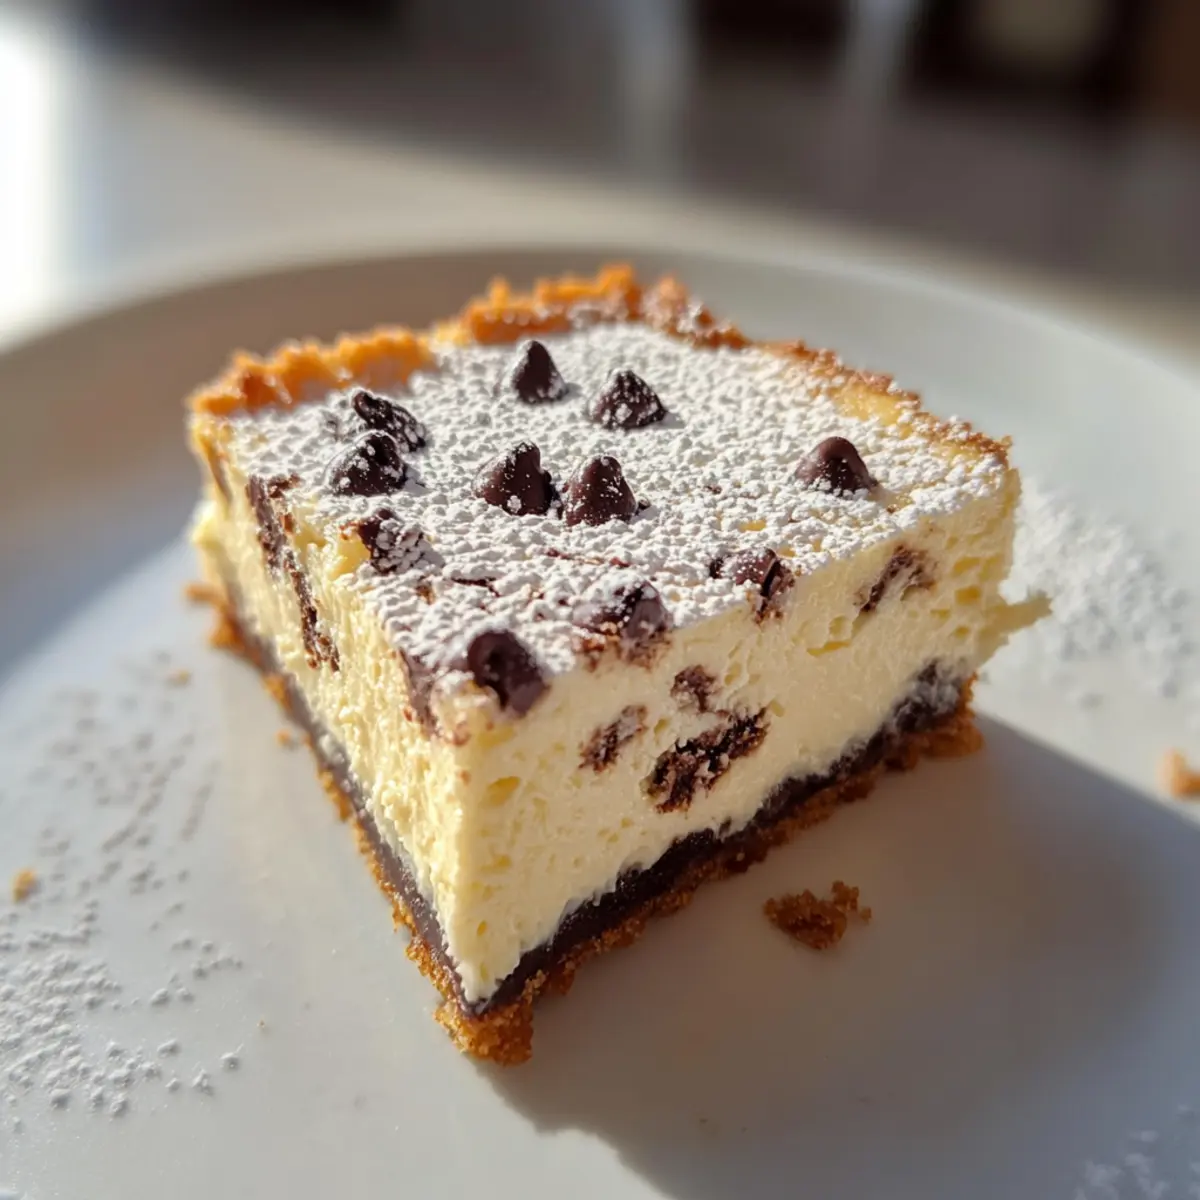
Before serving, remove the bars from the refrigerator and dust the top with powdered sugar for an elegant finish. Use the parchment overhang to lift the bars out of the pan and cut them into squares. Consider garnishing with additional mini chocolate chips or a sprinkle of orange zest to elevate your Cannoli Cheesecake Bars and offer a beautiful presentation to delight your guests.
How to Store and Freeze Cannoli Cheesecake Bars
- Fridge: Keep your Cannoli Cheesecake Bars in an airtight container. They’ll stay fresh in the refrigerator for up to 5 days, perfect for indulging at your leisure.
- Freezer: For longer storage, freeze individual bars wrapped in plastic wrap and then placed in a zip-top freezer bag. They’ll last for about 2 months.
- Thawing: To enjoy frozen bars, simply transfer them to the fridge to thaw overnight before serving, ensuring they’re ready for that perfect creamy texture.
- Reheating: If desired, you can enjoy them cold or warm. To warm, place in a 300°F oven for about 10 minutes, watching closely to avoid overheating.
What to Serve with Cannoli Cheesecake Bars
Elevate your dessert experience by pairing these sweet delights with complementary flavors and textures that enhance every bite.
-
Fresh Berries: A medley of strawberries, raspberries, and blueberries adds a burst of natural sweetness and tartness, balancing the rich cheesecake.
-
Whipped Cream: A dollop of freshly whipped cream creates a luxurious contrast to the creamy bars, making each slice feel even more indulgent.
-
Espresso Coffee: The bold flavors of a warm espresso elevate the dessert experience; the coffee’s bitterness beautifully complements the sweetness of the bars.
-
Chocolate Sauce: Drizzle warm chocolate sauce over the bars for an extra layer of decadence; its rich texture pairs perfectly with the creamy filling.
-
Pistachio Crumble: Add a sprinkle of crushed pistachios for a delightful crunch that complements the creamy texture, providing delightful contrast.
-
Orange Zest: For a refreshing kick, garnish with fresh orange zest; it awakens the flavors inherent in the cannoli and adds a pop of color.
These thoughtful pairings enhance the Cannoli Cheesecake Bars, turning your dessert into a joyous celebration of flavors and textures!
Cannoli Cheesecake Bars Variations
Feel free to personalize your Cannoli Cheesecake Bars with these fun twists and substitutions that will tantalize your taste buds!
- Gluten-Free: Substitute graham cracker crumbs with almond flour mixed with a bit of sugar for a delightful gluten-free alternative.
- Dairy-Free: Use coconut cream cheese and strained almond milk ricotta to enjoy these bars without dairy. The rich flavor remains intact, creating a creamy delight for all.
- Cottage Cheese Swap: Replace ricotta with cottage cheese. Just drain and blend until smooth for a protein-packed twist that still delivers on creaminess.
- Double the Batch: Try doubling the recipe and using a 9×13-inch pan. Just increase the baking time by 5-7 minutes for a larger crowd!
- Flavor Boost: Add a dash of orange or lemon zest to the filling for a fresh citrusy kick that complements the richness beautifully.
- Nutty Texture: Fold in some chopped nuts, like pistachios or walnuts, into the filling for added crunch and flavor variation that elevates your dessert experience.
- Miniature Bars: For bite-sized goodness, bake the filling in a mini muffin tin! Adjust the baking time accordingly, and enjoy mini indulgences perfect for parties.
- Chocolate Lovers: If you can’t get enough chocolate, swap in dark chocolate chips or drizzle melted chocolate over the bars before serving.
Don’t forget to explore the delightful combinations of my other dessert recipes, like Cheesecake Stuffed Baked Apples or treat yourself to some Pumpkin Cheesecake Balls. The possibilities are endless, and you can make these Cannoli Cheesecake Bars uniquely yours!
Expert Tips for Cannoli Cheesecake Bars
-
Room Temperature Cheese: Always use room-temperature cream cheese and ricotta; this prevents lumps and ensures a silky filling in your Cannoli Cheesecake Bars.
-
Don’t Rush Cooling: After baking, let the bars cool gradually in the oven with the door cracked. This step helps avoid cracks on the surface, making for a beautiful presentation.
-
Watch the Baking Time: Keep an eye on the edges; they should be set while the center remains slightly jiggly. Overbaking will lead to a dry texture, so trust your instincts!
-
Chill for Best Flavor: Allow the bars to chill overnight in the fridge for a more robust flavor and optimal texture; good things take time!
-
Presentation Matters: Dust with powdered sugar just before serving. This final touch enhances the visual appeal, making your Cannoli Cheesecake Bars not only delicious but also aesthetically pleasing.
Make Ahead Options
These Cannoli Cheesecake Bars are a fantastic option for busy home cooks looking to save time without sacrificing flavor! You can prepare the crust up to 24 hours in advance; simply mix the graham cracker crumbs, sugar, and melted butter, then press it into your pan. The filling can be made and stored in the refrigerator for up to 3 days—just wait to fold in the chocolate chips until you’re ready to bake to keep them from settling. When it’s time to enjoy, pour the chilled filling over the crust and bake as directed. Chill the finished bars in the fridge for at least 4 hours (preferably overnight) for the best flavor, ensuring they are just as delightful when served later!
Cannoli Cheesecake Bars Recipe FAQs
What type of graham crackers should I use for the crust?
You can use standard graham crackers for the crust; however, if you need a gluten-free option, I recommend using almond flour mixed with sugar for a deliciously nutty flavor. Just mix it with melted butter and press it into the pan before baking.
How long can I store my Cannoli Cheesecake Bars in the fridge?
Absolutely! You can store your Cannoli Cheesecake Bars in an airtight container in the refrigerator for up to 5 days. They’ll maintain their creamy texture and delicious flavor, perfect for those moments when you crave something sweet!
Can I freeze Cannoli Cheesecake Bars?
Yes, you can! For optimal results, wrap individual bars in plastic wrap and then store them in a zip-top freezer bag. They can be frozen for about 2 months. When you’re ready to enjoy them, just transfer the bars to the fridge to thaw overnight.
What if my cheesecake bars crack while baking?
Don’t worry if that happens! If your Cannoli Cheesecake Bars crack, it may be due to rapid cooling. To prevent this, once they are baked, turn off the oven and leave the door slightly ajar, allowing the bars to cool slowly for about 30 minutes. This technique helps maintain their structure!
Are there any allergies I should consider with the ingredients?
Yes, definitely! If anyone has dairy allergies, consider using coconut cream cheese and almond milk ricotta as dairy-free alternatives. Also, be mindful of nut allergies if using almond flour. Always check that your chocolate chips are allergy-friendly too!
Can I make substitute adjustments for dietary preferences?
Very much so! You can easily make these Cannoli Cheesecake Bars gluten-free using almond flour, and for a dairy-free option, swap cream cheese for coconut cream cheese and use almond milk ricotta. The flavors remain delightful, ensuring everyone can indulge without missing out!
Decadent Cannoli Cheesecake Bars That Wow in Every Bite
Ingredients
Equipment
Method
- In a medium bowl, combine the graham cracker crumbs, sugar, and melted butter. Mix until the mixture resembles wet sand. Line a 9x9-inch baking pan with parchment paper, leaving an overhang for easy removal. Press the crumb mixture firmly into the bottom of the prepared pan, forming a slightly raised edge. Bake at 350°F for about 10 minutes until golden and fragrant, then let it cool slightly while preparing the filling.
- Using an electric mixer, beat the room-temperature cream cheese and granulated sugar in a large bowl until smooth and creamy, about 2 minutes. Gradually add the eggs, one at a time, ensuring each is fully incorporated before adding the next. Mix in the vanilla extract and then gently fold in the ricotta cheese and mini chocolate chips, creating a luscious, thick batter.
- Pour the creamy filling over the pre-baked crust in the pan, smoothing the top with a spatula for an even layer. Bake in the preheated oven at 325°F for 40-45 minutes.
- Once baked, turn off the oven and crack the door open, allowing the bars to cool gradually for 30 minutes. After the initial cooling, transfer the pan to room temperature to finish cooling for about 1 hour before refrigerating. Chill in the fridge for at least 4 hours or overnight to fully set.
- Before serving, remove the bars from the refrigerator and dust the top with powdered sugar. Use the parchment overhang to lift the bars out of the pan and cut them into squares.
Leave a Reply