
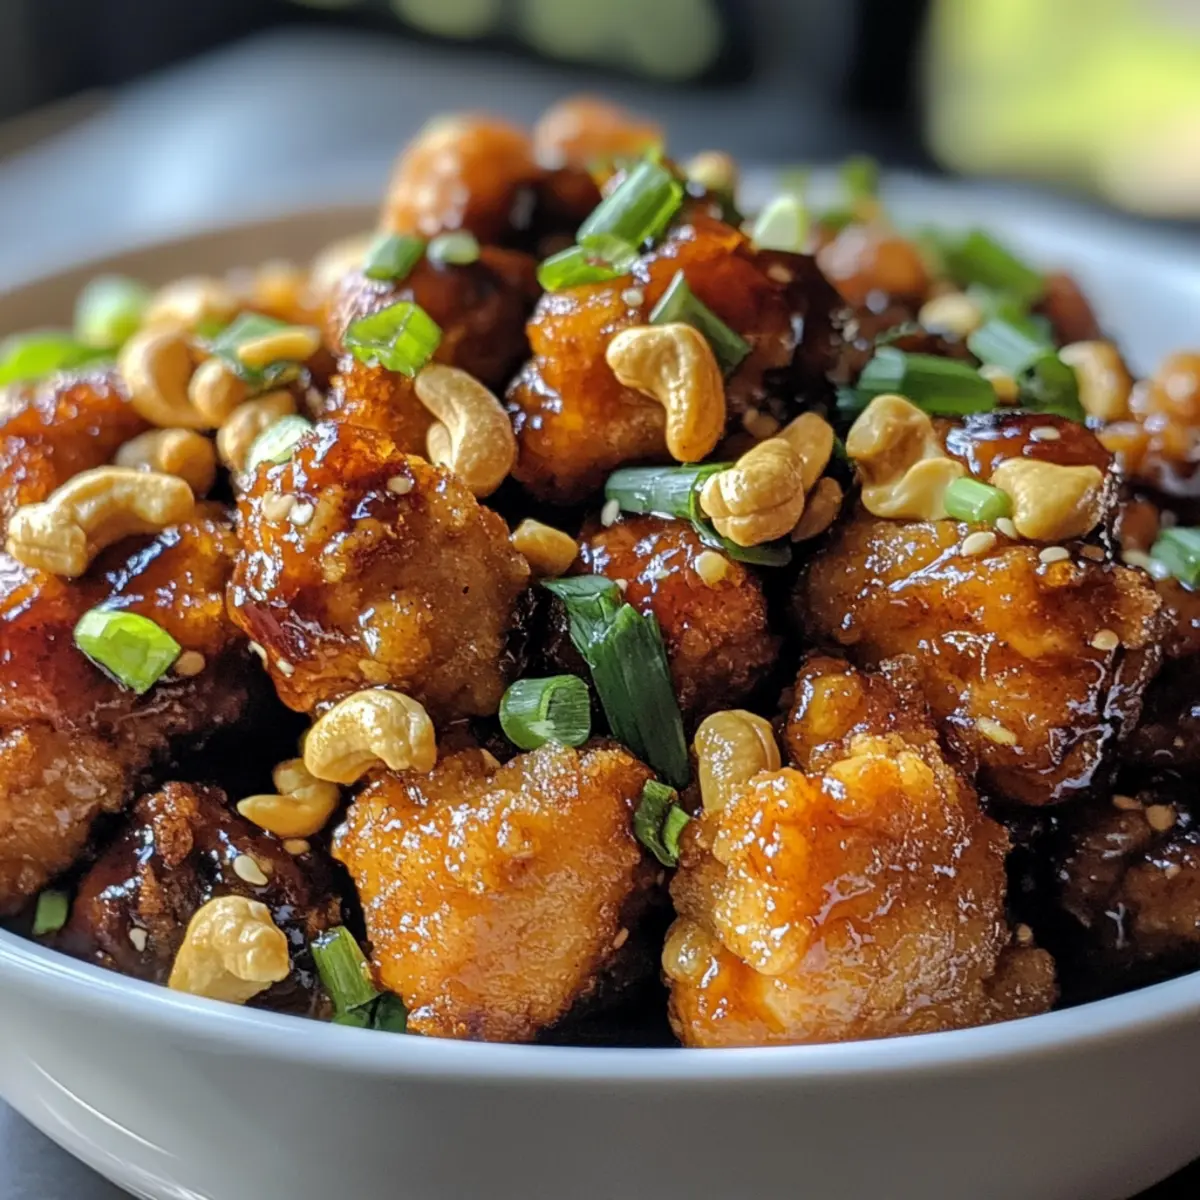
As the sizzling sounds of chicken frying in oil dance through the air, I’m reminded of my favorite go-to weeknight dish: Quick and Crispy Cashew Chicken. In just 20 minutes, this delightful meal transforms simple ingredients into a mouthwatering dinner that’s even better than your local takeout. One of the best parts? It’s wonderfully customizable, allowing you to choose between juicy chicken thighs or lean breast for the perfect bite. Plus, with its impressive flavor profile and the irresistible crunch of roasted cashews, you’ll never want to return to fast food again. Curious to see how this all comes together? Let’s dive into the recipe!
Why is Cashew Chicken a Game-Changer?
Quick preparation: In just 20 minutes, you’ll have a vibrant dinner ready to enjoy, making it ideal for busy weeknights.
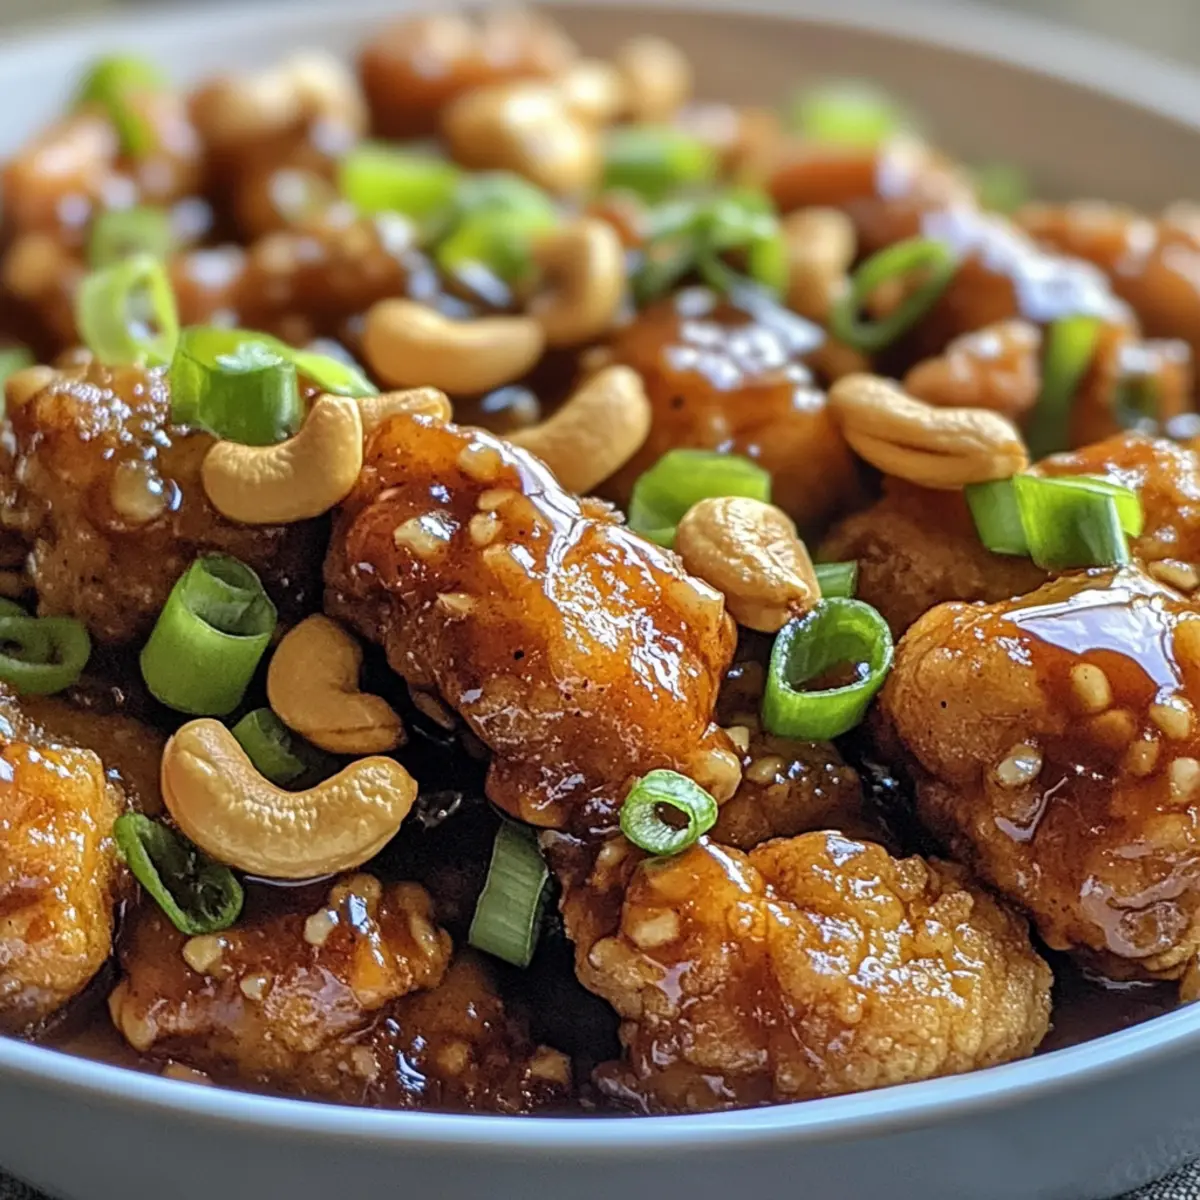
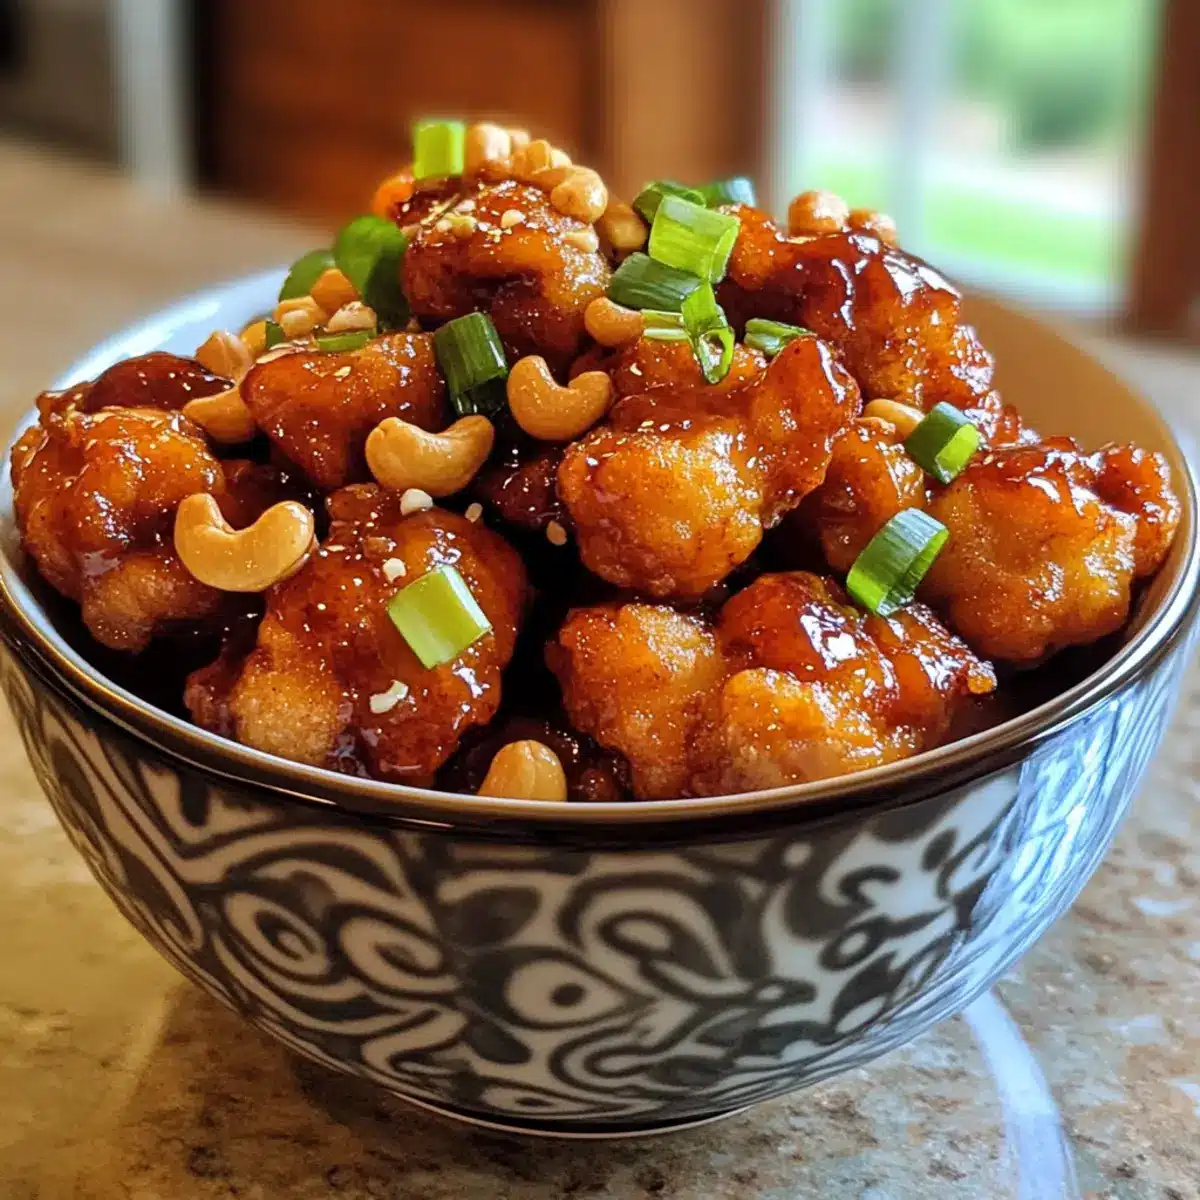
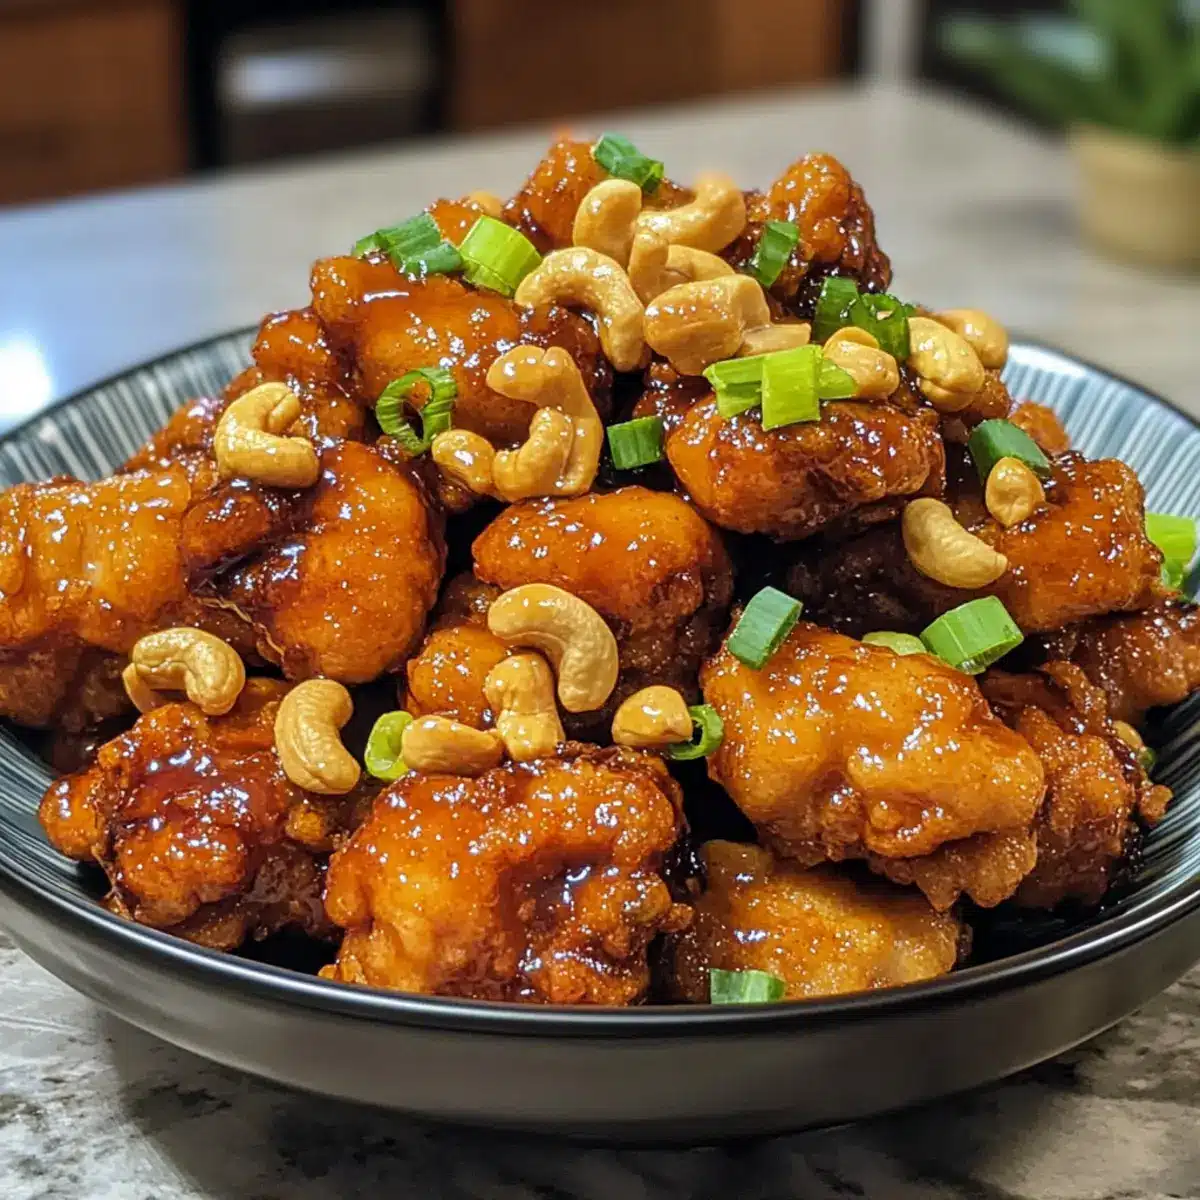
Irresistible crunch: The crispy, deep-fried chicken pairs perfectly with crunchy cashews, adding texture and excitement.
Flavor-packed sauce: A delightful blend of soy sauce, honey, and hoisin creates a rich, savory glaze that you’ll crave again and again.
Customizable options: Feel free to swap chicken thighs for breasts or toss in your favorite veggies for added nutrition and color.
Better than takeout: This dish not only rivals your favorite Chinese takeout but also surpasses it, delivering homemade quality and flavor right at home. Don’t forget to check out our other delicious chicken recipes like Garlic Parmesan Chicken and Sweet Chili Chicken for more inspiration!
Cashew Chicken Ingredients
Get ready to whip up this flavorful takeout-inspired dish at home!
For the Chicken
- Chicken thighs – Juicy and tender; you can use chicken breasts for a leaner alternative.
- Cornstarch – This is the secret to that fantastic crispy exterior and helps the sauce stick beautifully to the chicken.
- Oil – Use a high smoke-point oil like canola or plain olive oil for frying to achieve the perfect crunch.
For the Aromatics
- Garlic (2 cloves) – Fresh garlic adds a wonderful aromatic depth and flavor that is essential in this dish.
- Ginger (1 tsp, minced) – A classic ingredient in Chinese cuisine; it lends warmth and zest to the dish.
- Cashews – These are the stars of the dish, providing a satisfying crunch and nuttiness.
For the Sauce
- Chicken stock (¼ cup) – The base for your sauce, enriching the overall flavor profile.
- Soy sauce (2 tbsp) – A crucial ingredient for that umami flavor we all love in Cashew Chicken.
- Honey (2 tbsp) – It adds a lovely sweetness and helps thicken the sauce perfectly.
- Hoisin sauce (2 tsp) – A sweet and savory sauce that creates a rich flavor.
- Additional cornstarch (1 tsp) – Helps to thicken the sauce for that perfect glossy finish.
- Rice wine vinegar (½ tsp) – This balances the sweetness with a touch of acidity for a well-rounded sauce.
For the Finish
- Green onions (½ cup, sliced) – These add a pop of freshness and a mild onion flavor to brighten up the dish.
Step‑by‑Step Instructions for Cashew Chicken
Step 1: Prepare Sauce
In a medium bowl, whisk together the chicken stock, soy sauce, honey, hoisin sauce, cornstarch, and rice wine vinegar. This mixture will serve as a flavorful glaze, elevating your Cashew Chicken. Set the bowl aside, allowing the flavors to meld while you proceed to prep the chicken.
Step 2: Coat Chicken
Place the chicken thighs or breasts in a large bowl and sprinkle them with cornstarch. Using your hands, toss until the chicken is evenly coated, ensuring a fantastic crispy texture once fried. You’ll know it’s ready when every piece glistens with cornstarch, providing the perfect base for your takeout-style dish.
Step 3: Fry Chicken
Heat oil in a frying pan over medium-high heat until it reaches 350°F. Carefully add the coated chicken pieces, frying for about 2-3 minutes on each side until golden brown and crispy. Remove the chicken from the oil using a slotted spoon and let them drain on paper towels to remove excess grease.
Step 4: Sauté Aromatics
In a large skillet, heat 1 tablespoon of oil over medium heat. Once hot, add the minced garlic, ginger, and cashews, sautéing for 1 minute until fragrant and lightly toasted. Stir frequently to avoid burning the garlic, as this adds aromatic depth to your Cashew Chicken.
Step 5: Thicken Sauce
Pour the prepared sauce mixture into the skillet with the sautéed aromatics. Bring the sauce to a simmer, stirring constantly until it bubbles and thickens, which should take about 2-3 minutes. You’ll know it’s ready when it coats the back of a spoon, creating a glossy finish for your dish.
Step 6: Combine
Add the fried chicken back into the skillet, tossing gently to ensure each piece is generously coated with the thickened sauce. Cook for an additional minute, letting the chicken absorb the savory flavors, and watch as your Cashew Chicken transforms into a mouthwatering masterpiece.
Step 7: Finish
Remove the skillet from heat and stir in the sliced green onions for a fresh burst of flavor. Serve your vibrant Cashew Chicken immediately over steamed rice or alongside fried rice for a complete meal that beats takeout any day!
Expert Tips for Cashew Chicken
-
Timing is Key: Ensure you prepare all your ingredients beforehand; this allows you to work quickly during cooking and avoid burning any components.
-
Fry in Batches: To prevent overcrowding the pan, fry the chicken in small batches. This maintains oil temperature for that crispy exterior you desire in your Cashew Chicken.
-
Cornstarch Coating: Make sure the chicken is evenly coated with cornstarch; lumps may result in uneven crispiness. This step is crucial for achieving that desirable crunch.
-
Monitor Sauce Thickness: Keep an eye on the sauce while it thickens; overcooking can lead to a sticky mess rather than a glossy finish. Stir constantly for the best texture.
-
Customize to Taste: Don’t hesitate to add your favorite veggies to the dish, but make sure they’re pre-cooked to ensure even cooking and avoid sogginess.
Cashew Chicken Variations & Substitutions
Get ready to personalize your dish and take your Cashew Chicken to new heights with these delightful twists!
- Lean Option: Swap chicken thighs for chicken breasts for a healthier twist without sacrificing flavor.
- Nut Alternative: Use peanuts instead of cashews for a different crunch and flavor profile. They add a great saltiness that complements the sweet sauce perfectly.
- Vegetable Boost: Toss in mixed vegetables like bell peppers or broccoli for a colorful and nutritious addition that brings a satisfying crunch to every bite.
- Spicy Kick: Add a teaspoon or two of sriracha or crushed red pepper flakes for some heat that’ll tantalize your taste buds. It’s amazing how a little spice can elevate the dish!
- Coconut Flavor: Incorporate coconut milk in the sauce for a creamy tropical twist, adding richness and depth that’s completely irresistible.
- Gluten-Free: Substitute soy sauce with tamari to make this dish gluten-free while keeping all that fantastic umami flavor. It’s a small swap that everyone can enjoy!
- Citrus Zest: Squeeze in fresh lime or lemon juice to brighten the flavors, making the dish refreshing and vibrant. This little trick can make such a difference!
- Sweet Variation: For a fruity twist, add some pineapple chunks alongside the cashews to introduce sweetness and a delightful chewiness that harmonizes beautifully with the sauce.
Feel free to mix and match these ideas according to your taste! Don’t forget to check out our other delightful chicken recipes like Jalapeno Popper Chicken or Hot Honey Chicken for more inspiration!
Make Ahead Options
These Quick and Crispy Cashew Chicken nuggets are perfect for meal prep enthusiasts! You can prepare the sauce up to 3 days in advance; simply combine the chicken stock, soy sauce, honey, hoisin sauce, cornstarch, and rice vinegar in a bowl and refrigerate. For the chicken, coat it with cornstarch and store it in an airtight container for up to 24 hours before frying to maintain its crispy texture. When you’re ready to enjoy, just fry the chicken until golden, sauté the aromatics, and add the sauce mixture until thickened. This way, you’ll have a homemade meal that’s just as delicious and quicker than takeout!
How to Store and Freeze Cashew Chicken
Fridge: Store leftover Cashew Chicken in an airtight container for up to 3 days. This keeps the flavors intact while preventing spoilage.
Freezer: If you want to store the dish for longer, freeze it in an airtight container for up to 3 months. Be sure to let it cool completely before freezing to maintain quality.
Reheating: To enjoy your Cashew Chicken again, reheat it in the microwave or in a skillet over medium heat. Stir occasionally and add a splash of water or chicken stock if the sauce has thickened too much.
Thawing: For frozen leftovers, thaw overnight in the fridge before reheating. This ensures even heating and preserves the delicious flavors.
What to Serve with Quick and Crispy Cashew Chicken
Elevate your takeout-inspired meal with delightful sides that complement the rich flavors of this dish.
- Steamed Jasmine Rice: A fragrant base that absorbs the sticky sauce beautifully, making every bite a dream.
- Stir-Fried Vegetables: Colorful and crunchy, they bring freshness and nutrition, balancing the dish’s richness perfectly.
- Cool Cucumber Salad: This refreshing side adds a crisp bite and subtle tang, giving a nice contrast to the warm chicken.
Pairing your Cashew Chicken with these colorful sides creates a vibrant, balanced meal that satisfies on every level. Enjoy the harmony of flavors and textures!
Cashew Chicken Recipe FAQs
What type of chicken is best for Cashew Chicken?
Absolutely! Both chicken thighs and breasts work beautifully for this Cashew Chicken recipe. Chicken thighs lend a juicy richness, while breasts offer a leaner option for those watching their calories. It’s all about your preference!
How should I store leftover Cashew Chicken?
Store any leftover Cashew Chicken in an airtight container in the fridge for up to 3 days. This keeps the flavors fresh and prevents spoilage. When you’re ready to enjoy it again, simply reheat in the microwave or on the stovetop.
Can I freeze Cashew Chicken?
Very! You can freeze your Cashew Chicken for up to 3 months. To freeze, let the dish cool completely, then place it in an airtight container or heavy-duty freezer bag. Make sure to remove as much air as possible before sealing. Thaw in the fridge overnight when you’re ready to eat it and reheat as directed.
What if my Cashew Chicken sauce is too thick?
No worries! If your sauce turns out too thick after cooking, simply add a splash of chicken stock or water while stirring over low heat. This will loosen the sauce and ensure it coats the chicken nicely without being overly sticky.
Are there any allergy considerations with Cashew Chicken?
Yes, indeed! Keep in mind that cashews are a common allergen, so if you’re cooking for someone with nut allergies, consider using a different crunchy ingredient like sunflower seeds or omit the nuts entirely. Always check labels for soy sauce if there are concerns regarding gluten or allergies.
Can I make the sauce ahead of time?
Absolutely! You can prepare the sauce up to a week in advance. After mixing the ingredients—chicken stock, soy sauce, honey, hoisin sauce, cornstarch, and rice vinegar—store it in the fridge in an airtight container. This way, when it’s time to cook, you can skip some prep and dive straight into making your delicious Cashew Chicken!
Quick Cashew Chicken That Beats Takeout Every Time
Ingredients
Equipment
Method
- Prepare Sauce: In a medium bowl, whisk together the chicken stock, soy sauce, honey, hoisin sauce, cornstarch, and rice wine vinegar. Set aside.
- Coat Chicken: Place the chicken in a large bowl and sprinkle with cornstarch. Toss until evenly coated.
- Fry Chicken: Heat oil in a frying pan over medium-high heat. Fry chicken pieces for 2-3 minutes on each side until golden brown. Drain on paper towels.
- Sauté Aromatics: In a large skillet, heat 1 tablespoon of oil and add garlic, ginger, and cashews. Sauté for 1 minute until fragrant.
- Thicken Sauce: Pour prepared sauce into the skillet and simmer, stirring constantly until thickened, about 2-3 minutes.
- Combine: Add fried chicken back into the skillet, tossing to coat with the sauce. Cook for an additional minute.
- Finish: Remove from heat and stir in green onions. Serve immediately over rice.
Leave a Reply