
I was chatting with a friend recently when she exclaimed, “I can’t believe it’s already time to bake for the holidays!” The festive season brings the magic of family gatherings and, of course, the joy of indulging in delicious homemade treats. One of my absolute favorites to whip up is the Christmas Red Velvet Cheesecake. This showstopper is more than just a dessert—it’s a focal point for any holiday table, marrying the rich tradition of red velvet cake with the creaminess of cheesecake. Not only does it boast a visually stunning appearance, but it also offers the incredible perk of being a crowd-pleaser that can be made ahead of time. Trust me, your loved ones will rave about it! Are you ready to discover how to create this festive delight? Let’s dive in!
Why is This Cheesecake a Holiday Favorite?
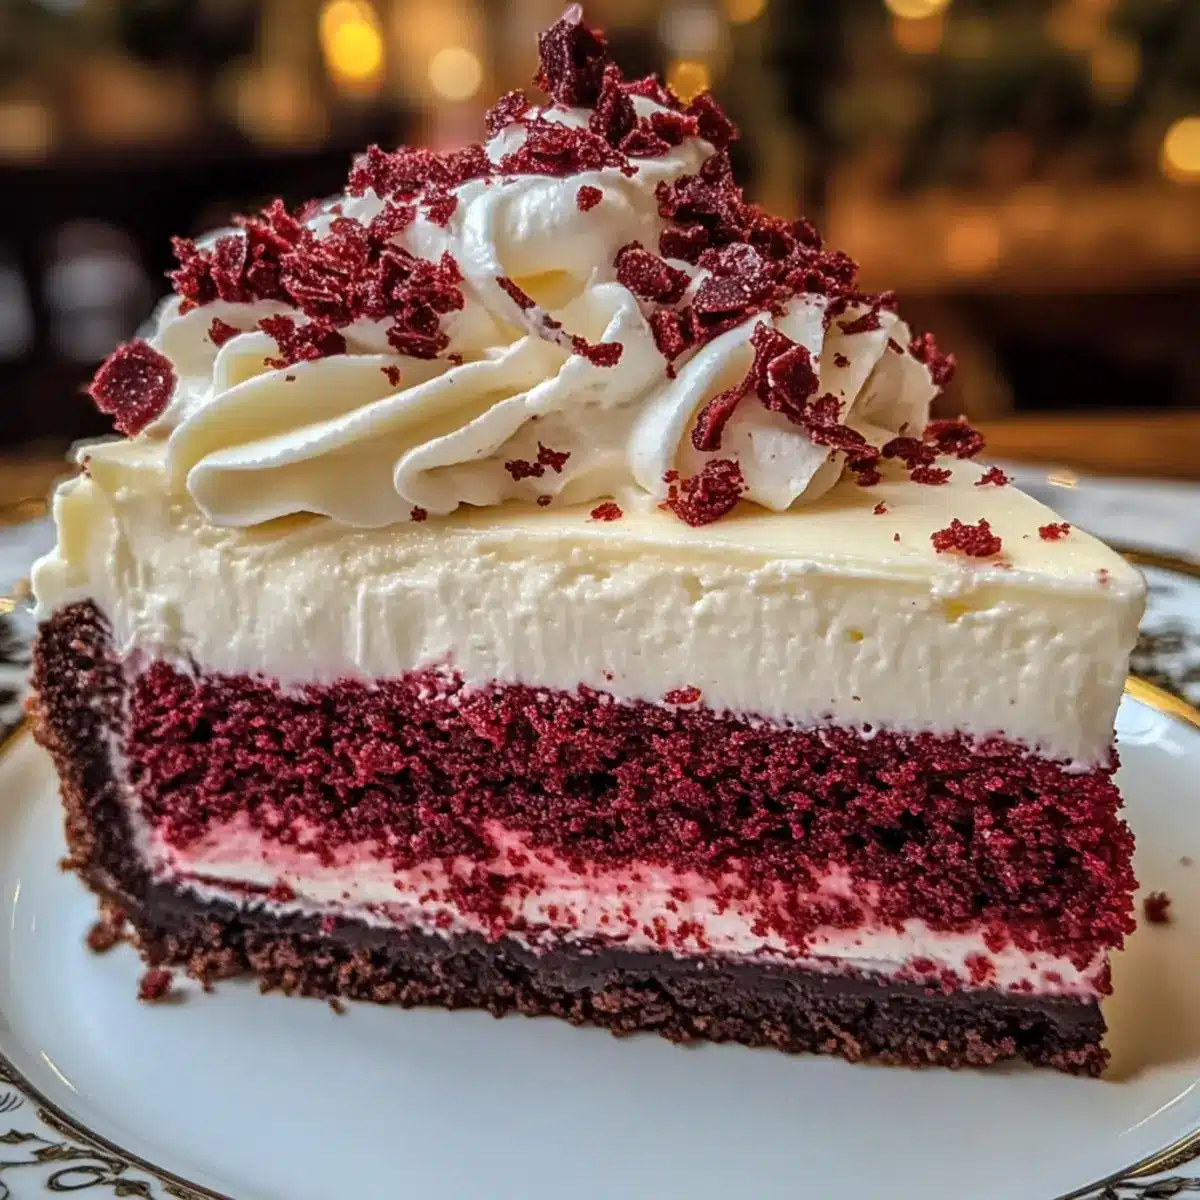
Indulgent Delight: This Christmas Red Velvet Cheesecake is the ultimate holiday treat that combines rich flavors and creamy textures, making it impossible to resist.
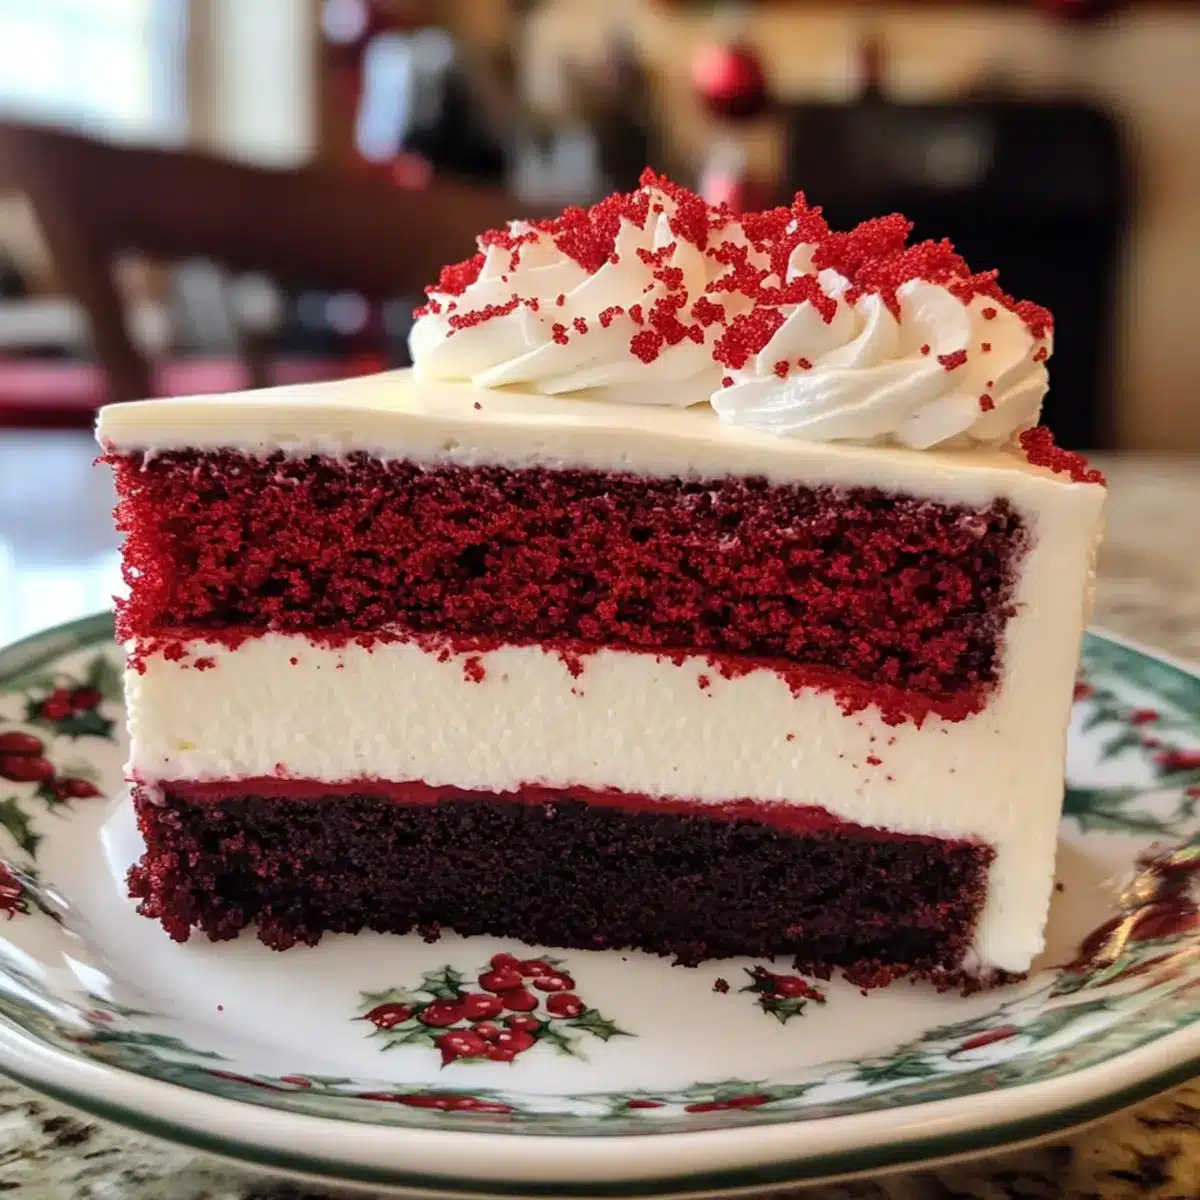
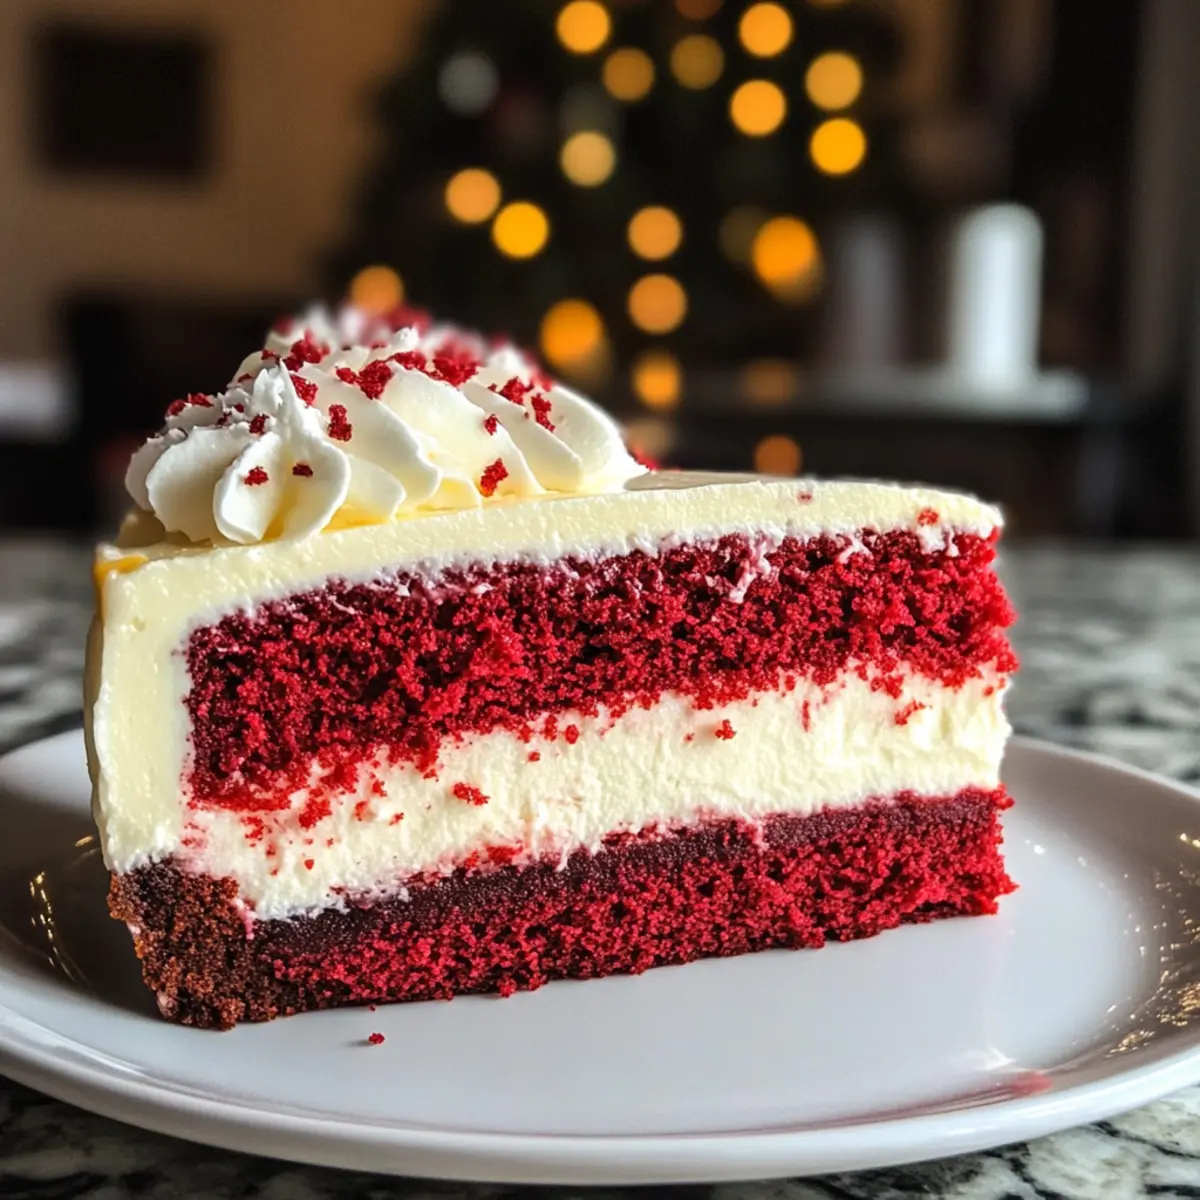
Visually Stunning: The vibrant red and creamy layers are sure to impress your guests, turning your dessert into a festive centerpiece.
Make-Ahead Magic: Preparing this cheesecake the day before saves time and allows the flavors to meld beautifully, ensuring a stress-free celebration.
Versatility: Personalize your cheesecake with fun variations, like using peppermint extract or topping it with crushed candies for a unique twist.
Easy to Share: Slice it up and serve with fresh berries or whipped cream, making it perfect for gatherings and family dinners.
This cheesecake will have everyone coming back for seconds! If you’re inspired by festive flavors, don’t forget to explore wonderful recipes like Pumpkin Cheesecake Truffles or Cheesecake Stuffed Baked Apples.
Christmas Red Velvet Cheesecake Ingredients
For the Cake Layers
- All-purpose flour – Provides structure; consider substituting with gluten-free flour for a delicious gluten-free option.
- Unsweetened cocoa powder – Adds a rich chocolate flavor; make sure it’s high-quality for the best taste.
- Baking powder – Helps the cake rise beautifully.
- Baking soda – Boosts leavening alongside baking powder for a light texture.
- Salt – Enhances the overall flavor profile.
- Granulated sugar – Sweetens and adds moisture; coconut sugar is a great alternative for a healthier option.
- Vegetable oil – Keeps the cake moist; melted coconut oil works wonderfully as a substitute.
- Buttermilk – Adds a delightful tang; you can use milk mixed with vinegar if you’re in a pinch.
- Large eggs – Binds the mixture together and adds moisture; using room temperature eggs helps with even mixing.
- Red food coloring – Gives the cake its signature vibrant hue; opt for gel food coloring for the best impact.
- Vanilla extract – A must-have for flavor enhancement.
- White vinegar – Reacts with baking soda to lift the cake; lemon juice can also do the trick nicely.
For the Cheesecake Layer
- Cream cheese (16 oz) – The key to a creamy cheesecake layer; light cream cheese is a suitable alternative for a lower-calorie option.
- Granulated sugar (for cheesecake) – Sweetens the cheesecake filling to perfection.
- Sour cream – Adds creaminess and tang; Greek yogurt can be used as a substitute for a lighter option.
For the Frosting
- Unsalted butter – Essential for achieving a fluffy texture in the frosting.
- Powdered sugar – Ensures a smooth, sweet consistency for the frosting.
This exquisite Christmas Red Velvet Cheesecake is designed to captivate your guests and provide a memorable centerpiece for your holiday gatherings!
Step‑by‑Step Instructions for Christmas Red Velvet Cheesecake
Step 1: Preheat Your Oven
Begin by preheating your oven to 350°F (175°C). This ensures that as soon as you finish preparing your cake layers, the oven is ready for baking. While the oven warms up, you can prepare your cake pans by greasing and lining them with parchment paper, so your Christmas Red Velvet Cheesecake layers release easily after baking.
Step 2: Mix Dry Ingredients
In a large mixing bowl, whisk together 2 cups of all-purpose flour, 1 tablespoon of unsweetened cocoa powder, 1 teaspoon of baking powder, 1 teaspoon of baking soda, and ½ teaspoon of salt. This dry mix will provide the structure for your cake layers. Ensure everything is combined well, and set this bowl aside while you prepare the wet ingredients.
Step 3: Combine Wet Ingredients
In another bowl, mix together 1¾ cups of granulated sugar, 1 cup of vegetable oil, 1 cup of buttermilk, 2 large eggs, 2 teaspoons of vanilla extract, 2 tablespoons of red food coloring, and 1 teaspoon of white vinegar using an electric mixer. Beat until the mixture is smooth and well combined. The color should be vibrant and the consistency smooth, which is crucial for a delicious Christmas Red Velvet Cheesecake.
Step 4: Combine Mixtures
Gently add the dry ingredient mixture into the bowl with the wet ingredients. Using a spatula or mixer on low speed, combine until just mixed; avoid overmixing as this can toughen your cake. Once the batter is formed, it should be light and fluffy with a beautiful red hue characteristic of your festive cheesecake.
Step 5: Bake the Cake Layers
Divide the cake batter evenly between your prepared pans. Bake in the preheated oven for 25-30 minutes or until a toothpick inserted in the center comes out clean. Once done, remove the pans from the oven and allow the layers to cool for about 10 minutes in the pans before transferring them onto a wire rack to cool completely.
Step 6: Prepare the Cheesecake Filling
In a mixing bowl, beat together 16 oz of cream cheese, ¾ cup of granulated sugar, 1 cup of sour cream, 2 large eggs, and 1 teaspoon of vanilla extract. Mix until smooth and creamy, ensuring all the cream cheese is fully incorporated with no lumps; this will create a rich and velvety cheesecake layer for your Christmas Red Velvet Cheesecake.
Step 7: Bake the Cheesecake Layer
Pour the cheesecake filling into a greased 9-inch springform pan. Place it in the same oven at 325°F (160°C) for about 50-60 minutes or until the edges are set, and the center jiggles slightly. Once done, turn off the oven and leave the cheesecake inside with the door ajar for about 1 hour, which helps prevent cracking as it cools.
Step 8: Assemble the Cake
Carefully remove the cooled red velvet layers and cheesecake from their respective pans. Start by placing one layer of red velvet on a serving plate, followed by a layer of cheesecake. Top with the second red velvet layer, and refrigerate the entire cake for at least 4 hours, or overnight, to allow the flavors to meld beautifully in your Christmas Red Velvet Cheesecake.
Step 9: Prepare the Frosting
While the cake chills, make the frosting by creaming together ½ cup of unsalted butter with 2 cups of powdered sugar and 1 teaspoon of vanilla extract until fluffy and spreadable. The frosting should be smooth and creamy, making it perfect for decorating your festive dessert.
Step 10: Frost and Serve
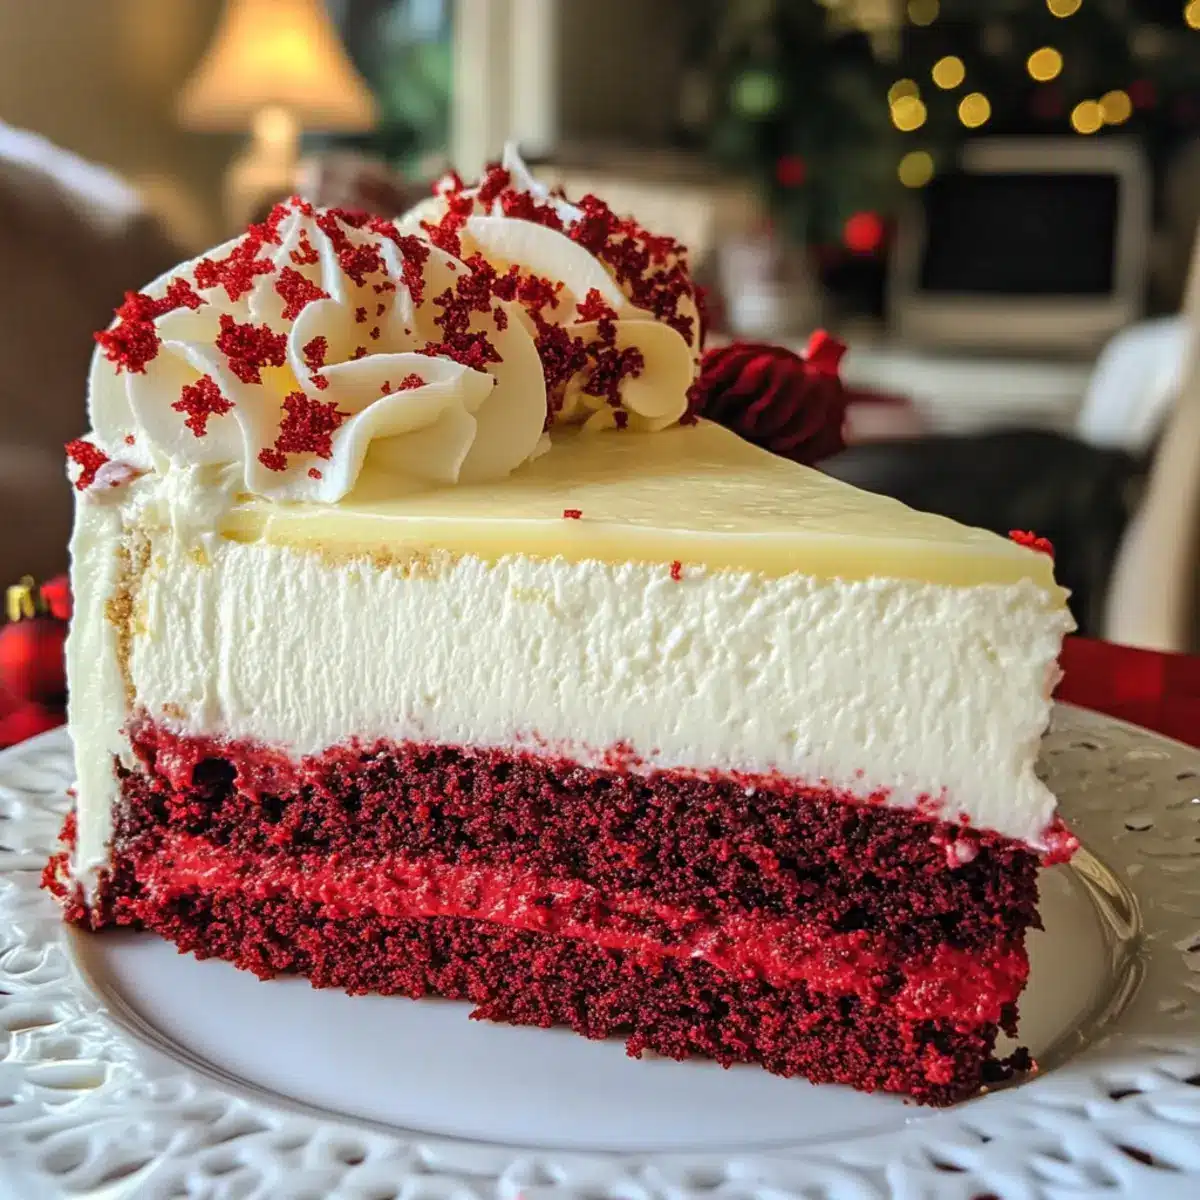
Once chilled, it’s time to frost your Christmas Red Velvet Cheesecake. Spread the prepared frosting evenly over the top and sides of the cake, smoothing it out for a beautiful finish. Slice into generous pieces and serve cold, ideally garnished with fresh berries or festive sprinkles to create a stunning centerpiece for your holiday gathering.
Expert Tips for Christmas Red Velvet Cheesecake
-
Room Temperature Ingredients: Ensure all your ingredients, including cream cheese and eggs, are at room temperature for a smoother batter and better blending.
-
Mix Gently: Avoid overmixing the batter after adding dry ingredients. Overmixing can lead to a dense cake, which is not ideal for your Christmas Red Velvet Cheesecake.
-
Cooling Time: Allow the cheesecake layer to cool completely in the oven with the door ajar. This prevents cracking and results in a silky-smooth texture.
-
Chill Before Serving: For the best flavor and texture, chill the assembled cake for several hours or overnight. This helps all the flavors meld beautifully.
-
Safety First: Always keep an eye on your baking times. Every oven is different, so check for doneness a few minutes early to avoid overbaking!
Christmas Red Velvet Cheesecake Variations
Feel free to get creative with your Christmas Red Velvet Cheesecake! Your taste buds will thank you for the delightful twists.
- Gluten-Free: Substitute all-purpose flour with a gluten-free blend to enjoy a deliciously inclusive dessert.
- Natural Color: Use natural beet juice instead of red food coloring for a vibrant hue and added nutrients.
- Flavor Twist: Infuse your cheesecake layer with peppermint or almond extract for a festive flavor boost.
- Fruit Enhancements: Add a layer of fresh raspberries or strawberries between the cake and cheesecake for a refreshing surprise.
- Crunchy Topping: Top with crushed peppermint candies or chocolate shavings for added texture and a festive crunch.
- Lower-Sugar Option: Swap granulated sugar for coconut sugar or a sugar alternative to make a lighter version without sacrificing flavor.
- Vegan Version: Use flax eggs, dairy-free cream cheese, and coconut milk for a vegan-friendly festive treat.
- Boozy Indulgence: Incorporate a splash of rum or Kahlua into the frosting for a subtle kick that’s perfect for holiday celebrations.
Each of these variations allows you to personalize the Christmas Red Velvet Cheesecake to fit your family’s tastes or dietary needs. And if you’re looking for more cheesecake inspiration, consider trying out the delightful Pumpkin Cheesecake Balls or the elegant Chocolate Chip Cheesecake Cookies. Happy baking!
Make Ahead Options
Preparing the Christmas Red Velvet Cheesecake in advance is a brilliant strategy for busy home cooks! You can bake the red velvet cake layers and the cheesecake layer up to 24 hours ahead of time, allowing them to cool completely before wrapping tightly in plastic wrap and refrigerating. This not only saves time on the day of serving but also ensures the flavors meld beautifully overnight. When you’re ready to serve, simply assemble the layers by stacking the red velvet with the cheesecake and refrigerating the entire cake for an additional 4 hours to set. This approach guarantees a stunning and delicious dessert that will impress your guests, all while keeping your holiday stress-free!
What to Serve with Christmas Red Velvet Cheesecake
The holidays are the perfect time to create a memorable meal around your festive dessert that tantalizes every sense.
- Creamy Mashed Potatoes: Their buttery richness provides a comforting contrast to the cheesecake’s indulgent sweetness.
- Honey-Glazed Carrots: The sweet glaze emphasizes the holiday spirit and complements the cheesecake’s chocolate notes beautifully.
- Light Spinach Salad: A fresh mix of greens pairs well, offering a refreshing balance that cuts through the cheesecake’s creaminess. Topped with a tangy vinaigrette, it adds zest to your meal.
- Sparkling Wine: This bubbly drink can elevate the dessert experience, as its effervescence cleanses the palate between rich bites.
- Gingerbread Cookies: These festive treats echo holiday flavors and add a fun touch for those indulging in after-dinner sweets.
- Hot Chocolate: For a cozy twist, pairing with a warm cup of hot chocolate filled with marshmallows can create a comforting winter atmosphere.
Whether you’re creating a grand holiday feast or a simple gathering, these pairings will complement your Christmas Red Velvet Cheesecake perfectly!
How to Store and Freeze Christmas Red Velvet Cheesecake
Fridge: Store in an airtight container for up to 5 days, ensuring each slice is well-covered to maintain moisture and flavor.
Freezer: Wrap the cheesecake tightly in plastic wrap and then foil; it can be frozen for up to 2 months without losing its rich taste.
Thawing: To enjoy frozen Christmas Red Velvet Cheesecake, transfer it to the fridge to thaw overnight before serving; this helps preserve its creamy texture.
Reheating: There’s no need to reheat; serve cold to experience the perfect combination of flavors and textures!
Christmas Red Velvet Cheesecake Recipe FAQs
What type of red food coloring should I use for the red velvet layers?
I highly recommend using gel food coloring rather than liquid food coloring. Gel food coloring provides a more vibrant hue without adding too much extra liquid to your cake batter, ensuring a perfect red color and the right consistency for your Christmas Red Velvet Cheesecake.
How should I store leftover cheesecake?
Store any leftover slices in an airtight container in the refrigerator for up to 5 days. I often cover each slice with plastic wrap before placing them in the container to keep them moist and flavorful. Just make sure to layer them carefully to avoid any crushing.
Can I freeze this cheesecake? How should I do it?
Absolutely! To freeze your Christmas Red Velvet Cheesecake, first wrap it tightly in plastic wrap, then in aluminum foil to protect it from freezer burn. You can freeze it for up to 2 months. When you’re ready to enjoy it again, simply transfer it to the refrigerator to thaw overnight; this method helps preserve its creamy texture.
What if my cheesecake cracks while baking?
If you find that your cheesecake cracks, it usually results from baking at too high a temperature or not allowing it to cool gradually. To prevent this, always bake at the recommended temperature and leave the cheesecake in the oven with the door ajar for about an hour after baking. If it does crack, don’t worry! You can cover it with frosting later—it’ll still taste delicious!
Is there a gluten-free option for this cheesecake?
Yes, you can easily make this Christmas Red Velvet Cheesecake gluten-free! Simply replace the all-purpose flour with a gluten-free flour blend. Many of these blends work well as a 1:1 substitute, but make sure to check the packaging for any specific instructions. Your cheesecake will be just as delightful without the gluten!
Can pets eat any part of this cheesecake?
It’s best to keep this cheesecake away from pets, as some ingredients, like sugar and chocolate, can be harmful to them. Always ensure that your holiday treats are enjoyed by human guests only, as our furry friends deserve their special treats that are safe for them!
Decadent Christmas Red Velvet Cheesecake for Holiday Joy
Ingredients
Equipment
Method
- Preheat your oven to 350°F (175°C) and prepare your cake pans by greasing and lining them with parchment paper.
- In a large mixing bowl, whisk together the flour, cocoa powder, baking powder, baking soda, and salt.
- In another bowl, mix together the granulated sugar, vegetable oil, buttermilk, eggs, vanilla extract, red food coloring, and white vinegar using an electric mixer.
- Gently add the dry ingredient mixture into the bowl with the wet ingredients and combine until just mixed.
- Divide the cake batter evenly between your prepared pans and bake for 25-30 minutes.
- Remove the pans from the oven and allow the layers to cool for about 10 minutes before transferring them onto a wire rack.
- In a mixing bowl, beat together the cream cheese, granulated sugar, sour cream, eggs, and vanilla extract until smooth.
- Pour the cheesecake filling into a greased 9-inch springform pan and bake at 325°F (160°C) for about 50-60 minutes.
- After baking, leave the cheesecake inside the oven with the door ajar for about 1 hour to cool.
- Assemble the cake by layering the red velvet and cheesecake, then refrigerate for at least 4 hours, or overnight.
- Make the frosting by creaming together the butter, powdered sugar, and vanilla extract until fluffy.
- Once chilled, frost the cheesecake and serve cold, garnished with fresh berries or festive sprinkles.
Leave a Reply