
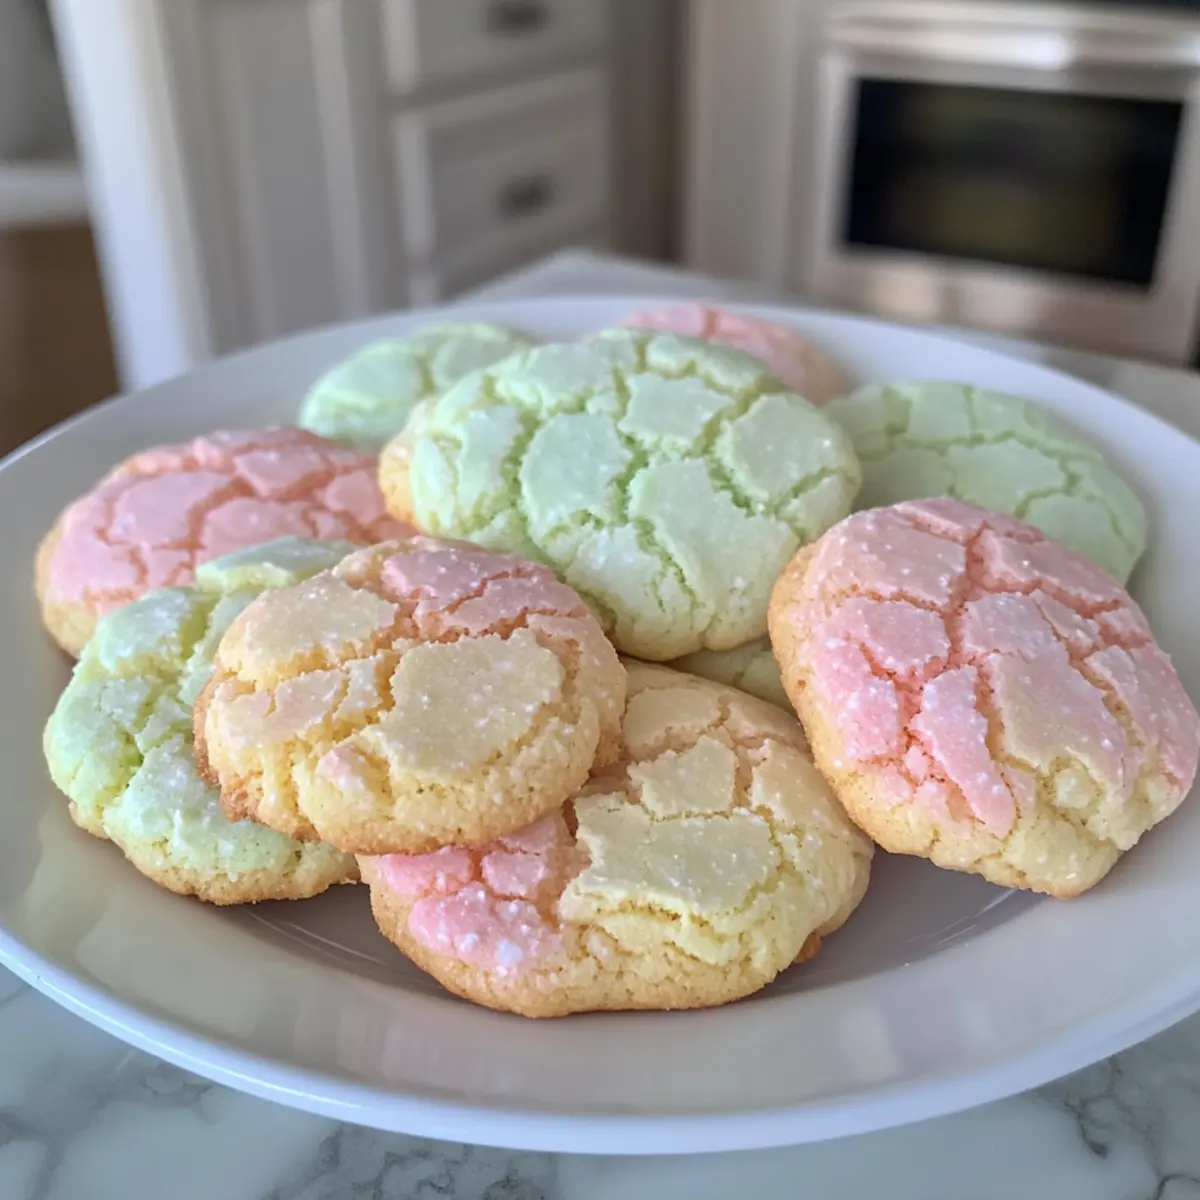
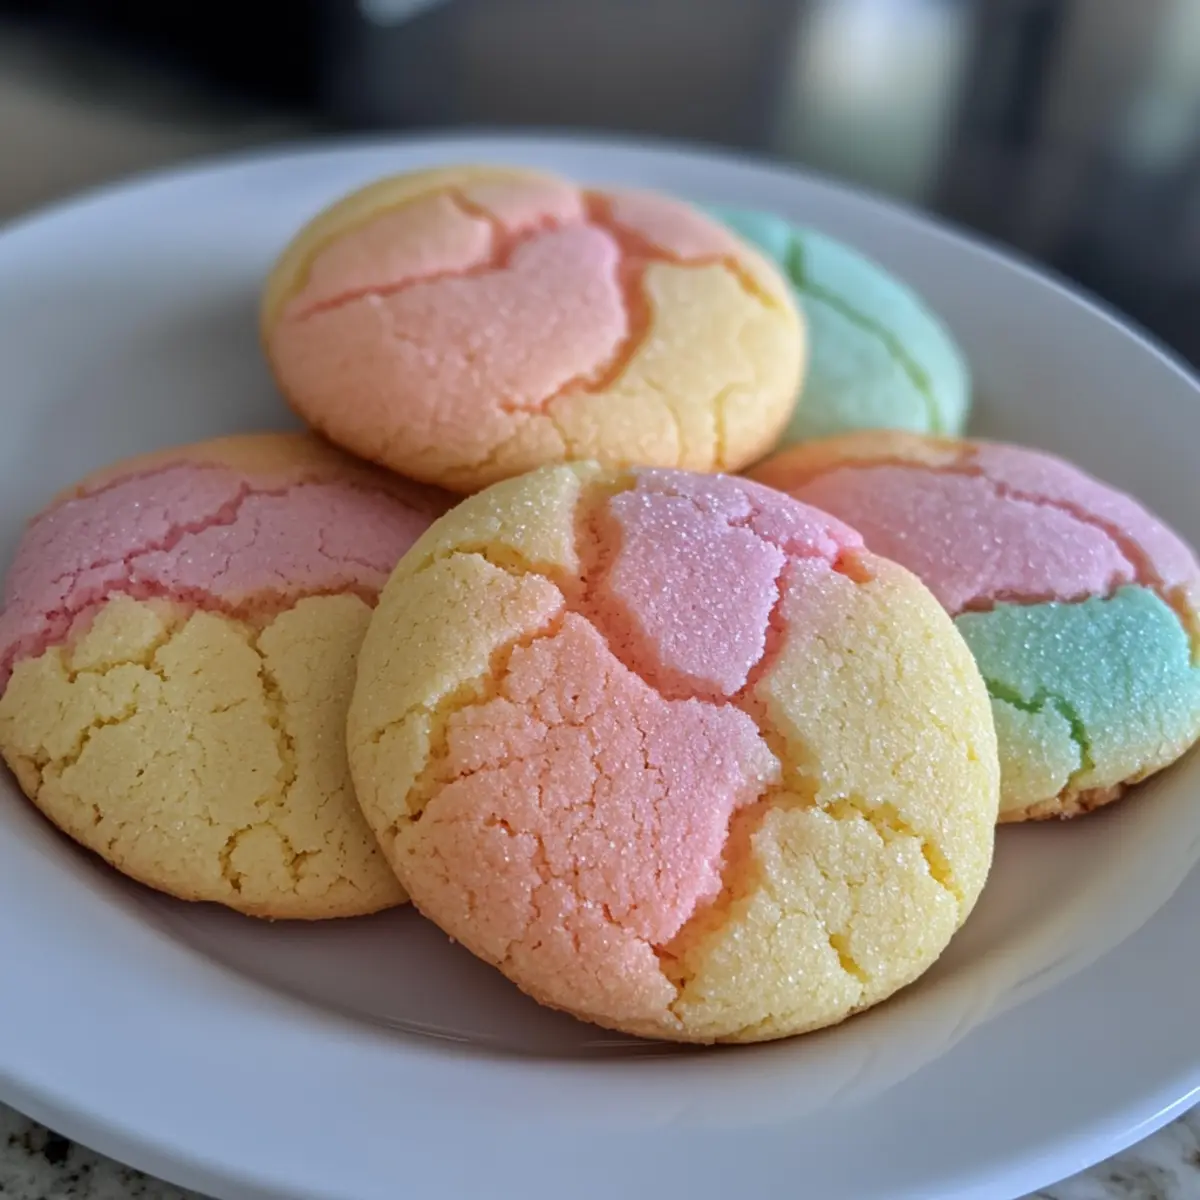
With the arrival of spring comes a delightful palette of colors, and what better way to celebrate than with these Bright and Chewy Springtime Crinkle Cookies? These treats are a feast for the eyes, featuring pastel hues that evoke the season’s cheer, making them perfect for Easter gatherings or simply to brighten up your afternoon. What I love most about this beginner-friendly recipe is how quick and easy it is, allowing even novice bakers to whip up a crowd-pleaser in no time. Plus, the soft, chewy centers with a crisp, sugary edge are guaranteed to bring smiles to everyone at the table. Ready to bring some spring joy into your kitchen? Let’s get baking!
Why are Springtime Crinkle Cookies a must-try?
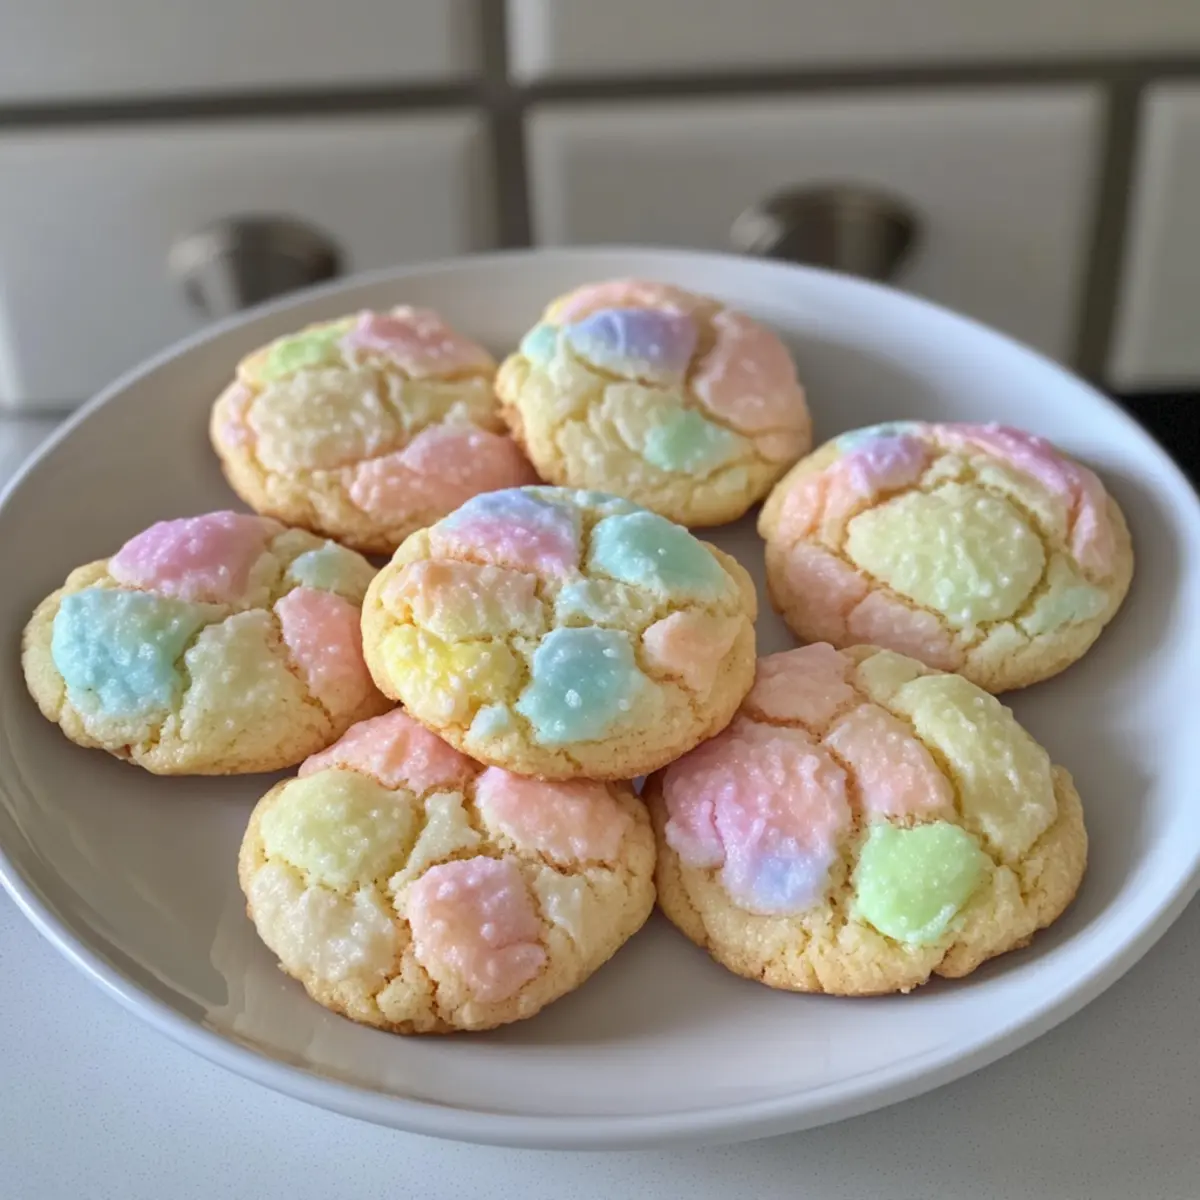
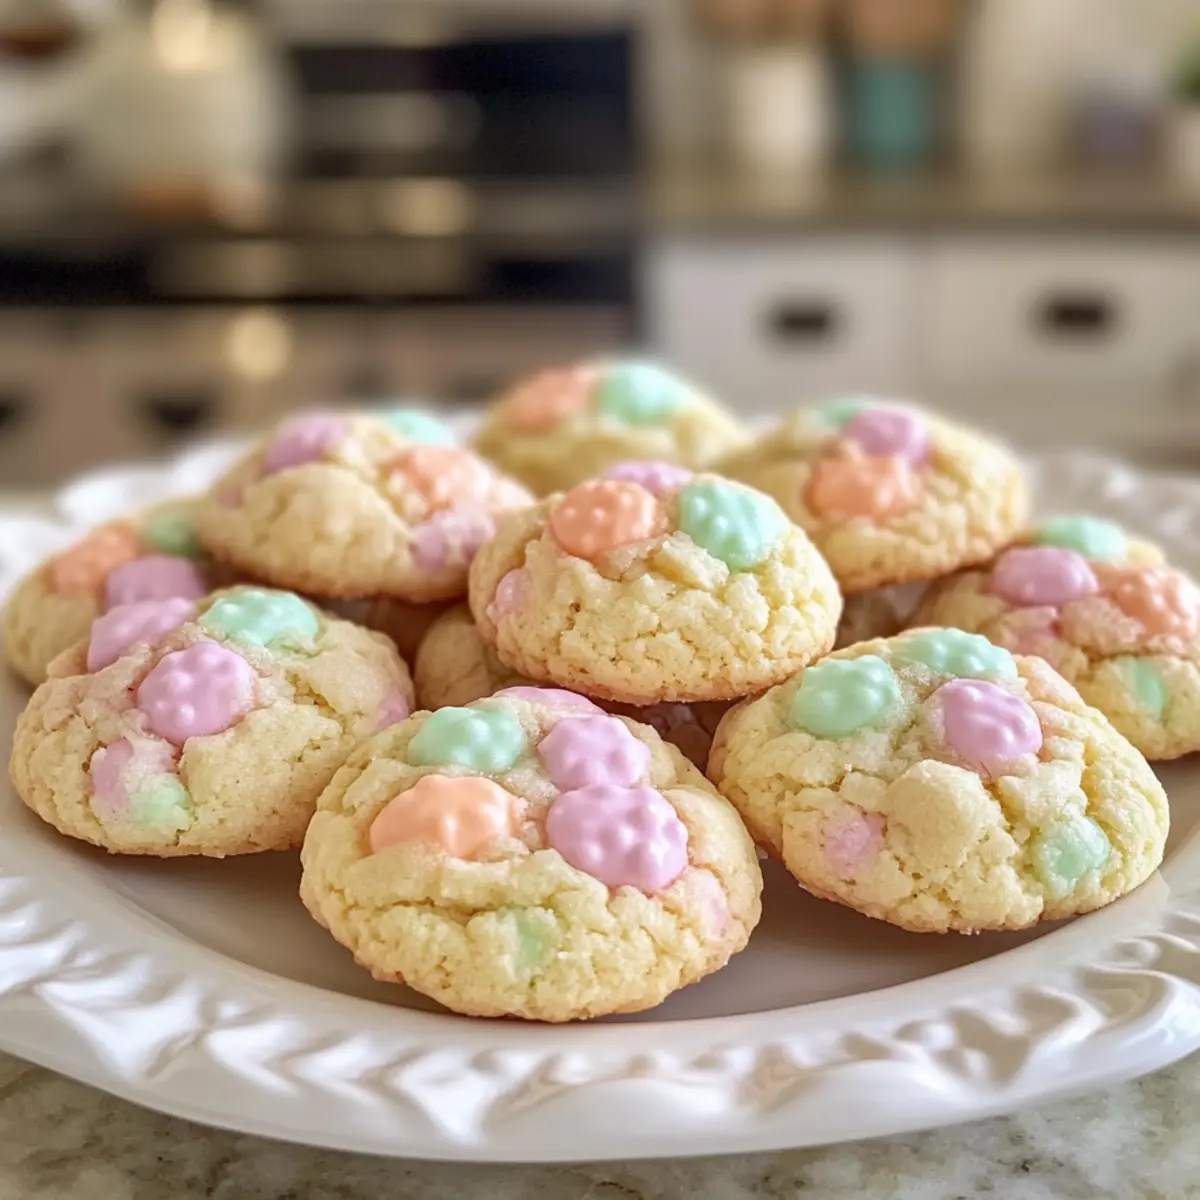
Vibrant Colors: These cookies are a visual delight, sporting cheerful pastel hues that capture the essence of spring!
Beginner-Friendly: Perfect for those new to baking—easy steps ensure success without fuss.
Quick to Prepare: Whip them up in no time for spontaneous gatherings or afternoon treats.
Irresistible Texture: Soft, chewy centers paired with a crispy edge create a mouthwatering contrast.
Versatile Treats: Whether for Easter celebrations or a simple snack, they appeal to everyone! Try pairing them with a refreshing glass of milk or a cup of tea for a delightful experience. Make this spring extra special with these delightful goodies!
Springtime Crinkle Cookies Ingredients
For the Cookie Dough
• All-Purpose Flour – Provides structure to the cookies; can substitute with a gluten-free flour blend for a different texture.
• Baking Powder – Acts as a leavening agent to help achieve the desired rise; no need for substitution.
• Salt – Enhances the overall flavor; just a small pinch can balance the sweetness.
• Unsalted Butter (softened) – Adds richness and tenderness; margarine can be used for a dairy-free option.
• Granulated Sugar – Sweetens the cookie and helps create a tender texture; brown sugar can be swapped for a deeper flavor.
• Large Eggs – Binds ingredients and contributes moisture; no substitute recommended unless using flax seeds for a vegan alternative.
• Vanilla Extract – Provides a comforting aroma and flavor; other extracts like maple will alter the taste.
• Almond Extract (optional) – Adds a light nutty note; omitting will result in a simpler cookie flavor.
For the Crinkle Coating
• Powdered Sugar – Coats the cookies to create that signature crinkle effect; granulated sugar can be used for a less sweet option.
For the Color
• Gel Food Coloring (pastel shades) – Gives vibrant color to the cookies; avoid liquid food coloring to maintain dough consistency.
Now that you have the ingredients ready, you’re one step closer to baking a batch of delightful Springtime Crinkle Cookies that will spread joy at any spring gathering!
Step‑by‑Step Instructions for Springtime Crinkle Cookies
Step 1: Preheat the Oven
Begin by preheating your oven to 350°F (175°C). Line a baking sheet with parchment paper to prevent the cookies from sticking. This simple step ensures your cookies bake evenly and develop a delightful texture. While the oven heats up, gather your ingredients and get ready to mix!
Step 2: Mix Dry Ingredients
In a medium bowl, whisk together 2 cups of all-purpose flour, 2 teaspoons of baking powder, and a pinch of salt. This mixture incorporates air, which is vital for achieving the perfect rise in your Springtime Crinkle Cookies. Set this bowl aside, as you’ll combine it with wet ingredients shortly!
Step 3: Cream Butter and Sugar
In a larger mixing bowl, use an electric mixer to beat ½ cup of softened unsalted butter with 1 cup of granulated sugar until the mixture is light and fluffy, about 3-4 minutes. This step is crucial for creating the soft, chewy texture you want in your cookies. The fluffy blend should look pale and creamy.
Step 4: Incorporate Eggs
Add 2 large eggs, one at a time, mixing well after each addition to ensure everything is well-combined. This creates a moist cookie batter by binding the ingredients together. The mixture should appear smooth and glossy by the end of this step.
Step 5: Add Flavors and Dry Ingredients
Stir in 1 tablespoon of vanilla extract and, if desired, ½ teaspoon of almond extract for extra flavor. Gradually fold in the dry mixture from Step 2 until a thick dough forms. Be gentle while mixing to avoid overworking the dough, which contributes to a tender cookie.
Step 6: Color the Dough
Divide the dough into portions, adding a few drops of gel food coloring to each piece to achieve your desired pastel shades. Mix the coloring in thoroughly, ensuring an even hue throughout the dough. This part of making your Springtime Crinkle Cookies is where the fun comes in, adding a vibrant touch!
Step 7: Chill the Dough
Wrap the colored dough in plastic wrap and chill in the refrigerator for at least 30 minutes. Chilling helps the dough firm up, preventing excessive spreading while baking. While the dough chills, you can clean up your workspace or prepare for the next steps.
Step 8: Coat and Shape the Cookies
Using a tablespoon, scoop chilled dough and roll it into balls. Then, roll each ball in a bowl of powdered sugar until fully coated. This step not only adds sweetness but also creates the signature crinkle effect as the cookies bake. Place each sugar-coated ball 2 inches apart on the prepared baking sheet.
Step 9: Bake the Cookies
Bake your cookies in the preheated oven for 10–12 minutes or until the tops crack and the edges start to set while the centers remain soft. This is where your Springtime Crinkle Cookies gain their delightful texture and signature appearance. Keep an eye on them to ensure they don’t overbake!
Step 10: Cool the Cookies
Once baked, allow the cookies to cool on the baking sheet for about 5 minutes. This allows them to firm up before transferring to a wire rack to cool completely. Enjoy watching the delicious colors and shapes as they cool—your Springtime Crinkle Cookies are nearly ready to be savored!
How to Store and Freeze Springtime Crinkle Cookies
Airtight Container: Store your Springtime Crinkle Cookies in an airtight container at room temperature for up to 5 days to maintain their delightful softness.
Refrigerator: If you want to keep them fresh longer, you can refrigerate them for up to a week. Just ensure they are well wrapped to prevent absorbing odors.
Freezer: For longer storage, freeze the cookies in a single layer on a baking sheet until solid, then transfer to an airtight container or freezer bag. They can be stored for up to 3 months.
Reheating: To enjoy them warm, simply reheat frozen cookies in a preheated oven at 350°F (175°C) for about 5-8 minutes. This revives their delightful chewy texture!
What to Serve with Springtime Crinkle Cookies?
These colorful treats are perfect for brightening up any gathering or afternoon break.
- Fresh Fruit Salad: A medley of seasonal fruits brings a refreshing balance to the sweetness of the cookies, enhancing your dessert experience.
- Whipped Cream: Light and fluffy, whipped cream serves as a creamy counterpart that can be dolloped on top or served as a side for dipping.
- Iced Tea: A glass of sweetened iced tea complements the bright flavors of the cookies while offering a refreshing sip between bites.
- Creamy Vanilla Ice Cream: The rich, cold ice cream contrasts beautifully with the chewy texture of your Springtime Crinkle Cookies for an indulgent treat.
- Lemonade: A zesty, homemade lemonade provides a tangy kick that brightens up dessert time, making it a delightful pairing with these cookies.
- Coffee or Espresso: For adults, a warm cup of coffee or espresso enhances the flavors, and the slight bitterness cuts through the sweetness, creating a harmonious balance.
- Cheese Platter: Include a variety of mild cheeses; they add unexpected creaminess and richness that pairs well with the sugary sweetness of the cookies.
- Chocolate Dipping Sauce: For a fun twist, serve a warm chocolate sauce for dipping; the combination of flavors will excite both kids and adults alike.
Make Ahead Options
These Bright and Chewy Springtime Crinkle Cookies are perfect for busy home cooks looking to save time! You can prepare the dough up to 24 hours in advance by mixing all the wet and dry ingredients and chilling the colored dough in the refrigerator. Simply wrap it tightly in plastic wrap to maintain freshness and prevent drying out. If you want to prep even further ahead, the dough can also be frozen for up to 3 months; just thaw it in the fridge overnight before rolling it into balls and coating them in powdered sugar. When you’re ready to bake, roll the chilled or thawed dough in powdered sugar and bake as directed, ensuring you still achieve those delightful soft centers with crisp edges—perfect for any spring gathering!
Springtime Crinkle Cookies Variations
Feel free to take these delightful cookies and make them your own by exploring these fun variations!
- Gluten-Free: Use a gluten-free all-purpose flour blend instead of regular flour to accommodate gluten sensitivities without sacrificing taste.
- Dairy-Free: Swap unsalted butter for margarine or a dairy-free butter alternative to keep these cookies soft and scrumptious for everyone.
- Nutty Flavor: For an aromatic twist, substitute almond extract with hazelnut or pistachio extract and enjoy an unexpected flavor profile!
- Colorful Swirls: Instead of mixing all the dough at once, create marbled cookies by partially mixing in the gel food coloring for a mixed effect—beautiful and fun!
- Coconut Crinkle Cookies: Add a sprinkle of unsweetened shredded coconut to your dough for a tropical burst of flavor that pairs delightfully with springtime vibes.
- Chocolate Chips: Fold in mini chocolate chips for a decadent cookie treat that adds a melty surprise with every bite. Who doesn’t love a little chocolate?
- Seasonal Sprinkles: Top your dough balls with pastel sprinkles before baking for an extra festive flair that’s perfect for holiday gatherings or spring parties!
Whether you’re opting for a classic rendition or experimenting with fun new ideas, these Springtime Crinkle Cookies are sure to bring warmth to your kitchen. If you’re looking for more cookie inspiration, check out these Pecan Pie Cookies that are heavenly or indulge in some Chocolate Chip Cheesecake Cookies for a decadent treat!
Expert Tips for Springtime Crinkle Cookies
- Use Gel Food Coloring: Always opt for gel food coloring to maintain dough consistency and achieve those vibrant pastel shades without thinning your mixture.
- Chill the Dough: Chilling the dough for at least 30 minutes is crucial; this helps prevent spreading and ensures your cookies hold their shape during baking.
- Avoid Overmixing: When combining wet and dry ingredients, mix just until combined. Overmixing can lead to tough cookies instead of the desired tender texture.
- Watch the Bake Time: Bake until edges are set but centers appear slightly underbaked; this helps guarantee the soft, chewy center of your Springtime Crinkle Cookies.
- Dust with Powdered Sugar: Lightly dust your hands with powdered sugar when rolling the dough to prevent sticking and ensure an even coating for that signature crinkle effect.
Springtime Crinkle Cookies Recipe FAQs
How do I select the best ingredients for Springtime Crinkle Cookies?
Absolutely! For the best results, choose all-purpose flour that feels soft and fresh, with no lumps. Softened unsalted butter is crucial for a tender texture—let it sit at room temperature until just pliable. When buying eggs, look for those that are large and free-range for better flavor and quality. If you’re going for pastel colors, opt for gel food coloring as it won’t alter the consistency of the dough. I often pick mine up from a local baking supply store!
How should I store my Springtime Crinkle Cookies?
Very simply! Once cooled, place your Springtime Crinkle Cookies in an airtight container at room temperature where they will stay fresh for up to 5 days. If you want to keep them longer, you can refrigerate them for about a week—just ensure they’re covered tightly to avoid any fridge odors. If you have a larger batch, consider freezing them!
Can I freeze the dough for Springtime Crinkle Cookies?
Absolutely! To freeze the dough, scoop the colored dough into balls and place them on a baking sheet lined with parchment paper. Freeze until firm, then transfer the cookie balls into a freezer-safe bag or container. This way, you can keep them for up to 3 months. When you’re ready to bake, no need to thaw—just roll them in powdered sugar and pop them directly into the preheated oven!
What should I do if my Springtime Crinkle Cookies spread too much while baking?
If that happens, don’t worry! This could be due to a few factors: either the dough wasn’t chilled long enough or your butter was too warm. Always chill the dough for at least 30 minutes, and if it’s still too warm during shaping, you might want to pop it back in the fridge briefly. Baking them on parchment paper can also help with spreading. For future batches, ensure the ingredients are measured correctly, and try mixing just until incorporated to prevent overworking the dough.
Are these Springtime Crinkle Cookies suitable for people with dietary restrictions?
Yes, they can be quite versatile! If anyone in your household has a gluten intolerance, you can use a gluten-free flour blend in place of all-purpose flour. For those avoiding dairy, margarine works well as a substitute for butter. Additionally, if you’re looking to make them vegan, you can replace the eggs with flaxseed meal—use 1 tablespoon of flaxseed mixed with 2.5 tablespoons of water for each egg, letting it sit for a few minutes to thicken before adding it into your mix.
Chewy Springtime Crinkle Cookies Bursting with Joy
Ingredients
Equipment
Method
- Preheat your oven to 350°F (175°C) and line a baking sheet with parchment paper.
- In a medium bowl, whisk together 2 cups of all-purpose flour, 2 teaspoons of baking powder, and a pinch of salt.
- In a larger mixing bowl, cream ½ cup of softened unsalted butter with 1 cup of granulated sugar until light and fluffy.
- Incorporate 2 large eggs, one at a time, mixing well after each addition.
- Stir in 1 tablespoon of vanilla extract and ½ teaspoon of almond extract, then gradually fold in the dry mixture until a thick dough forms.
- Divide the dough and add drops of gel food coloring to achieve desired pastel shades.
- Wrap the colored dough in plastic wrap and chill in the refrigerator for at least 30 minutes.
- Scoop chilled dough into tablespoon-sized balls and roll in powdered sugar until fully coated.
- Bake in the preheated oven for 10–12 minutes or until tops crack and edges start to set.
- Allow cookies to cool on the baking sheet for 5 minutes before transferring to a wire rack.
Leave a Reply