
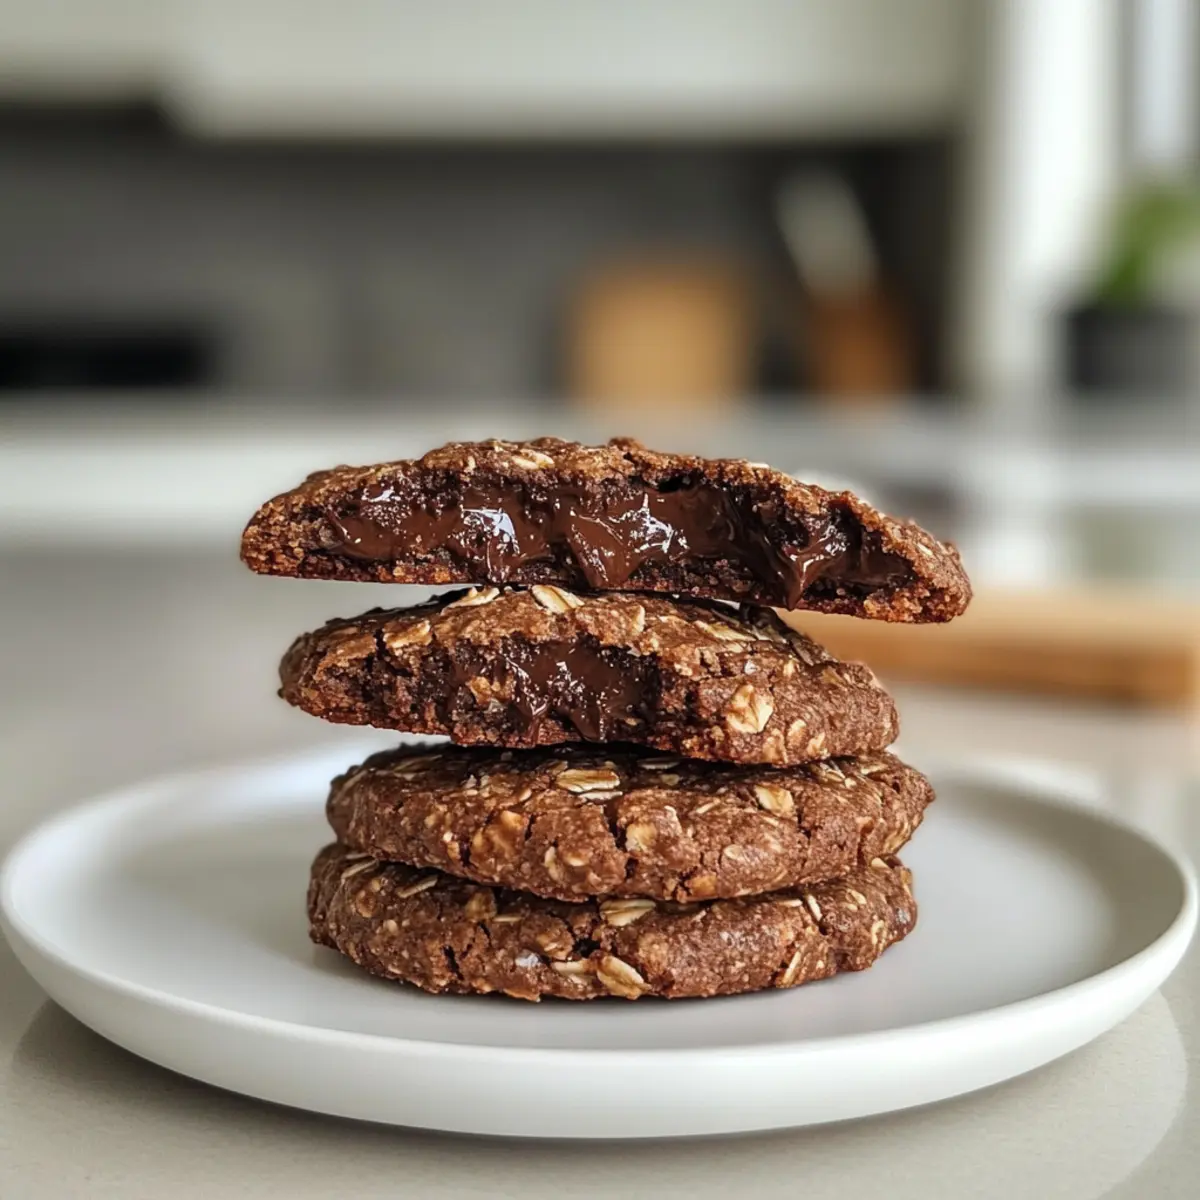
As I settled into my kitchen, the enticing aroma of fresh-baked cookies wafted through the air—a sensory experience that instantly felt like a warm hug. Today, I’m thrilled to share my recipe for 4-Ingredient Gluten-Free Crispy Chocolate Oat Cookies. Trust me when I say these cookies will become your new go-to treat! They’re not only quick and easy to make, perfect for those busy afternoons, but they also accommodate a variety of dietary needs with gluten-free and vegan options. Picture the delightful crunch of oats combined with melted chocolate, satisfying both your sweet tooth and the desire for something wholesome. Want to whip up something that your family will adore without any fuss? Let me show you how to create these delicious bites that come together in no time! Ready to get started on your baking adventure?
Why Are These Cookies So Irresistible?
Simplicity at its finest: With just 4 ingredients, you can whip up these delicious cookies in no time.
Versatile options: Whether you’re looking for a gluten-free or vegan treat, these cookies cater to all.
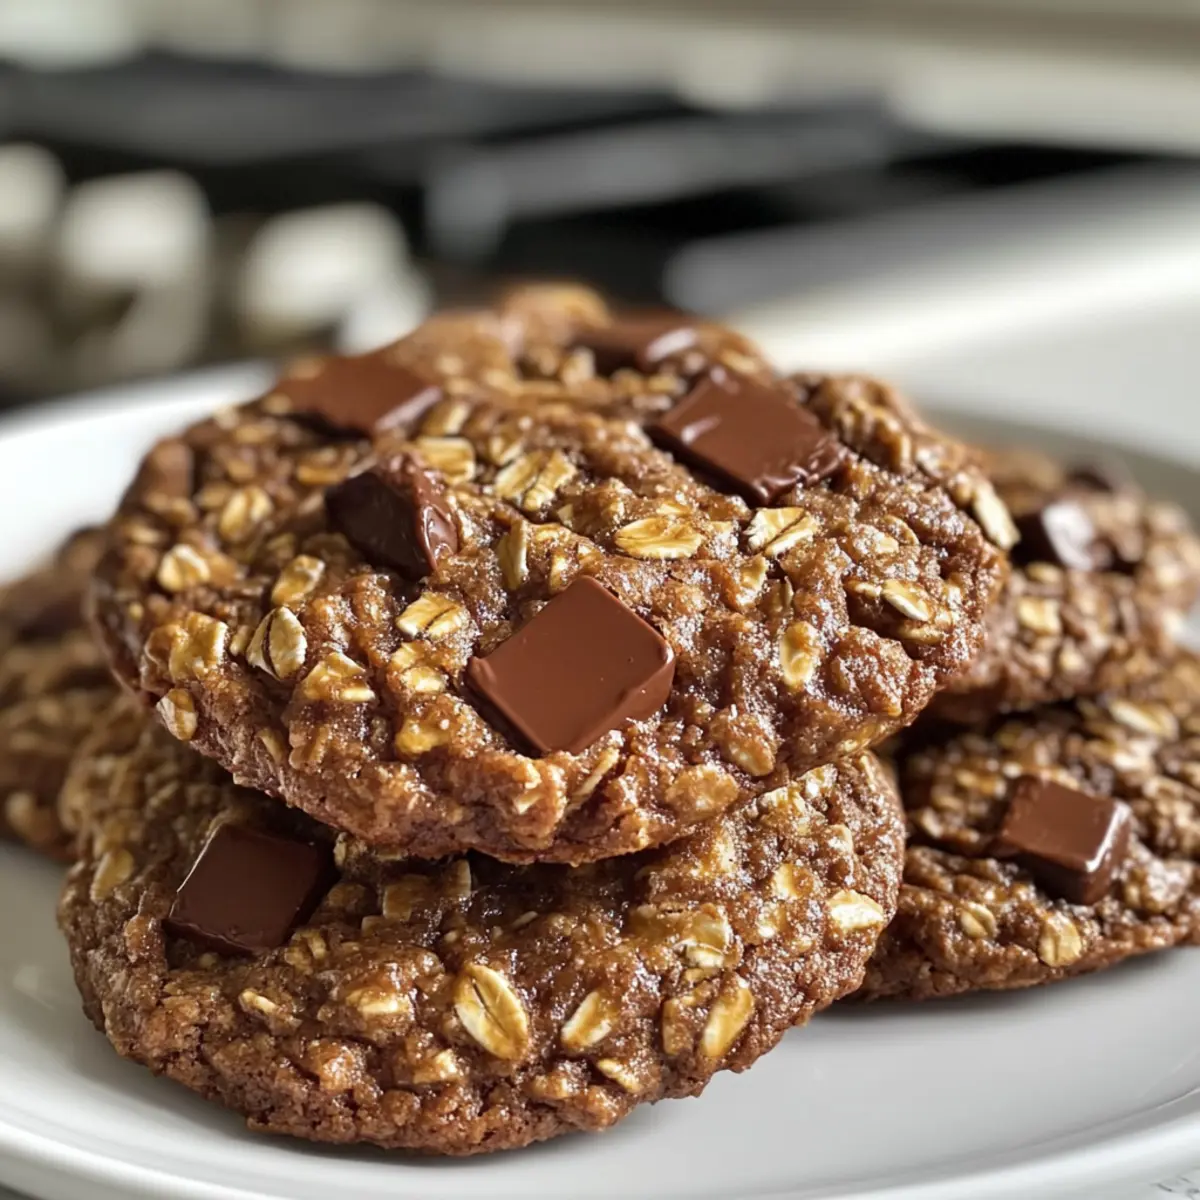
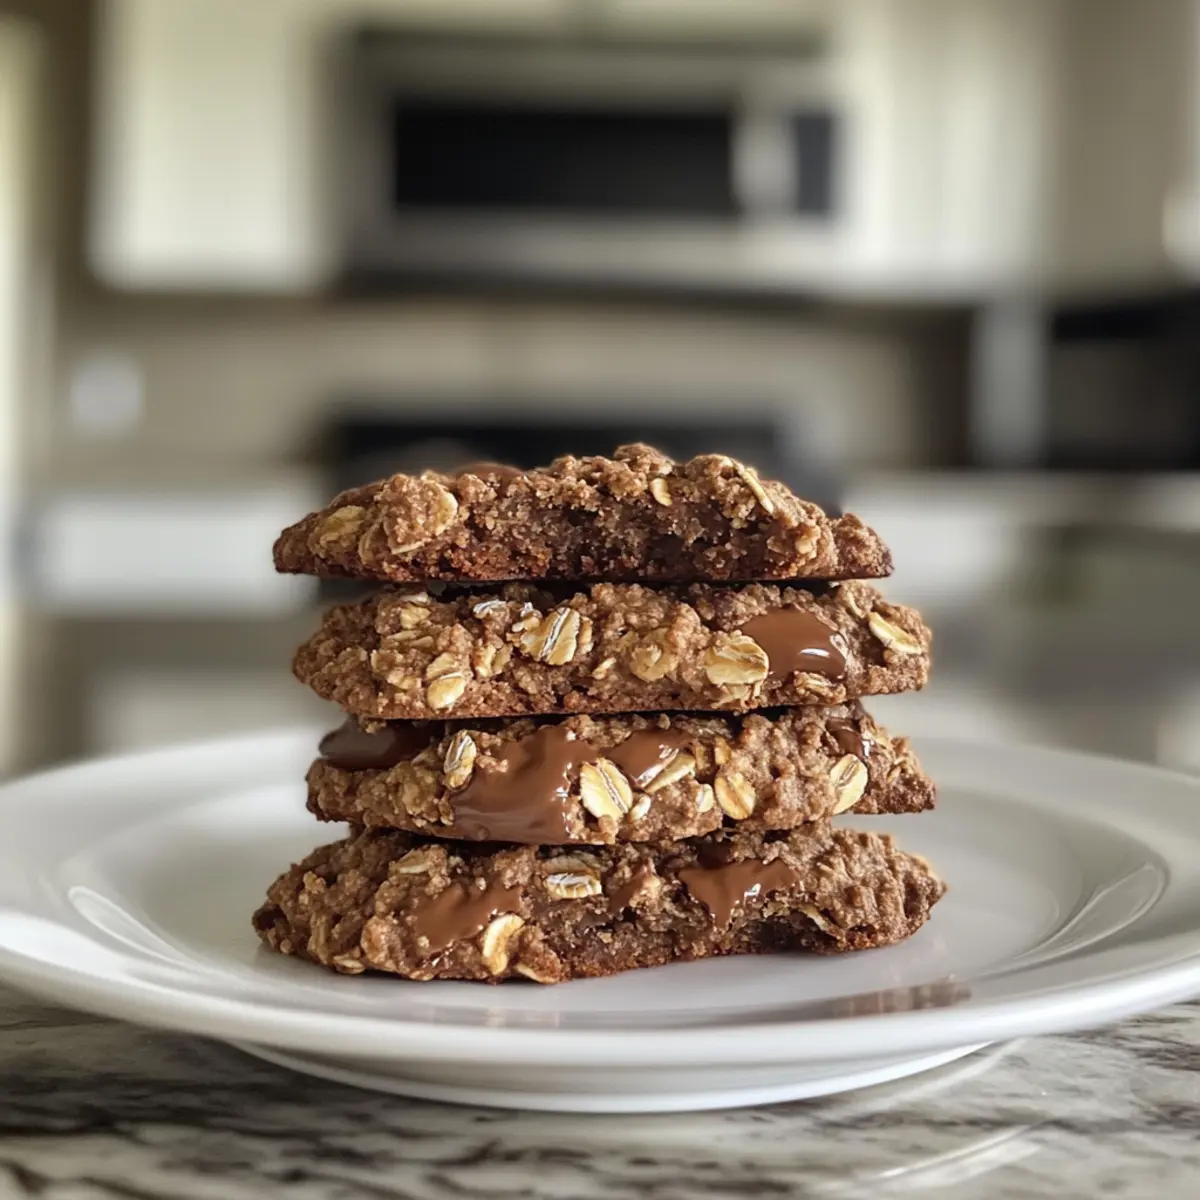
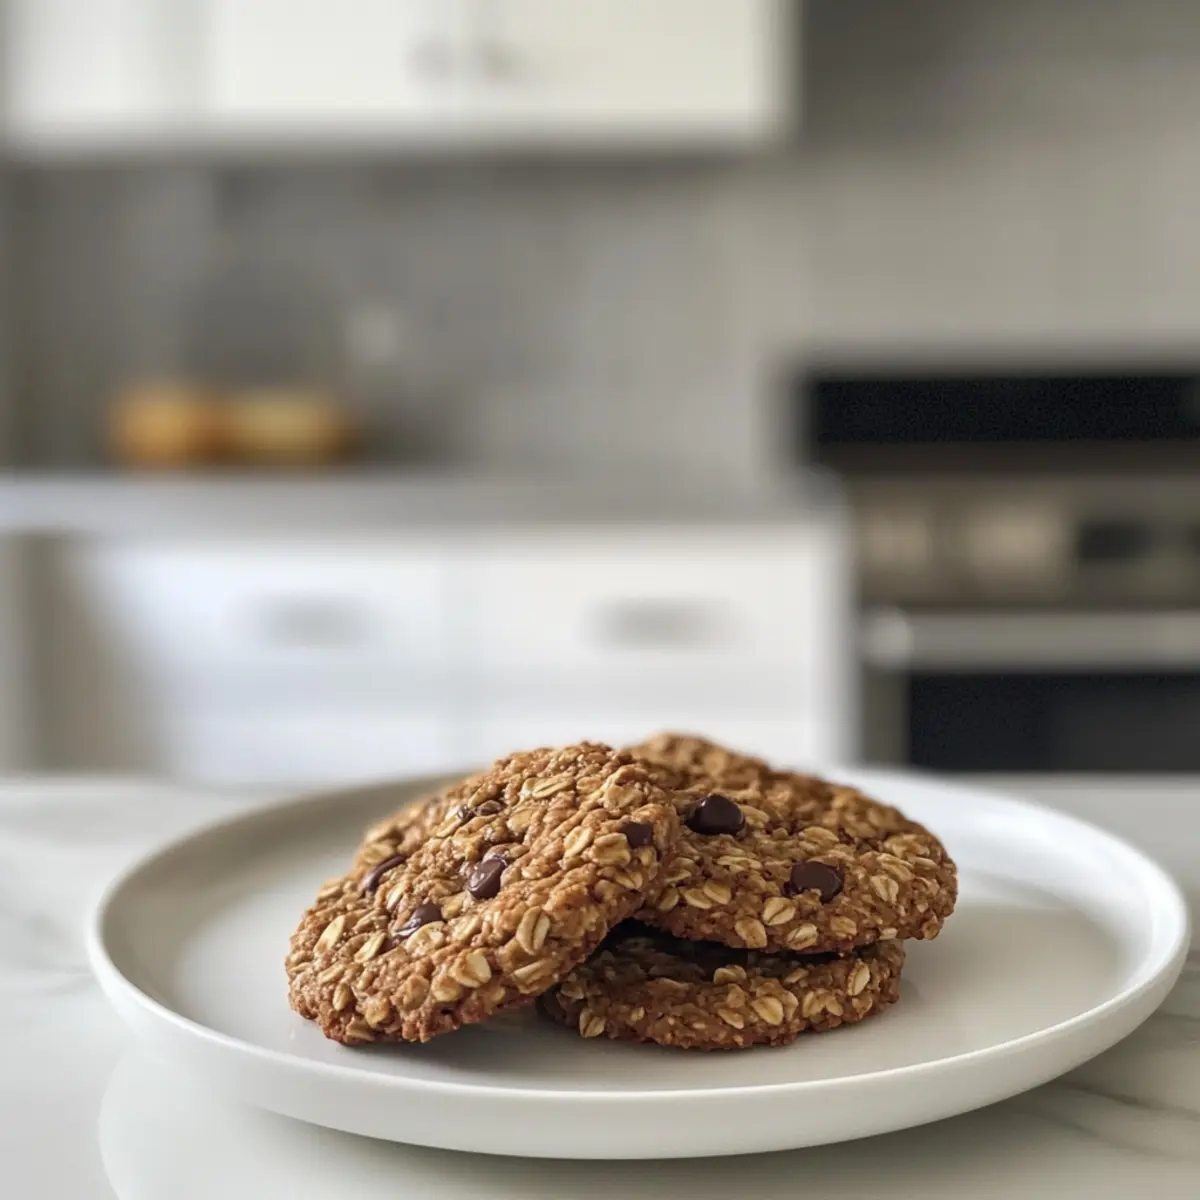
Rich, chocolaty flavor: The combination of rolled oats and chocolate creates a delectable balance of sweetness and crunch.
No-bake goodness: Perfect for warm weather when you want a treat without turning on the oven.
Crowd-pleaser appeal: Great for kids and adults alike, these cookies are bound to vanish in no time.
Pair them with a refreshing glass of almond milk or check out these fantastic recipes like Cheesy Garlic Chicken to make an afternoon snack even more delightful!
Crispy Chocolate Oat Cookies Ingredients
For the Cookies
- Rolled Oats – These provide structure and chewiness; opt for gluten-free oats if needed.
- Chocolate Chips – They add a rich sweetness; dark chocolate works as a less sweet alternative.
- Nut Butter (e.g., almond or peanut) – Binds everything together; use sunflower butter for a nut-free version.
- Maple Syrup – Acts as a natural sweetener and adds moisture; honey is a great substitute if not vegan.
Enjoy whipping up these Crispy Chocolate Oat Cookies that are delightful and oh-so-easy to make!
Step‑by‑Step Instructions for Crispy Chocolate Oat Cookies
Step 1: Combine the Base
In a large mixing bowl, add 2 cups of rolled oats, 1 cup of nut butter, and 1/2 cup of maple syrup. Using a spatula, mix vigorously until the ingredients are fully combined and form a cohesive dough. If the mixture feels too sticky, don’t be afraid to get your hands in there! You want a texture that holds together but isn’t overly wet.
Step 2: Add Chocolate Delights
Once your base is ready, fold in 1 cup of chocolate chips, ensuring they are evenly distributed throughout the mixture. This step is crucial as it brings that rich, chocolaty flavor to your crispy chocolate oat cookies. As you fold, keep an eye out for any dry patches of oats, making sure every bite has a hint of chocolate goodness.
Step 3: Shape the Cookies
Prepare a baking sheet by lining it with parchment paper. Using a tablespoon or small ice cream scoop, take spoonfuls of the cookie mixture and place them onto the lined sheet, pressing down slightly to form cookie shapes. Aim to have them about 1 inch apart to allow for slight spreading. This step ensures that your cookies will bake evenly and maintain their delightful shape.
Step 4: Chill for Firmness
Pop your tray of cookie dough into the refrigerator for about 30 minutes. This chilling time helps the cookies firm up, making them easier to handle once you take them out. During this time, the flavors will meld together beautifully, enhancing the overall taste of your crispy chocolate oat cookies.
Step 5: Enjoy the Treats
After chilling, remove the cookies from the refrigerator. Allow them to sit at room temperature for about 10 minutes before digging in. This resting period helps to solidify their texture and enhances the chocolate’s melty goodness. Now, sit back, relax, and indulge in these satisfying crispy chocolate oat cookies!
What to Serve with 4-Ingredient Gluten-Free Crispy Chocolate Oat Cookies
Indulging in freshly made cookies is delightful, but pairing them with the perfect complement can elevate your experience.
-
Almond Milk: The creamy texture of almond milk balances the crunch of the cookies, creating a wholesome pairing that’s both satisfying and refreshing.
-
Fresh Fruit Salad: Bright, juicy fruits add a touch of sweetness and vibrant color, bringing a fresh contrast to the rich chocolate flavor. Mix in strawberries, blueberries, and kiwi for a summer vibe.
-
Coffee: A warm cup of coffee enhances the chocolatey notes in the cookies, making it a perfect afternoon pick-me-up. The bitter notes of the coffee beautifully contrast the sweetness of the cookies.
-
Greek Yogurt with Honey: A dollop of creamy yogurt drizzled with honey adds tanginess that pairs remarkably well with the cookies. It’s a quick, protein-packed snack that feels indulgent yet light.
-
Dark Chocolate Drizzle: Elevate your cookies by drizzling some melted dark chocolate over the top for an extra dose of richness. This makes for a gourmet presentation that’s sure to impress.
-
Coconut Flakes: Lightly toasted coconut flakes introduce a tropical flair while adding a crunchy texture. Sprinkle some on top, and you’ll achieve a delightful contrast to the soft, chewy interior of each cookie.
-
Coffee Milkshake: Blend together chilled coffee, milk, and ice cream for a creamy, decadent treat that harmonizes beautifully with the cookies. It’s a delightful dessert combo that satisfies both your cookie cravings and drink desires.
Each of these pairings creates a multi-sensory experience, making your cookie enjoyment even sweeter!
Storage Tips for Crispy Chocolate Oat Cookies
Room Temperature: Keep the cookies in an airtight container at room temperature for up to 3 days to maintain their delightful crispiness.
Fridge: For maximum freshness, store your crispy chocolate oat cookies in the refrigerator, where they can last for up to a week.
Freezer: If you want to prolong the shelf life, freeze the cookies in a single layer on a baking sheet before transferring them to an airtight container. They can last up to 3 months in the freezer.
Reheating: When ready to enjoy, let the cookies thaw at room temperature, or gently warm them in the microwave for a few seconds to bring back that melty chocolate goodness.
Chicken Torta Sandwich Variations
Feel free to get creative with your Chicken Torta Sandwich, tailoring it to your taste buds and dietary needs!
- Gluten-Free: Replace regular bread with gluten-free rolls or tortillas for the same satisfying crunch without the gluten.
- Spicy Twist: Add sliced jalapeños or a drizzle of spicy salsa to kick up the heat level. The additional heat brings a lively zest that’s sure to awaken your taste buds.
- Extra Crunch: Layer on some crispy lettuce or cabbage for added texture and freshness. This bright addition contrasts wonderfully with the savory chicken and creamy toppings.
- Veggie Delight: Swap in grilled vegetables like zucchini or bell peppers instead of chicken for a delicious vegetarian option. Trust me—this twist doesn’t skimp on flavor and makes for a hearty meal.
- Herbed Chicken: Experiment by marinating your chicken with fresh herbs such as cilantro or basil to infuse a vibrant aromatic quality into your sandwich. It’s a simple change that really enhances the flavor profile!
- Creamy Dream: Use avocado or guacamole instead of or in addition to mayo for a rich, creamy finish. This substitution transforms your sandwich into an indulgent guilt-free treat.
- Cheese Lovers: If you’re a fan of cheese, add some melted queso fresco or pepper jack for a cheesy layer that adds a wonderful depth to each bite. Pairing with the chicken creates an irresistible combination.
- Salsa Verde: Instead of traditional salsa, use a zesty salsa verde to provide a refreshing twist that elevates your torta and pairs beautifully with the chicken.
For more enticing recipes, don’t forget to check out Jalapeno Popper Chicken or Thai Peanut Chicken for some exciting new flavors you can try! Enjoy your delicious Chicken Torta Sandwich adventure!
Expert Tips for Crispy Chocolate Oat Cookies
-
Nut Butter Choice: Use a smooth nut butter for easy mixing; chunky varieties may make it challenging to achieve the right consistency.
-
Chilling Time Matters: Don’t skip the chilling step. It’s crucial for the cookies to firm up, ensuring they stay together and have that crispy texture.
-
Mix Thoroughly: When combining the ingredients, make sure everything is well mixed! This ensures every bite of the cookies has that delightful flavor you want.
-
Experiment with Add-ins: Feel free to swap chocolate chips for dried fruits or nuts. This not only adds variety but also makes your crispy chocolate oat cookies even more enjoyable!
-
Proper Storage: Store leftovers in an airtight container in the refrigerator, where they can stay fresh for up to a week. You can also freeze them for longer-lasting treats.
Make Ahead Options
These 4-Ingredient Gluten-Free Crispy Chocolate Oat Cookies are a lifesaver for busy home cooks! You can prepare the cookie mixture up to 24 hours in advance. Simply follow the initial steps of combining the oats, nut butter, and maple syrup, then fold in the chocolate chips. Transfer the mixture to an airtight container and refrigerate until you’re ready to bake. When you’re set to enjoy them, scoop out the chilled dough onto a lined baking sheet and follow the chilling steps before serving. This way, you’ll have fresh cookies that are just as delicious with minimal effort, making your busy days a little sweeter!
Crispy Chocolate Oat Cookies Recipe FAQs
What type of oats should I use for the cookies?
Absolutely! For the best results, use rolled oats for that perfect texture. If you’re making these for someone with a gluten intolerance, be sure to choose certified gluten-free oats to keep them safe and delicious.
How should I store my crispy chocolate oat cookies?
To maintain their delightful crunch, store your cookies in an airtight container at room temperature for up to 3 days. For maximum freshness, store in the refrigerator for up to a week. If you’d like to keep them longer, freeze the cookies—just place them in a single layer on a baking sheet before transferring to an airtight container. They’ll stay fresh for up to 3 months!
Can I freeze these cookies?
Yes! Freezing these crispy chocolate oat cookies is super simple. After shaping the cookies, place them in a single layer on a parchment-lined baking sheet and freeze for about 1 to 2 hours. Once they are nicely frozen, transfer them to an airtight container or freezer bag. When you’re ready to enjoy, let them thaw at room temperature, or warm them up in the microwave for a few seconds to revive that melty chocolate goodness.
What if my cookie mixture is too dry?
If your mixture seems too dry, don’t worry! Sometimes, the texture can vary depending on the nut butter used. Simply add a tiny splash of maple syrup or a teaspoon of water until it reaches a more cohesive consistency. Mix well, and you should be back on track to creating those delicious cookies.
Are there any dietary considerations I should be aware of?
Definitely! These cookies can cater to various dietary preferences. If you or someone you’re serving has nut allergies, simply substitute the nut butter with sunflower seed butter. Additionally, for a vegan option, make sure to use maple syrup (as opposed to honey) and gluten-free oats. They’re perfect for accommodating different dietary needs while still being absolutely delicious!
How should I know when the cookies are ready to eat?
Once you remove the cookies from the fridge after chilling, let them sit for about 10 minutes at room temperature. They should firm up nicely and be ready to enjoy—with a delightful crispy exterior and a chewy interior that’s bursting with chocolatey flavor. Enjoy your baking!
Savory Chicken Torta Sandwich That'll Make Your Day Delightful
Ingredients
Equipment
Method
- In a large mixing bowl, add 2 cups of rolled oats, 1 cup of nut butter, and 1/2 cup of maple syrup. Mix until combined.
- Fold in 1 cup of chocolate chips, ensuring they are evenly distributed.
- Prepare a baking sheet lined with parchment paper. Place spoonfuls of the mixture, pressing down slightly to form shapes.
- Chill the tray in the refrigerator for about 30 minutes.
- After chilling, let sit at room temperature for about 10 minutes before enjoying.
Leave a Reply