
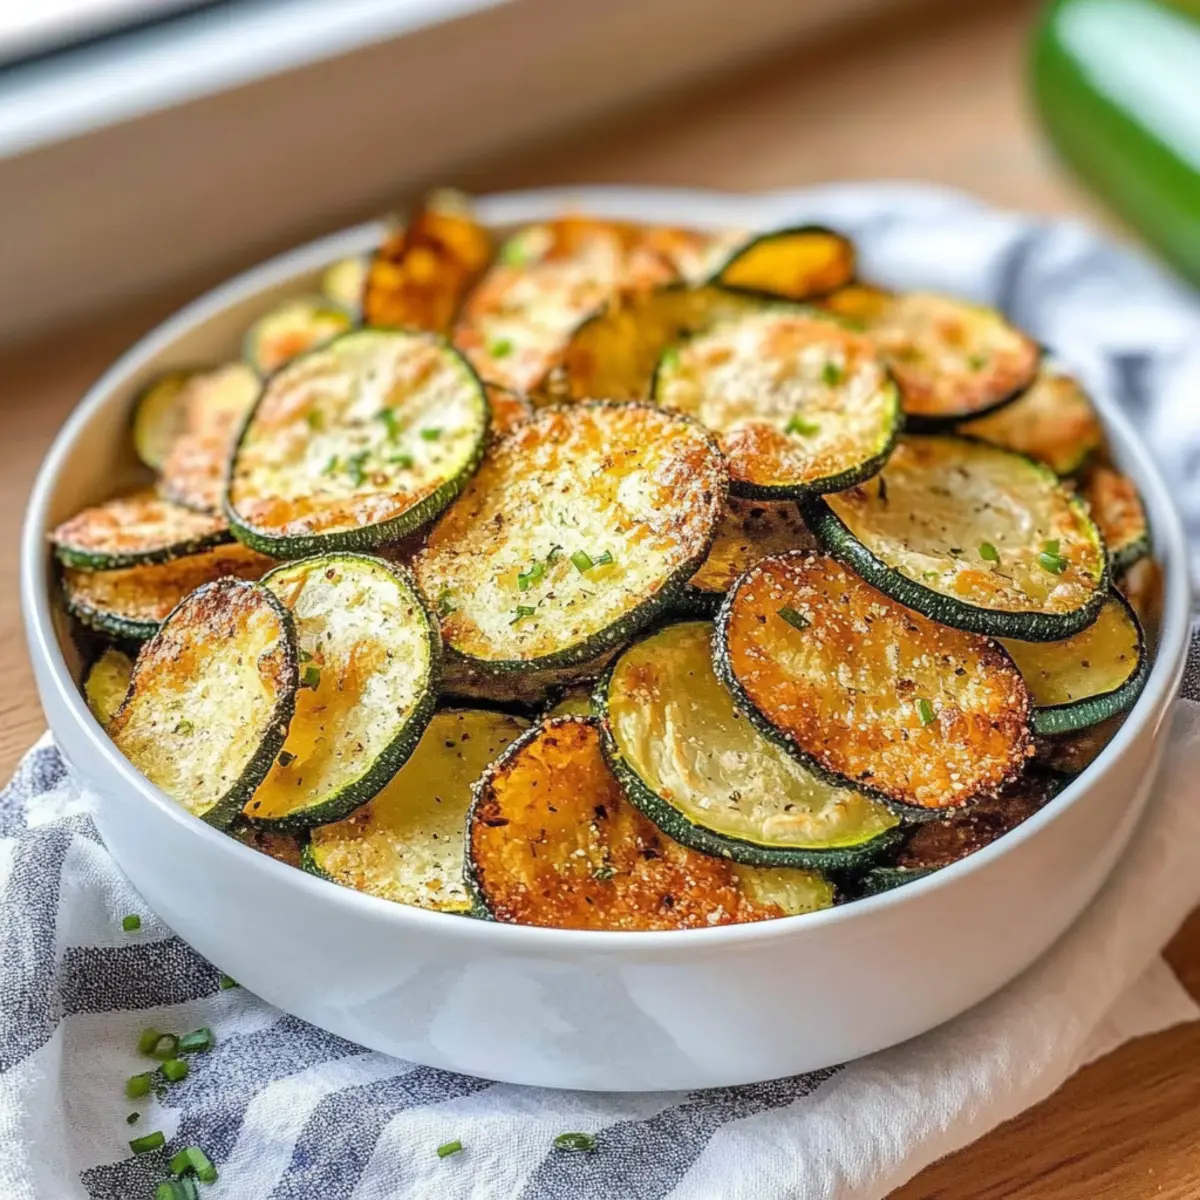
As I stood in my kitchen, a bright summer sun streaming through the window, I opened my crisper drawer and was greeted by a bounty of fresh zucchini. With both a crunch and a health-conscious mindset on my mind, I knew it was time to whip up a batch of crispy zucchini chips. This Crispy Zucchini Chips Recipe is not only gluten-free and keto-friendly, but it also transforms this humble veggie into a guilt-free snack that satisfies those afternoon cravings without compromising on flavor. The best part? You can customize it however you like! Whether you prefer a kick of spice or a sprinkle of cheese, these chips are remarkably easy to make and can even be tailored to suit any palate. Ready for a delightful crunch that’s good for you? Let’s get started!
Why Choose Crispy Zucchini Chips?
Healthy Snack Alternative: These crispy zucchini chips offer a guilt-free munching experience, making them ideal for those looking to swap potato chips for a healthier option.
Easy and Fun to Make: In just a few simple steps, you can create these delicious chips, perfect for anyone, from novice cooks to seasoned chefs.
Customizable Seasoning: Whether you love garlic, enjoy a smoky flavor, or prefer a cheesy touch with parmesan, you can easily tailor the recipe to fit your taste.
Great for Parties: Impress friends and family with this unique snack that pairs perfectly with dips like guacamole or hummus, proving that healthy can be delicious!
Versatile Use: Enjoy them on their own or as a delightful side to complement meals; you’ll find they fit seamlessly into any dining experience!
Elevate your snacking game today with this crispy zucchini chips recipe, and consider pairing them with a delicious Chicken Caesar Sandwich for a complete meal!
Crispy Zucchini Chips Recipe Ingredients
For the Chips
- Zucchini – Use medium-sized zucchinis for the perfect balance of moisture and crunch.
- Olive Oil – This helps achieve the golden crispiness; avocado oil is a great substitute for a different flavor.
- Sea Salt – Enhances the overall taste and draws out moisture to boost crispiness. Adjust to your dietary preference.
- Garlic Powder – Adds a savory kick; feel free to omit if a plain chip is your preference.
- Smoked Paprika – Infuses a lovely smoky taste; swap for regular paprika for a milder flavor.
- Black Pepper – For a hint of spice; tweak the amount to match your heat tolerance.
- Grated Parmesan (optional) – Introduces a cheesy note without frying; omit or use nutritional yeast for a vegan alternative.
Get ready to enjoy these crispy zucchini chips as a delightful guilt-free snack!
Step‑by‑Step Instructions for Crispy Zucchini Chips Recipe
Step 1: Preheat the Oven
Begin by preheating your oven to a gentle 250°F (120°C). This low temperature is crucial for achieving the perfect crispy texture in your Crispy Zucchini Chips. While the oven warms up, gather the necessary equipment, including a baking sheet and parchment paper to prepare for the zucchini slices.
Step 2: Prepare the Zucchini
Wash and dry the zucchinis thoroughly, ensuring no excess moisture remains. Next, slice each zucchini into thin rounds, about 1/8-inch thick. Consistent thickness is key for even cooking and satisfying crunchiness. Place the sliced zucchini into a bowl to set up for seasoning.
Step 3: Salt the Zucchini Slices
Sprinkle sea salt generously over the zucchini slices and allow them to sit for 10 minutes. This step draws out moisture, which is essential for crispiness. As the zucchini sits, you’ll notice some water pooling; this is a good sign that the salting process is working effectively.
Step 4: Pat Dry
After the zucchini slices have soaked in the salt, take a few paper towels and pat them dry to remove excess moisture. This is an important step for ensuring that your Crispy Zucchini Chips turn out perfectly crunchy instead of soggy. Make sure to remove as much moisture as possible to enhance the crispiness.
Step 5: Season the Chips
In a large mixing bowl, toss the dried zucchini slices with olive oil and your desired seasonings. Use garlic powder, smoked paprika, black pepper, and grated Parmesan if you wish. Mix thoroughly until all slices are evenly coated, as this will help promote fantastic flavor and texture in each chip.
Step 6: Arrange on Baking Sheet
Line your baking sheet with parchment paper for easy cleanup and to prevent sticking. Arrange the seasoned zucchini slices in a single layer on the sheet, ensuring they do not overlap. This prevents steaming and allows each chip to crisp up beautifully as they bake.
Step 7: Bake the Zucchini Chips
Slide the baking sheet into the preheated oven and bake for 1.5 to 2 hours. Halfway through, flip the zucchini slices to ensure even crisping on both sides. Keep a close eye on them as they approach the 90-minute mark; they should turn a golden brown, signaling they are nearly ready.
Step 8: Check for Doneness
At around 90 minutes, check your crispy zucchini chips for doneness. They should be golden brown and delightfully crunchy. If they are still tender, pop them back in the oven for an additional 10-20 minutes, checking periodically to prevent burning.
Step 9: Cool Before Serving
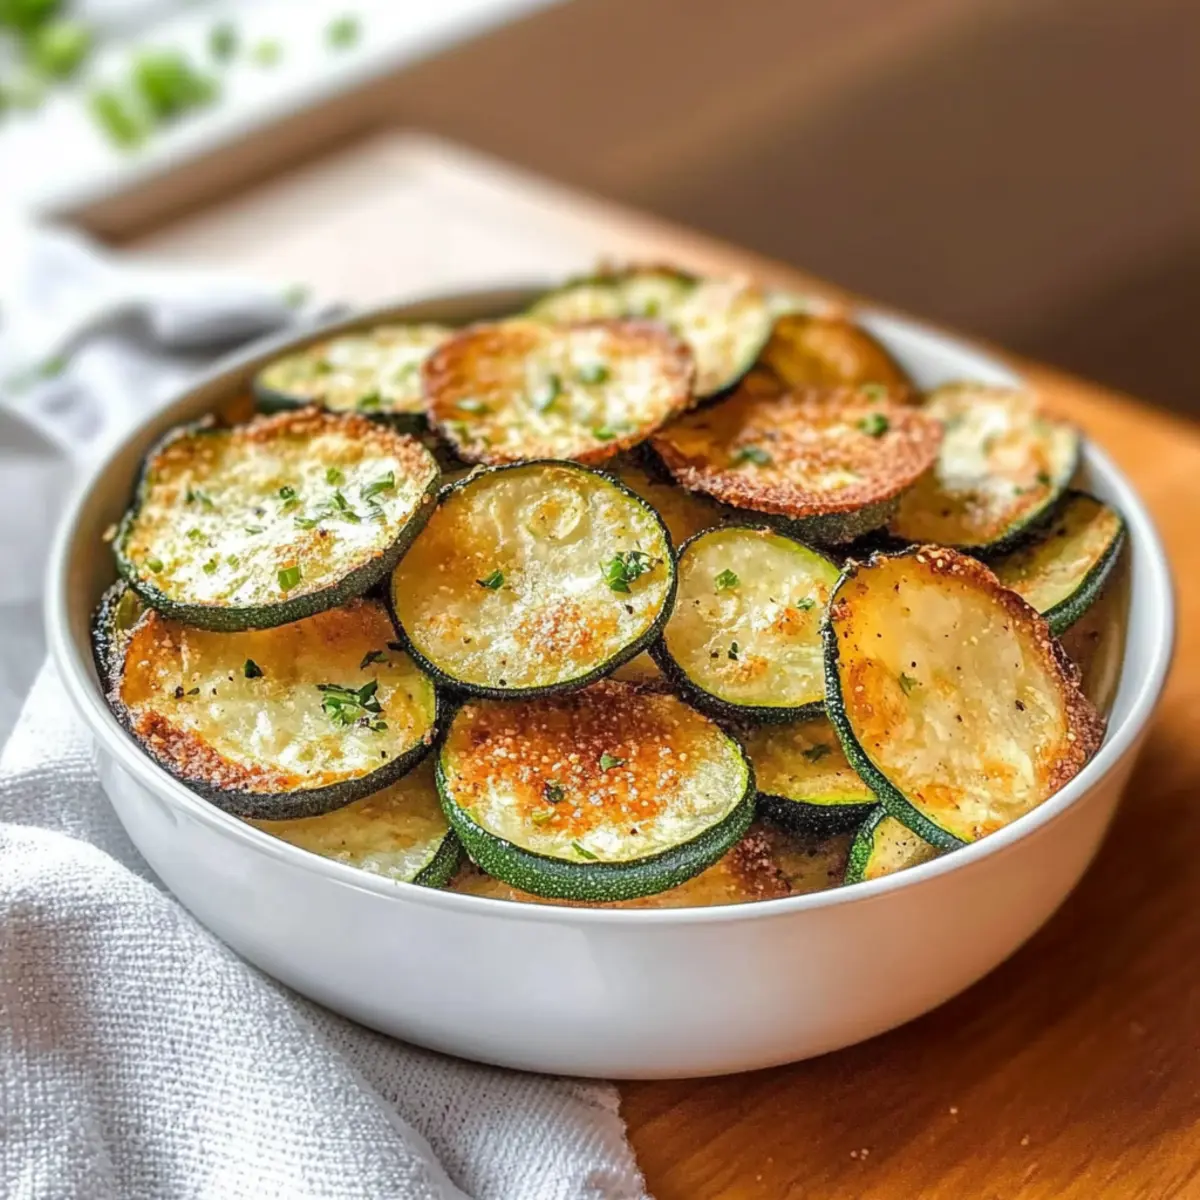
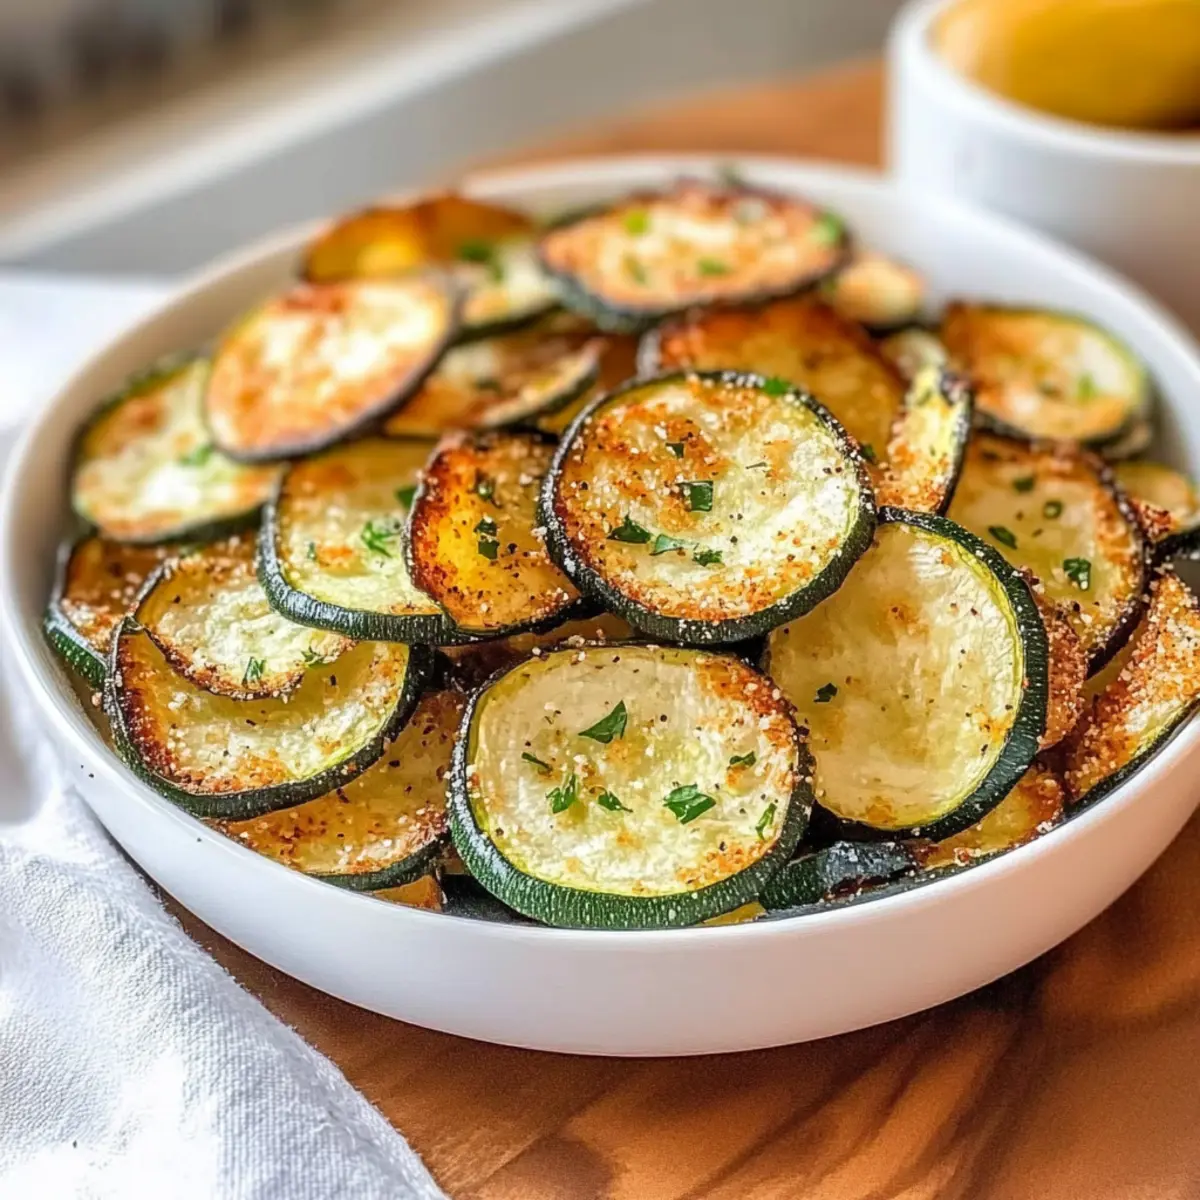
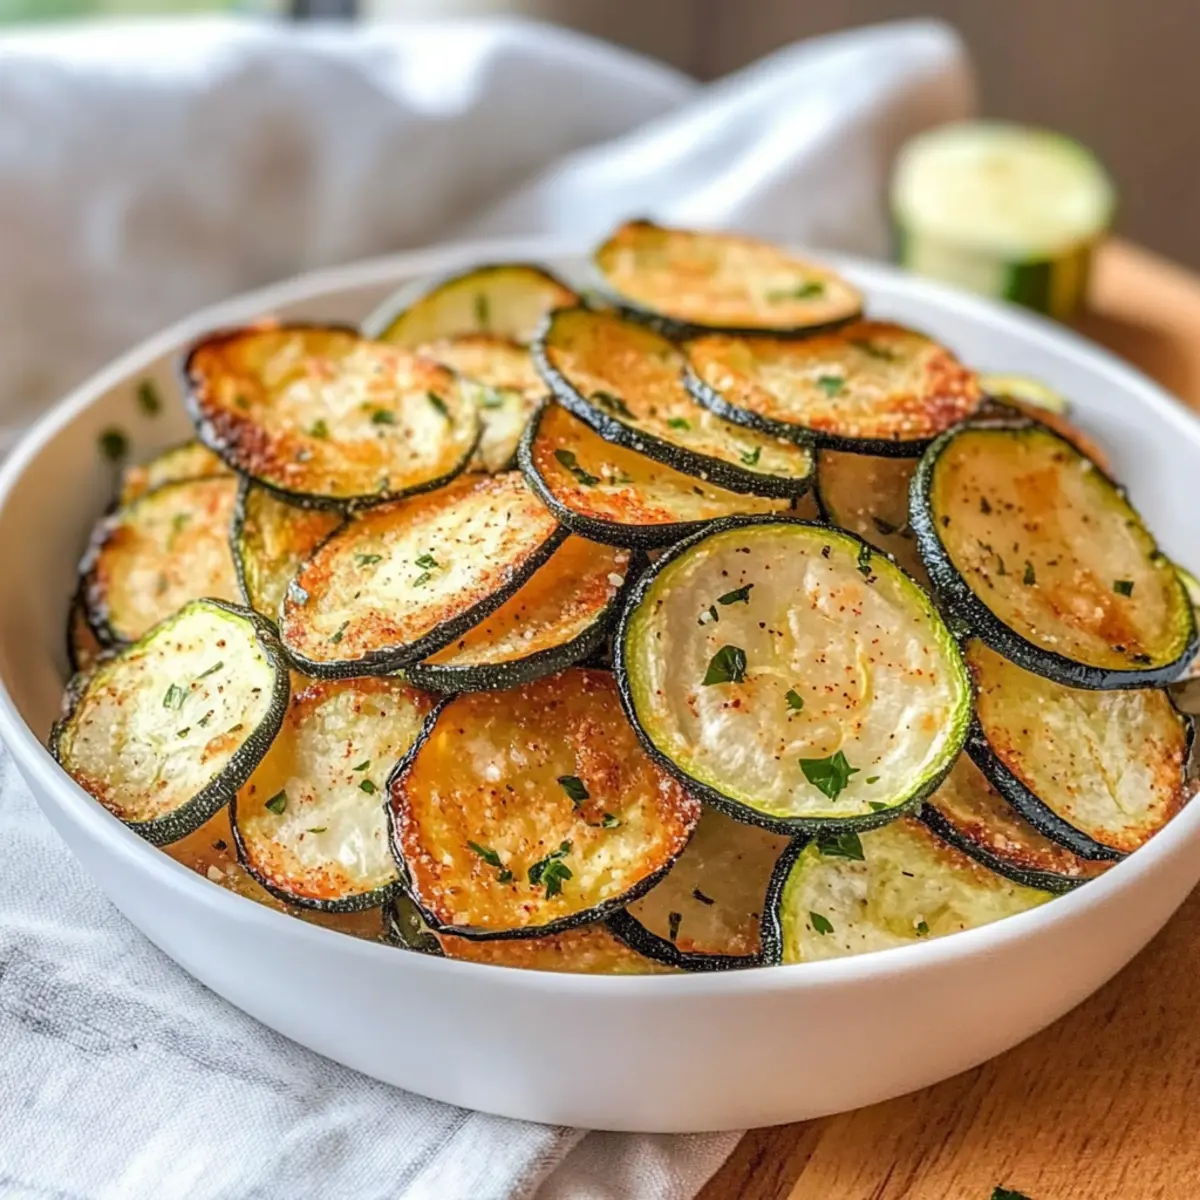
Once the chips are baked to perfection, remove them from the oven and allow them to cool on the baking sheet for 5 minutes. This resting period helps them firm up even more, enhancing that satisfying crunch. Serve your Crispy Zucchini Chips warm or at room temperature for the best experience.
How to Store and Freeze Crispy Zucchini Chips
Room Temperature: Store leftover crispy zucchini chips in an airtight container for up to 3 days to maintain their crunch. Avoid exposing them to moisture or humidity.
Reheating: If the chips lose their crispiness, simply preheat your oven to 250°F (120°C) and reheat for a few minutes until they regain their texture.
Freezer: For longer storage, freeze crispy zucchini chips in a freezer-friendly bag or container for up to 1 month. Reheat straight from frozen for best results.
Thawing: Allow to thaw at room temperature for a few minutes before reheating to ensure even crisping of your delicious crispy zucchini chips.
Crispy Zucchini Chips Variations
Feel free to unleash your creativity and personalize these crunchy delights with delicious twists!
-
Spicy Kick: Add a sprinkle of cayenne pepper for a fiery flavor that elevates your snacking experience. Adjust the amount to suit your heat preference!
-
Cheesy Delight: Substitute grated Parmesan with nutritional yeast for a cheesy flavor without the dairy, perfect for vegan diets. The result is a savory, guilt-free craving satisfier.
-
Herb Finesse: Toss in some dried herbs like oregano or rosemary for a fresh, aromatic touch. These herbs complement the zucchini beautifully, turning your chips into a garden-inspired snack.
-
Sweet Twist: Sprinkle cinnamon and a touch of sugar on the chips before baking for a sweet version. Enjoy these with yogurt or as a fun dessert alternative!
-
BBQ Flavor: Swap smoked paprika with your favorite BBQ seasoning for a tangy twist. These BBQ chips will surely be a hit at your next gathering!
-
Garlic Lovers: Increase the garlic powder for a bold savory flavor, perfect for those who can’t resist that garlicky goodness. These make wonderful partners for dips!
-
Nutrient Boost: Incorporate ground flaxseeds or chia seeds into the seasoning mix for added texture and nutritional benefits. It’s a simple way to enhance the health factor!
-
Mediterranean Style: Sprinkle za’atar seasoning for a savory, herby flavor profile that transports your taste buds straight to the Mediterranean. Pair them with a dip like hummus for an even better experience.
These crispy zucchini chips don’t just stand alone; they love to play nice with different recipes! How about serving them beside a classic Blueberry Grilled Cheese or a satisfying Chicken Caesar Sandwich? The possibilities are endless!
What to Serve with Crispy Zucchini Chips?
Crispy zucchini chips are the perfect snack to elevate your meal or simply enjoy on their own!
- Creamy Hummus: This tangy dip complements the crunchy chips beautifully, adding a rich flavor contrast perfect for dipping.
- Guacamole: The smooth and creamy avocado spread harmonizes well with the crunchy texture of the chips, creating a delightful snacking experience.
- Yogurt-Based Sauce: A refreshing yogurt dip with herbs or spices adds a cooling effect, balancing the savory and crispy nature of the zucchini chips.
- Fresh Garden Salad: Crisp greens and vibrant veggies provide a refreshing side that pairs well with the flavor-packed chips, enhancing both nutrition and enjoyment.
- Sliced Turkey or Chicken Sandwich: These lighter bites add a protein boost to your meal while perfectly offsetting the crunch of the zucchini chips.
- Lightly Roasted Veggies: The earthy tones of roasted root vegetables complement the chips subtly, creating a wholesome and satisfying plate.
- Cheese Platter: A selection of cheeses and nuts can be a delightful pairing, adding luxurious creaminess and savory earthy flavors to your snacking experience.
- Chilled White Wine or Sparkling Water: These drinks refresh the palate and elevate your dining experience alongside the crispy zucchini chips, making for a well-rounded meal.
- Dark Chocolate Squares: For a touch of sweetness, enjoy some dark chocolate; its rich flavor pairs surprisingly well with the savory crunch of the chips.
Expert Tips for Crispy Zucchini Chips
-
Uniform Slicing: Ensure that your zucchini slices are evenly cut to promote even baking. A mandoline slicer is a great tool for this task.
-
Avoid Overcrowding: Don’t overcrowd the baking sheet; this can lead to steaming instead of crisping, preventing your crispy zucchini chips from achieving that perfect crunch.
-
Watch the Temperature: Maintain a low baking temperature to avoid burning the edges before the center is crispy. Higher temperatures can ruin your chips.
-
Cooling Matters: Let the chips cool for about 5 minutes after baking. This helps them firm up for an extra-crunchy texture and more satisfying bite.
-
Explore Seasoning: Feel free to experiment with spices! A sprinkle of chili powder or cayenne can add a delightful kick, enhancing the flavor of your crispy zucchini chips.
Make Ahead Options
Crispy Zucchini Chips are a fantastic snack to prepare ahead of time, making them perfect for busy weeknights or meal prep! You can salt the sliced zucchini and let them sit for up to 24 hours in the refrigerator, allowing the moisture to draw out before proceeding with seasoning. For optimal quality, pat them dry just before tossing them in olive oil and your favorite spices. Once seasoned, you can bake them and store the finished chips in an airtight container at room temperature for up to 3 days. If they lose some crunch, simply reheat in the oven for a few minutes before serving. Enjoyably crisp and just as delicious, these chips simplify your snacking routine!
Crispy Zucchini Chips Recipe FAQs
What type of zucchini should I use?
Select medium-sized zucchinis for the crispiest results. They have the right balance of moisture and texture, ensuring your chips turn out perfect. Avoid large zucchinis as they may be watery and lead to sogginess.
How should I store leftover crispy zucchini chips?
Store any leftover chips in an airtight container at room temperature for up to 3 days. Make sure the container is completely sealed to help keep them from getting soft. If they lose their crunch, simply reheat them in a preheated oven at 250°F (120°C) for a few minutes to restore their delightful crispiness.
Can I freeze crispy zucchini chips?
Absolutely! For freezing, place the crispy zucchini chips in a freezer-friendly bag or container for up to 1 month. Make sure to label the bag with the date. When you’re ready to enjoy them again, you can reheat them directly from the freezer. Just pop them in the oven at 250°F (120°C) until they’re warm and crispy.
What should I do if my zucchini chips aren’t crisping up?
If your chips are not crisping up, the main culprits could be the moisture or overcrowding the baking sheet. Ensure each zucchini slice is cut uniformly and patted dry thoroughly after salting. Avoid overlapping on the baking sheet, allowing hot air to circulate them evenly. If they’re still soft after baking, try increasing the baking time in 10-minute increments to achieve that perfect crunch without burning.
Are these zucchini chips suitable for specific dietary needs?
Yes, this crispy zucchini chips recipe is naturally gluten-free and keto-friendly. For those with dairy allergies, you can omit the grated parmesan or substitute it with nutritional yeast for a cheesy taste. Always check seasonings to ensure they align with your dietary preferences. Enjoy guilt-free snacking!
Crispy Zucchini Chips Recipe: Guilt-Free Snack Delight
Ingredients
Equipment
Method
- Preheat your oven to 250°F (120°C).
- Wash and dry the zucchinis, then slice into 1/8-inch thick rounds.
- Sprinkle sea salt over zucchini slices and let sit for 10 minutes.
- Pat the zucchini slices dry with paper towels.
- Toss zucchini slices with olive oil and seasonings until evenly coated.
- Line a baking sheet with parchment paper and arrange zucchini slices in a single layer.
- Bake for 1.5 to 2 hours, flipping halfway through.
- Check for golden brown and crunchiness at around 90 minutes; bake longer if necessary.
- Allow the chips to cool for 5 minutes before serving.
Leave a Reply