
The scent of garlic sizzling in butter can stir an appetite like nothing else. As I stood in my kitchen, the aroma enveloped me, promising something special. That’s when I decided to whip up a batch of Garlic Butter Roasted Cauliflower—my go-to healthy side dish that never fails to impress. With just a handful of simple ingredients, this recipe transforms cauliflower into a crispy, golden delight, making it a fantastic addition to any meal. It’s quick to prepare and serves as a nutritious option that even the pickiest eaters will love. Whether paired with grilled chicken or served at a cozy dinner party, this dish brings a warm comfort that draws everyone to the table. Curious how to achieve that perfect balance of flavors and textures? Let’s dive into the delicious details!
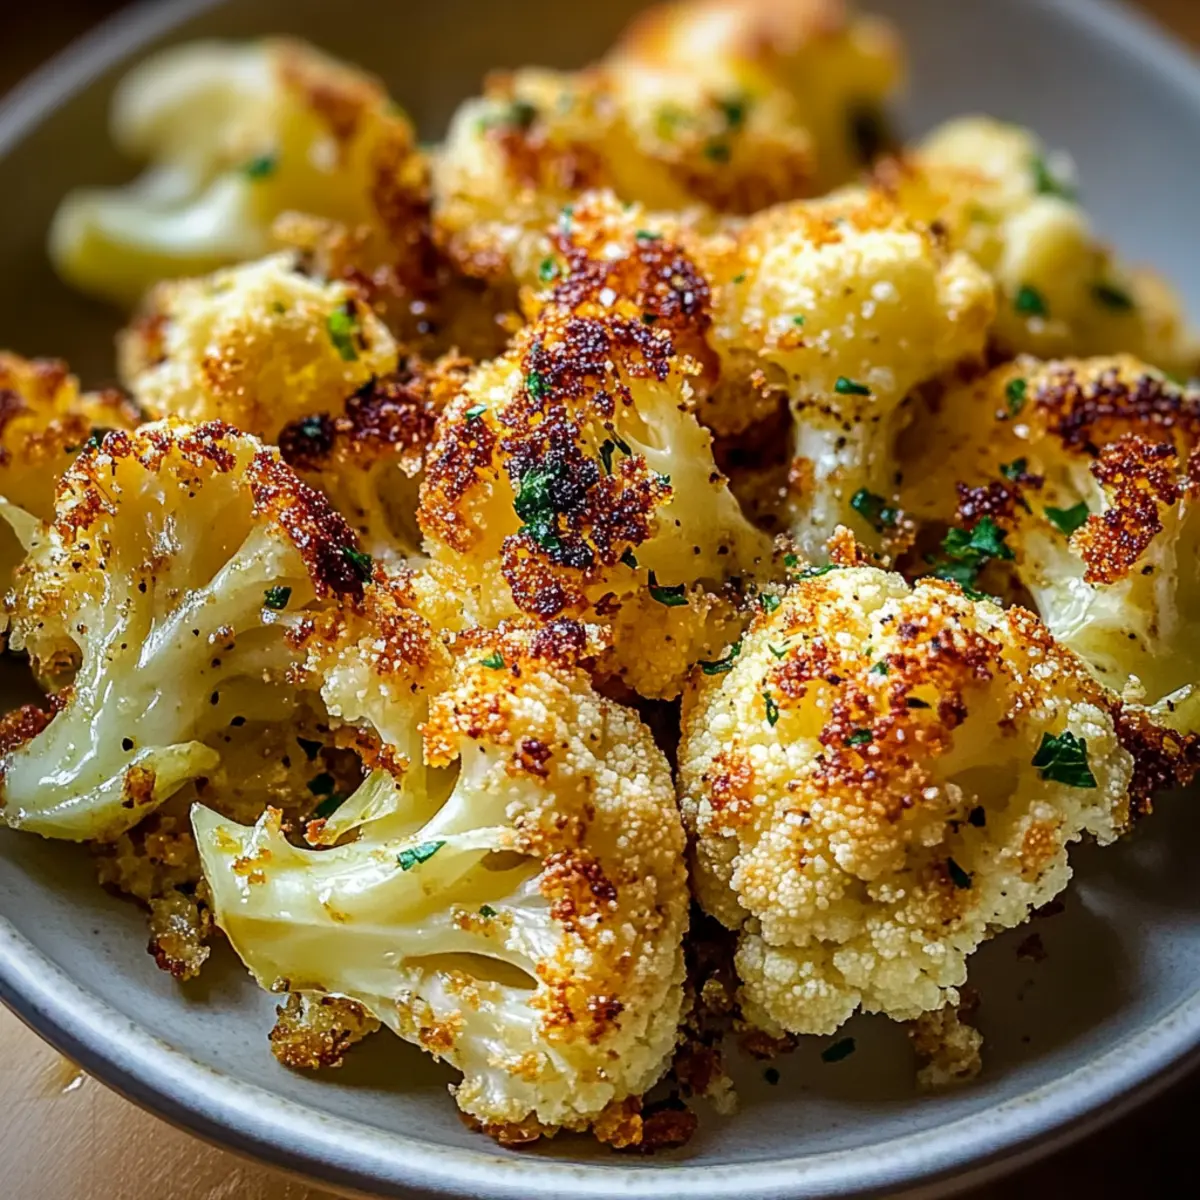
Why is Garlic Butter Roasted Cauliflower a Must-Try?
Irresistible Flavor: The heavenly combination of garlic and butter elevates the humble cauliflower into a mouthwatering treat that everyone will love.
Quick & Easy: Just seven simple steps and about 25 minutes are all you need to transform fresh cauliflower into a delectable side.
Healthy Option: Packed with nutritional benefits, this dish is not only gluten-free but also a perfect choice for those seeking a healthy lifestyle while enjoying rich flavors.
Versatile Pairing: Whether it’s alongside grilled meats or as part of a vegetarian feast, this dish complements a variety of main courses, making it an ideal addition to any menu.
Crispy Texture: With perfectly roasted edges and a tender interior, you’ll love the contrast of crispy and soft, offering a satisfying bite in every forkful.
For more delicious side dishes, check out my Garlic Parmesan Crockpot Chicken and Potatoes or Crockpot Garlic Parmesan recipes!
Garlic Butter Roasted Cauliflower Ingredients
For the Cauliflower
• Cauliflower Florets – The star of the dish, ensure they are rinsed and dried for optimal roasting.
For the Seasoning Blend
• Olive Oil – Adds healthy fat and helps achieve that perfect crisp; feel free to substitute with avocado oil.
• Melted Butter – Brings rich flavor and a golden finish—consider plant-based butter for a vegan version.
• Minced Garlic – The aromatic base that infuses each bite with deliciousness; fresh garlic truly makes a difference.
• Salt – Essential for enhancing the natural flavors; opt for kosher or sea salt for the best taste.
• Black Pepper – Gives it a mild heat and depth; freshly ground is always a great choice.
• Smoked Paprika – Adds a subtle smokiness that complements the dish beautifully; you can swap it with regular paprika if needed.
• Red Pepper Flakes (optional) – For a little extra kick; adjust to your personal heat preference.
Now you’re all set to create this irresistible Garlic Butter Roasted Cauliflower that will light up your meals!
Step‑by‑Step Instructions for Garlic Butter Roasted Cauliflower
Step 1: Preheat the Oven
Begin by preheating your oven to 425°F (220°C). This high temperature will ensure that your Garlic Butter Roasted Cauliflower achieves that delightful crispy texture. As the oven warms, you can prepare the cauliflower, which will be ready to roast in no time.
Step 2: Prepare the Cauliflower
Rinse the cauliflower florets thoroughly under cold water to clean them, then pat them dry with a clean towel. This step is crucial; drying the florets will help them roast instead of steam, which enhances their crispiness. Set the dried florets aside as you mix the seasoning.
Step 3: Mix the Seasoning
In a large mixing bowl, whisk together olive oil and melted butter with minced garlic, salt, black pepper, smoked paprika, and optional red pepper flakes. Stir well until the mixture is smooth and homogenous. The rich aroma of garlic will start to fill your kitchen, setting the stage for your Garlic Butter Roasted Cauliflower.
Step 4: Coat the Cauliflower
Carefully add the dried cauliflower florets to the bowl with the seasoning mixture. Toss the cauliflower gently until each piece is generously coated with the flavorful blend. Ensuring that all florets are coated evenly will give a consistent taste and golden finish once roasted.
Step 5: Arrange on Baking Sheet
Spread the coated cauliflower florets in a single layer on a large baking sheet. Make sure to leave enough space between each floret, promoting even roasting and preventing sogginess. This elegant arrangement is key to getting those lovely crispy edges in every bite of your Garlic Butter Roasted Cauliflower.
Step 6: Roast in the Oven
Place the baking sheet in the preheated oven and roast the cauliflower for 20-25 minutes. Be sure to flip the florets halfway through cooking to ensure even browning on all sides. The florets should emerge from the oven tender yet beautifully caramelized, making them a feast for the eyes as well as the palate.
Step 7: Add a Zesty Finish
Once the cauliflower is golden and tender, take it out of the oven and drizzle the juice from half a lemon over the hot florets. This brightens the flavors, adding a refreshing depth to the dish. Serve your Garlic Butter Roasted Cauliflower warm, and watch it disappear from the table!
Make Ahead Options
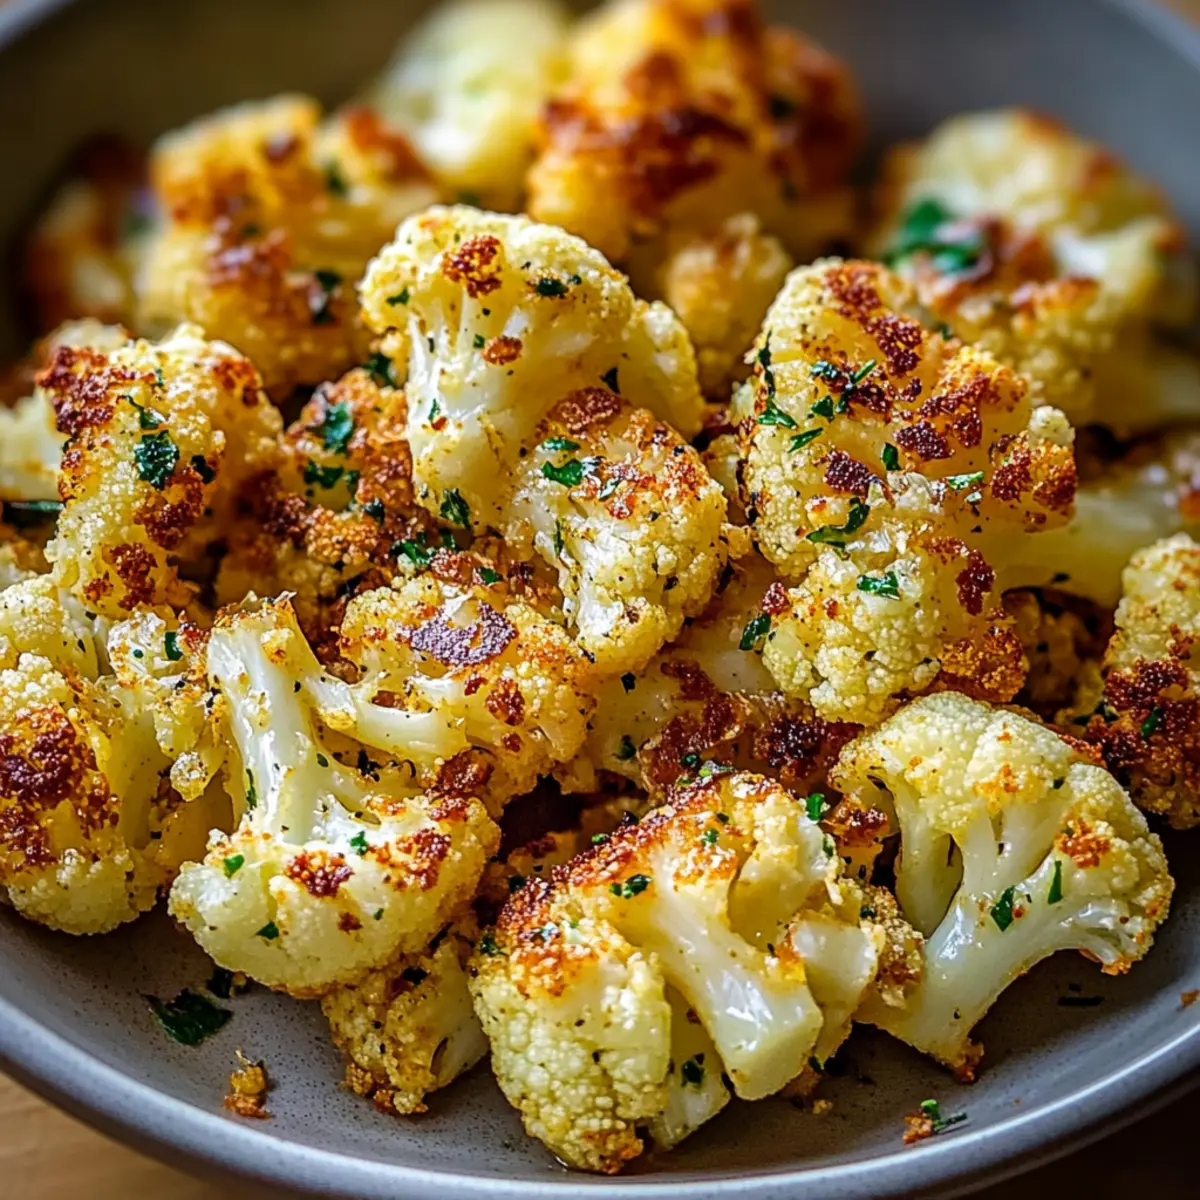
These Garlic Butter Roasted Cauliflower florets are perfect for meal prep, allowing you to enjoy their deliciousness while saving time on busy weeknights! You can wash and dry the cauliflower, then toss it with the seasoning up to 24 hours in advance. Simply refrigerate the prepared florets in an airtight container to maintain their quality. When you’re ready to serve, spread them on a baking sheet and roast them in a preheated oven as directed—flipping halfway through ensures they turn out just as crispy and flavorful as if you made them fresh. With these prep-ahead steps, you can enjoy the delightful taste of Garlic Butter Roasted Cauliflower with minimal effort!
Storage Tips for Garlic Butter Roasted Cauliflower
-
Room Temperature: Garlic Butter Roasted Cauliflower can be kept at room temperature for up to 2 hours after cooking. After that, it’s best to refrigerate any leftovers to maintain freshness.
-
Fridge: Store the roasted cauliflower in an airtight container in the refrigerator for up to 3 days. Make sure it’s cool before sealing to avoid condensation, which can affect texture.
-
Freezer: For longer storage, freeze the roasted cauliflower in a single layer on a baking sheet first, then transfer to a freezer-safe bag or container. It can be frozen for up to 2 months.
-
Reheating: Reheat in the oven at 350°F (175°C) for about 10-15 minutes or in the microwave until warmed through. For a crispy result, use the oven whenever possible to freshen up your Garlic Butter Roasted Cauliflower!
Garlic Butter Roasted Cauliflower Variations
Feel free to get creative with this dish! Adding your own twist will elevate its flavors even more.
-
Vegan Substitute: Replace melted butter with plant-based butter or simply increase the olive oil for a dairy-free option. Enjoy the same delightful taste without the dairy!
-
Cheesy Delight: Add grated Parmesan or nutritional yeast for a rich, cheesy flavor that perfectly complements the garlic. A sprinkle on top can take this dish to the next level.
-
Herb Infusion: Try tossing in fresh herbs like thyme or rosemary for a fragrant touch. The additional aroma and flavor will uplift the whole dish, creating a delightful dining experience.
-
Nutty Crunch: Incorporate chopped nuts such as almonds or walnuts for extra texture and nutrition. This crunchy addition not only enhances the flavor but also offers a satisfying bite.
-
Spicy Kick: Increase the red pepper flakes or add a dash of cayenne for a fiery version. If you love heat, don’t hesitate to spice it up and make your taste buds dance!
-
Smoky Flavor: Swap smoked paprika with regular paprika for a milder taste, or try adding a dash of liquid smoke for an unexpected depth of flavor. It’s a twist that offers a delightful surprise!
-
Citrus Burst: Squeeze fresh lime or orange juice over the roasted cauliflower as an alternative to lemon for a zesty twist that brings a refreshing brightness to each bite.
For more tasty recipes, try out my Cheesy Garlic Chicken or Cheesy Cajun Garlic for a satisfying meal!
Expert Tips for Garlic Butter Roasted Cauliflower
-
Dry Well: Ensure the cauliflower is thoroughly dried after rinsing to avoid steaming and achieve optimal crispiness.
-
Even Coating: Toss the florets gently but thoroughly in the seasoning mix for uniform flavor and a perfect golden finish when roasted.
-
Space on Sheet: Spread the florets out on the baking sheet; overcrowding can lead to sogginess instead of crispness in your Garlic Butter Roasted Cauliflower.
-
Flip for Perfection: Remember to flip the cauliflower midway through roasting to promote even browning and enhance that delightful caramelization.
-
Season Ahead: For a burst of flavor, consider seasoning the cauliflower a few hours in advance and refrigerating it until you’re ready to roast.
What to Serve with Garlic Butter Roasted Cauliflower
There’s something magical about a table set with delightful dishes that complement each other perfectly, creating an enchanting dining experience.
-
Creamy Mashed Potatoes: The velvety texture and comforting flavors of mashed potatoes provide a lovely contrast to the crispy cauliflower, making every bite feel indulgent.
-
Grilled Lemon Chicken: The juicy, zesty chicken pairs beautifully with the rich garlic butter flavor of the cauliflower, elevating your meal to new heights.
-
Quinoa Salad: A refreshing and nutritious option, this salad adds a burst of fresh ingredients that balance out the richness of the roasted cauliflower. Consider mixing in cherry tomatoes, cucumbers, and a light vinaigrette.
-
Steamed Asparagus: Lightly seasoned asparagus offers a tender crunch and bright green color that visually and texturally enhances your dinner plate alongside the cauliflower.
-
Garlic Bread: Who can resist the allure of crunchy, buttery garlic bread? This classic side adds an extra layer of flavor and aroma that perfectly complements the roasted dish.
-
Red Wine: A glass of full-bodied red wine beautifully balances the richness of the garlic butter, enhancing the overall dining experience with its depth and complexity.
For dessert, consider serving a light sorbet to cleanse the palate after such a savory meal—it’s a refreshing end to a delightful dining experience.
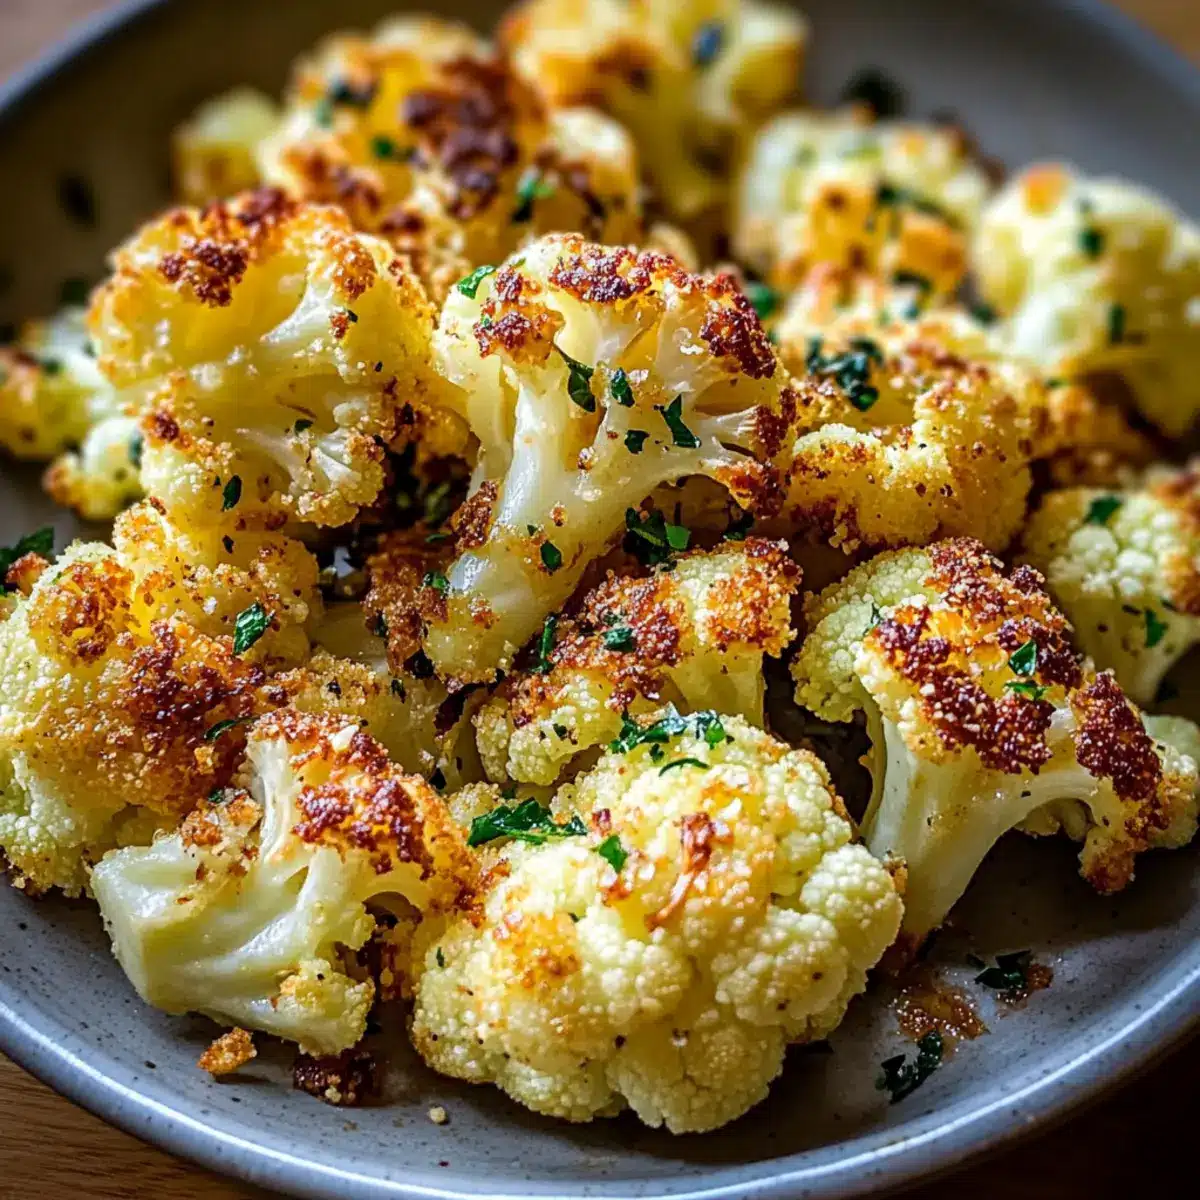
Garlic Butter Roasted Cauliflower Recipe FAQs
How do I select the best cauliflower for roasting?
Absolutely! When choosing cauliflower, opt for heads that are firm with tightly packed florets. Look for a creamy-white color and avoid any dark spots or blemishes, which can indicate age. The fresher, the better, as it will roast to crispy perfection!
How long will leftovers of Garlic Butter Roasted Cauliflower last in the fridge?
The great news is that you can store your leftovers in an airtight container in the refrigerator for up to 3 days. Just make sure they have cooled down before sealing them up to maintain their texture. You can enjoy them warm or cold in salads or wraps!
Can I freeze Garlic Butter Roasted Cauliflower?
Yes, you can freeze it! After roasting, let the cauliflower cool completely. Then, spread it out on a baking sheet in a single layer and freeze until solid. Once frozen, transfer the florets to a freezer-safe bag or container. They can last for up to 2 months. When you’re ready to eat, reheat in the oven for that lovely crispiness!
What if my cauliflower isn’t getting crispy enough?
If you’re not achieving that delightful crispiness, it might be due to excess moisture. Be sure to rinse and thoroughly dry your cauliflower before roasting; any water left will cause it to steam in the oven. Another tip is to spread the florets out without overcrowding on the baking sheet and flip them midway through roasting to promote even browning.
Are there any dietary considerations I should keep in mind?
Very! This recipe is inherently gluten-free and can be made vegan by substituting the melted butter with plant-based butter or additional olive oil. If you have allergies, check the seasoning ingredients and avoid red pepper flakes if you’re sensitive to spice. Always consult with your guests prior to serving to ensure everyone enjoys this savory side!
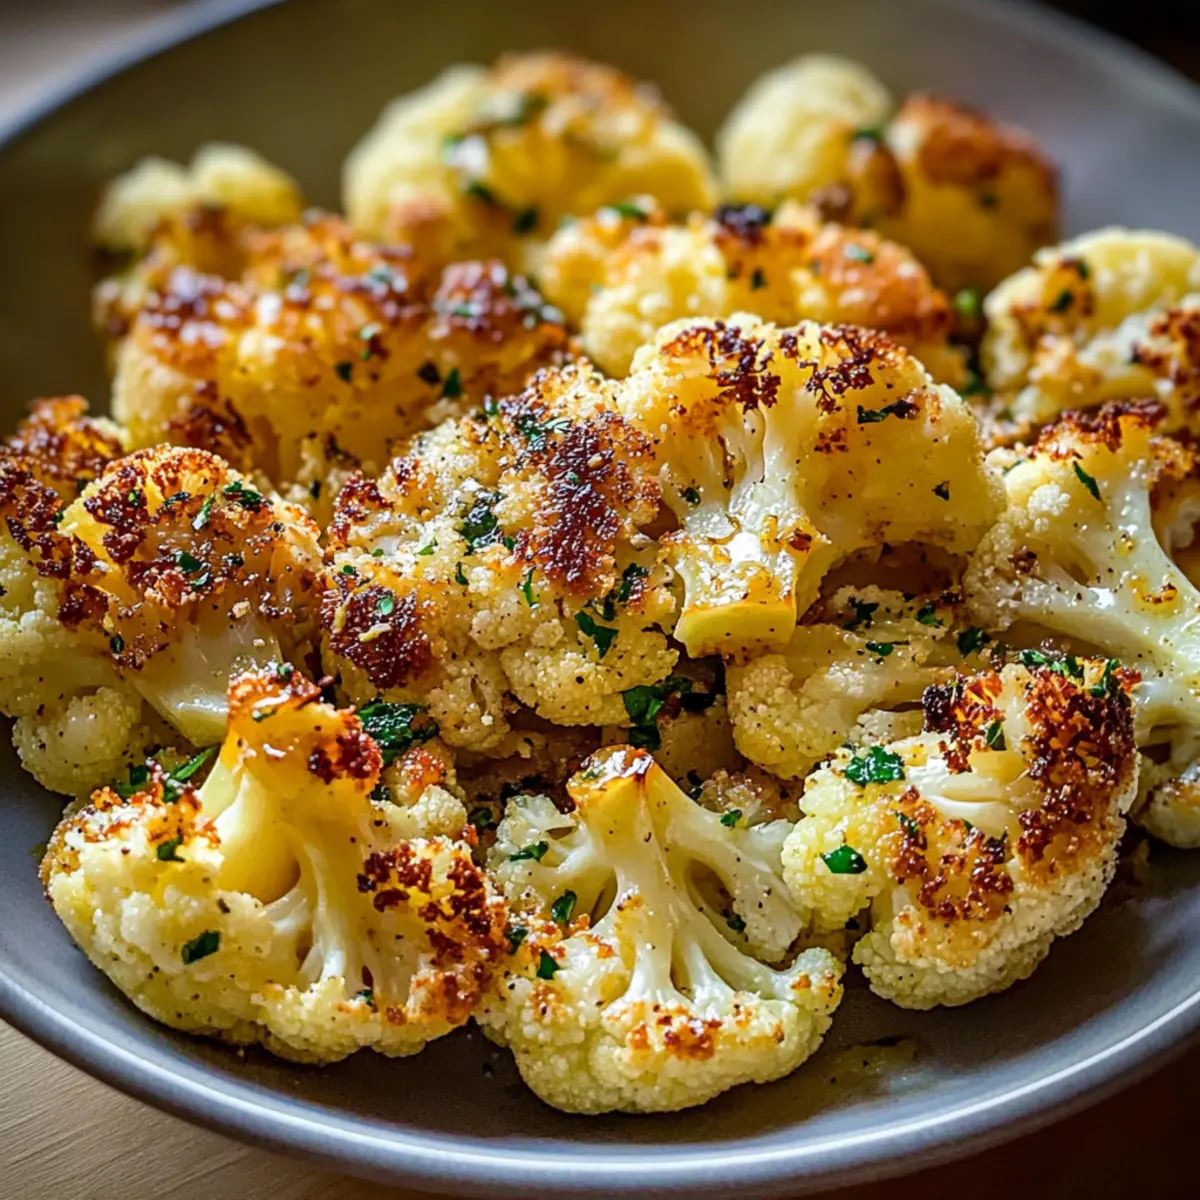
Garlic Butter Roasted Cauliflower: A Savory Side Delight
Ingredients
Equipment
Method
- Preheat your oven to 425°F (220°C).
- Rinse the cauliflower florets thoroughly under cold water and pat them dry with a clean towel.
- In a large mixing bowl, whisk together olive oil and melted butter with minced garlic, salt, black pepper, smoked paprika, and optional red pepper flakes.
- Add the dried cauliflower florets to the bowl with the seasoning mixture and toss gently until each piece is coated.
- Spread the coated cauliflower florets in a single layer on a large baking sheet.
- Place the baking sheet in the oven and roast the cauliflower for 20-25 minutes, flipping the florets halfway through.
- Drizzle the juice from half a lemon over the roasted cauliflower and serve warm.
Leave a Reply