
As I rummaged through my kitchen one lazy afternoon, I discovered a bunch of overly ripe bananas seemingly destined for the compost bin. Instead of tossing them, I decided to whip up a batch of No-Bake Banana Bread Protein Balls. These delightful bites not only capture the essence of traditional banana bread but also pack a nutritious punch! Perfect for busy mornings or a midday snack, these protein-packed gems are incredibly quick to make and require zero baking. With creamy almond butter, sweet maple syrup, and a dash of gooey chocolate, they’re the guilt-free treat we all deserve. Ready to transform those sad bananas into a deliciously healthy indulgence? Let’s dive into the creative world of Banana Bread Protein Balls!
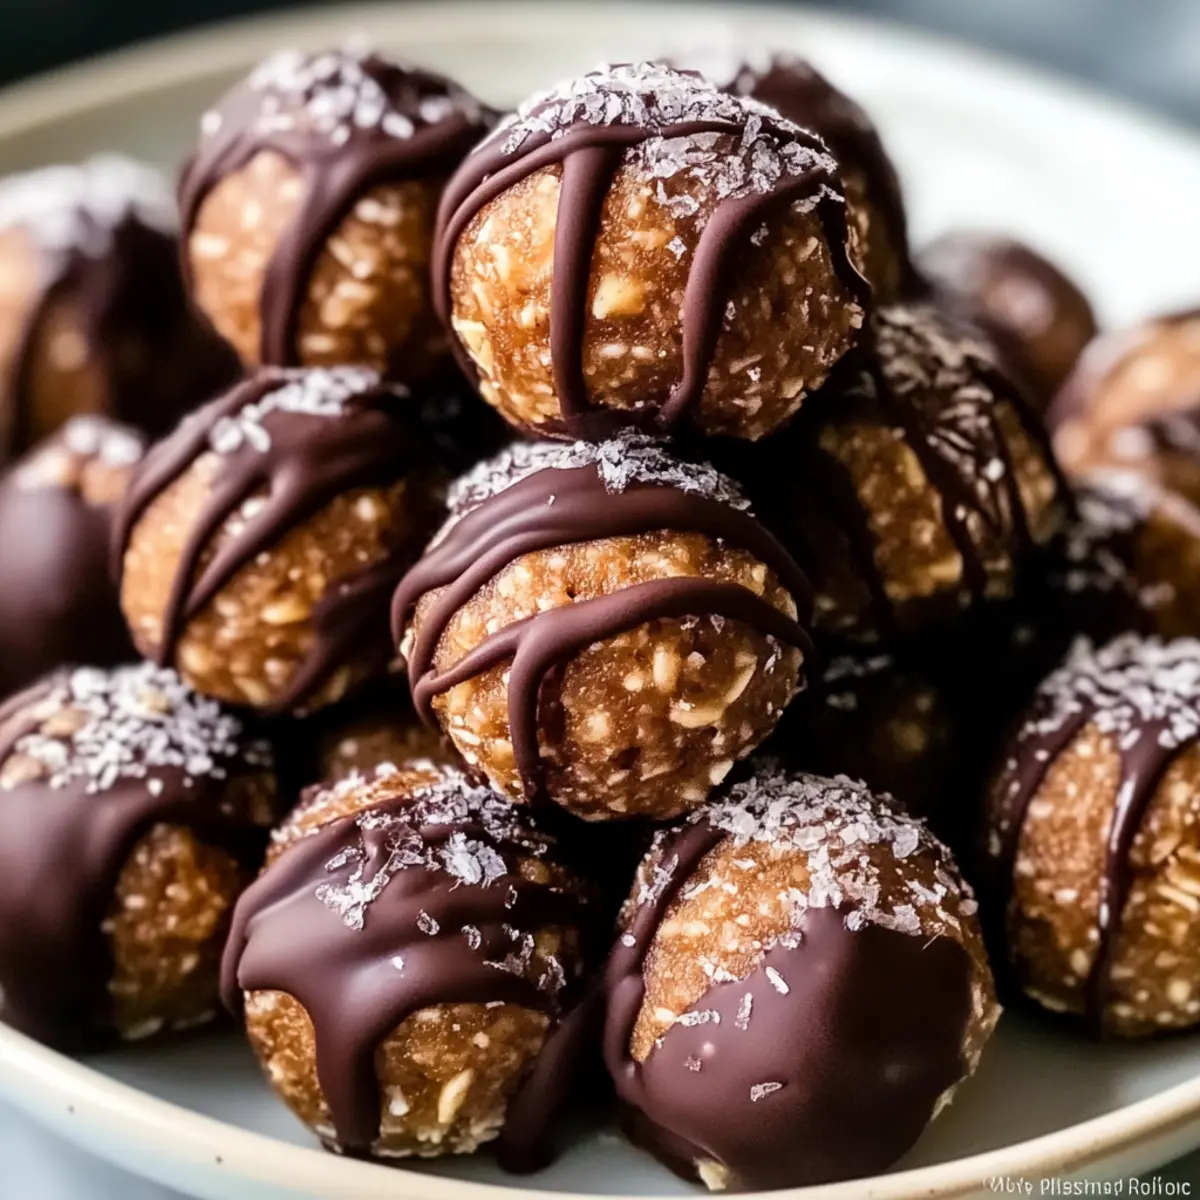
Why Make These Banana Bread Protein Balls?
Convenience at Its Best: These no-bake bites come together in minutes, making them ideal for quick meals or snacks without any oven fuss.
Health Boost: Packed with protein and healthy fats from almond butter, they provide sustained energy for your busy days.
Delicious Variety: Feel free to customize the ingredients! Add dried fruits for natural sweetness or swap out protein powders to match your taste.
Perfect for All Ages: Kids love the fun size and sweet chocolate coating, making these an excellent option for snack time or after-school treats.
Makes Great Meal Prep: Store these in your fridge or freezer for a week’s worth of nutritious grab-and-go goodies! Whether paired with Greek yogurt or fresh fruit, these Banana Bread Protein Balls are a staple you’ll love!
Banana Bread Protein Balls Ingredients
For the Base
• Ripe Banana (120g, mashed) – A natural sweetness and moisture provider; feel free to substitute with applesauce for a unique twist.
• Oat Flour (¾ cup, 112g) – This forms the sturdy base; almond flour can be used for a gluten-free alternative.
• Almond Butter (½ cup) – Acts as the creamy binder; peanut butter is a great substitution if desired.
• Vanilla Plant-Based Protein Powder (⅓ cup, 45g) – Adds a protein boost; any protein powder works here, just keep measurements the same.
For the Sweetness
• Mini Chocolate Chips (¼ cup) – Offers delightful sweetness and texture; opt for dark chocolate chips for a richer flavor profile.
• Maple Syrup (3 tablespoons) – Sweetens and binds; honey or agave syrup can work well if you’re out of maple.
For Flavor
• Cinnamon (½ teaspoon) – Enhances the overall taste with warmth; nutmeg could also provide a festive alternative.
• Salt (¼ teaspoon) – Balances out the sweetness beautifully; kosher salt can be used here too.
For the Coating
• Chocolate Chips (½ cup, for coating) – Adds a deliciously sweet outer layer; choose any chocolate type based on your preference.
• Coconut Oil (1 teaspoon) – Helps in melting the chocolate for coating; butter is an acceptable substitute if needed.
• Flaky Sea Salt (for topping) – A sprinkle of this adds a gourmet finish to each ball.
Transform those ripe bananas into delightful Banana Bread Protein Balls with these simple ingredients, perfect for a healthy snack or a quick breakfast!
Step‑by‑Step Instructions for Banana Bread Protein Balls
Step 1: Mash the Banana
In a medium mixing bowl, begin by peeling and mashing the ripe banana with a fork or potato masher until it becomes smooth and creamy. This should take about 1-2 minutes. The natural sweetness will create a perfect base for your Banana Bread Protein Balls. Make sure to use a ripe banana for the best flavor!
Step 2: Combine the Ingredients
Next, add in the oat flour, almond butter, vanilla protein powder, mini chocolate chips, maple syrup, cinnamon, and salt. Stir everything together until you have a sticky, well-blended mixture. If needed, use your hands to fully combine the ingredients, ensuring the mixture holds together beautifully, which may take about 2-3 minutes.
Step 3: Form the Balls
Once combined, take small portions of the mixture and roll them into balls, about the size of a walnut, usually around 14 balls in total. Hold the mixture firmly in your hands to shape them well. The moist and sticky texture should make this easier, creating perfectly sized bites that will resemble the classic flavors of banana bread.
Step 4: Chill in the Freezer
Place the formed balls onto a parchment-lined baking sheet. Pop them into the freezer for about 10-15 minutes until they firm up slightly. This step helps the Banana Bread Protein Balls hold their shape for coating and ensures that the chocolate will set nicely when added.
Step 5: Melt the Chocolate
While the protein balls are chilling, melt the chocolate chips and coconut oil together in a microwave-safe bowl. Heat in 20-30 second intervals, stirring in between until smooth and glossy, roughly 1-2 minutes in total. This melted chocolate will create a deliciously sweet coating for your dessert.
Step 6: Coat the Protein Balls
Remove the chilled protein balls from the freezer and dip each one into the melted chocolate until fully coated. You can also drizzle the chocolate over the top for a more rustic look, allowing any excess chocolate to drip off before placing them back on the parchment.
Step 7: Final Set in the Fridge
Once coated, return the protein balls to the fridge or freezer for another 10-15 minutes to completely set the chocolate. During this time, the finished Banana Bread Protein Balls will firm up, creating a delightful outer layer that enhances their chewy, delicious interior.
Step 8: Sprinkle with Sea Salt
After the chocolate has set, take the Banana Bread Protein Balls and sprinkle a small pinch of flaky sea salt on top of each one. This adds a gourmet touch that perfectly balances the sweetness, elevating each bite for an elevated snack experience.
Step 9: Store or Serve
Finally, store the protein balls in an airtight container in the fridge for up to a week or freeze them for longer storage. These Banana Bread Protein Balls are perfect for grabbing on-the-go or enjoying as a post-workout snack, making them a fantastic addition to your healthy eating plan!
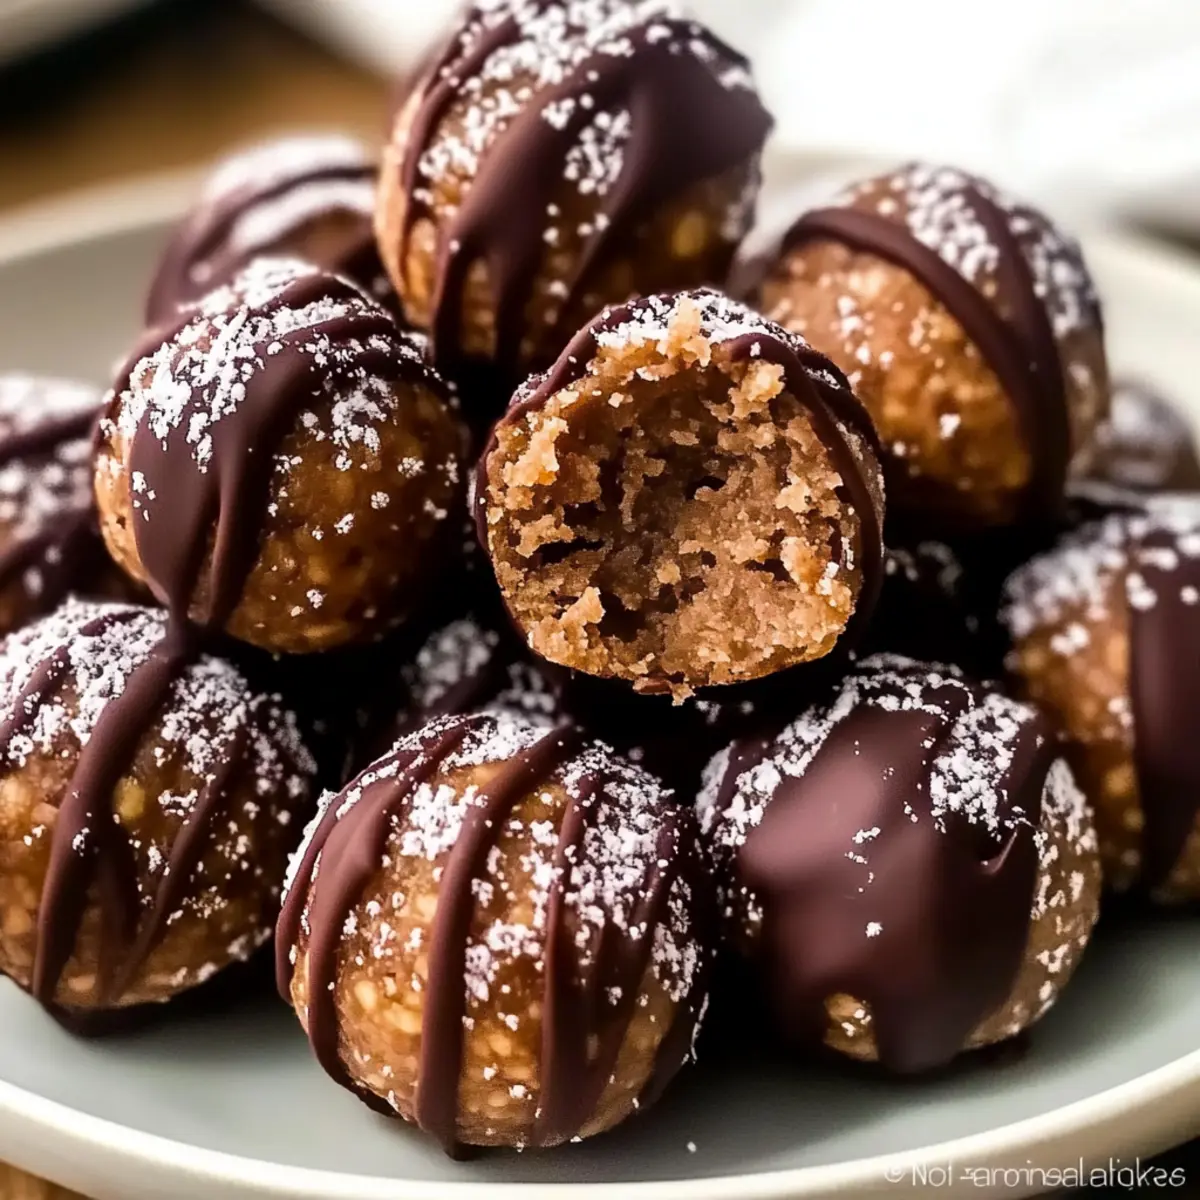
How to Store and Freeze Banana Bread Protein Balls
Room Temperature: Keep out for up to 2 hours if serving immediately. Otherwise, store in an airtight container to prevent them from drying out.
Fridge: Store in an airtight container in the fridge for up to 1 week. This keeps your Banana Bread Protein Balls fresh and ready for quick snacking.
Freezer: For longer storage, freeze the protein balls in a freezer-safe bag or container for up to 3 months. Thaw for about 10 minutes before enjoying.
Reheating: These protein balls are best served cold or at room temperature. No need to reheat; simply enjoy them straight from the fridge or freezer!
What to Serve with No-Bake Banana Bread Protein Balls?
These delightful bites not only satisfy your sweet tooth but can also be effortlessly paired with a variety of ingredients for a complete meal experience.
-
Creamy Greek Yogurt: The tangy creaminess balances the sweetness of the protein balls, making for a lovely snack or breakfast.
-
Fresh Berries: Juicy strawberries or blueberries add brightness and a refreshing contrast to the rich flavors of banana and chocolate.
-
Nutty Granola: Sprinkle some granola on top for added crunch and a boost of fiber; it perfectly complements the chewy texture of the protein balls.
-
Almond Milk Shake: Blend frozen banana and almond milk for a smoothie that doubles as a drink and a treat, making your snack time even sweeter.
-
Apple Slices with Almond Butter: Crisp apples paired with nutty almond butter create a satisfying crunch and extra nutrients that enhance your snacking experience.
-
Coconut Chia Pudding: A creamy, nutrient-packed pudding that adds a tropical twist and pairs beautifully with the banana flavor.
-
Iced Coffee or Matcha Latte: Both drinks offer a caffeine boost while balancing the sweetness of the protein balls, perfect for a mid-afternoon snack.
-
Dark Chocolate Drizzle: A light drizzle of melted dark chocolate over the protein balls can elevate them into a richer dessert option.
Let these pairings guide you in creating memorable moments around your delicious Banana Bread Protein Balls!
Banana Bread Protein Balls Variations
Customize these delightful bites to suit your taste buds and dietary needs!
- Dairy-Free: Swap almond butter for sunflower seed butter or tahini for a nut-free option.
- Gluten-Free: Use certified oat flour instead of regular flour to make sure it’s completely gluten-free.
- Flavor Twist: Substitute vanilla protein powder with chocolate or peanut butter protein powder for a new flavor profile.
- Crunch Factor: Add chopped nuts like walnuts or pecans, enhancing both texture and nutrition with added crunch.
- Fruit Infusion: Toss in dried fruits like cranberries or raisins for extra sweetness and texture, elevating each bite.
- Spicy Surprise: For a little heat, include a pinch of cayenne pepper or a dash of cayenne-flavored chocolate chips.
- Nutty Cocoa Boost: Mix in cocoa powder with your base ingredients for a rich chocolate banana fusion.
- Low Sugar: Reduce maple syrup and use mashed dates or stevia for a low-sugar version without sacrificing flavor.
Experiment with these variations, and enjoy the journey to personalizing your Banana Bread Protein Balls! Pair them with a side of Apple Bread Moist or a serving of Banana Cobbler Southern for a complete, healthy snack experience!
Expert Tips
Perfectly Ripe Banana: Ensure your banana is overripe for maximum sweetness; the best flavor comes from those with a few brown spots.
Sticky Mixture Strategy: When combining the ingredients, don’t shy away from using your hands; it’s messy but ensures a consistent blend in these Banana Bread Protein Balls.
Freeze for Firmness: Chilling the rolled balls before coating is crucial; it helps them maintain shape and makes dipping in chocolate easier.
Even Chocolate Coating: To prevent clumping, aim for an even coating on each protein ball by dipping carefully and letting excess chocolate drip off.
Customization Opportunities: Feel free to mix in your favorite nuts, seeds, or spices to tailor the flavor profile of these protein-packed snacks!
Make Ahead Options
These Banana Bread Protein Balls are fantastic for meal prep, saving you valuable time throughout the week! You can prepare the mixture and roll the balls up to 24 hours in advance, just store them in an airtight container in the fridge to keep them fresh. Additionally, you can freeze the rolled balls for up to 3 months; simply place them on a parchment-lined baking sheet until firm, then transfer to a container. When you’re ready to enjoy, melt the chocolate coating ahead, dip the frozen balls, and let them set in the fridge for another 10-15 minutes. This way, you’ll have delicious, nutritious snacks ready whenever you need them, without sacrificing quality!

Banana Bread Protein Balls Recipe FAQs
How do I know if my bananas are ripe enough for this recipe?
Absolutely! Look for bananas with a yellow peel and a few brown spots. Riper bananas provide natural sweetness and moisture, making them ideal for your Banana Bread Protein Balls. If you’re in a pinch, even very soft bananas with dark spots can work beautifully!
How should I store my Banana Bread Protein Balls?
Very! To keep them fresh, place your protein balls in an airtight container in the fridge. They’ll maintain their deliciousness for up to a week. If you think you’ll need them longer, go ahead and freeze them!
Can I freeze Banana Bread Protein Balls, and how long do they last?
Absolutely! These protein balls freeze wonderfully. For optimal storage, place them in an airtight freezer-safe bag or container. They can last for up to 3 months in the freezer. Just thaw for about 10 minutes at room temperature when you’re ready to enjoy!
What if my mixture is too sticky to roll into balls?
No worries! If your mixture feels overly sticky, try chilling it in the fridge for about 10-15 minutes before rolling. This helps firm up the mixture, making it easier to shape into balls. You could also sprinkle a bit of oat flour on your hands while rolling to prevent sticking.
Are there any ingredient substitutions I should be aware of for allergies?
Definitely! For those with nut allergies, you can swap almond butter with sunbutter or any seed butter of your choice. Also, ensure your protein powder is free from allergens that may affect you or your family. Don’t hesitate to customize according to dietary needs!
How long will these protein balls stay fresh at room temperature?
While you can leave them out for up to 2 hours when serving, it’s best to store them in the fridge or freezer afterward. Keeping them chilled helps maintain their texture and flavor, so they’re always perfect for snacking!
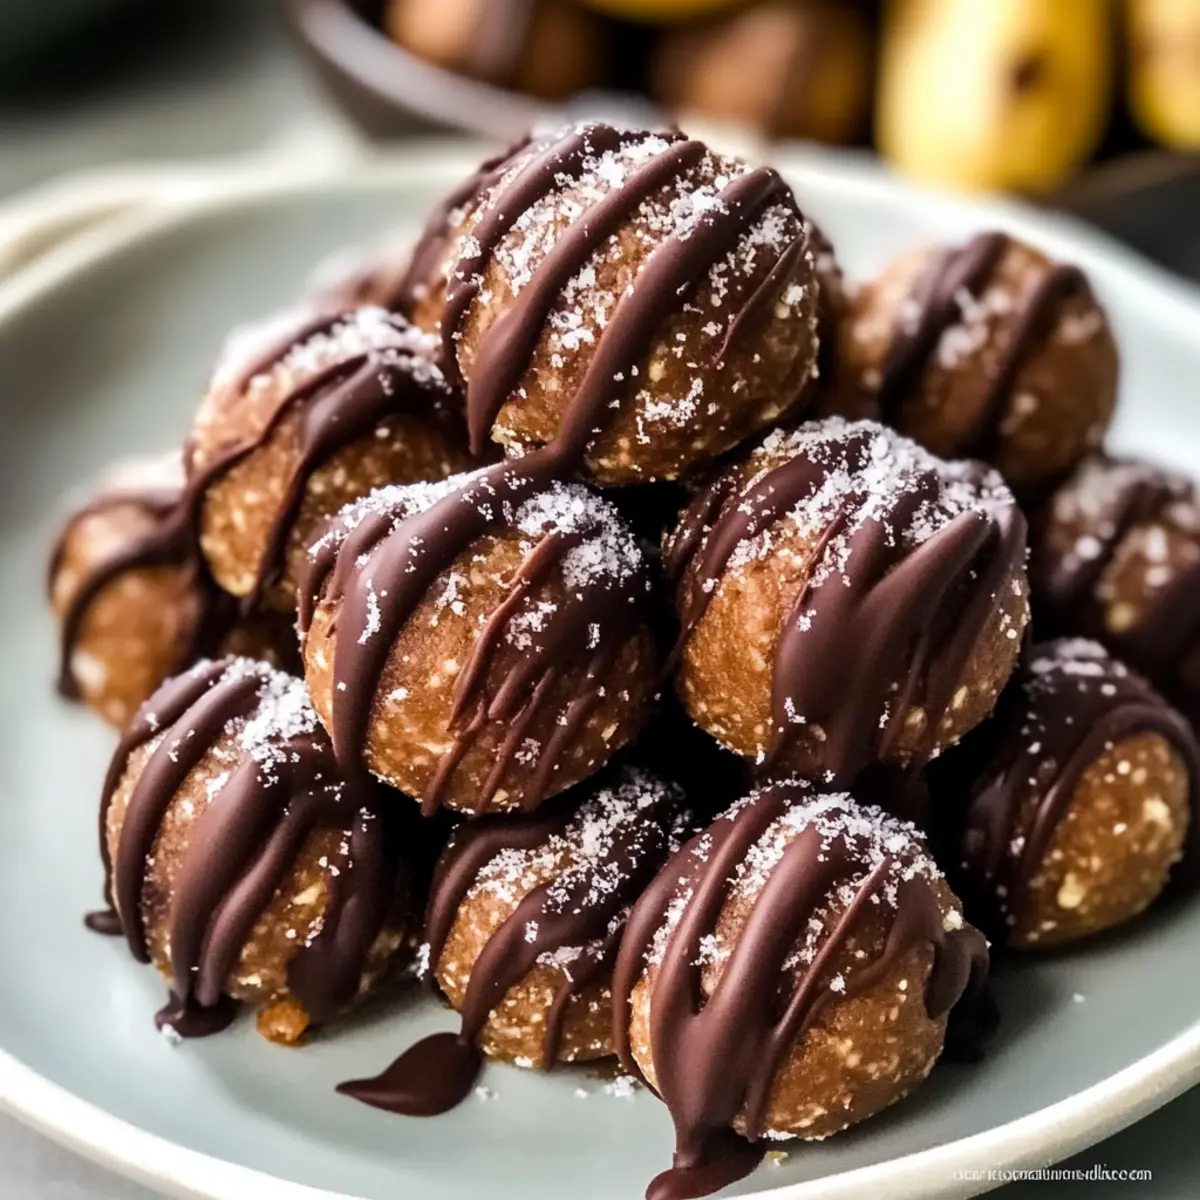
Delicious Banana Bread Protein Balls for Guilt-Free Snacking
Ingredients
Equipment
Method
- Mash the ripe banana in a medium bowl until smooth and creamy.
- Combine oat flour, almond butter, protein powder, chocolate chips, maple syrup, cinnamon, and salt in the mashed banana until well blended.
- Roll the mixture into balls about the size of a walnut, approximately 14 balls total.
- Chill the formed balls on a parchment-lined baking sheet in the freezer for 10-15 minutes.
- Melt chocolate chips and coconut oil in a microwave-safe bowl, stirring until smooth.
- Dip each chilled protein ball into the melted chocolate until fully coated.
- Return coated balls to the fridge or freezer for another 10-15 minutes to set the chocolate.
- Sprinkle a small pinch of flaky sea salt on top of each ball after the chocolate has set.
- Store in an airtight container in the fridge for up to a week or freeze for longer.
Leave a Reply