
I still chuckle every time I think about the day I decided to skip the long bake and dive straight into something a little more refreshing—enter the Brownie Refrigerator Cake! This no-bake delight features layers of fudgy brownie goodness mingling perfectly with creamy pudding and fluffy whipped topping, making it an effortless centerpiece for any gathering. What I love most about this cake is how it allows for creativity; it’s easily customizable with gluten-free options, and you can make it ahead of time, freeing you up for all those important moments before the guests arrive. Whether you savor it solo after a long day or share it at a party, this dessert is sure to impress. Curious how to layer this indulgent delight? Let’s dive into the recipe!
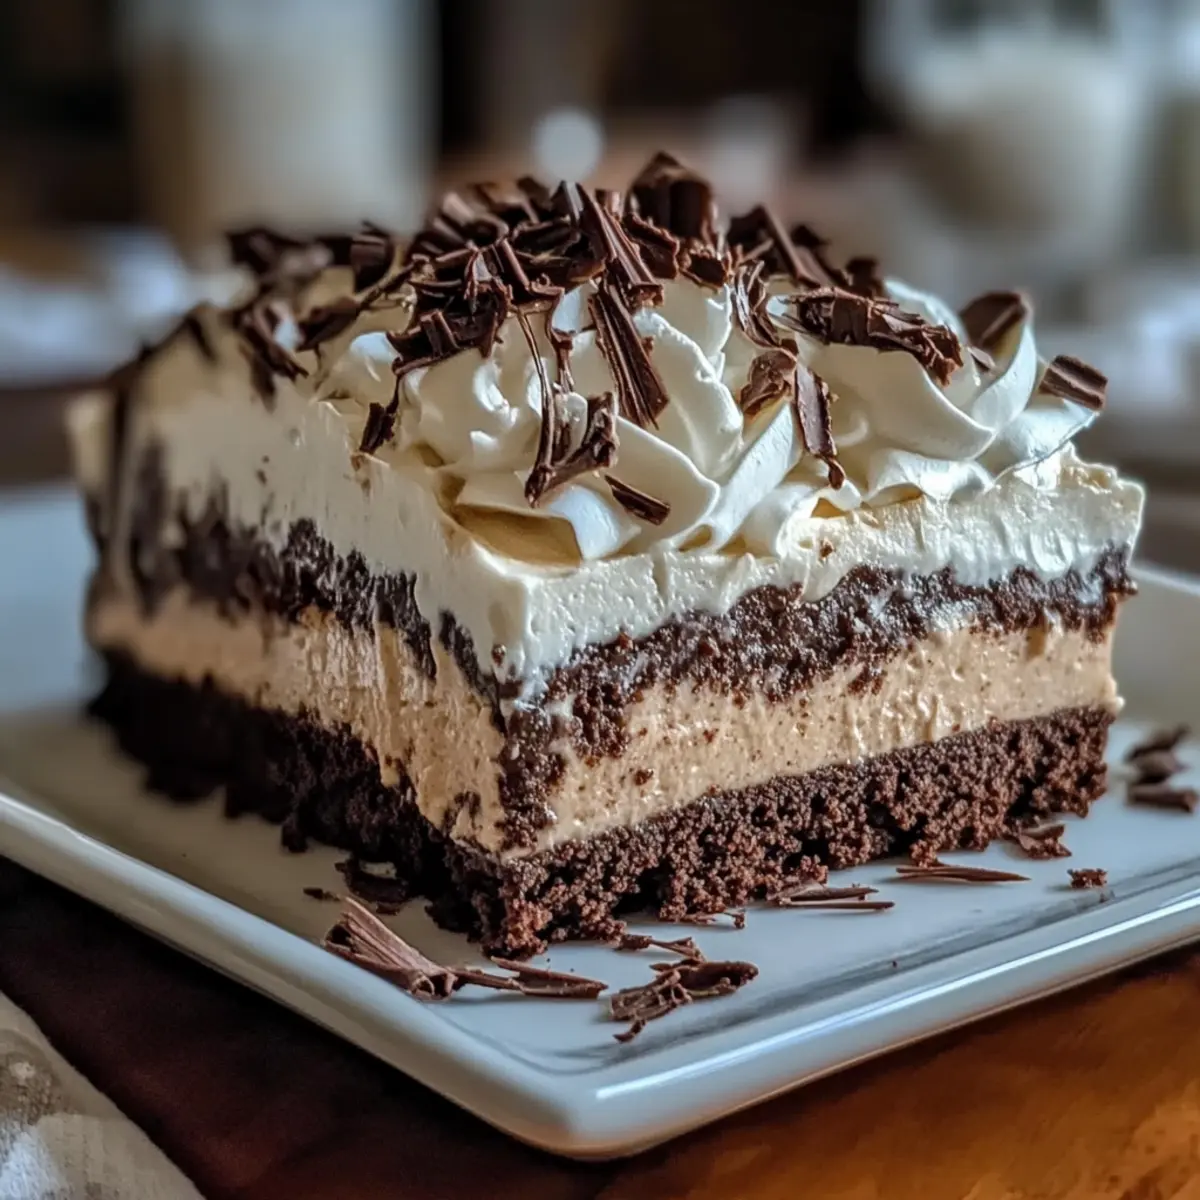
Why is this Brownie Refrigerator Cake special?
Effortless Preparation: This no-bake recipe is all about convenience! With just a few simple steps, you can whip up a stunning dessert in no time.
Rich, Decadent Flavor: The combination of fudgy brownie and creamy pudding creates a taste sensation that chocolate lovers will adore.
Versatile Customization: Feel free to swap in different flavors or gluten-free options to cater to your guests’ preferences! Consider using a Butter Pecan Cake for another sweet twist.
Make-Ahead Magic: This cake can be prepared ahead of time, giving you peace of mind so you can enjoy the festivities without the stress.
Showstopper Appeal: Each slice reveals gorgeous layers that are not only delicious but also a feast for the eyes, making it perfect for gatherings!
Brownie Refrigerator Cake Ingredients
For the Brownie Base
• Brownie Mix – This is the foundation of the cake, delivering a rich chocolate flavor; opt for gluten-free mix if needed.
• Eggs – Essential for adding structure and moisture to your brownie layer.
For the Creamy Layers
• Cream Cheese – This creates a rich, cheesecake-like layer; ensure it’s softened to blend smoothly.
• Instant Pudding Mix (Chocolate or Vanilla) – Forms the creamy layer; choose chocolate for a more indulgent kick.
• Milk – Hydrates the pudding mixture; substitute with almond or oat milk to make it dairy-free.
For the Toppings
• Whipped Topping – Adds lightness and balance; allow it to thaw for easier spreading.
• Salt – Enhances flavor and balances the sweetness, bringing all the elements together.
• Optional Toppings (e.g., caramel sauce, fresh berries, crushed nuts) – Elevate the presentation and flavor of your Brownie Refrigerator Cake!
Step‑by‑Step Instructions for Brownie Refrigerator Cake
Step 1: Prepare Brownie Base
Begin by preheating your oven according to the brownie mix package instructions. In a mixing bowl, combine the brownie mix with the required eggs and any additional ingredients as directed. Pour the batter into a greased square baking dish and bake until a toothpick inserted comes out with a few moist crumbs, usually around 20–25 minutes. Allow the brownies to cool completely on a wire rack before proceeding.
Step 2: Make Cream Cheese Layer
While the brownies cool, soften 8 ounces of cream cheese in a mixing bowl using an electric mixer until smooth and creamy. Gradually blend in the cold milk until fully combined, then add one package of instant pudding mix. Mix until the mixture is well-blended and thickens slightly. This creamy layer will enhance the texture of your Brownie Refrigerator Cake.
Step 3: Layer Ingredients
Once your brownie base is completely cool, carefully spread the cream cheese mixture evenly over the top using a spatula. Ensure the cream cheese layer reaches the edges of the brownies for full coverage. This step helps to create a rich and luscious foundation for the next layer of flavor in your Brownie Refrigerator Cake.
Step 4: Pudding Layer
In a separate bowl, prepare the instant pudding according to the package directions, typically mixing the pudding powder with milk for about 2 minutes. Once it reaches a thick and creamy consistency, pour the pudding gently over the cream cheese layer, smoothing it out evenly. This pudding layer will add a delightful creaminess to your indulgent dessert.
Step 5: Add Topping
Top off your Brownie Refrigerator Cake with a generous layer of whipped topping. Spread it smooth with a spatula, ensuring it covers the pudding entirely. If desired, you can create swirls or peaks for visual interest. Once the topping is spread, cover the dish with plastic wrap and refrigerate the cake for at least 2 hours, although overnight is ideal for optimal flavor development.
Step 6: Serve and Enjoy
After chilling, your Brownie Refrigerator Cake is ready to be sliced and served. Use a sharp knife to cut through the layers cleanly, wiping the knife between slices for a neat presentation. For a finishing touch, consider adding optional toppings like caramel sauce, fresh berries, or crushed nuts before serving to elevate the dessert’s appeal.
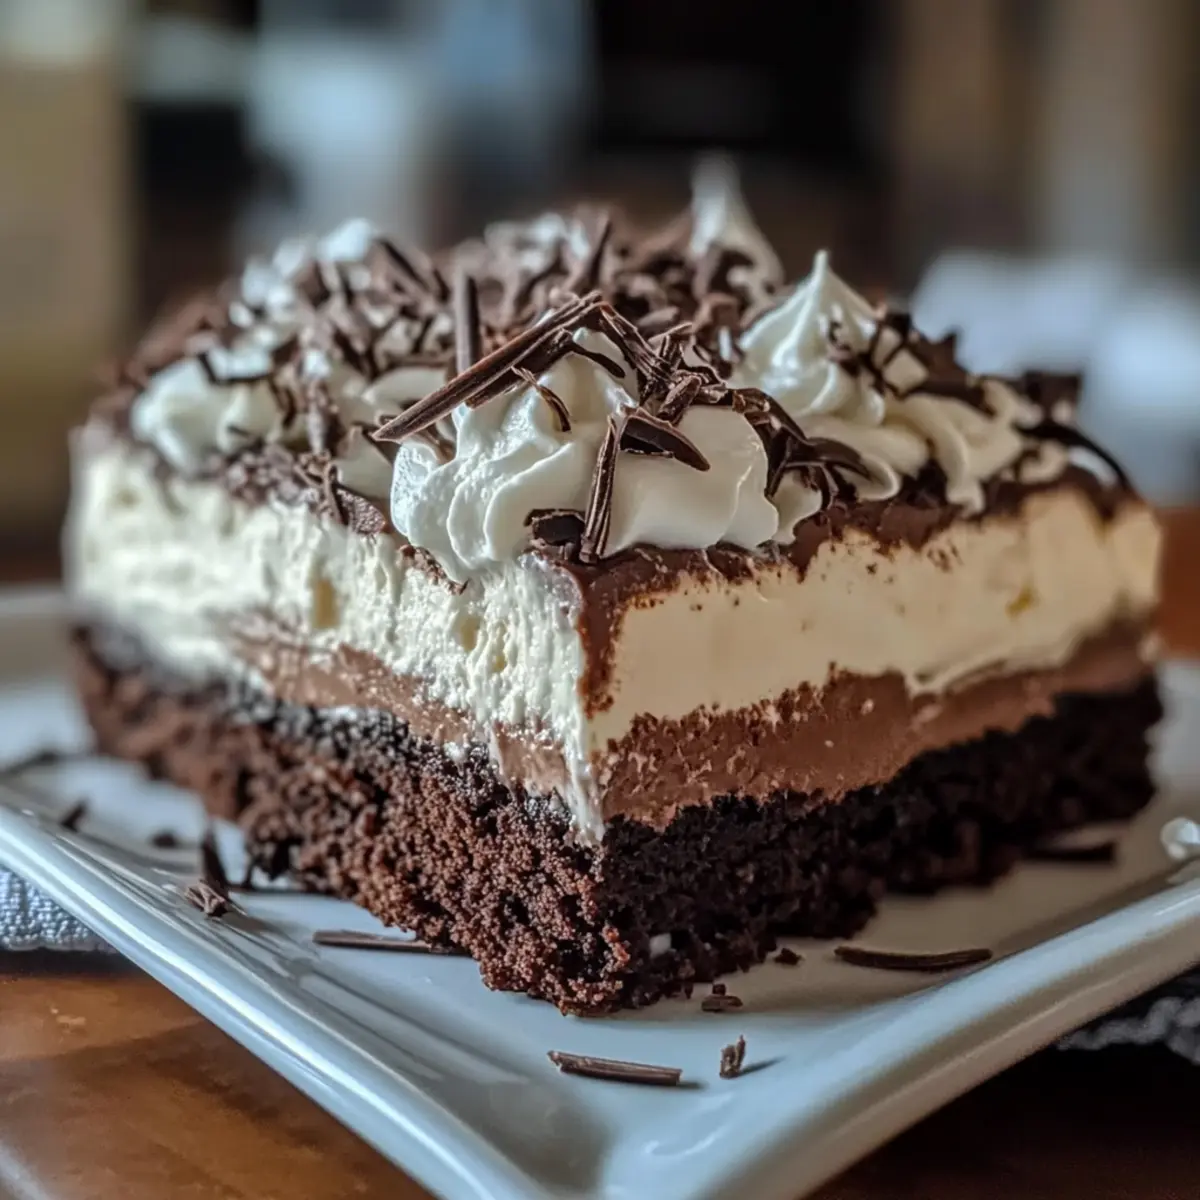
What to Serve with Decadent No-Bake Brownie Refrigerator Cake
Indulge in a tempting array of delightful dishes to create a full and satisfying meal around this no-bake chocolate sensation.
- Vanilla Ice Cream: A smooth scoop adds creamy richness, perfectly balancing the dense chocolate layers of the cake.
- Fresh Berries: Juicy strawberries or raspberries bring a burst of freshness and a vibrant color contrast that lightens every bite.
- Chocolate Syrup Drizzle: Enhance the decadence with a lush chocolate sauce, amplifying the dessert’s rich flavor while adding a glossy finish.
- Crushed Nuts: Chopped pecans or walnuts provide a delightful crunch, introducing a textural contrast that elevates the overall experience.
- Minty Greens: A sprig of fresh mint not only adds a pop of color but also a refreshing herbal note that complements chocolate beautifully.
- Chilled Coffee: A cup of iced coffee or mocha pairs harmoniously with the cake, cutting through the sweetness while enhancing the chocolate flavors.
- Caramel Sauce: Drizzling a warm caramel over each slice creates a luscious combination of sweet and salty elements that will leave taste buds singing.
- Creamy Lemonade: A glass of zesty lemonade provides a refreshing counterpart, cleansing the palate after each mouthful of rich dessert.
- Fruit Salad: A side of mixed fruit salad offers a refreshing burst of sweetness and acidity, rounding out the meal with a wholesome touch.
- Chocolate Milkshake: For the ultimate indulgence, serve a rich chocolate milkshake, turning dessert into a dreamy treat for any chocolate lover.
Make Ahead Options
These Brownie Refrigerator Cake layers are perfect for meal prep, saving you valuable time during busy weeknights! You can prepare the brownie base and the creamy layers up to 24 hours in advance. Simply bake the brownies and allow them to cool, then layer the cream cheese mixture and pudding over the cooled brownies. Once assembled, cover the dish tightly with plastic wrap and refrigerate. This not only keeps the dessert fresh but also allows the flavors to meld beautifully. When you’re ready to serve, add the whipped topping and any desired garnishes, and you’ll have a stunning and delicious treat that’s just as delightful as if you made it the same day!
Brownie Refrigerator Cake Variations
Get ready to unleash your creativity and customize this delicious dessert to match your taste!
-
Homemade Brownies: Swap the brownie mix for a homemade brownie recipe to elevate your cake with personal flair.
-
Flavored Pudding: Select different pudding flavors like butterscotch or caramel for a unique twist that keeps your guests guessing.
-
Coconut Delight: Fold in shredded coconut into the cream cheese layer for a tropical twist that complements the chocolate beautifully.
-
Cookies and Cream: Crush Oreos and mix them into the whipped topping for a delightful cookies and cream version that everyone will crave.
-
Fruit-Infused Layer: Add layers of fresh berries between the pudding and whipped topping for a burst of freshness and color that looks as good as it tastes.
-
Nutty Crunch: Incorporate crushed nuts into the brownie mix or sprinkle on top for added texture and a delicious nutty crunch.
-
Minty Fresh: Mix in mint extract with the cream cheese layer or top with mint chocolate chips for those who love a minty flavor combination.
-
Spicy Touch: If you’re feeling adventurous, sprinkle a hint of cayenne into the brownie mix for a surprising kick, pairing deliciously with the sweet layers.
No matter how you decide to customize your cake, these variations will surely create a fun and memorable dessert experience! Enjoy the base recipe alongside a tempting Spice Roll Cake or indulge in a sweet Pecan Pie Dump Cake for more delicious options!
How to Store and Freeze Brownie Refrigerator Cake
Fridge: Store the Brownie Refrigerator Cake in the refrigerator for up to 4 days. Make sure it is covered tightly with plastic wrap or in an airtight container to maintain freshness and prevent it from absorbing other odors.
Freezer: For longer storage, freeze individual slices, wrapped in plastic and then aluminum foil, for up to 2 months. When ready to enjoy, thaw overnight in the refrigerator before serving.
Reheating: This dessert is best enjoyed cold and doesn’t require reheating; however, if you have leftovers that become a bit firm, allow them to sit out for a few minutes before serving for optimal texture.
Expert Tips for Brownie Refrigerator Cake
-
Cool Completely: Allow the brownie base to cool fully before adding the cream cheese layer to prevent any melting or texture issues.
-
Don’t Over-Mix: When preparing the pudding layer, whisk just until it thickens; over-mixing can lead to a runny consistency that won’t set properly.
-
Chill for Success: Ensure to chill the cake for at least 2 hours for the best texture; overnight chilling enhances the flavors and makes for easy slicing.
-
Sharp Knife Use: For neat slices, always use a sharp knife and clean it between cuts to showcase the beautiful layers of your Brownie Refrigerator Cake.
-
Creative Toppings: Feel free to get creative with your toppings—add fresh fruit, chocolate shavings, or a drizzle of caramel for an extra touch of indulgence!
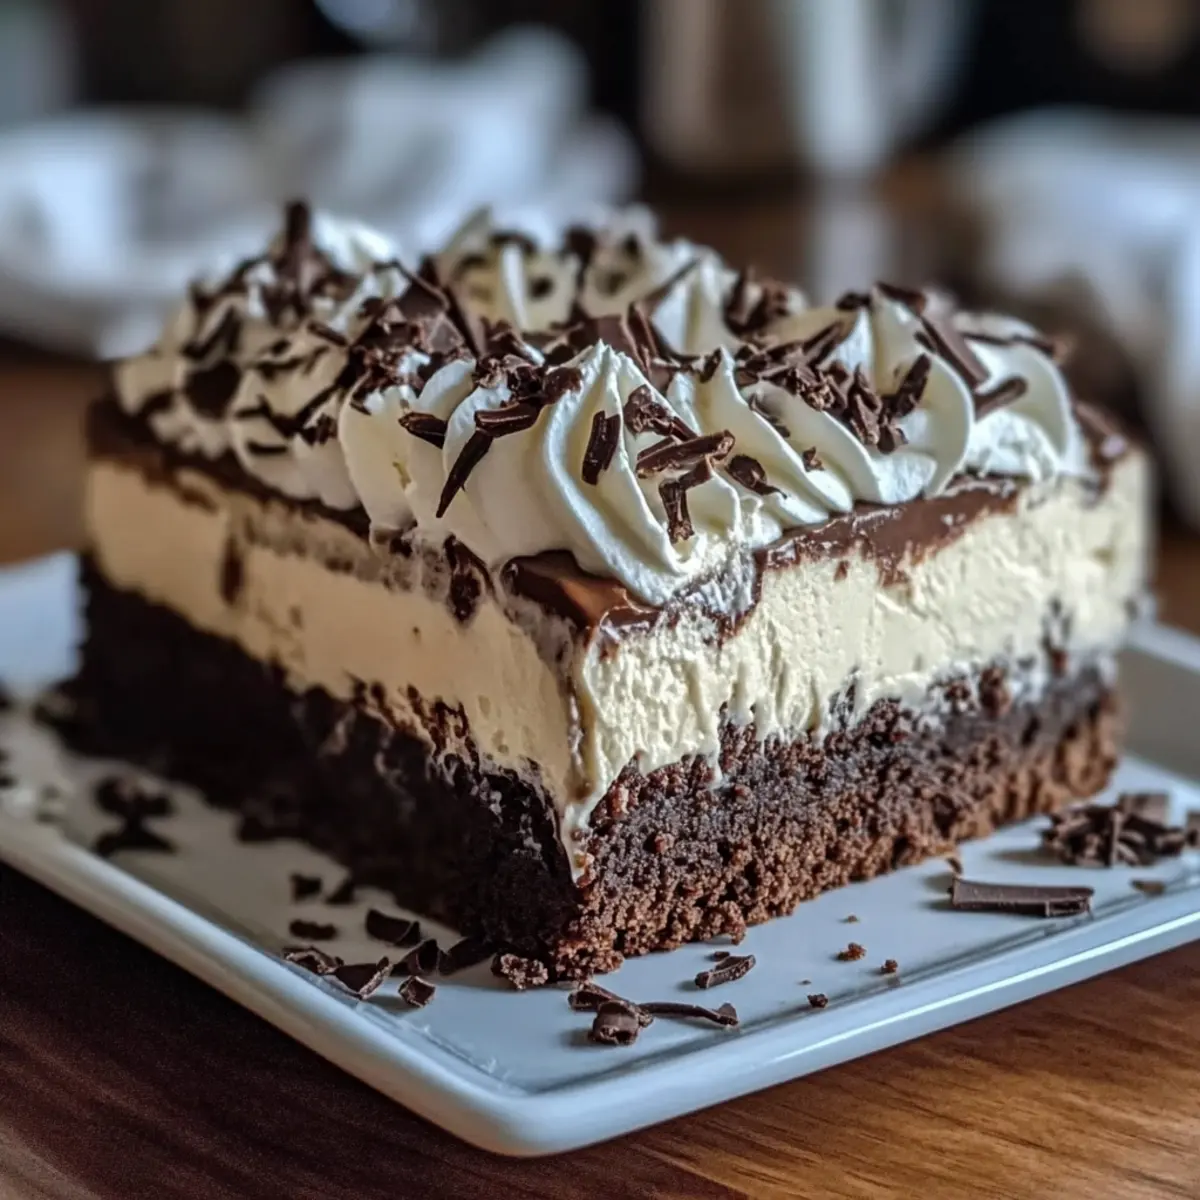
Brownie Refrigerator Cake Recipe FAQs
What is the best way to select brownie mix for this recipe?
Absolutely! Look for a brownie mix that has rich chocolate flavor and is labeled gluten-free if you have dietary restrictions. Check the packaging for a good texture guarantee—thin or overly sweet mixes may not hold up well in the layering process. I often go for a mix that includes chocolate chunks for added decadence!
How should I store the Brownie Refrigerator Cake?
Very simply! You can keep the Brownie Refrigerator Cake in the refrigerator, tightly covered with plastic wrap or in an airtight container for up to 4 days. This keeps it fresh and prevents it from absorbing any odors from the fridge. Make sure it’s cool before covering to avoid condensation.
Can I freeze the Brownie Refrigerator Cake?
Certainly! To freeze, slice the cake and wrap each piece well in plastic wrap followed by aluminum foil. You can freeze it for up to 2 months. When you’re ready to enjoy, simply thaw the slices in the refrigerator overnight. This way, you can savor each layer without sacrificing its delicious texture!
What should I do if the pudding layer doesn’t thicken?
If your pudding doesn’t thicken as expected, don’t fret! Ensure you’ve mixed it according to the package directions. If it’s still runny, try placing it in the refrigerator for about 30 minutes. Once it’s chilled, give it a gentle whisk to help it on its way to a thicker consistency. If all else fails, consider adding a bit more pudding mix as a last resort—just mix it up with a bit of milk before gently folding it into the existing mixture.
Are there any dietary considerations I should keep in mind?
Absolutely! If you’re making this cake for someone with allergies, verify that the brownie mix, pudding mix, and whipped topping are all free from common allergens like nuts, dairy, and gluten. For pet safety, keep this dessert away from pets, especially chocolate, which can be toxic to them. Feel free to explore alternatives like plant-based milk and gluten-free mixes to fit various diets!
How do I ensure my Brownie Refrigerator Cake layers are distinct?
To achieve those gorgeous, distinct layers, follow these steps closely: allow the brownie base to cool completely before adding the cream cheese layer; spread each layer evenly, ensuring it reaches the edges; and chill the cake overnight if possible. Use a sharp knife with clean cuts in between to maintain the fresh look of your lovely layers.
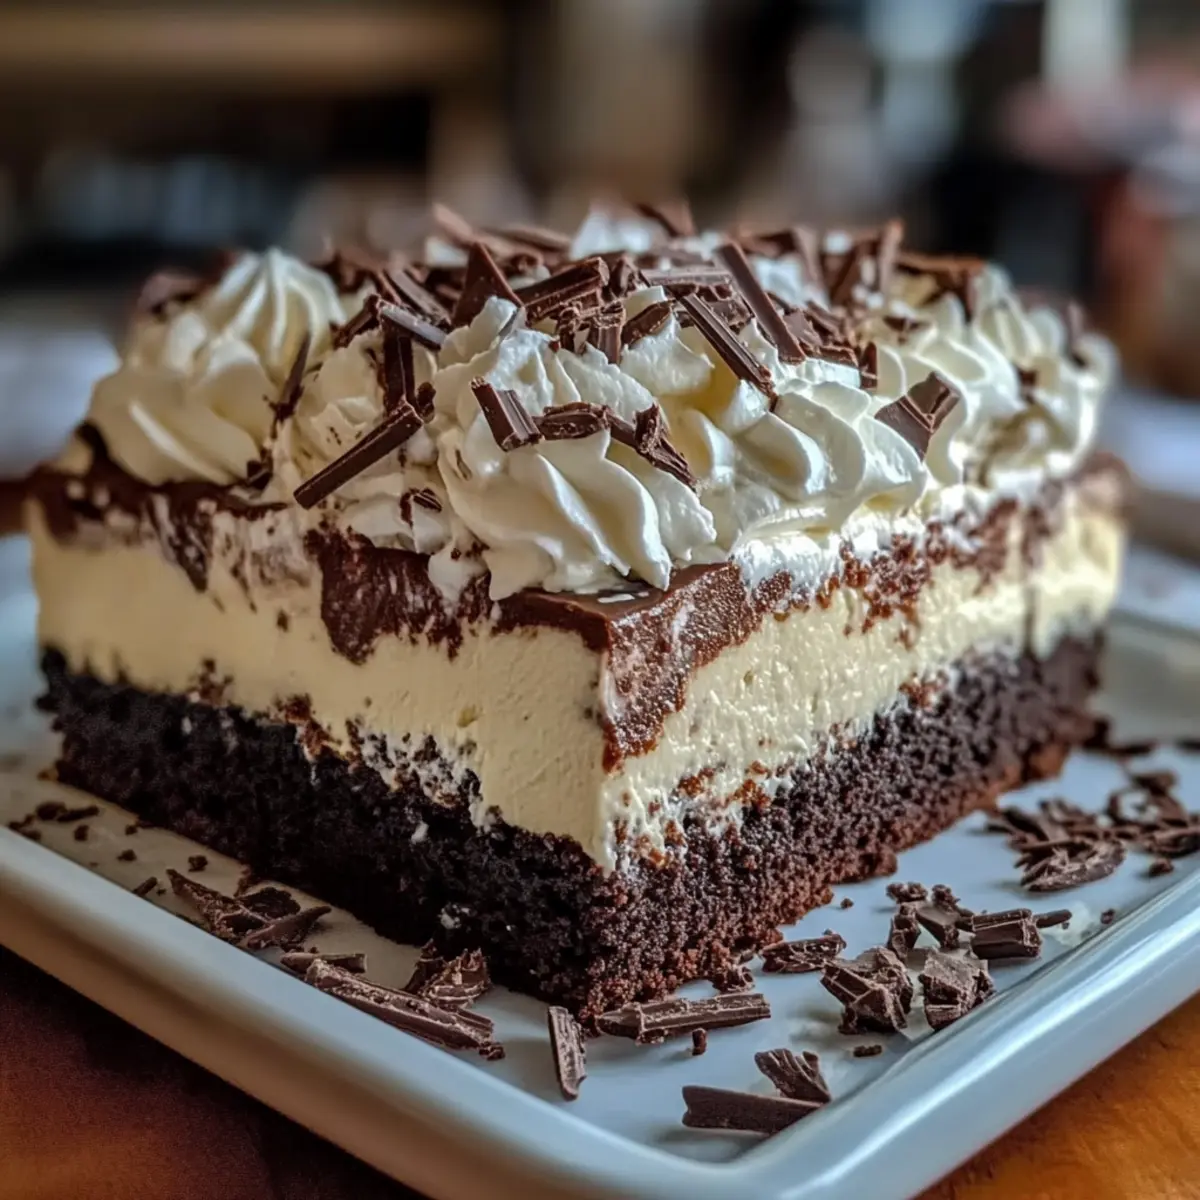
Irresistible Brownie Refrigerator Cake: No-Bake Delight!
Ingredients
Equipment
Method
- Preheat your oven according to the brownie mix package instructions. Combine brownie mix with eggs, pour into a greased baking dish, and bake for 20-25 minutes.
- Soften cream cheese, blend with milk until smooth, then add pudding mix and combine until thickened.
- Spread cream cheese mixture evenly over cooled brownies.
- Prepare instant pudding as directed, then pour over cream cheese layer, smoothing it over.
- Top with whipped topping, smooth it out, cover, and refrigerate for at least 2 hours.
- Slice and serve, optionally adding extra toppings before serving.
Leave a Reply