
As I wandered through a quaint bakery recently, the warm, inviting scent of garlic and cheese wafting through the air stopped me in my tracks. That’s when I discovered the magic of the Cheesy Garlic Cruffin. This delightful treat merges flaky pastry with savory cheesy goodness, creating a perfect harmony that dances on your taste buds. What makes these cruffins a must-try is their amazing versatility—they’re easy to whip up and make for a fabulous snack or side dish that will leave your guests raving. Whether you’re looking for a comforting bite to brighten a busy day or want to impress at your next gathering, these cruffins are here to save the day. Curious about how to bring this cheesy perfection to your kitchen? Let’s dive into how you can make them today!

Why Make Cheesy Garlic Cruffins?
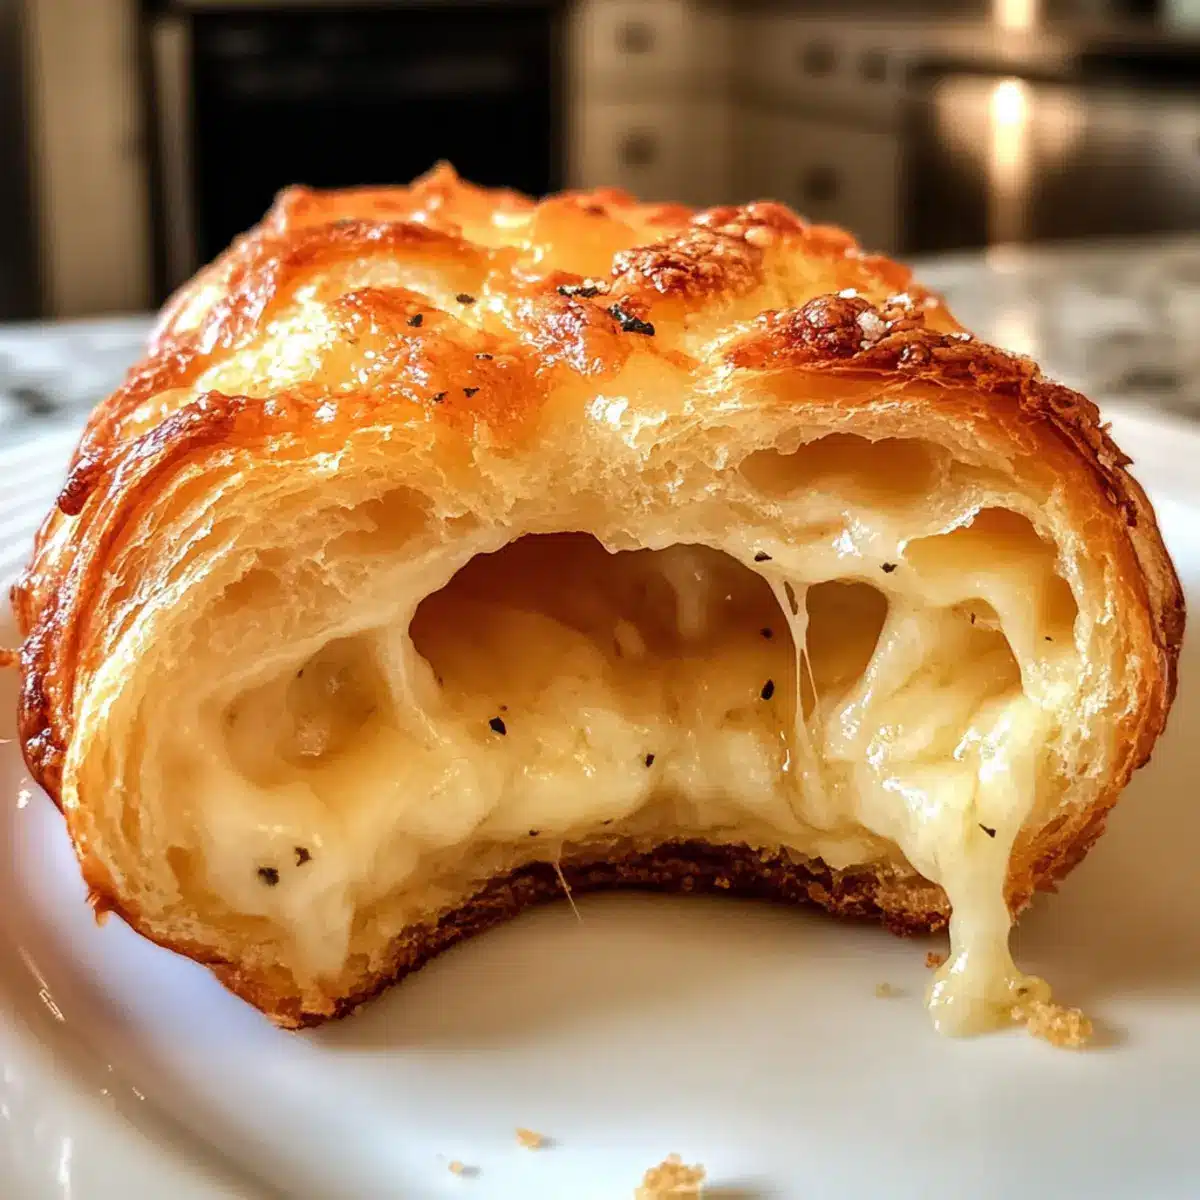
Irresistible Appeal: The combination of flaky pastry and melted cheese creates a snack that’s simply addictive.
Unique Flavor Profile: Each bite bursts with savory garlic goodness, elevating ordinary snacking into something truly special.
Quick and Easy: With just a few steps, you can have warm, homemade cruffins ready to impress your family and friends.
Endless Customization: Feel free to experiment with different cheese blends or add spices—your imagination is the limit!
Perfect for Any Occasion: Whether paired with a zesty salad or enjoyed on their own, these cruffins are the star of any meal. You’ll want to check out our recipe for Garlic Soup Comfort to complement these delightful treats!
Cheesy Garlic Cruffin Ingredients
For the Dough
• 2 cups all-purpose flour – Structure for cruffins; can substitute with whole wheat flour for a nuttier flavor.
• 1 tablespoon granulated sugar – Enhances browning and balances flavor; substitute with honey or maple syrup (adjust liquid accordingly).
• 1 teaspoon salt – Adds flavor; essential for balance, so don’t omit!
• 2 teaspoons instant yeast – Leavening agent; ensure it’s fresh for best results and store in a cool, dry place.
• ½ cup warm milk – Adds hydration and flavor; can use a dairy-free milk alternative.
• ¼ cup unsalted butter, melted – Adds richness; substitute with coconut oil for a dairy-free option.
• ½ cup warm water – Provides hydration; use room temperature if not adding yeast.
• 1 large egg – Binds ingredients and adds moisture; substitute with ¼ cup applesauce or a flax egg (1 tablespoon flaxseed meal mixed with 2.5 tablespoons water).
For the Filling
• ½ cup grated Parmesan cheese – Adds flavor and texture; substitute with Pecorino Romano for a sharper taste.
• 1 cup shredded mozzarella cheese – Provides a stretchy texture; other options include cheddar or gouda, noting differences in melting behavior.
• 3 cloves garlic, minced – This is the key flavor ingredient; adjust amount based on your preference for garlic intensity.
• ¼ cup unsalted butter, softened – Adds richness to the filling; use margarine for a dairy-free alternative.
• 1 tablespoon fresh parsley, chopped – Offers garnishing touch and fresh flavor; can substitute with dried herbs, just use less.
These Cheesy Garlic Cruffins promise to be a delightful addition to your snack repertoire!
Step‑by‑Step Instructions for Cheesy Garlic Cruffin
Step 1: Mix Dry Ingredients
In a large mixing bowl, combine 2 cups of all-purpose flour, 1 tablespoon of granulated sugar, 1 teaspoon of salt, and 2 teaspoons of instant yeast. Stir these dry ingredients together until evenly mixed to ensure the yeast is well-distributed. This will form the base for your delicious Cheesy Garlic Cruffin.
Step 2: Add Wet Ingredients
Create a well in the center of your dry mixture and pour in ½ cup of warm milk, ¼ cup of melted unsalted butter, and ½ cup of warm water. Use a wooden spoon or spatula to incorporate the wet ingredients into the flour mixture until combined. This should form a sticky dough that is ready to be kneaded.
Step 3: Incorporate the Egg
Crack 1 large egg into your dough and mix until fully integrated. This step adds moisture and binds the ingredients together, forming a cohesive dough. Ensure there are no dry flour pockets, so the Cheesy Garlic Cruffin can rise beautifully.
Step 4: Knead the Dough
Turn the mixture onto a lightly floured surface and knead the dough for 8-10 minutes. Aim for a smooth, elastic consistency that bounces back when gently poked. Kneading helps to develop the gluten structure, which is essential for those flaky layers.
Step 5: First Rise
Once kneaded, place the dough in a lightly greased bowl and cover with a clean kitchen towel. Let it rise in a warm area for about 1 hour, or until it has doubled in size. You’ll know it’s ready when it looks puffy and airy.
Step 6: Prepare Garlic Filling
While your dough rises, mix together 3 cloves of minced garlic, ¼ cup of softened butter, and 1 tablespoon of chopped fresh parsley in a small bowl. Stir until well combined—this garlicky filling will impart delightful flavors into your Cheesy Garlic Cruffin.
Step 7: Preheat Oven and Prepare Tin
Preheat your oven to 375°F (190°C) and lightly grease a muffin tin to prevent sticking. This step is crucial to ensure your cruffins bake evenly and maintain that lovely golden hue when they come out of the oven.
Step 8: Roll and Spread
Once the dough has risen, roll it out on a floured surface into a rectangle, about ¼ inch thick. Evenly spread your garlic butter mixture across the dough, ensuring a generous layer that will envelop each cruffin with flavor.
Step 9: Add Cheeses
Sprinkle ½ cup of grated Parmesan cheese and 1 cup of shredded mozzarella cheese over the garlic butter layer. The combination of cheeses will melt beautifully, creating that rich, gooey texture synonymous with a delightful Cheesy Garlic Cruffin.
Step 10: Shape and Cut the Dough
Carefully roll the dough up tightly into a log, starting from one long edge. Once rolled, use a sharp knife to cut the log into 8-10 equal pieces. This allows the individual cruffins to rise and create those flaky layers while baking.
Step 11: Arrange in Muffin Tin
Place each sliced piece of dough vertically in the prepared muffin cups. Make sure to leave some space between each piece as they will expand. After arranging, cover them lightly with a towel and let rise for another 20 minutes, allowing them to puff up even more.
Step 12: Bake the Cruffins
Bake your delicious Cheesy Garlic Cruffin in the preheated oven for 20-25 minutes. Keep an eye on them, and look for a golden brown color on the tops. Once they are perfectly baked, remove them from the oven and let cool slightly before serving.

What to Serve with Cheesy Garlic Cruffin
These flaky, cheesy delights create a culinary adventure that pairs beautifully with various dishes, enhancing your mealtime experience.
-
Zesty Salad: A fresh, tangy salad with a citrus dressing cuts through the richness, providing a refreshing contrast.
-
Creamy Tomato Soup: The warmth of tomato soup adds a delightful dip for your cruffins, making each bite more comforting.
-
Herbed Quinoa: This nutty side dish complements the flavorful cruffins, offering a wholesome touch without overpowering their taste.
-
Roasted Vegetables: Roasting brings out the natural sweetness of vegetables, and their crispy edges contrast nicely with soft cruffins.
-
Garlic Butter Pasta: Keep the garlic theme alive; creamy pasta with subtle garlic notes pairs perfectly with your cruffins’ flavor.
-
Sparkling Lemonade: This refreshing drink’s brightness lifts the savory cruffins, making them even more enjoyable as a snack.
-
Classic Caesar Salad: With its creamy dressing and crunchy croutons, this beloved salad is a textural delight alongside your cruffins.
-
Apple Crisp: For dessert, a warm apple crisp brings sweetness to balance the savory cruffins, making it a perfect way to end a meal.
Cheesy Garlic Cruffin Variations
Feel free to explore these delightful twists on the classic cruffin to enhance flavor and enjoyment!
-
Cheese Swap: Use cheddar or gouda for a different cheesy profile. Each option provides a unique flavor and texture that can elevate your cruffins.
-
Herb Infusion: Add fresh rosemary or thyme to the garlic filling for a fragrant twist. These herbs create a delightful aromatic backdrop that pairs beautifully with cheesy goodness.
-
Spicy Kick: Incorporate red pepper flakes for a hint of heat. This will give your cruffins a spicy edge that warms up every bite.
-
Bacon Lovers: Mix in cooked, crumbled bacon for an added savory touch. The smoky flavor complements the cheese and garlic perfectly, making it an irresistible option for meat lovers.
-
Veggie Delight: Consider adding chopped spinach or roasted red peppers to the filling. These ingredients will not only enhance the flavor but add beautiful color and nutrition as well.
-
Sweet Touch: Drizzle a honey glaze on top of warm cruffins for a sweet contrast to the savory filling. Just a hint of sweetness can elevate the overall experience, balancing the flavors beautifully.
-
Vegan Alternative: Substitute dairy products with plant-based cheese and coconut oil. This is a great way to make the cruffins vegan-friendly without sacrificing texture or flavor.
Additionally, if you love garlic-infused dishes, you’ll want to check out our recipe for Garlic Soup Comfort for a warm, cozy pairing to enjoy alongside your Cheesy Garlic Cruffins!
Make Ahead Options
These Cheesy Garlic Cruffins are perfect for meal prep enthusiasts! You can prepare the dough and shape the cruffins up to 24 hours in advance. Simply follow the recipe until Step 10, then cover the muffin tin tightly with plastic wrap and refrigerate. This way, the flavors meld together beautifully, and they will remain just as delicious when baked. When you’re ready to bake, let them rise for about 20 minutes at room temperature before popping them into the oven. Alternatively, if you want to freeze them, shape the cruffins and freeze the unbaked pieces on a baking sheet, then transfer them to a zip-top bag. When ready to use, bake straight from the freezer, allowing an extra few minutes in the oven for perfect golden results. Enjoy the convenience these make-ahead options bring to your busy week!
How to Store and Freeze Cheesy Garlic Cruffin
Room Temperature: Store cooled cruffins in an airtight container at room temperature for up to 2 days to keep them fresh and enjoyable.
Fridge: If you have leftovers, refrigerate them in an airtight container for up to 1 week. Reheat in a toaster oven for crispiness.
Freezer: For longer storage, wrap cruffins tightly in plastic wrap and store in the freezer for up to 2 months. Thaw overnight in the fridge before reheating.
Reheating: To enjoy them warm, preheat the oven to 350°F (175°C) and heat the cruffins for about 10-15 minutes, ensuring they regain their flaky texture.
Expert Tips for Cheesy Garlic Cruffins
• Fresh Yeast Matters: Ensure your instant yeast is fresh and active to achieve a perfect rise; expired yeast can lead to flat cruffins.
• Knead for Texture: Knead the dough well for 8-10 minutes; it should be smooth and elastic, providing that flaky texture in your Cheesy Garlic Cruffin.
• Watch the Bake Time: Keep an eye on the baking time; remove the cruffins when they’re golden brown to prevent them from drying out.
• Proper Cooling: Allow the cruffins to cool slightly before serving; this helps the cheese settle and enhances flavor and texture.
• Store Wisely: If you make these ahead, wrap the cruffins tightly to retain moisture and ensure they stay fresh for later enjoyment.

Cheesy Garlic Cruffin Recipe FAQs
How can I choose the right garlic for my Cheesy Garlic Cruffin?
Absolutely! When selecting garlic, look for firm bulbs with tight skin and no dark spots or sprouting. Fresh garlic should feel heavy for its size; this indicates freshness. If you notice any soft spots or sprouts, it’s best to avoid these.
What is the best way to store Cheesy Garlic Cruffins?
You can store cooled cruffins in an airtight container at room temperature for up to 2 days, preserving their delightful texture. For longer storage, refrigerate them for up to a week or freeze for up to 2 months. Just ensure they’re wrapped tightly to avoid freezer burn!
Can I freeze Cheesy Garlic Cruffins?
Yes! To freeze cruffins, first allow them to cool completely. Then, wrap each cruffin in plastic wrap before placing them in a freezer bag. They can be stored for up to 2 months. When you’re ready to enjoy, simply thaw overnight in the fridge and reheat in the oven at 350°F (175°C) for about 10–15 minutes to regain that lovely flaky texture.
What should I do if my dough doesn’t rise properly?
Very! If your dough isn’t rising, check a few things: ensure your yeast is fresh and active. Warm conditions help—if your kitchen is cold, try placing the dough in a warm spot like an oven with the light on. If the dough is too dry, adding a touch of warm water can help; just knead a little extra.
Are there any allergy considerations with this recipe?
Definitely! This recipe contains gluten (from flour), dairy (from butter and cheese), and eggs. For gluten-free options, you can use a gluten-free all-purpose flour blend. To make it dairy-free, substitute with plant-based butter and cheeses. If you have a nut allergy, be cautious with any dairy-free substitutes that might contain nuts.
How can I customize the flavors in my Cheesy Garlic Cruffin?
The more the merrier! You can play with your cheese selections, using combinations like cheddar or gouda for different flavors. Adding fresh herbs like rosemary or thyme can enhance the flavor even further—just finely chop them and sprinkle on the filling. If you’re feeling adventurous, incorporating cooked bacon or diced vegetables can create a heartier, more personalized snack!
Cheesy Garlic Cruffin Recipe for Ultimate Snack Cravings
Ingredients
Equipment
Method
- In a large mixing bowl, combine flour, sugar, salt, and yeast. Stir until evenly mixed.
- Create a well and pour in the warm milk, melted butter, and warm water. Mix until combined.
- Add the egg and mix until fully integrated.
- Knead the dough for 8-10 minutes on a floured surface until smooth and elastic.
- Place dough in a greased bowl, cover, and let it rise for 1 hour.
- Mix garlic, softened butter, and parsley in a bowl for the filling.
- Preheat the oven to 375°F (190°C) and greased muffin tin.
- Roll dough into a rectangle and spread garlic butter mixture.
- Sprinkle Parmesan and mozzarella over the dough.
- Roll the dough tightly into a log and cut into 8-10 pieces.
- Place each piece into muffin cups, cover, and let rise for 20 minutes.
- Bake for 20-25 minutes until golden brown. Let cool slightly before serving.
Leave a Reply