
As I stood in my kitchen, the aroma of sautéing garlic and onions whisked me back to family gatherings where laughter mingled with the sizzling sounds of traditional Filipino cooking. This Baked Vegan Lumpia with Glass Noodles is a delightful twist on a classic favorite, allowing you to indulge guilt-free! Packed with vibrant vegetables and the unique chewiness of glass noodles, this recipe not only caters to your plant-based cravings but also serves up a healthier option than the fried varieties you may recall. The best part? They make for a fantastic appetizer or a hearty snack that won’t take hours to prepare. Curious how to bring this beloved dish to your table without the fuss? Let’s dive into the recipe together!
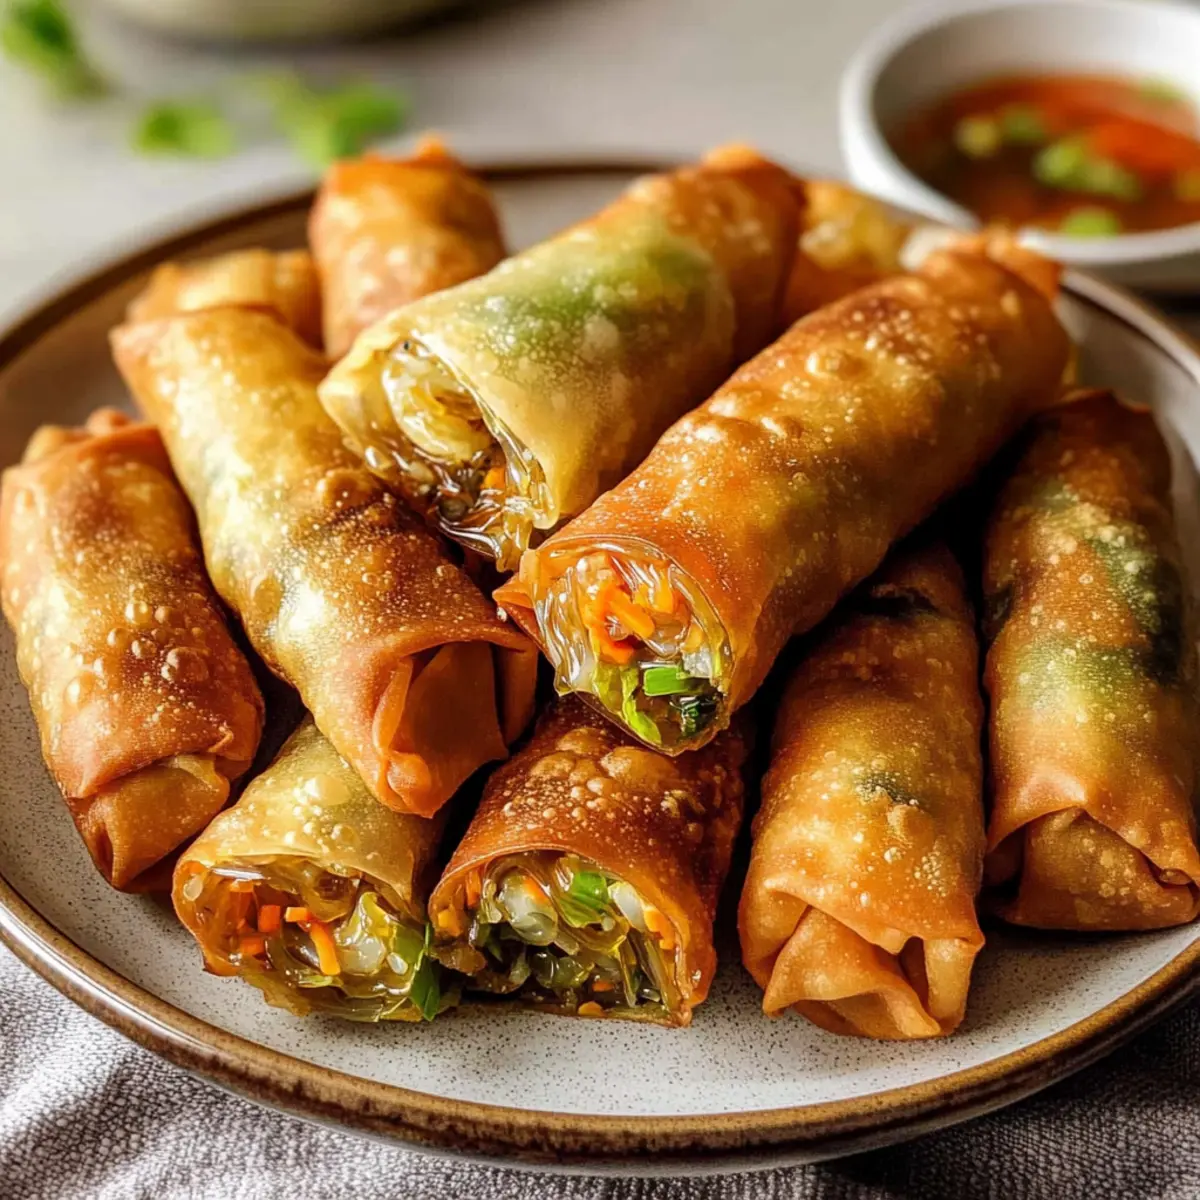
Why try Baked Vegan Lumpia?
Crispy Texture: Enjoy the delightful crunch of baked wrappers that are just as satisfying as their fried counterparts without the extra oil.
Flavor-Packed Filling: Bursting with a savory blend of fresh vegetables and glass noodles, each bite is a flavor explosion!
Quick Preparation: This dish comes together in under an hour, making it perfect for busy weeknights or last-minute gatherings.
Endless Customization: Feel free to swap veggies based on the seasons or even incorporate proteins like tofu or mushrooms for a heartier snack. For more comforting ideas, check out my recipe for Sticky Beef Noodles.
Crowd-Pleasing: Whether you’re hosting friends or just treating yourself, everyone will love this guilt-free delight that doesn’t skimp on taste!
Baked Vegan Lumpia Ingredients
• Prepare to tantalize your taste buds with these wholesome ingredients!
For the Filling
- Sesame Oil – Adds nuttiness and depth to the filling; olive oil can be substituted for a milder flavor.
- Garlic – Provides aromatic flavor; fresh is best, but powdered garlic works in a pinch.
- Onion – Gives sweetness and complexity; yellow onion is ideal, while red onion offers a sharper taste.
- Green Cabbage – Adds crunch and bulk; napa cabbage can substitute for a softer texture.
- Carrots – Offers sweetness and color; zucchini can serve as a lighter alternative.
- Green Beans – Contributes crunchiness; bell peppers can provide a different flavor profile.
- Bean Sprouts – Provides a fresh, crisp bite; can be replaced with shredded lettuce or other veggies.
- Scallions – Adds a mild onion flavor; chives can be used instead.
- Ground Black Pepper – Enhances seasoning; white pepper can be used for a different flavor twist.
- Soy Sauce – Adds umami depth; tamari or coconut aminos can be substituted for a gluten-free option.
- Vegan Oyster Sauce – Optional for extra umami; can be omitted without major flavor loss.
- Glass Noodles (mung bean vermicelli) – Provides a chewy texture; rice vermicelli can be swapped for a different consistency.
For Wrapping
- Kulit Lumpia (spring roll wrappers) – Encases the filling; rice paper can serve as an alternative.
- Cornstarch & Water Mixture – Used for sealing the wrappers; ensure good sealing to avoid open rolls during baking.
- Olive Oil or Neutral Oil – Brushed on for crispiness; coconut oil is a suitable substitute.
Get ready to whip up these delicious Baked Vegan Lumpia with Glass Noodles—it’s a guaranteed crowd-pleaser!
Step‑by‑Step Instructions for Baked Vegan Lumpia with Glass Noodles
Step 1: Prep the Glass Noodles
Start by soaking the glass noodles in warm water according to package instructions, usually about 8-10 minutes. Once softened, drain and cut the noodles into shorter lengths for easier handling. Set them aside as you prepare the other filling ingredients to incorporate that delightful chewiness into your Baked Vegan Lumpia.
Step 2: Sauté the Filling
In a large skillet, heat 2 tablespoons of sesame oil over medium heat. Add 2 to 3 minced garlic cloves and one finely chopped onion, sautéing until fragrant and translucent, about 3-5 minutes. Stir in the chopped green cabbage, grated carrots, green beans, and bean sprouts, cooking until tender-crisp, around 4-5 minutes, then mix in the glass noodles, soy sauce, and seasonings for a robust flavor.
Step 3: Assemble the Lumpia
Lay out the kulit lumpia (spring roll wrappers) on a clean surface, with the pointed end facing you. Spoon a generous amount of the vegetable mixture along the wrapper, then roll tightly while tucking in the sides. Use the cornstarch and water mixture to seal the edges securely, ensuring each Baked Vegan Lumpia is tightly packed to maintain its shape while baking.
Step 4: Bake the Lumpia
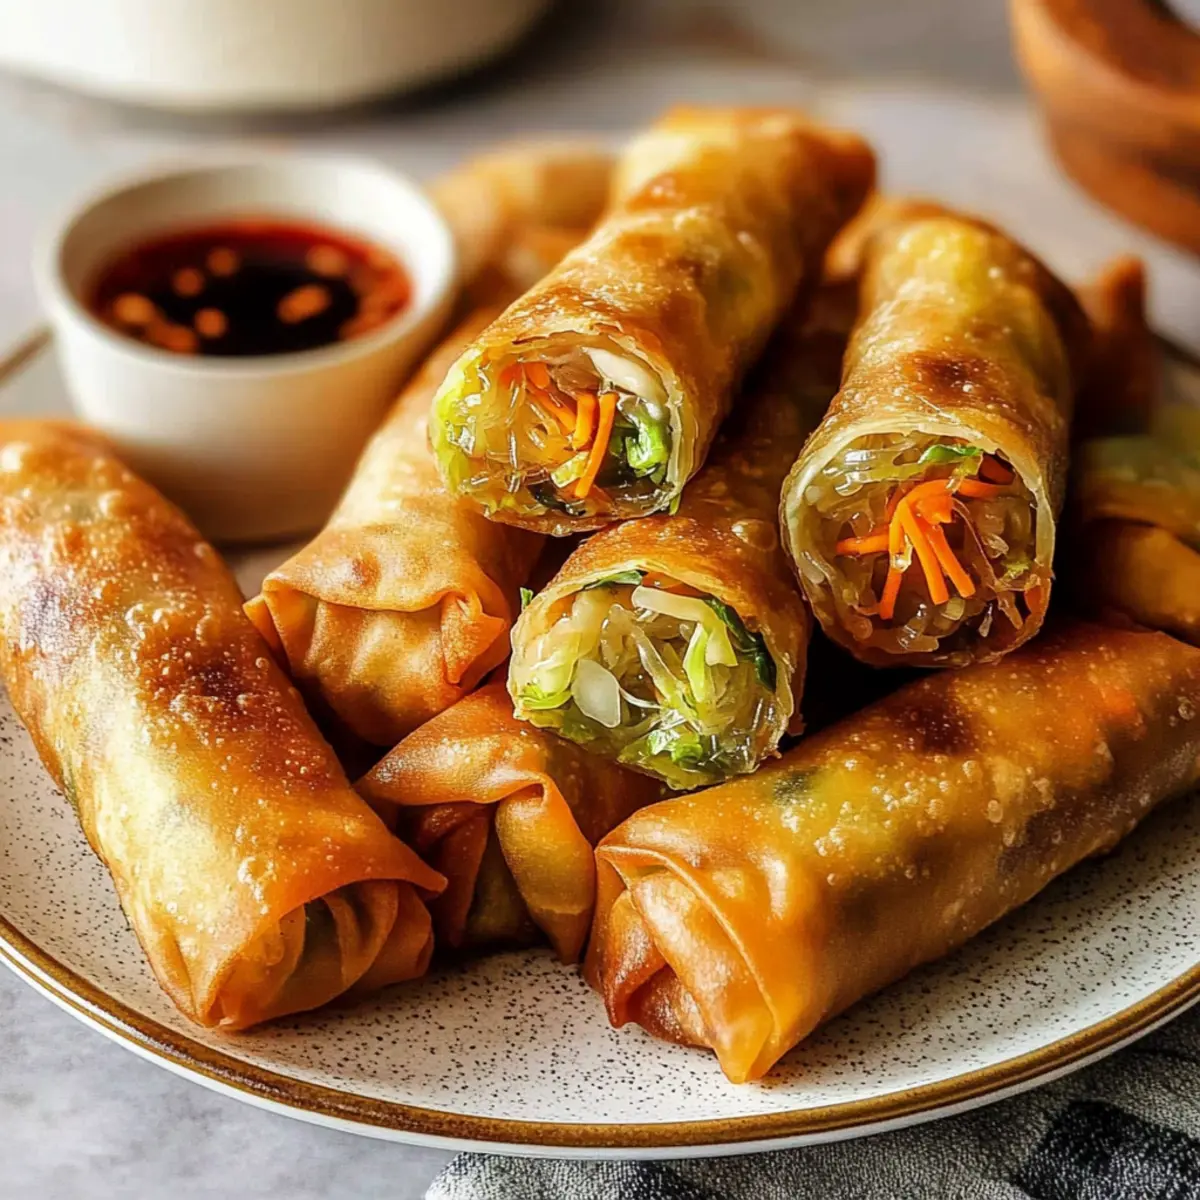
Preheat your oven to 400°F (200°C). Line a baking sheet with parchment paper for easy cleanup, then arrange the assembled lumpia in a single layer, leaving space between each piece. Brush the tops lightly with olive oil or a neutral oil to ensure a golden and crispy finish, then bake for 20-25 minutes, flipping halfway through to achieve an even golden-brown color.
Variations & Substitutions for Baked Vegan Lumpia
Feel free to unleash your culinary creativity and make this delightful dish your own!
- Seasonal Veggies: Swap in whatever veggies are in season; think bell peppers in summer or sweet potatoes in fall for unique flavors.
- Protein Boost: Add Tofu or Tempeh: For heartier lumpia, incorporate cubed tofu or tempeh into your filling. These protein-packed options will elevate your dish, making it even more satisfying.
- Rice Paper Wrappers: Gluten-Free Alternative: Use rice paper instead of kulit lumpia for a different wrapping experience. Simply soak them in warm water briefly before using—this gives a lovely chewy texture!
- Spice it Up: High Heat: If you love a kick, add some fresh chili peppers or a sprinkle of cayenne to the filling for a spicy surprise that awakens your taste buds.
- Extra Crunch: Crunchy Add-Ins: Try adding crushed nuts or seeds, like cashews or sesame seeds, to the filling for delightful bursts of texture with every bite.
- Herb Infusion: Fresh Herbs: Enhance the flavor profile by adding chopped herbs like cilantro or basil into the filling, transporting your lumpia to new aromatic heights!
- Sweet Surprise: Dessert Version: For a fun twist, use sweet fillings by incorporating bananas and a sprinkle of cinnamon. Bake until golden for a delightful dessert lumpia that pairs wonderfully with a scoop of coconut ice cream!
- Flavored Sauces: Dip It Right: Serve with different dipping sauces like sweet chili or spicy peanut sauce for a unique flavor experience that complements your crispy treats perfectly.
Explore these variations while enjoying every bite of your Baked Vegan Lumpia with Glass Noodles! And if you’re in the mood for more delicious comfort food, check out my recipes for Tortellini Soup with Sausage or Vegan Pecan Pie.
Make Ahead Options
These Baked Vegan Lumpia with Glass Noodles are a fantastic option for meal prep! You can prepare the filling up to 24 hours in advance—just sauté the vegetables and noodles, let them cool completely, and store in an airtight container in the refrigerator. This keeps the flavors fresh and vibrant. If you want to wrap them ahead, go ahead and assemble the lumpia, sealing them tightly, and refrigerate uncovered for up to 3 days. Just remember to brush them with oil right before baking to ensure that crispiness remains intact. When you’re ready to enjoy, simply pop them in a preheated oven at 400°F (200°C) and bake for 20-25 minutes for that delightful crunch!
Expert Tips for Baked Vegan Lumpia
Don’t Overfill: Ensure you only spoon a moderate amount of filling in each wrapper to prevent tearing. Less is more in this case!
Perfect Wrappers: Use fresh kulit lumpia for a crispier texture; if using rice paper, moisten it slightly before wrapping to avoid cracking.
Seal Well: Use the cornstarch-water mixture generously to seal the edges; this keeps your Baked Vegan Lumpia intact while they bake.
Bake Smart: Keep an eye on the baking time, as ovens may vary. Look for that perfect golden brown color—this signifies a crunchy exterior.
Cool Before Serving: Allow the lumpia to cool slightly after baking to maintain their crispiness; they’ll be easier to handle and just as delicious!
Storage Tips for Baked Vegan Lumpia with Glass Noodles
Fridge: Store leftover baked lumpia in an airtight container for up to 3 days to keep them fresh and delicious.
Freezer: Freeze uncooked lumpia for up to 2 months. When ready to enjoy, bake from frozen, adding a few extra minutes to cooking time for the best texture.
Reheating: To reheat leftover baked lumpia, place them in a preheated oven at 350°F (175°C) for about 10 minutes, or until warmed through. This helps maintain their crispy coating!
Wrapping: If you have uncooked lumpia, ensure they are tightly sealed before freezing to prevent freezer burn and keep the flavors intact.
What to Serve with Baked Vegan Lumpia with Glass Noodles
Add a delightful touch to your meal with these exciting pairing ideas that elevate your dining experience.
-
Sweet Chili Sauce: A fruity and spicy dipping sauce that enhances the savory goodness of the lumpia, providing a burst of flavor.
-
Coconut Rice: Mildly sweet and aromatic, coconut rice complements the savory filling while adding a tropical twist to your meal.
-
Fresh Mango Salad: A refreshing combination of ripe mango, cucumber, and lime, this salad brightens up the plate and balances the richness of the lumpia.
-
Steamed Broccoli: Crisp and vibrant, steamed broccoli offers a nutritious side that complements the textures of the baked lumpia beautifully.
-
Crisp Spring Rolls: For an extra crunch, serve with some vegetable spring rolls on the side. Their lightness pairs wonderfully with the lumpia.
-
Delicious Tofu Skewers: Grilled or baked tofu skewers add a satisfying protein element, offering a great contrast to the textures of your dish.
-
Lemon-Lime Sparkling Water: A refreshing drink that cleanses your palate, enhancing each flavorful bite of the baked vegan lumpia.
These pairings come together to create a colorful and satisfying meal, perfect for sharing or enjoying solo!
Baked Vegan Lumpia with Glass Noodles Recipe FAQs
What type of glass noodles should I use?
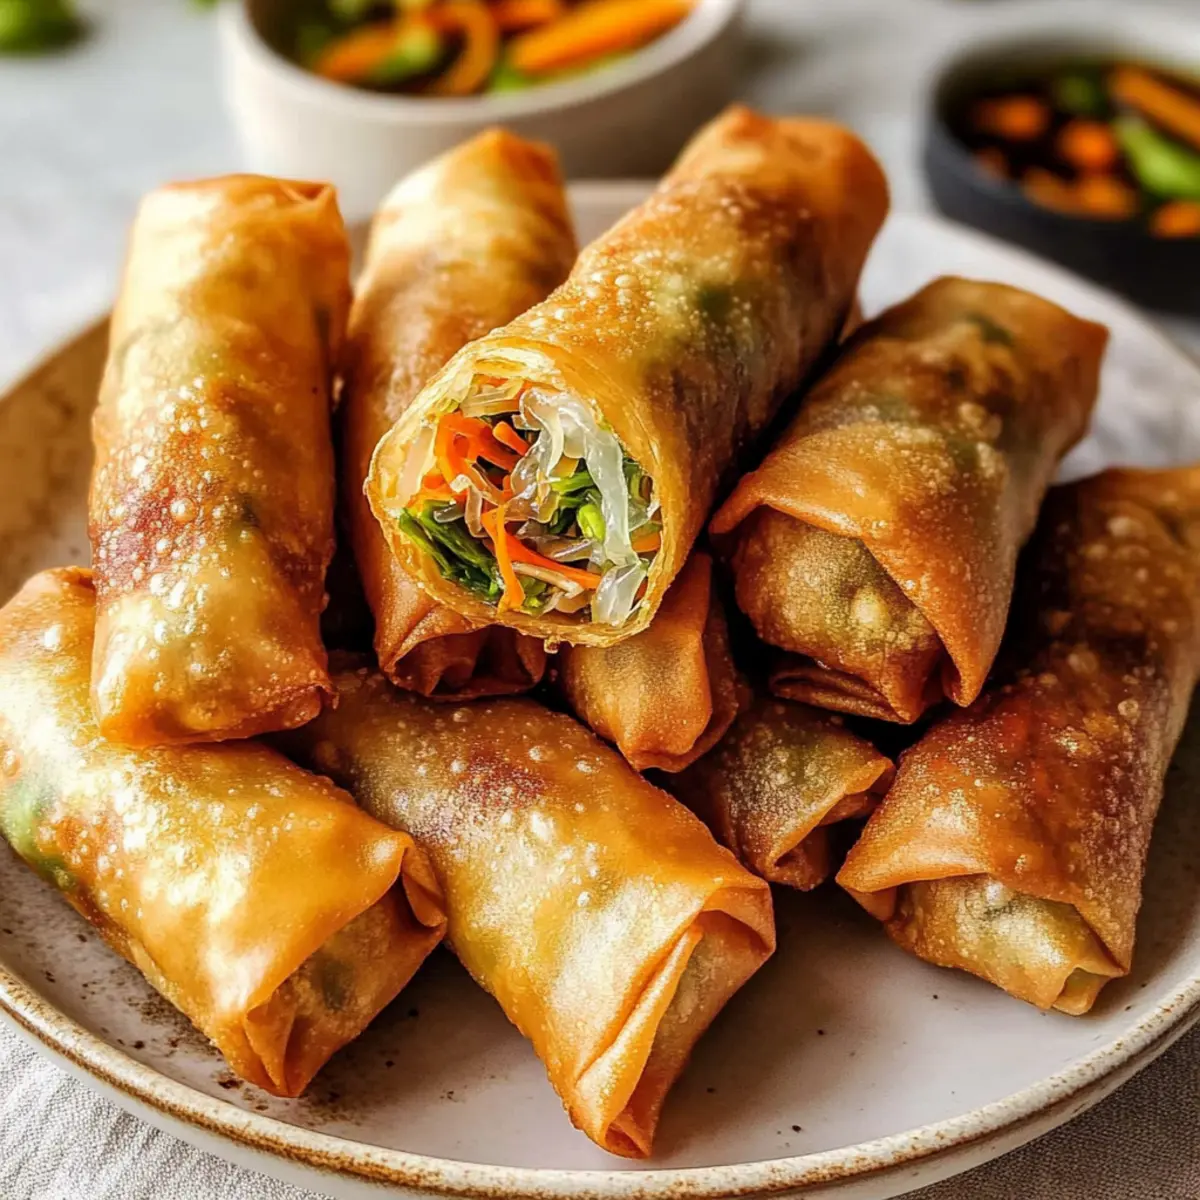
Absolutely! I recommend using mung bean vermicelli for the best texture in your Baked Vegan Lumpia. These noodles are ideal because they provide that perfect chewiness that complements the fresh vegetables beautifully. If necessary, you can substitute with rice vermicelli, but the texture will differ a bit.
How do I store leftover baked lumpia?
Certainly! Store any leftover Baked Vegan Lumpia in an airtight container in the refrigerator for up to 3 days. To keep them crisp, it’s best to reheat them in the oven at 350°F (175°C) for about 10 minutes before serving, ensuring they regain their crunchy exterior.
Can I freeze uncooked lumpia? How?
Yes, indeed! Freezing uncooked lumpia is a fantastic way to meal prep. Lay them out in a single layer on a baking sheet first, making sure they aren’t touching, and freeze for about 1-2 hours until firm. Once frozen, transfer them to an airtight freezer bag or container, and they’ll last for up to 2 months. When ready to cook, bake them directly from frozen, adding an additional 5-10 minutes to your baking time until they’re golden brown.
What if my spring roll wrappers tear while rolling?
Don’t worry, this happens to the best of us! If a wrapper tears, simply use a second wrapper to reinforce it. You can overlap the torn area with another wrapper, and it will still hold the filling well. Also, make sure you’re not overfilling, as this can lead to tears. Keep a small bowl of water nearby to moisten the edges of the wrappers while sealing—they’re more pliable when slightly damp!
Is this dish suitable for people with gluten allergies?
Very! To make your Baked Vegan Lumpia gluten-free, substitute soy sauce with tamari or coconut aminos. Always check the label on your spring roll wrappers, as some brands contain gluten. Look for a gluten-free variant, and you’ll be good to go!
Can I add additional protein to the filling?
Absolutely! If you’re looking to boost the protein content, you can add crumbled firm tofu or sautéed mushrooms to the vegetable mix. Just make sure to adjust the seasoning accordingly, as they may absorb some of the flavors. Enjoy experimenting with your filling!
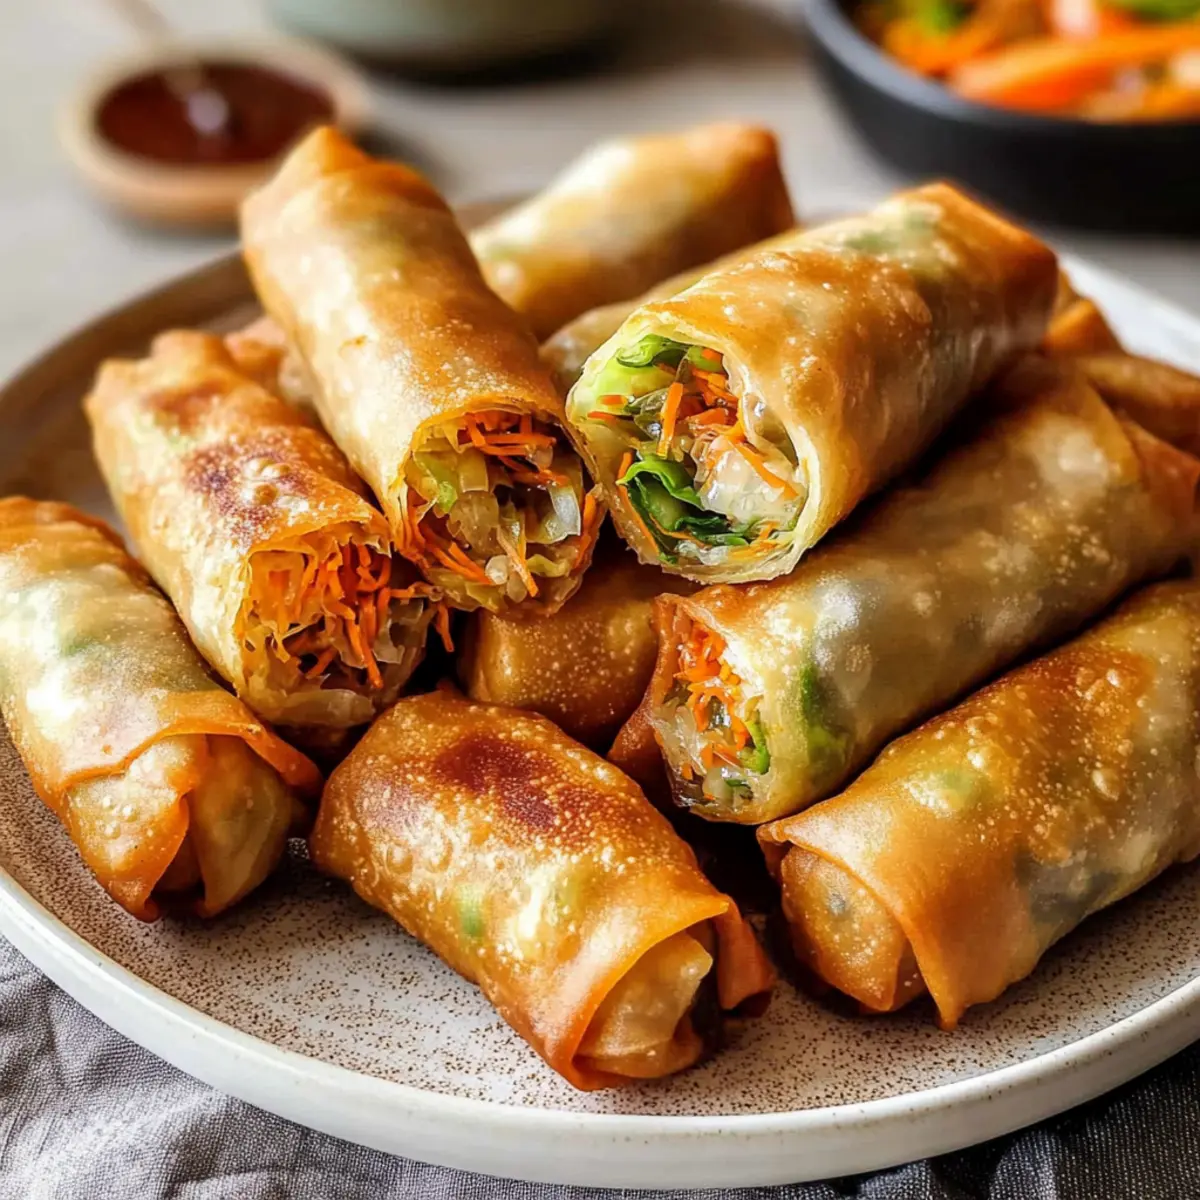
Baked Vegan Lumpia with Glass Noodles – Crispy, Guilt-Free Delight
Ingredients
Equipment
Method
- Soak the glass noodles in warm water according to package instructions for about 8-10 minutes. Drain and cut the noodles into shorter lengths.
- In a large skillet, heat the sesame oil over medium heat. Add minced garlic and chopped onion, sauté until fragrant and translucent, about 3-5 minutes.
- Stir in chopped green cabbage, grated carrots, green beans, and bean sprouts. Cook until tender-crisp, around 4-5 minutes, then mix in the softened glass noodles, soy sauce, and ground black pepper.
- Lay out the kulit lumpia on a clean surface, with the pointed end facing you. Spoon the vegetable mixture along the wrapper, then roll tightly while tucking in the sides.
- Use the cornstarch and water mixture to seal the edges securely.
- Preheat your oven to 400°F (200°C). Line a baking sheet with parchment paper and arrange the lumpia in a single layer, leaving space between each piece.
- Brush the tops lightly with olive oil or neutral oil and bake for 20-25 minutes, flipping halfway through.
Leave a Reply