
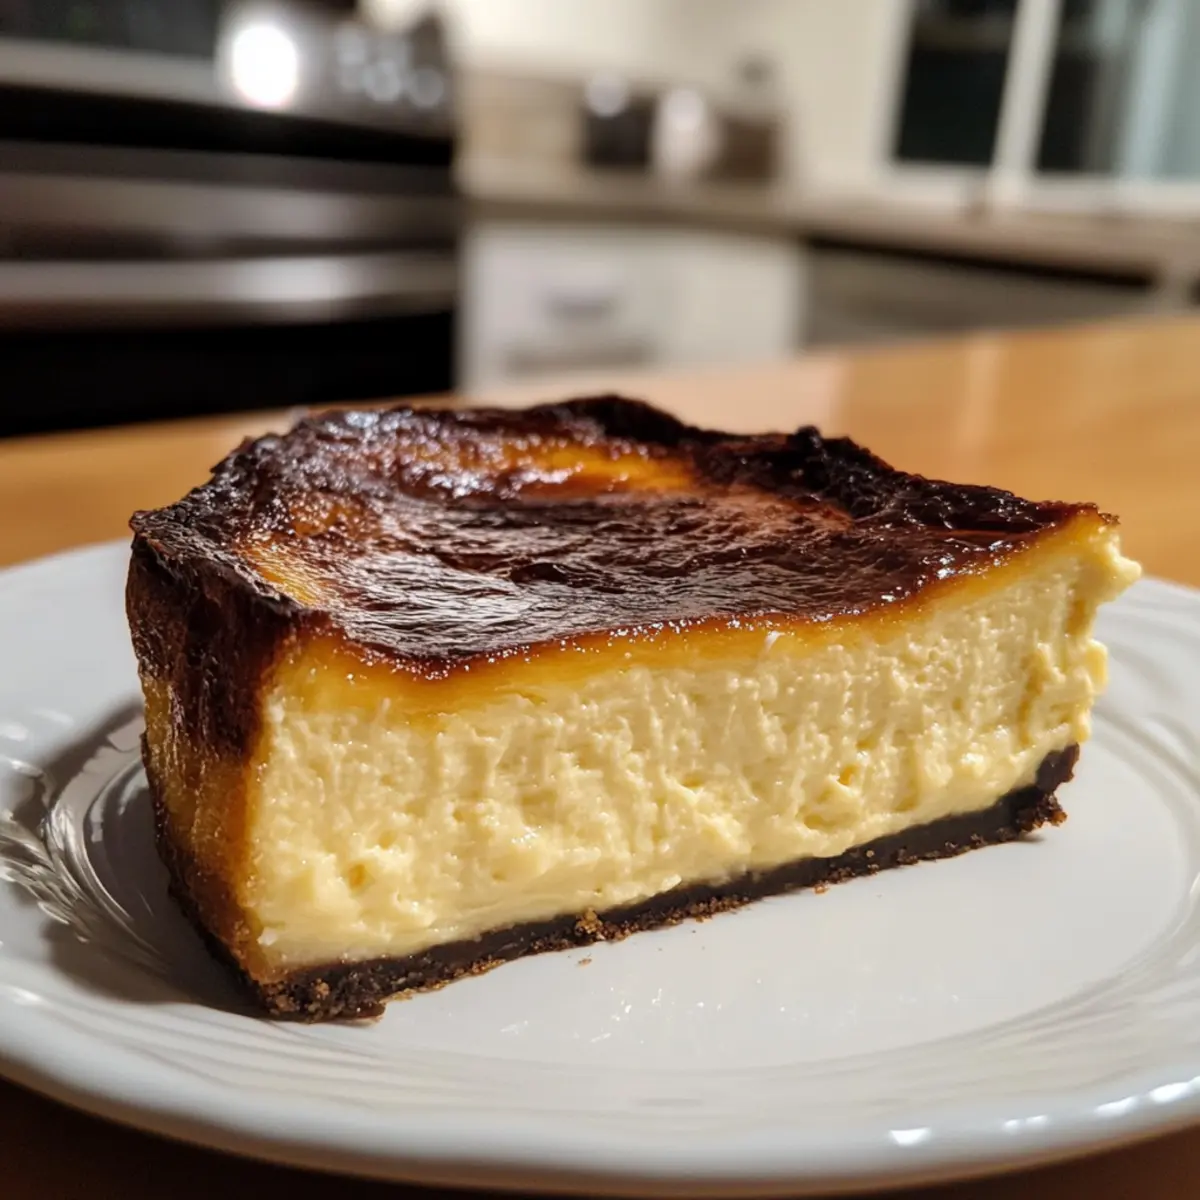
As I stood in my kitchen, the scent of caramelized sugar wafted through the air, transporting me to a quaint Basque café. I couldn’t resist the allure of a Burnt Basque Cheesecake, especially when it’s crafted in a convenient loaf pan. This crustless delight is a simplified version of the classic, perfect for smaller gatherings or just when you want a sweet treat for yourself. With its rich, creamy texture and a slightly charred top, this cheesecake has a unique character that strikes the ideal balance between sweetness and a delightful hint of bitterness. Plus, it’s make-ahead friendly—allowing you to focus on the company rather than the kitchen bustle. So, are you ready to create a show-stopping dessert that you’ll want to make again and again?
Why is this cheesecake so irresistible?
Simplicity at its finest: This Burnt Basque Cheesecake is wonderfully easy to make in a loaf pan, ideal for busy bakers.
Rich, creamy texture: With just a handful of ingredients, each bite offers a luxurious mouthfeel that melts in your mouth.
Versatile presentation: Serve it plain or jazz it up with fresh berries or a drizzle of caramel sauce for an impressive touch.
Perfect for gatherings: Its small-batch format means you can whip it up for an intimate dinner or a solo dessert treat without waste.
Make-ahead convenience: Prep this cheesecake in advance and let it chill overnight, so you can enjoy your celebration without any last-minute cooking.
For a delightful twist, consider pairing it with Cheesecake Stuffed Baked Apples or a mini version like Pumpkin Cheesecake Truffles for the festive season!
Burnt Basque Cheesecake Ingredients
• Perfectly prepared for your next gathering!
For the Cheesecake Base
- Full-fat Cream Cheese – Provides richness and a creamy texture; a low-fat substitute may alter the texture slightly.
- Granulated Sugar – Adds sweetness; it’s best not to substitute this for flavor consistency.
- Heavy Cream – Contributes to the cheesecake’s luxurious texture; half-and-half can be used for a lighter version but may reduce creaminess.
- Large Eggs – Act as a binder for stability; ensure they are beaten until pale yellow for the best results.
- All-Purpose Flour – Helps stabilize the cheesecake; swap with a gluten-free blend for a gluten-free dessert.
- Salt – Enhances flavor and is essential for balancing sweetness.
Optional Toppings
- Fresh Berries – Add a burst of freshness and color.
- Whipped Cream – Luxurious and adds a delightful creaminess.
- Caramel Sauce – A drizzle provides an extra layer of sweetness and sophistication.
This Burnt Basque Cheesecake is sure to impress with its richness and simplicity, perfect for any gathering or simply to enjoy at home!
Step‑by‑Step Instructions for Decadent Burnt Basque Cheesecake in a Loaf Pan
Step 1: Preheat the Oven
Begin by preheating your oven to 400°F (200°C). This high temperature is crucial for achieving the signature burnt top of the Burnt Basque Cheesecake. As the oven heats up, gather your ingredients and equipment, ensuring you have a standard 9×5 inch loaf pan lined with parchment paper for easy removal later.
Step 2: Mix the Cream Cheese and Sugar
In a large mixing bowl, combine the softened full-fat cream cheese with granulated sugar. Using an electric mixer, beat the mixture on medium speed until it becomes smooth and creamy, which should take about 2 minutes. This creates the rich base for your cheesecake, ensuring there are no lumps as you continue to build flavors.
Step 3: Incorporate the Heavy Cream
Next, pour in the heavy cream gradually while mixing on low speed. Continue to blend until the mixture is well combined and silky, about 1-2 minutes. This step adds a luxurious texture to your Burnt Basque Cheesecake, enhancing its creamy consistency that will melt in your mouth.
Step 4: Add the Eggs
Crack in the large eggs, one at a time, mixing well after each addition. Beat the mixture until it turns a pale, creamy yellow hue, which should take about 2-3 minutes. This incorporation of eggs is essential for binding the cheesecake ingredients together, contributing to its custard-like interior.
Step 5: Fold in the Flour and Salt
Sift the all-purpose flour and salt into the bowl, then gently fold it into the batter using a spatula. Be careful not to over-mix, as you want to maintain the lightness of the batter. This step stabilizes the Burnt Basque Cheesecake and helps it set properly during baking.
Step 6: Pour into the Loaf Pan
Pour the creamy cheesecake batter into your prepared loaf pan. Evenly spread the batter with a spatula to ensure a uniform surface. The parchment paper will help prevent sticking, making it easier to lift your exquisite Burnt Basque Cheesecake out of the pan once it’s chilled.
Step 7: Bake the Cheesecake
Place the loaf pan in the preheated oven and bake for approximately 45 minutes. Keep a close eye on it; the top should develop a deep golden brown color, while the center remains slightly jiggly. This contrasting texture is a hallmark of the Burnt Basque Cheesecake, offering a delightful eating experience.
Step 8: Cool and Chill
Once baked, remove the cheesecake from the oven and allow it to cool in the pan for about 30 minutes. After it has cooled, transfer it to the refrigerator to chill for at least 4 hours or ideally overnight. This chilling period is crucial as it allows the cheesecake to set properly, enhancing its flavors and creaminess.
Burnt Basque Cheesecake Variations
Feel free to put your own spin on this tantalizing dessert by exploring these delicious variations!
- Dairy-Free: Substitute full-fat cream cheese with a dairy-free cream cheese alternative for a lactose-free option without sacrificing creaminess.
- Gluten-Free: Use a gluten-free flour blend instead of all-purpose flour to cater to gluten-sensitive friends while maintaining a rich texture.
- Flavor Infusion: Add 1 tsp of vanilla extract or the zest of one lemon to the batter for a fragrant twist that elevates the classic flavor profile.
- Nutty Crunch: Fold in 1 cup of chopped walnuts or pecans before baking, adding a delightful crunch that complements the smooth cheesecake.
- Chocolate Delight: Mix in ½ cup of cocoa powder for a chocolatey variation that transforms this dessert into a rich, chocolate lover’s dream.
- Spicy Twist: For a warm kick, include ½ teaspoon of cayenne pepper or 1 teaspoon of cinnamon to the batter, creating an unexpected yet delightful flavor contrast.
- Fruity Layers: Swirl in a layer of your favorite fruit preserve—like raspberry or peach—before baking for a fruity accent that adds a pop of color and flavor.
- Caramel Drizzle: Top with a drizzle of warm caramel sauce just before serving. This bubbling sweetness pairs beautifully with the burnt top of the cheesecake.
Looking for tasty ways to elevate your cheesecake experience? Pair it with Chocolate Chip Cheesecake Cookies or serve alongside Pumpkin Cheesecake Truffles to create a delightful dessert spread!
How to Store and Freeze Burnt Basque Cheesecake
Fridge: Keep the Burnt Basque Cheesecake stored in an airtight container in the refrigerator for up to 5 days. This ensures it remains fresh and tasty while you savor each delightful slice.
Freezer: While it’s best not to freeze the cheesecake to maintain its creamy texture, if you must, wrap it tightly in plastic wrap and aluminum foil; it can last up to 2 months.
Reheating: If served chilled, take it out of the fridge about 10-15 minutes before serving to enhance its flavor. You can also lightly warm individual slices in the microwave for 10-15 seconds if you prefer a slightly softened experience.
Make Ahead Options
These Burnt Basque Cheesecake in a Loaf Pan make-ahead options will save you time and stress on busy days! You can prepare the cheesecake batter and pour it into the loaf pan up to 24 hours in advance; just cover it tightly with plastic wrap and refrigerate to maintain freshness. For the best texture and flavor, you can also bake the cheesecake a day ahead, allowing it to cool before chilling in the refrigerator overnight. When you’re ready to serve, simply let it sit at room temperature for 10-15 minutes for a slightly softened bite. With these prep strategies, you’ll enjoy a deliciously creamy dessert with minimum last-minute effort!
What to Serve with Burnt Basque Cheesecake in a Loaf Pan
Indulging in the velvety charm of this cheesecake invites the perfect occasion for pairing delightful accompaniments.
-
Fresh Berries: A mix of sweet strawberries and tart raspberries offers a refreshing contrast to the rich cheesecake, enhancing its flavors.
-
Whipped Cream: Light and airy whipped cream complements the creamy texture, adding a luscious touch for a decadent dessert experience.
-
Caramel Sauce: A drizzle of warm caramel adds an inviting sweetness and an appealing visual flair, elevating each slice to gourmet status.
-
Espresso: The boldness of freshly brewed espresso balances the sweetness of the cheesecake, making it a perfect after-dinner coffee pairing.
-
Chocolate Shavings: A sprinkle of dark chocolate shavings introduces depth and richness, merging beautifully with the burnt caramel flavors.
-
Vanilla Ice Cream: Serving with a scoop of vanilla ice cream creates a delightful contrast of temperatures, making for an unforgettable treat.
-
Toasted Nuts: A handful of toasted almonds or hazelnuts adds a crunchy texture, enhancing the overall dessert experience with a satisfying bite.
With each pairing, you create a memorable dining experience that celebrates the deliciousness of the Burnt Basque Cheesecake.
Expert Tips for Burnt Basque Cheesecake
-
Correct Oven Temperature: Ensure your oven is truly set to 400°F. An inconsistent temperature can prevent the classic burnt top from forming.
-
Do Not Overmix: When folding in the flour, mix gently to avoid incorporating too much air. This keeps the cheesecake’s texture creamy and custard-like.
-
Chilling Time is Key: For the best flavor and texture, allow the cheesecake to chill overnight. Rushing this step may lead to a less luxurious experience.
-
Watch the Jiggly Center: It’s perfectly normal for the center to be jiggly when you take it out of the oven. This will set as it cools, ensuring a smooth texture.
-
Use Parchment Paper: Always line your loaf pan with parchment paper to make removing the cheesecake much easier, avoiding any damage to its delicate top.
Burnt Basque Cheesecake Recipe FAQs
What type of cream cheese should I use?
Absolutely! For the richest flavor and creamy texture, use full-fat cream cheese. Low-fat versions can work, but they may alter the cheesecake’s lushness. If you’re looking for a lighter option, make sure to mix them well until completely smooth.
How long can I store the Burnt Basque Cheesecake?
You can store the cheesecake in an airtight container in the refrigerator for up to 5 days. Just let it cool completely before covering to avoid excess moisture affecting the texture. If you slice it, be sure to separate layers with parchment paper to maintain its integrity.
Can I freeze Burnt Basque Cheesecake?
It’s best not to freeze this cheesecake to preserve its custard-like texture, but if you choose to do so, wrap it tightly in plastic wrap and aluminum foil. It can last up to 2 months in the freezer. When you’re ready to enjoy, thaw it overnight in the refrigerator for the best results.
What should I do if the cheesecake sinks in the middle?
Very! A sinking cheesecake can happen if it’s overmixed or overbaked. Ensure you mix gently when folding in the flour to keep the texture light and airy. If the center jiggles when it’s done baking, that’s a good sign! As it cools, it will set up perfectly.
Are there any dietary considerations I should keep in mind?
Yes! This recipe is vegetarian but contains dairy. If you’re serving it to someone with lactose intolerance, consider using lactose-free cream cheese and heavy cream as alternatives. Always check for any nut allergies as well when adding toppings like whipped cream or fresh fruit.
Can I make this cheesecake gluten-free?
Absolutely! Just swap out the all-purpose flour for a gluten-free baking blend. Follow the instructions as written, and your cheesecake will still be rich and creamy—just without the gluten!
Indulgent Burnt Basque Cheesecake Made Easy in a Loaf Pan
Ingredients
Equipment
Method
- Preheat your oven to 400°F (200°C).
- In a large mixing bowl, combine the cream cheese and sugar, mixing until smooth.
- Gradually mix in the heavy cream until silky.
- Add eggs one at a time, mixing until pale and creamy.
- Fold in the sifted flour and salt gently.
- Pour the cheesecake batter into the lined loaf pan.
- Bake for approximately 45 minutes until the top is golden.
- Cool for 30 minutes, then refrigerate for at least 4 hours.
Leave a Reply