
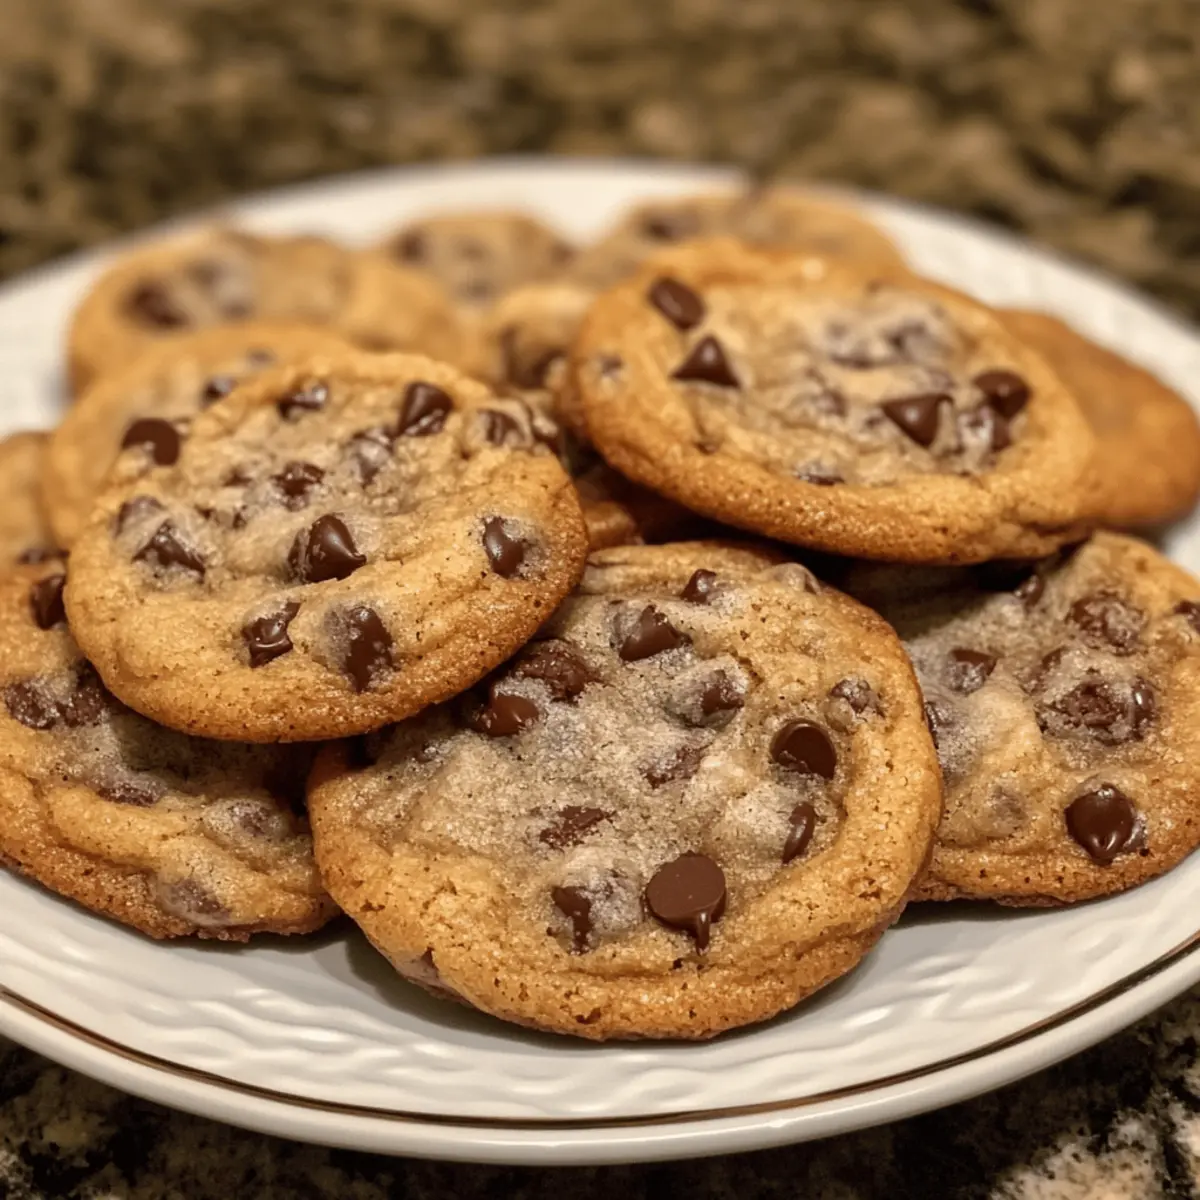
The aroma of freshly baked chocolate chip cookies transports me back to my childhood kitchen, where my mom taught me that the best recipes are often the simplest ones. I’m thrilled to share my Classic Chewy Chocolate Chip Cookies with you—these sweet delights combine the rich, buttery goodness with gooey chocolate chunks that melt in your mouth. Not only are they a crowd-pleaser sure to charm friends and family alike, but they also come together in just under 30 minutes, making them perfect for those busy days when you crave a homemade treat without the fuss. So, are you ready to recreate those warm, nostalgic moments and fill your home with the comforting scent of baking cookies? Let’s dive in!
Why Love These Spooky Ghost Cookies?
Nostalgic Delight: Each bite takes you back to childhood memories of baking with loved ones, creating timeless treats for all occasions.
Simple Ingredients: Using staples like all-purpose flour and chocolate chips, you can whip these up in under 30 minutes, perfect for those spontaneous cravings!
Versatile Options: Feel free to add your favorite mix-ins or toppings to personalize these cookies, ensuring everyone will enjoy their unique treat.
Perfect for Sharing: These cookies are great for gatherings! Their charming ghostly appearance makes them an instant hit at parties, just like our Pecan Pie Cookies or Pumpkin Pie Cookies.
Irresistible Flavor: Buttery, chewy goodness combined with melted chocolate creates a hauntingly delicious experience you won’t soon forget!
Crowd-Pleasing: Watch as these cookies disappear faster than ghosts at midnight, leaving everyone wanting more!
Ghost Cookies Ingredients
For the Cookie Base
- All-Purpose Flour – This flour provides the perfect structure and chewiness; a blend with bread flour can make them even chewier!
- Unsalted Butter – Use softened butter for rich flavor; be sure it’s not melted to keep the cookies from spreading too much.
- Granulated Sugar – Adds sweetness and aids in creating a chewy texture; coconut sugar can be swapped for a different depth of flavor.
- Brown Sugar – Enriches the cookies with moisture and caramel undertones; choose light or dark brown sugar based on your flavor preference.
- Eggs – Essential for binding the ingredients; ensure that they’re at room temperature for the best results.
- Vanilla Extract – A vital ingredient for warm, inviting flavor; opt for pure vanilla extract to elevate the taste.
- Baking Soda – Serves as a leavening agent to help the cookies rise; check that it’s fresh for optimal puffiness.
- Salt – Balances sweetness and enhances flavor; don’t skip this step, as it’s crucial for the overall taste.
For the Ghostly Decoration
- Semi-Sweet Chocolate Chips – Perfect for melting and creating ghostly faces; feel free to use dark chocolate for a richer taste.
- White Chocolate or Vanilla Royal Icing – Great for piping spooky ghost faces; melts perfectly for smooth application.
- Candy Eyes – A fun addition to create little ghostly expressions; they can be found in baking shops or online.
These Ghost Cookies are sure to bring some spooky fun to your kitchen, making for a hauntingly delicious treat that everyone will love!
Step‑by‑Step Instructions for Ghost Cookies
Step 1: Preheat and Prepare
Begin by preheating your oven to 350°F (175°C) and lining two baking sheets with parchment paper. This helps prevent the cookies from sticking and ensures even baking. Take a moment to gather all your ingredients so you’re ready to create these delightful Ghost Cookies without interruption.
Step 2: Mix Dry Ingredients
In a medium bowl, whisk together 2 cups of all-purpose flour, 1 teaspoon of baking soda, and ½ teaspoon of salt. This blend of dry ingredients gives the Ghost Cookies their structure and flavor. Set this mixture aside and make sure it’s well combined to distribute the baking soda effectively throughout.
Step 3: Cream the Butters and Sugars
In a large mixing bowl, cream together ¾ cup of softened unsalted butter, ½ cup of granulated sugar, and ¾ cup of brown sugar until the mixture is light and fluffy. This should take about 2-3 minutes using an electric mixer. The creamy texture signals that you’re on the right path to delicious Ghost Cookies.
Step 4: Add Eggs and Vanilla
Add in 1 large egg and 1 teaspoon of vanilla extract to the butter and sugar mixture, beating well until fully incorporated. Be sure the egg is at room temperature for the best blending. You’ll notice the mixture becoming even more luscious, a key sign that your Ghost Cookies will be rich and flavorful.
Step 5: Combine Dry and Wet Ingredients
Gradually mix the dry ingredients into the wet mixture, stirring gently until just combined. Be careful not to overmix, as this can lead to tough cookies. The dough will be slightly sticky, and you’ll see a beautiful blend of ingredients that will transform into your spooky treats.
Step 6: Fold in Chocolate Chips
Carefully fold in 1 cup of semi-sweet chocolate chips into the cookie dough, ensuring they are evenly distributed without overworking the dough. The chocolate will melt slightly as the Ghost Cookies bake, creating delightful pockets of gooey goodness in each cookie.
Step 7: Scoop the Dough
Using a medium cookie scoop or two spoons, drop rounded tablespoonfuls of dough onto the prepared baking sheets. Leave about 2 inches of space between each scoop, as they will spread while baking. Watch as your baking sheet fills with generous mounds of dough, eagerly anticipating the transformation into Ghost Cookies.
Step 8: Bake the Cookies
Place the cookies in the preheated oven and bake for 10-12 minutes, or until the edges are lightly golden while the centers remain soft. The key is to pull them out before they appear fully cooked, as they will firm up while cooling. Enjoy the warm aroma filling your kitchen as they bake!
Step 9: Cool and Decorate
Allow the baked cookies to cool on the baking sheets for about 5 minutes before transferring them to a wire rack. Once completely cool, use melted white chocolate or royal icing to pipe spooky ghost faces on top, and attach candy eyes for extra flair. These Ghost Cookies will be ready to haunt your taste buds with their delightful appearance and taste!
Variations & Substitutions for Ghost Cookies
Feel free to let your creativity shine by customizing these delightful treats with a few fun swaps and additions!
-
Nutty Crunch: Add ½ cup of chopped walnuts or pecans for a deliciously crunchy contrast to the soft cookie.
-
Dried Fruits: Toss in ½ cup of raisins or dried cranberries to add a fruity twist and extra chewiness.
-
Spicy Kick: Sprinkle in ½ teaspoon of cinnamon or nutmeg for a warm, aromatic flavor that complements the chocolate beautifully. Your kitchen will smell heavenly!
-
Gluten-Free: Swap out all-purpose flour with a gluten-free 1:1 baking mix for an equally scrumptious result that caters to gluten-free diets.
-
Vegan Option: Use unsweetened apple sauce in place of eggs and coconut oil instead of butter for a plant-based version that’s just as tasty!
-
Chocolate Delight: Use a mix of chocolate chips—dark, milk, or even white chocolate—to elevate those sweet, drool-worthy bites. Play around with ratios for a customized treat.
-
Halloween Sprinkles: Add festive Halloween-themed sprinkles on top before baking for an eye-catching touch that’s perfect for parties or spooky gatherings, echoing the charm of our Cider Whoopie Pie or Chocolate Oat Cookies.
-
Coffee Flavor: Add 1 tablespoon of instant espresso powder to the dough for a subtly roasted coffee flavor that enhances the chocolate, creating an irresistible blend!
No matter how you decide to customize these Ghost Cookies, they’ll be the perfect addition to family gatherings or festive celebrations!
Expert Tips for Ghost Cookies
-
Room Temperature Ingredients: Always make sure your butter and eggs are at room temperature for a smoother batter. This helps achieve the ideal texture for your Ghost Cookies.
-
Don’t Overmix: Gently combine your wet and dry ingredients until just incorporated. Overmixing can result in tough cookies, so be mindful!
-
Chill the Dough: For an even chewier taste and texture, consider refrigerating the dough for about 30 minutes before baking. This is a helpful trick for achieving perfect Ghost Cookies.
-
Quality Chocolate Matters: Use high-quality semi-sweet chocolate chips for melting and decorating. This step will elevate the flavor and visual appeal of your spooky treats.
-
Keep an Eye on Baking Time: Be vigilant while baking; pull the cookies out when the edges are golden but the centers are still soft. They’ll continue cooking on the sheet!
-
Creative Decorations: Have fun with your decorations! Experiment with different toppings or expressions using icing and candy eyes to personalize each Ghost Cookie.
Make Ahead Options
These Classic Chewy Chocolate Chip Cookies are perfect for meal prep aficionados who want to save time during busy weeks! You can prepare the cookie dough up to 72 hours in advance. Just scoop the dough onto parchment-lined baking sheets, cover with plastic wrap, and refrigerate. For best results, allow the dough to rest overnight, enhancing the flavors and achieving an even chewier texture. When you’re ready to bake, simply remove the dough from the refrigerator and add a few extra minutes to the baking time, ensuring they are just as delicious as freshly made. With this prep method, you will always have homemade treats ready to pop into the oven!
How to Store and Freeze Ghost Cookies
Room Temperature: Store cookies in an airtight container at room temperature for up to 1 week. This will keep them fresh while maintaining that chewy texture everyone loves.
Fridge: If you prefer a firmer cookie, refrigerate the airtight container for up to 2 weeks. Just be sure to let them sit at room temperature for a few minutes before enjoying!
Freezer: For longer storage, freeze cookies for up to 3 months. Place them in a single layer on a baking sheet to freeze completely before transferring to a freezer-safe container.
Reheating: To enjoy your Ghost Cookies warm, simply thaw at room temperature for about 10-15 minutes and then pop them in the oven at 350°F (175°C) for a few minutes until warmed through.
What to Serve with Classic Chewy Chocolate Chip Cookies
There’s nothing quite like the warm, gooey goodness of homemade cookies to make your day feel cozy and complete.
- Cold Milk: The ultimate pairing that enhances the sweet, rich flavor of the cookies. It’s a classic for a reason!
- Vanilla Ice Cream: A scoop of creamy ice cream on top creates a delightful contrast with the warm cookies—pure bliss!
- Fresh Berries: The tartness of berries like raspberries or strawberries adds a refreshing burst that balances the sweetness beautifully.
- Nutty Granola: Serve a side of crunchy granola for a delightful textural contrast alongside the soft cookies, making them feel a bit more wholesome.
- Chocolate-Covered Pretzels: The salty, crunchy pretzels offer an enjoyable contrast to the sweet cookies, enhancing the overall flavor experience.
- Coffee or Espresso: A warm cup brings out the deep chocolate notes in the cookies, creating a cozy pairing perfect for any time of day.
- Hot Chocolate: Complete the indulgent experience with a rich cup of homemade hot chocolate for a decadent treat that will warm your soul.
- Toffee or Caramel Sauce: Drizzle over the cookies or on the side for an extra sweet touch that complements the chewiness magnificently.
- Pumpkin Spice Latte: The warm, spiced flavors pair wonderfully with chocolate, making it a festive dive into autumn vibes!
- Banana Bread: Slice up a loaf of homemade banana bread for a comforting, moist accompaniment that’s sure to please.
Ghost Cookies Recipe FAQs
How do I select the best ingredients for my Ghost Cookies?
Absolutely! When selecting ingredients, ensure your flour is fresh and your butter is perfectly softened—not melted. For the best flavor, pick high-quality chocolate chips and pure vanilla extract. If butter has dark spots or an off smell, it’s best to avoid it. Choose room-temperature eggs as they mix better into the batter, leading to a fluffier texture.
What’s the best way to store my Ghost Cookies?
To keep your cookies fresh, store them in an airtight container at room temperature for up to 1 week. If you need longer storage, you can refrigerate them to last up to 2 weeks but let them sit at room temperature for a few minutes before serving to regain their softness.
Can I freeze my Ghost Cookies?
Yes! For freezing, first, place the cookies in a single layer on a baking sheet so they freeze individually. Once frozen, transfer them to a freezer-safe container or a zip-top bag for up to 3 months. When you’re ready to enjoy them, thaw at room temperature for about 10-15 minutes, and then warm them in a 350°F (175°C) oven for a few minutes to bring back their chewy texture.
What if my cookie dough is too sticky or crumbly?
If your dough feels too sticky, you might have added a bit too much butter or not enough flour. Incorporate additional flour a tablespoon at a time until you reach the right consistency. For crumbly dough, gradually add a splash of milk or an extra egg until the dough comes together. Remember, never overmix after adding the flour to keep the cookies tender!
Are there dietary considerations for my Ghost Cookies?
Certainly! If you have allergies, you can substitute the wheat flour with a gluten-free blend and use dairy-free chocolate chips. Always check labels to ensure no cross-contamination occurs, especially if you’re baking for parties where many people will indulge. As always, enjoy in moderation to keep those taste buds happy!
Spooky Ghost Cookies That Will Haunt Your Taste Buds
Ingredients
Equipment
Method
- Preheat your oven to 350°F (175°C) and line two baking sheets with parchment paper.
- In a medium bowl, whisk together 2 cups of all-purpose flour, 1 teaspoon of baking soda, and ½ teaspoon of salt.
- In a large mixing bowl, cream together ¾ cup of softened unsalted butter, ½ cup of granulated sugar, and ¾ cup of brown sugar until light and fluffy.
- Add in 1 large egg and 1 teaspoon of vanilla extract, beating well until fully incorporated.
- Gradually mix the dry ingredients into the wet mixture until just combined.
- Fold in 1 cup of semi-sweet chocolate chips into the dough.
- Drop rounded tablespoonfuls of dough onto the baking sheets with 2 inches of space between them.
- Bake for 10-12 minutes until edges are lightly golden and centers are soft.
- Cool on baking sheets for about 5 minutes before transferring to a wire rack; decorate as desired.
Leave a Reply