
As I was strolling through the farmer’s market, the vibrant colors of summer fruits caught my eye, but nothing stopped me in my tracks quite like those glossy, deep red cherries. I couldn’t resist picking up a basket. When I got home, the thought of making quick pickled cherries danced in my mind. This easy recipe combines tart apple cider vinegar, sweet brown sugar, and fragrant thyme to create a delightful blend that’s incredibly versatile. These pickled cherries are not only a refreshing snack but also elevate any charcuterie board or salad. Plus, they’re a fantastic way to preserve summer’s bounty with minimal effort! Are you ready to embrace the art of quick pickling and enjoy these sweet-tart gems? Let’s dive in!
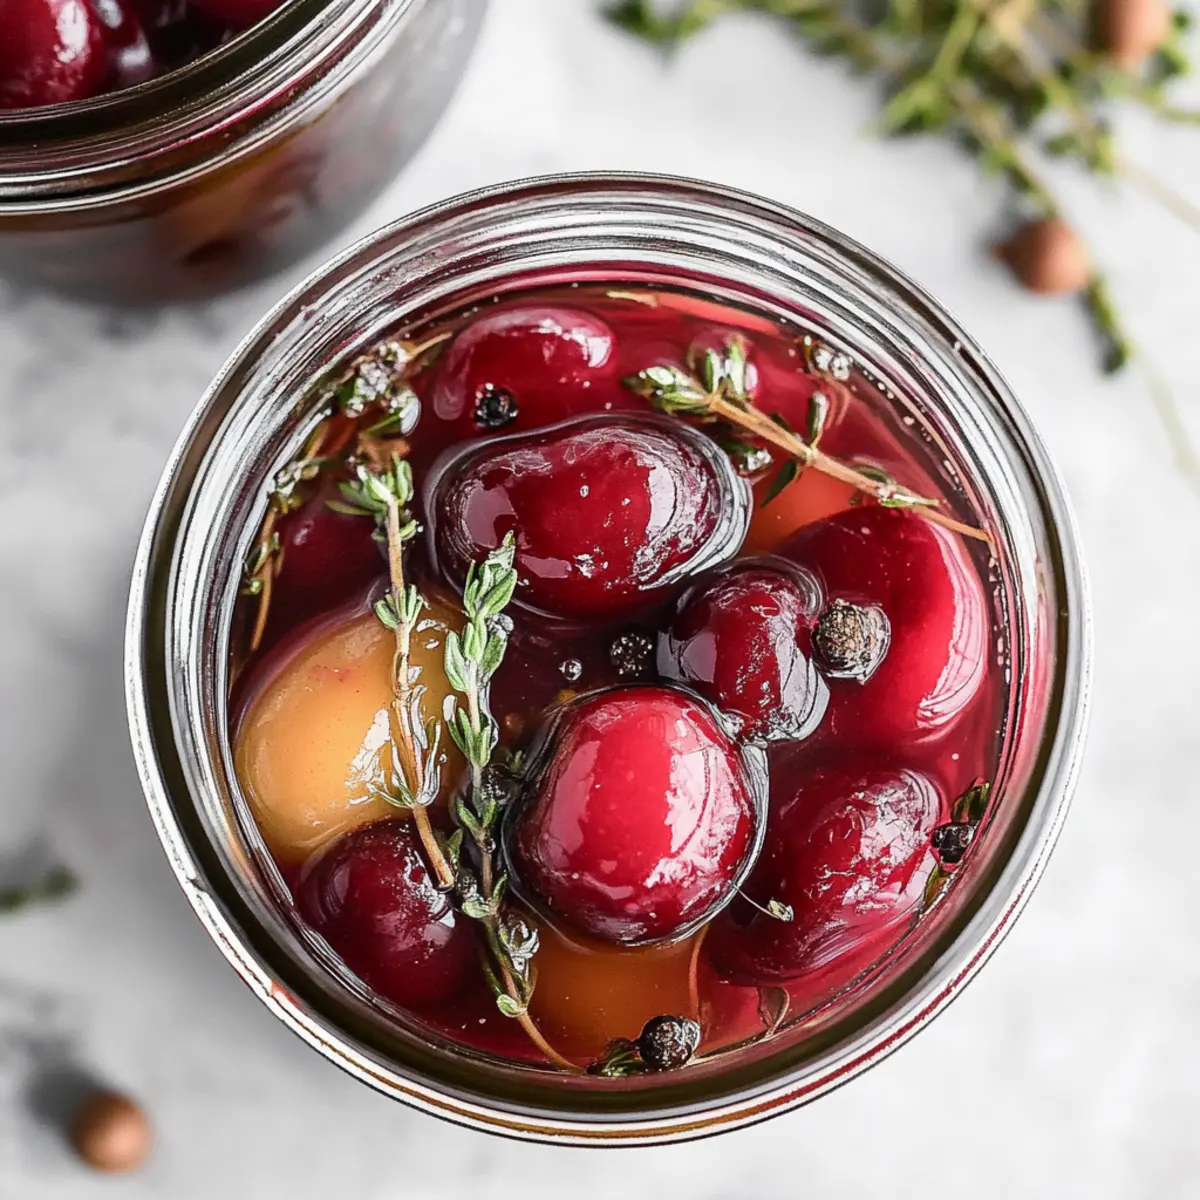
Why are Quick Pickled Cherries a Must-Try?
Unforgettable Flavor: These quick pickled cherries offer a dynamic blend of sweet and tart, thanks to the perfect marriage of apple cider vinegar and brown sugar.
Effortless Preparation: With a simple process, you can whip up this recipe in no time, making it ideal for anyone looking to add a homemade touch to their meals.
Versatile Use: These cherries are a game-changer for your summer gatherings! Serve them on a charcuterie board, toss them into salads, or use them as a unique dessert topping.
Freshness Guaranteed: By making your pickles, you ensure top-notch quality and flavor that outshine store-bought options. Plus, it’s a wonderful way to embrace seasonal produce.
Healthier Snacking: With natural ingredients and minimal sugar, you’re enjoying a guilt-free treat that packs a flavorful punch.
Ready to add a burst of summer to your meals? Embrace this quick pickling technique and savor the delightful taste of homemade pickled cherries!
Pickled Cherries Ingredients
Unlock the secrets to delicious pickled cherries!
For the Brine
• Apple Cider Vinegar – Essential for pickling, it adds the beloved tart flavor; feel free to experiment with white wine vinegar for a unique twist.
• Sugar – Balances the acidity of vinegar; adjust to your taste, or substitute with honey for a natural alternative.
• Whole Black Peppercorns – Adds a mild spice that complements the sweetness of the cherries; crushed red pepper can be used for extra heat.
• Fennel Seeds – Imparts a subtle anise flavor; if you prefer a different taste, you can omit this or use dill seeds instead.
• Red Pepper Flakes – Provides a hint of heat to the brine; this is optional, depending on your spice preference.
• Bay Leaf – Enhances complexity in the brine; can be left out if not on hand.
• Water – Used to dilute the vinegar; use equal parts for the best brine consistency.
For the Cherries
• Fresh Cherries – Choose ripe and firm cherries for the perfect sweet-tart balance in your pickled cherries; they are the star of this recipe.
• Fresh Thyme – Adds an aromatic touch; if fresh isn’t available, dried thyme works well as a substitute.
With these ingredients gathered, you’ll be on your way to creating a delightful jar of homemade pickled cherries that will tantalize your taste buds!
Step‑by‑Step Instructions for Quick Pickled Cherries
Step 1: Prepare the Jars
Start by sterilizing two glass pint jars or one quart jar in boiling water for about 10 minutes to ensure cleanliness. Once done, remove them carefully using tongs and place them on a clean kitchen towel. While they cool, wash 2 cups of fresh cherries, removing stems and pits, then tuck a few sprigs of fresh thyme into each jar for added flavor.
Step 2: Make the Brine
In a medium saucepan, combine ¾ cup of water, ¾ cup of apple cider vinegar, and ½ cup of sugar over medium heat. Stir the mixture until the sugar fully dissolves, which should take about 2-3 minutes. Add in 1 teaspoon of whole black peppercorns, 1 teaspoon of fennel seeds, a pinch of red pepper flakes, and a bay leaf. Bring the brine to a gentle boil, then reduce heat and simmer for 5 minutes to meld the flavors together.
Step 3: Pour the Brine
Once the brine is complete, carefully pour the hot mixture over the cherries in the prepared jars, leaving about 1 inch of headspace at the top. Use a funnel for precision if you have one. If a milder flavor is desired, you can strain the brine through a fine mesh sieve before pouring it over the cherries, ensuring you retain those vibrant flavors.
Step 4: Cool and Store
Allow the jars to cool to room temperature, which typically takes about 30-40 minutes. As the brine cools, the flavors will start to infuse into the cherries. Once cooled, secure the lids tightly on the jars and store them in the refrigerator. The quick pickled cherries are best enjoyed after 24 hours, but they can be stored for up to 1 month, allowing you to savor the essence of summer anytime.
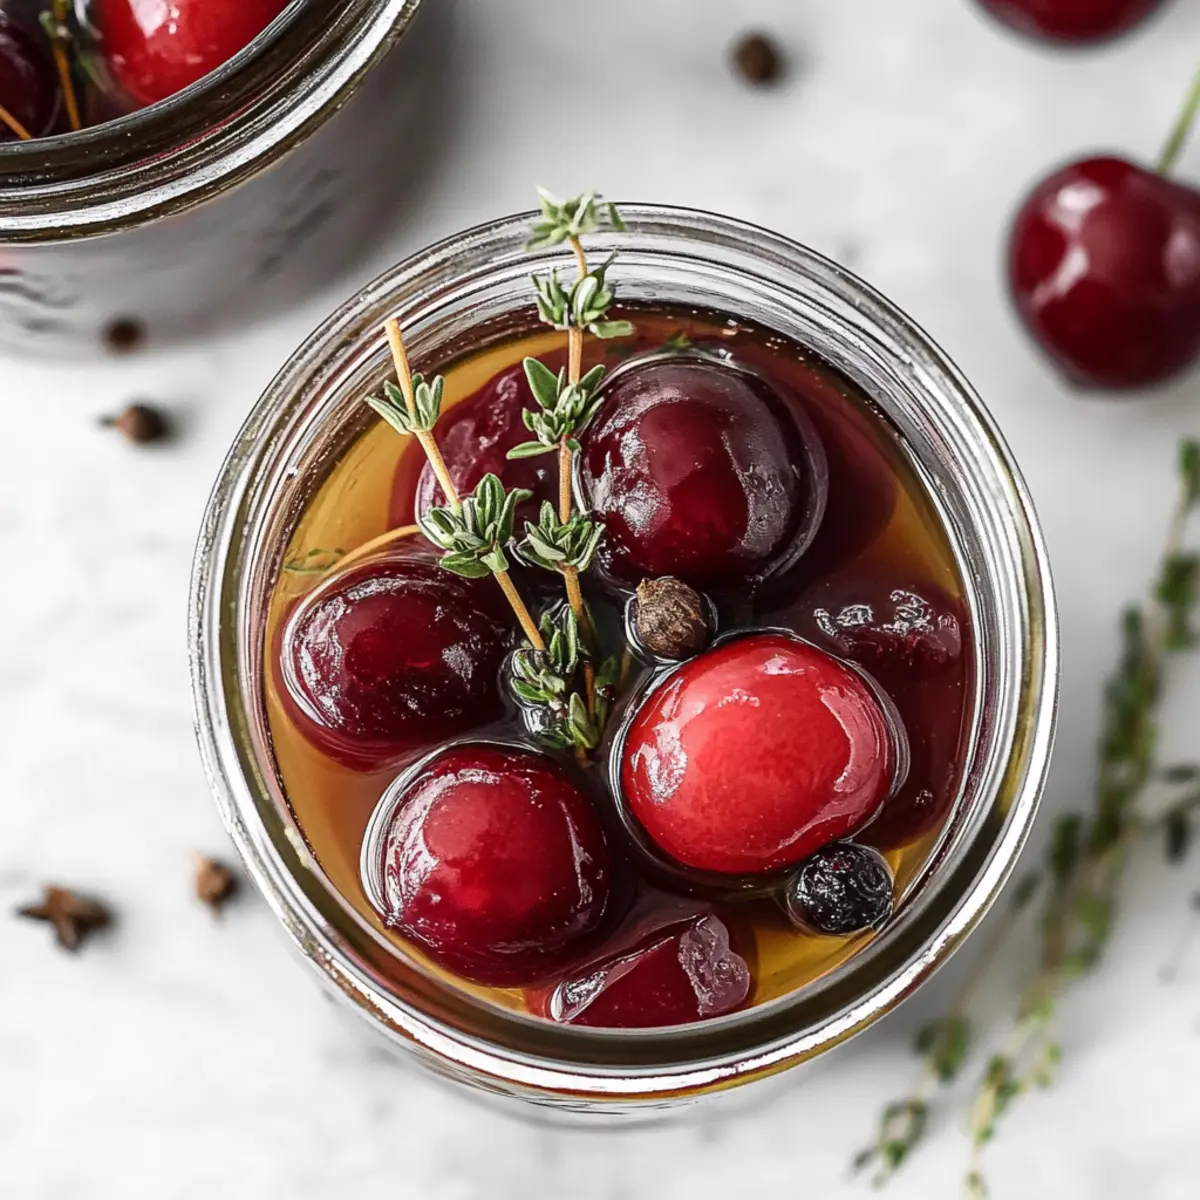
Pickled Cherries Variations & Substitutions
Feel free to get creative with your pickled cherries and make them truly your own!
- Fruit Swaps: Substitute fresh peaches or apricots for a delightful change of flavor while maintaining that sweet-tart essence.
- Different Vinegars: Experiment with flavored vinegars, like raspberry, for an intriguing layer of complexity; it’s a fun twist that brightens the brine!
- Herb Infusion: Introduce basil or dill into the brine instead of thyme; their unique profiles can completely transform the seasoning of your cherries.
- Sweetener Alternatives: Swap regular sugar for honey or maple syrup for a different kind of sweetness, adding an earthy richness to the pickling process.
- Spice it Up: Add crushed red pepper or chili flakes for heat; it’s perfect for those who enjoy a spicy kick in their pickles!
- Nutty Flavor: Toss in a few whole cloves or star anise with the brine for a lovely aromatic complexity that tantalizes the taste buds.
- Citrus Zest: Add lemon or orange zest to the brine for bright, citrusy notes; it enhances the overall freshness of the cherries wonderfully.
- Creamy Pairing: Consider topping salads, cheese boards, or even desserts with your pickled cherries—they’re lovely with goat cheese or drizzled over yogurt.
Whichever variations you choose, each twist will lead to a delightful new experience with your homemade pickled cherries! For more creative combinations, check out our healthy salad recipes or explore other pickling ideas that keep your kitchen buzzing with flavors all summer long!
How to Store and Freeze Pickled Cherries
Fridge: Keep your quick pickled cherries in the refrigerator, fully submerged in brine, for up to 1 month for optimal freshness and flavor.
Airtight Containers: Store pickled cherries in clean, airtight glass jars to prevent any contamination and maintain their delicious sweet-tart balance.
Freezer: While freezing is not recommended as it may alter the texture, you can place pickled cherries in an airtight container for up to 3 months if necessary.
Reheating: If using pickled cherries as a topping, simply thaw in the refrigerator and toss them into your favorite dishes without the need for cooking, so you enjoy that vibrant flavor!
What to Serve with Quick Pickled Cherries
Build a delightful meal around the vibrant, sweet-tart notes of quick pickled cherries. Here are some tasty pairings to consider!
-
Cheese and Crackers:
The creaminess of soft cheeses like Brie or goat cheese balances the tartness of the cherries, while crunchy crackers provide a satisfying texture contrast. -
Arugula Salad:
Toss fresh arugula with sliced almonds, feta, or goat cheese, and add quick pickled cherries for a burst of flavor that’s both zesty and refreshing. -
Grilled Chicken Skewers:
The smoky, savory elements of grilled chicken pairs beautifully with the bright notes of pickled cherries, adding depth to each bite. -
Chocolate Dessert:
Drizzle quick pickled cherries over rich chocolate cake or brownies for an unexpected yet delightful topping that brings a tangy twist to sweetness. -
Charcuterie Board:
Incorporate quick pickled cherries into a beautifully arranged charcuterie platter, where their vibrant color and flavor add interest alongside cured meats and aged cheeses. -
Sparkling Wine:
Coupling your cherries with a chilled glass of sparkling wine elevates the experience, as the bubbles accentuate the cherries’ tartness and freshness. -
Savory Toasts:
Spread cream cheese or ricotta atop crusty bread and finish with quick pickled cherries for an elegant appetizer bursting with sweet and savory contrasts. -
Pasta Primavera:
Toss quick pickled cherries into a light, vegetable-forward pasta dish for an unexpected flavor boost that makes summer veggies shine.
Expert Tips for the Best Pickled Cherries
-
Optimal Pickling Time: Allow at least 24 hours for the flavors to develop fully. Patience pays off with deeper, more complex flavors.
-
Adjust Sweetness: Not all cherries are equally sweet. If your cherries are slightly tart, consider adding more sugar to balance the taste—experiment to find your ideal sweetness!
-
Brine Variations: Feel free to swap out spices! Try using crushed red pepper for heat or add coriander seeds for a fragrant twist to your pickled cherries.
-
Storage Check: Ensure cherries are submerged in the brine to maintain freshness. If needed, press them down gently to keep them fully covered during storage.
-
Fresh Herb Substitutions: If thyme isn’t available, basil or dill can bring a unique flair to your brine. Don’t hesitate to try what you have on hand!
Make Ahead Options
These quick pickled cherries are perfect for meal prep, allowing you to savor summer flavors without the rush! You can prepare the brine and jar the cherries up to 24 hours in advance. To do this, complete Steps 1 and 2, then store the sterilized jars filled with cherries and thyme in the refrigerator. The brine can be made a day in advance, too; just be sure to let it cool before adding it to the jars, as this helps maintain the cherries’ vibrant color and firmness. Once ready to enjoy your pickled cherries, simply pour the cooled brine over the cherries, seal, and refrigerate them for at least 24 hours before serving for optimal flavor. With this prep-ahead option, you’ll have a delicious and refreshing treat ready whenever you need it!
Quick Pickled Cherries Recipe FAQs
How do I know if my cherries are ripe enough for pickling?
Absolutely! For the best results, select cherries that are firm and glistening, avoiding any with dark spots all over. These signs of ripeness ensure you’re picking cherries that are sweet and have a good texture for pickling.
What’s the best way to store my pickled cherries?
Very simply! Keep your quick pickled cherries in the refrigerator, ensuring they’re fully submerged in brine. This helps preserve their crunchiness and flavor for up to 1 month. Just make sure to use clean, airtight glass jars to avoid contamination.
Can I freeze pickled cherries, and if so, how?
Indeed! While freezing can slightly alter the texture, you can store pickled cherries in an airtight container for up to 3 months. To freeze, simply pour the cherries along with their brine into the container, ensuring there’s enough room for expansion. Thaw in the refrigerator before consuming to maintain flavor.
What should I do if my pickling brine isn’t sweet enough?
No worries! If your cherries turn out a bit tart, you can easily adjust the sweetness by adding a little extra sugar or honey in small increments. Start with 1 tablespoon, mix well, and taste until you reach your preferred sweetness level. Feel free to reheat the brine to dissolve the sugar if needed.
Are pickled cherries safe for pets or children?
Very! While the ingredients in pickled cherries are generally safe, be cautious with flavored vinegars or extra spices. Always check for potential allergies or sensitivities if sharing with little ones or pets, especially regarding ingredients like garlic or high salt levels.
Can I use different herbs or spices in my pickling recipe?
Certainly! The beauty of pickling is the freedom to experiment. You can substitute thyme with basil or dill for a unique flavor twist. Also, feel free to play with spices—crushed red pepper for heat or coriander seeds for a fragrant note work beautifully!

Quick Pickled Cherries for a Sweet-Tart Summer Delight
Ingredients
Equipment
Method
- Prepare the jars by sterilizing them in boiling water for about 10 minutes.
- Make the brine by combining water, apple cider vinegar, and sugar in a saucepan.
- Pour the brine over the cherries in the prepared jars.
- Cool the jars to room temperature and then store in the refrigerator.
Leave a Reply