
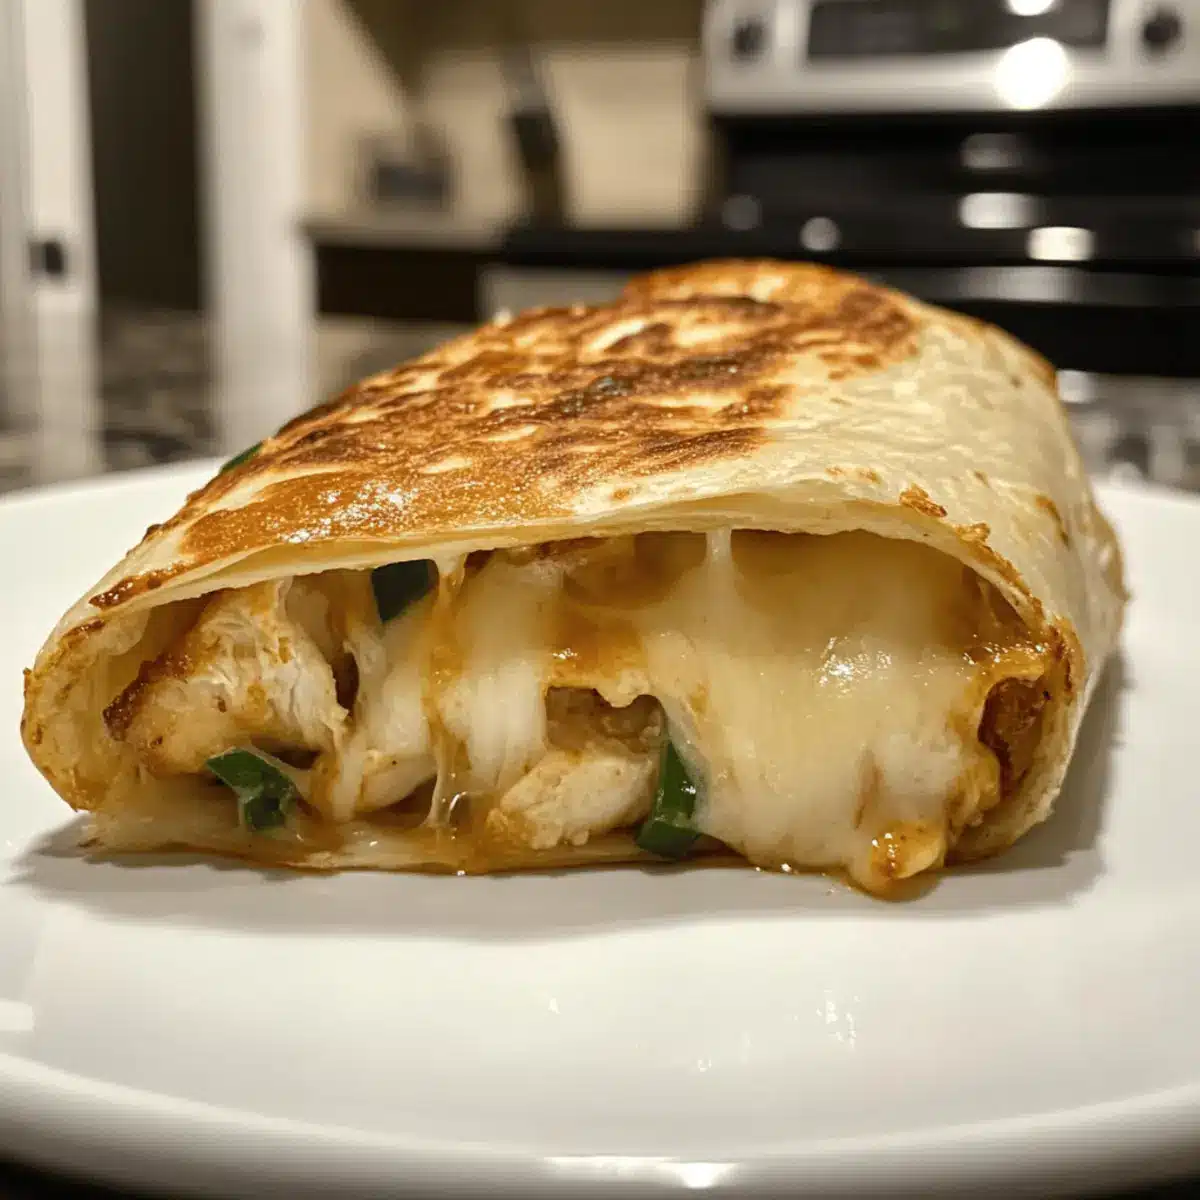
As I flipped through my weeknight meal ideas, craving something comforting yet effortlessly delicious, I stumbled upon the perfect solution: Cheesy Garlic Chicken Wraps. These wraps are a delightful marriage of crispy exteriors with a warm, gooey cheesy center that simply makes the heart sing. Packed with protein and loaded with garlicky goodness, they’re just what you need for a fulfilling lunch or dinner. The best part? You can customize the ingredients to suit your preferences, whether you’re looking for a hearty version or a lighter take. Just imagine savoring each tasty bite while knowing you’ve whipped up something quick and versatile. Ready to transform your dinner game? Let’s dive into this recipe that’s sure to become a go-to favorite!
Why are Cheesy Garlic Chicken Wraps a Must-Try?
Unmatched Versatility: Customize each wrap to fit your dietary needs, using either regular or low-carb tortillas to cater to everyone at the table.
Quick to Prepare: Ready in under 30 minutes, these wraps save you from another boring fast-food stop when you’re short on time.
High-Protein Delight: With chicken and cheese at the forefront, you’ll enjoy a fulfilling meal that doesn’t skimp on protein, perfect for those on a fitness journey.
Perfect for Meal Prep: Make the filling in advance, and you can enjoy these crispy wraps all week long! Check out options like Garlic Parmesan Chicken for other meal prep ideas.
Guaranteed Crowd-Pleaser: Whether you’re entertaining friends or feeding family, these wraps will leave everyone asking for seconds!
Cheesy Garlic Chicken Wraps Ingredients
• For the Wraps
- Large tortillas – The essential base for these wraps; choose regular or low-carb options to suit your needs.
- Cooked chicken (7 oz) – This high-protein ingredient ensures a filling meal; rotisserie chicken is a great time-saver.
• For the Creamy Filling
- Garlic cloves (2) – Adds a delightful pungency; feel free to adjust based on how garlicky you want it!
- Light mayonnaise (2 tablespoons) – Infuses creaminess into the mix for a luscious texture.
- Light Greek yogurt or plain yogurt (1 tablespoon) – Contributes tang and creaminess, perfect for balance.
- Hot sauce (2 teaspoons) – Provides a spicy kick; Frank’s hot sauce really elevates the flavor of these cheesy garlic chicken wraps.
- Salt (¼ teaspoon) – Essential for enhancing the overall flavor profile.
• For the Cheesy Goodness
- Grated cheese (3 oz) – Melts beautifully for that gooey center; consider a cheddar blend for peak deliciousness.
- Green onion (1) – Adds a fresh crunch and pop of color to the filling.
• For Cooking
- Olive oil spray – Helps to pan-fry the wraps to a perfect crispiness.
Step‑by‑Step Instructions for Cheesy Garlic Chicken Wraps
Step 1: Prepare the Chicken Filling
In a large mixing bowl, combine 7 oz of chopped cooked chicken, 2 minced garlic cloves, 2 tablespoons of light mayonnaise, 1 tablespoon of light Greek yogurt, 2 teaspoons of hot sauce, and ¼ teaspoon of salt. Mix well until all ingredients are thoroughly incorporated. This creamy filling will be packed with flavor and is essential for your Cheesy Garlic Chicken Wraps.
Step 2: Assemble the Wraps
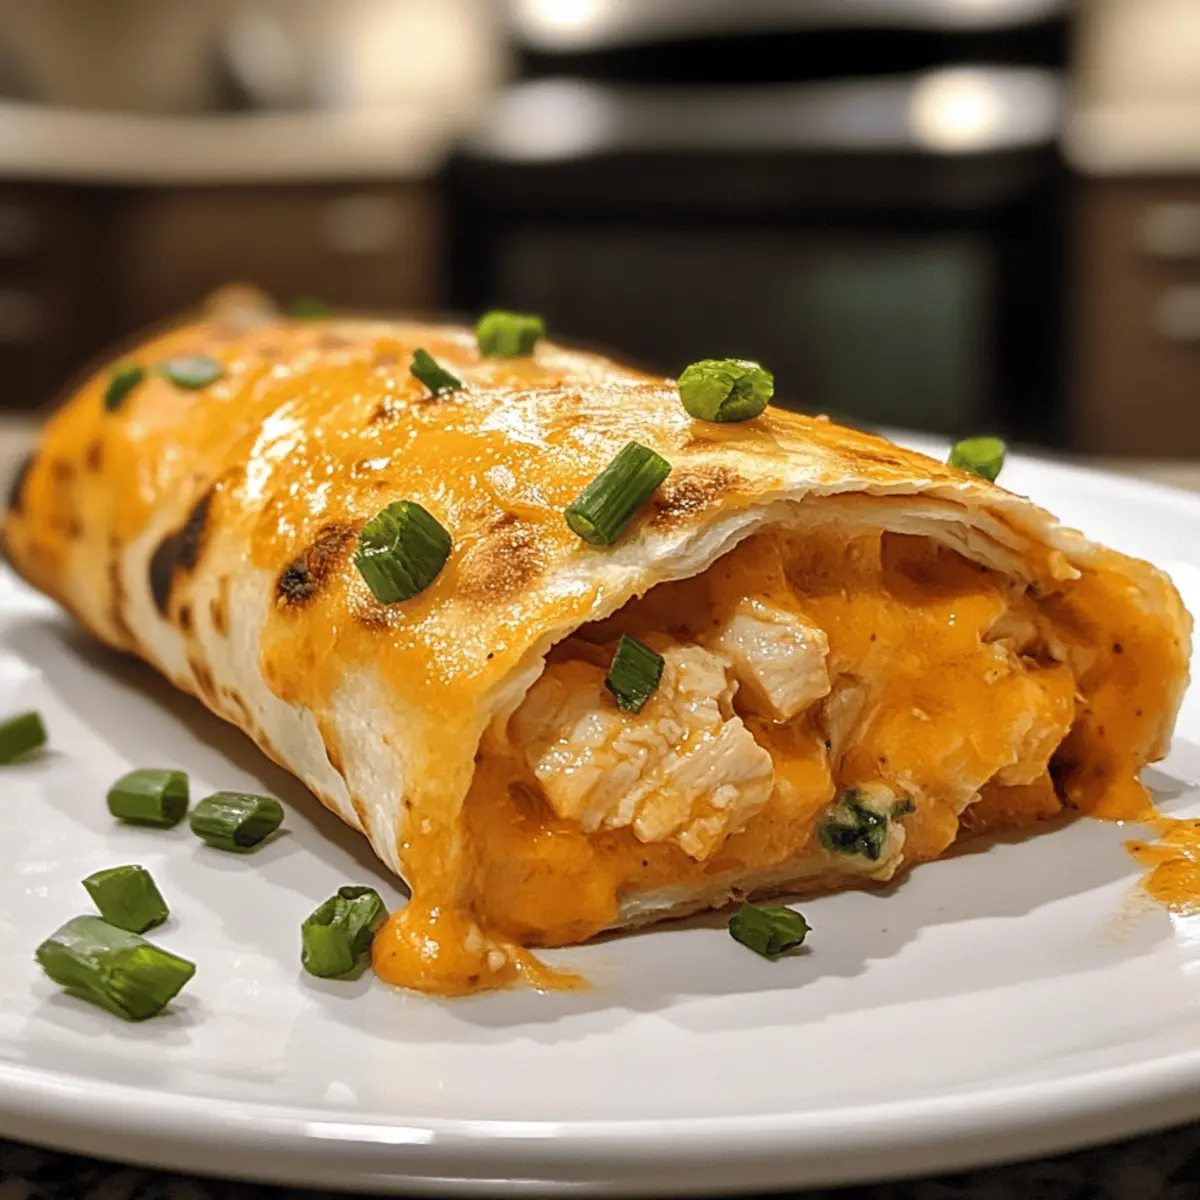
Lay out a large tortilla on a clean surface. Sprinkle 2 tablespoons of grated cheese across the lower third of the tortilla. Next, spoon about ⅔ cup of the chicken filling over the cheese, followed by another tablespoon of cheese and a sprinkle of chopped green onion. This layering ensures that your wraps are gooey and flavorful, providing a delightful bite.
Step 3: Fold the Wraps
Carefully fold the sides of the tortilla inward, then roll tightly from the bottom up. Make sure to keep the filling secure as you roll, creating a compact package. This step is crucial for ensuring that your Cheesy Garlic Chicken Wraps maintain their shape and maximize the cheesy goodness on the inside.
Step 4: Cook the Wraps
Preheat a non-stick pan over medium-high heat and generously spray it with olive oil. Once the pan is hot, place the wrapped tortillas seam-side down in the pan. This will help seal the wraps as they cook. Cook for 3–4 minutes until the bottom is golden brown and crispy.
Step 5: Flip and Finish Cooking
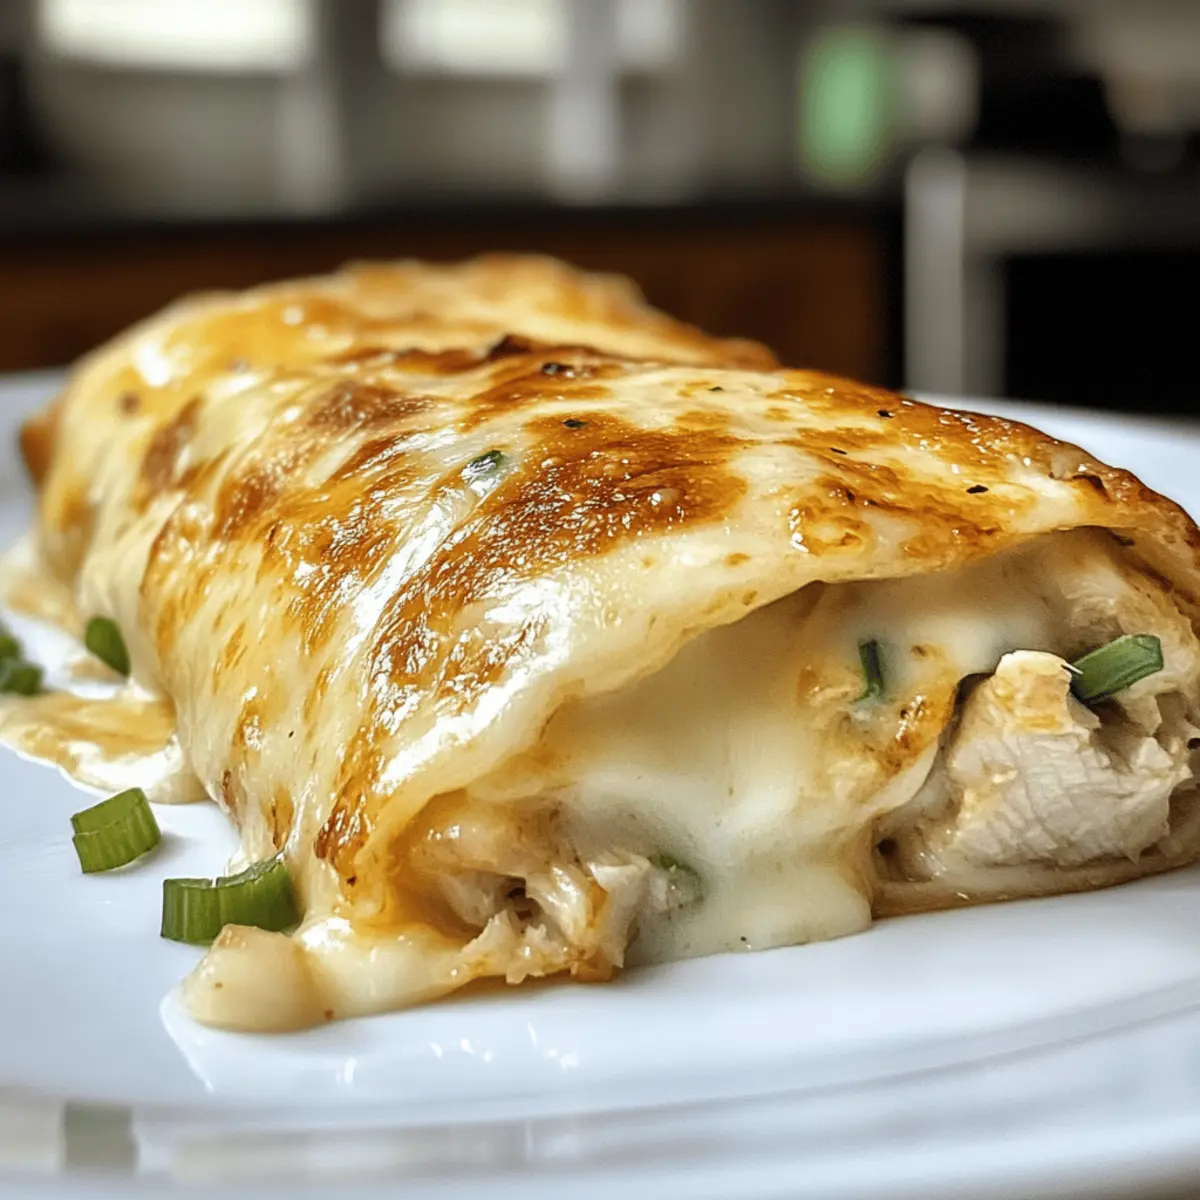
After the first side is golden, carefully flip the wraps using a spatula. Cook the other side for an additional 3–4 minutes. To ensure the filling heats through and the cheese melts perfectly, consider covering the pan with a lid during this cooking time. Your Cheesy Garlic Chicken Wraps will become irresistibly crispy and delicious!
Step 6: Slice and Serve
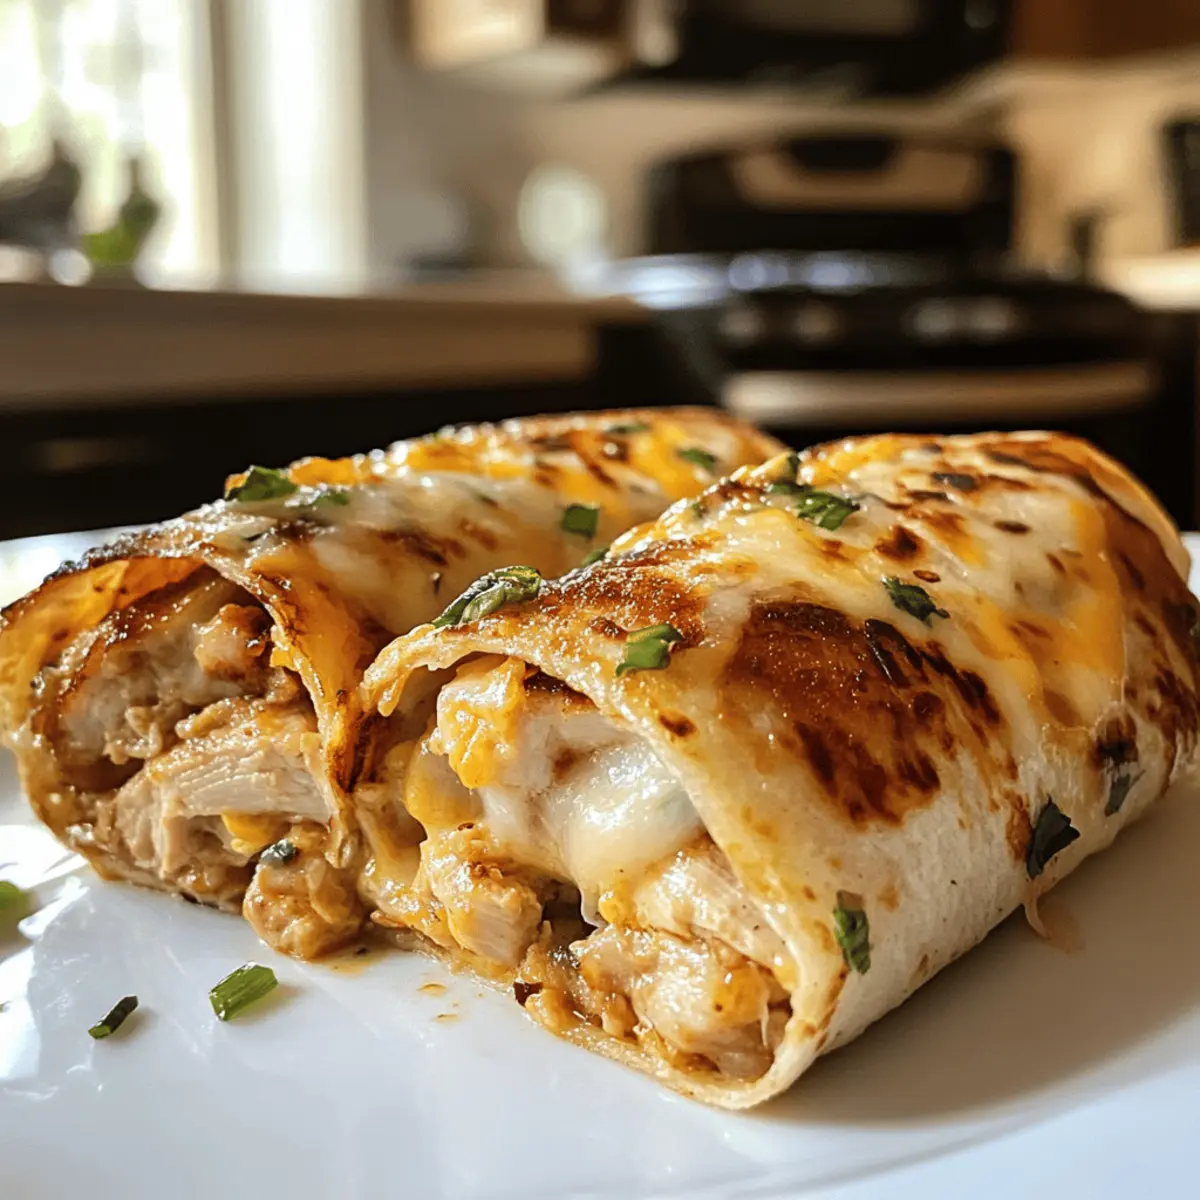
Once both sides are golden and crispy, remove the wraps from the pan and let them cool for a minute. Slice each wrap in half to reveal the gooey cheese and flavorful filling inside. Serve hot, and watch as everyone enjoys these Cheesy Garlic Chicken Wraps with delight!
Cheesy Garlic Chicken Wraps Variations & Substitutions
Feel free to get creative and make these Cheesy Garlic Chicken Wraps your own with delightful swaps and variations!
- Low-Carb Option: Use low-carb tortillas for a healthier wrap without sacrificing flavor. Enjoy the same great taste with fewer carbs!
- Vegetarian Delight: Substitute cooked chicken with sautéed mushrooms or crispy tofu for a hearty vegetarian version. Each bite bursts with umami goodness.
- Creamy Avocado: Replace light mayonnaise with mashed avocado for a richer, creamier filling. This twist not only adds flavor but also nutrients!
- Cheese Variety: Try different cheeses like mozzarella or pepper jack to elevate the flavor profile and bring a unique twist to each wrap. Each cheese brings its own delicious character!
- Extra Heat: Add diced jalapeños or a sprinkle of cayenne to the chicken mixture for an extra kick. Just imagine that zesty burst with every cheesy mouthful!
- Herb Infusion: Mix in fresh herbs like cilantro or parsley for added freshness and color. This simple addition can brighten up the overall flavor of your wraps.
- Meal Prep Magic: Consider prepping the entire filling in advance for busy weeknights, allowing for quick assembly and cooking when you need it. Meal prep has never tasted so good!
- Make it a Salad: Serve the filling over a bed of greens instead of wrapping it for a lighter, refreshing option. Pair it with a zesty vinaigrette for an excellent summer salad!
As you explore these options, don’t forget to check out other dishes like Butter Chicken Linguine or Pot Buffalo Chicken for more inspiration in your cooking adventures!
What to Serve with Cheesy Garlic Chicken Wraps
Elevate your meal experience by pairing these delightful wraps with complementary sides and drinks bursting with flavor.
-
Crispy Sweet Potato Fries: These sweet and savory fries add a satisfying crunch and vibrant color. Their natural sweetness beautifully balances the garlicky filling.
-
Fresh Garden Salad: A light salad with mixed greens, cherry tomatoes, and a zesty lemon vinaigrette brings freshness. The crisp vegetables provide a refreshing contrast to the rich wraps.
-
Creamy Coleslaw: This tangy side brings a lovely crunch and creaminess, perfectly offsetting the cheesy goodness of the wraps. It’s a hearty accompaniment that everyone will enjoy.
-
Roasted Vegetables: Caramelized seasonal vegetables add earthy flavors and a hint of sweetness. Their tender texture contrasts nicely with the crispy wraps, creating a well-rounded dish.
-
Garlic Butter Rice: Fluffy rice infused with garlic and butter complements the flavors of the wraps. Its warmth and subtle flavor enhance each bite, making the meal more comforting.
-
Sparkling Lemonade: Refreshingly tart and bubbly, a glass of sparkling lemonade brightens the meal. Its citrus notes cleanse the palate between bites of savory goodness.
-
Chocolate Chip Cookies: For dessert, warm cookies create a delightful sweet ending to your meal. Their gooey chocolate perfectly contrasts the savory chicken wraps, making it an irresistible pairing.
Expert Tips for Cheesy Garlic Chicken Wraps
-
Prepping Ahead: Make your chicken filling up to 3 days in advance. Store it in the fridge to save time when you’re ready to cook.
-
Cheese Choices: For a lighter version, reduce the cheese, but keep in mind that gooeyness is a key feature of these cheesy garlic chicken wraps.
-
Cooking Methods: Try air frying at 375°F (190°C) for 6–8 minutes for a healthier option, or bake at 400°F (200°C) for 10–12 minutes.
-
Garnish Wisely: Don’t skip the green onion! It adds freshness and crunch that elevates the wrap’s flavor.
-
Reheating Tips: Store leftover wraps in the fridge for up to 2 days. Reheat in an air fryer or skillet to regain that crispy texture.
How to Store and Freeze Cheesy Garlic Chicken Wraps
Fridge: Store leftover Cheesy Garlic Chicken Wraps in an airtight container for up to 2 days. This will keep them fresh and prevent sogginess.
Freezer: For longer storage, freeze unwrapped or cooked wraps individually in plastic wrap, then in a freezer bag for up to 1 month. This helps maintain texture and flavor.
Reheating: To reheat, use an air fryer or skillet for best results, restoring their crispy exterior. Cook at medium heat for 4–5 minutes, turning halfway through.
Prep Ahead: Consider preparing the chicken filling in advance and refrigerating it for up to 3 days, ensuring an easy wrap assembly whenever you’re ready to cook!
Make Ahead Options
These Cheesy Garlic Chicken Wraps are perfect for meal prep enthusiasts! You can make the creamy chicken filling up to 3 days in advance and store it in an airtight container in the refrigerator, ensuring it stays fresh and flavorful. Simply combine the cooked chicken, garlic, mayonnaise, yogurt, hot sauce, and salt as directed, and when you’re ready to enjoy, assemble your wraps by layering the filling and cheese in a tortilla. For a cozy dinner on a busy night, you can even roll and refrigerate the assembled wraps up to 24 hours before cooking. Just remember to cook them straight from the fridge; this way, they’ll be just as crispy and cheesy as if made fresh!
Cheesy Garlic Chicken Wraps Recipe FAQs
What type of tortillas should I use?
Absolutely! You can use large tortillas as the base for your Cheesy Garlic Chicken Wraps. Whether you prefer regular or low-carb/high-protein versions, it all depends on your dietary needs and taste preferences. Whole wheat or gluten-free tortillas are also great options!
How should I store leftover wraps?
To keep your Cheesy Garlic Chicken Wraps fresh, store them in an airtight container in the fridge for up to 2 days. Make sure they are completely cooled before sealing them to prevent moisture build-up, which can make them soggy.
Can I freeze the wraps?
Yes, you can freeze your Cheesy Garlic Chicken Wraps for up to 1 month! For best results, wrap them individually in plastic wrap and then place them in a freezer bag to protect against freezer burn. When you’re ready to enjoy them, simply reheat in an air fryer or skillet.
What if my wraps are too soggy?
If you find your wraps are soggy, it may be due to excess moisture in the filling or cooking them at too low of a temperature. To avoid this, ensure your chicken is well-drained, avoid adding too much sauce, and cook them at medium-high heat. Additionally, always let them cool slightly before storing.
Can I substitute ingredients for dietary restrictions?
Very! If you need to cater to allergies or dietary preferences, there are plenty of substitutions you can use. For example, replace light mayonnaise with avocado for a creamy texture or use dairy-free cheese options to accommodate lactose intolerance. The flexibility of the recipe allows for many accommodating combinations!
How long can I keep the chicken filling in the fridge before using it?
You can prepare the chicken filling in advance and store it in the fridge for up to 3 days. This not only saves you time when it comes to cooking but also allows the flavors to meld together beautifully. Just be sure to store it in an airtight container to maintain freshness!
Cheesy Garlic Chicken Wraps for an Irresistibly Savory Meal
Ingredients
Equipment
Method
- In a large mixing bowl, combine 7 oz of chopped cooked chicken, 2 minced garlic cloves, 2 tablespoons of light mayonnaise, 1 tablespoon of light Greek yogurt, 2 teaspoons of hot sauce, and ¼ teaspoon of salt. Mix well until all ingredients are thoroughly incorporated.
- Lay out a large tortilla on a clean surface. Sprinkle 2 tablespoons of grated cheese across the lower third of the tortilla. Next, spoon about ⅔ cup of the chicken filling over the cheese, followed by another tablespoon of cheese and a sprinkle of chopped green onion.
- Carefully fold the sides of the tortilla inward, then roll tightly from the bottom up.
- Preheat a non-stick pan over medium-high heat and generously spray it with olive oil. Once the pan is hot, place the wrapped tortillas seam-side down in the pan.
- After the first side is golden, carefully flip the wraps using a spatula. Cook the other side for an additional 3–4 minutes.
- Once both sides are golden and crispy, remove the wraps from the pan and let them cool for a minute. Slice each wrap in half to reveal the gooey cheese and flavorful filling inside.
Leave a Reply