
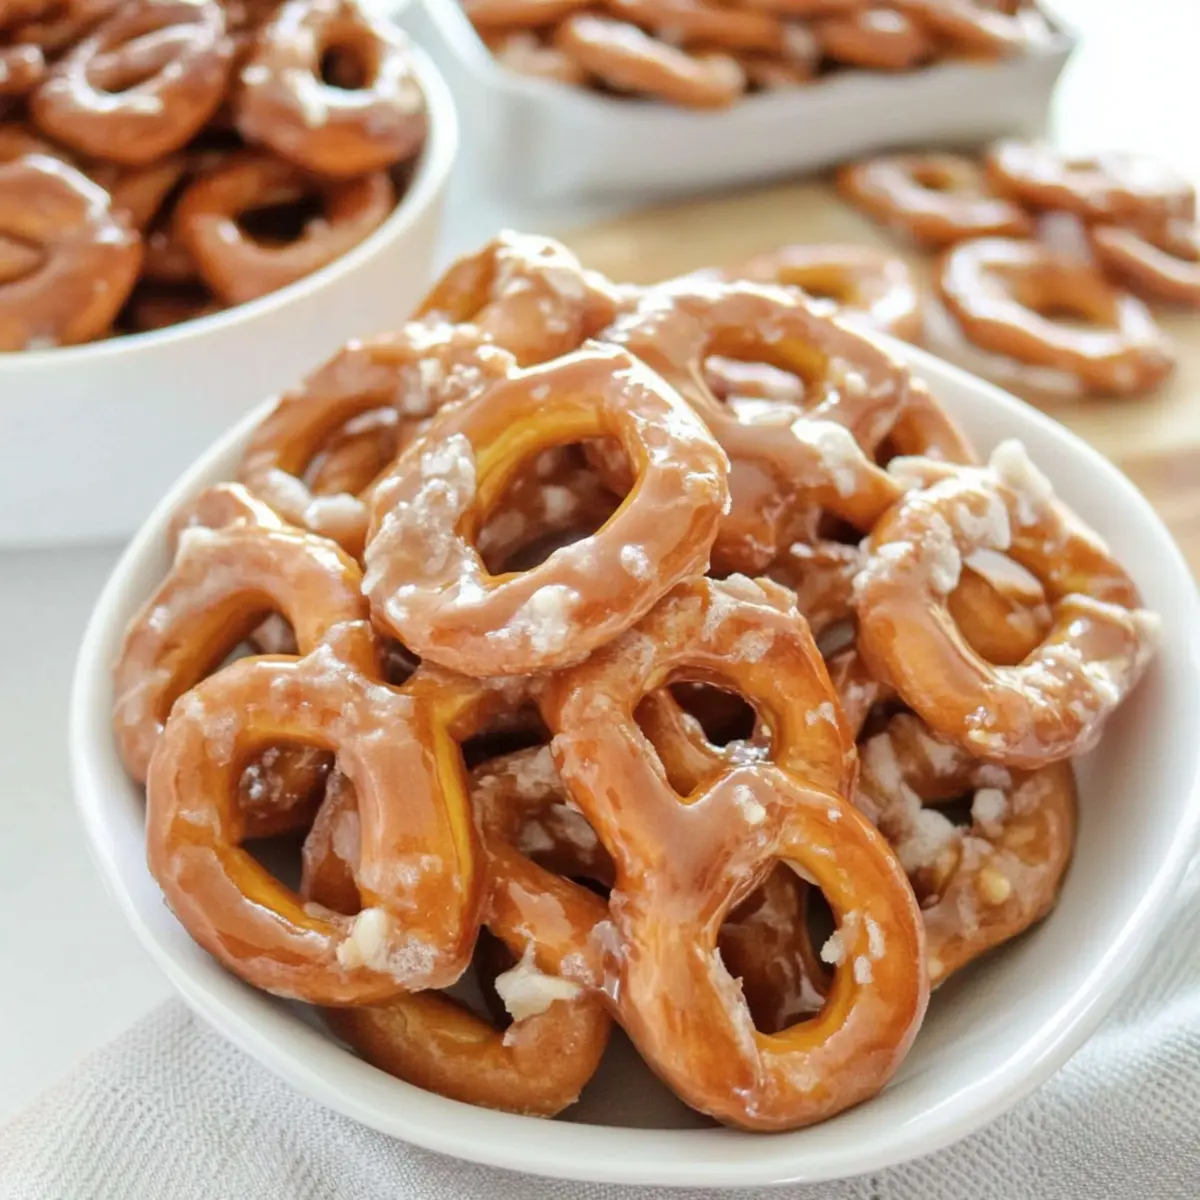
As I pulled a batch of these Crunchy Caramel Pretzels from the oven, the sweet, buttery aroma wafting through my kitchen reminded me of cozy movie nights with friends. This recipe transforms simple mini pretzels into delightful bites wrapped in a luscious layer of caramel, striking the perfect balance between salty and sweet. Making your own Caramel Pretzels is not just easy; it also ensures a crowd-pleasing snack that’s perfect for sharing at gatherings. Whether you’re a seasoned home-chef or someone who enjoys the comfort of homemade food, these treats offer a fun and satisfying way to break away from fast food. Plus, they keep well in an airtight container, making them an excellent make-ahead option! Ready to take your snacking to the next level? Let’s dive into the crunchy, caramel-coated goodness!
Why Are These Caramel Pretzels Irresistible?
Irresistible, this recipe takes snacking to a whole new level! Easy to make, you’ll find these Crunchy Caramel Pretzels come together without any fuss, making them perfect for busy days. Crowd-pleasing flavors create that delicious sweet and salty balance that everyone loves. Versatile, snack on them at movie nights or even gift in cute treat bags! Don’t forget, you can easily elevate them by drizzling melted chocolate or sprinkling with sea salt for an extra flavor pop. Dive into your kitchen and whip up a batch of these delightful treats today! 🍬
Caramel Pretzels Ingredients
• For the Caramel Coating
- Butter – Adds richness and creates that luscious caramel. Unsalted butter gives you better control over saltiness.
- Sugar – The key sweetener needed for caramelization; using brown sugar will deepen the flavor.
- Water – Helps dissolve the sugar, creating the perfect syrupy consistency.
- Vanilla – Elevates the flavor profile of the caramel; it’s optional, but highly recommended!
• For the Pretzels
- Mini Pretzels – Serve as the crunchy, salty base; feel free to substitute with regular-sized pretzels if you prefer.
Now that you have your ingredients ready, it’s time to embrace the sweet, sticky process of making these delightful Caramel Pretzels that everyone will adore!
Step‑by‑Step Instructions for Caramel Pretzels
Step 1: Prepare the Baking Sheet
Preheat your oven to 200°F. While the oven warms up, line a baking sheet with aluminum foil to make cleanup easier. Lightly spray the foil with non-stick cooking spray. Then, place a cooling rack atop the prepared sheet. Spray the rack as well to prevent the caramel-coated pretzels from sticking later on.
Step 2: Make the Caramel
In a medium saucepan, combine butter, sugar, and water over medium heat. Stir the mixture continuously until the butter melts completely, and the sugar dissolves. Bring the mixture to a boil, and keep an eye on the temperature as you cook until it reaches 305°F, which may take about 10–15 minutes. Once achieved, remove from heat and stir in vanilla for that extra flavor.
Step 3: Coat the Pretzels
Immediately, add your mini pretzels into the caramel mixture, stirring well to coat each one evenly. Ensure that every pretzel gets a generous layer of caramel; doing this quickly is crucial before the caramel starts to thicken. The combination of the salty pretzels and sweet caramel creates the allure of these Caramel Pretzels.
Step 4: Transfer to Cooling Rack
Using a fork or a slotted spoon, carefully transfer the caramel-coated pretzels onto the prepared cooling rack. Make sure they are arranged in a single layer and not overlapping; this ensures they dry properly and remain crunchy. The caramel will begin to set as they cool, creating that irresistible coating.
Step 5: Bake for Crispiness
Place the baking sheet in the preheated oven and let the pretzels bake for 20–30 minutes. This step helps remove any residual stickiness from the caramel and allows it to harden, enhancing the crunch of your Caramel Pretzels. Keep an eye on them to prevent over-baking if necessary.
Step 6: Cool and Serve
Once baked, remove the tray from the oven and let the Caramel Pretzels cool completely on the rack. This cooling time is vital for achieving that perfect crunch. After they have cooled, you can enjoy these delightful treats right away or store them in an airtight container to maintain freshness!
Make Ahead Options
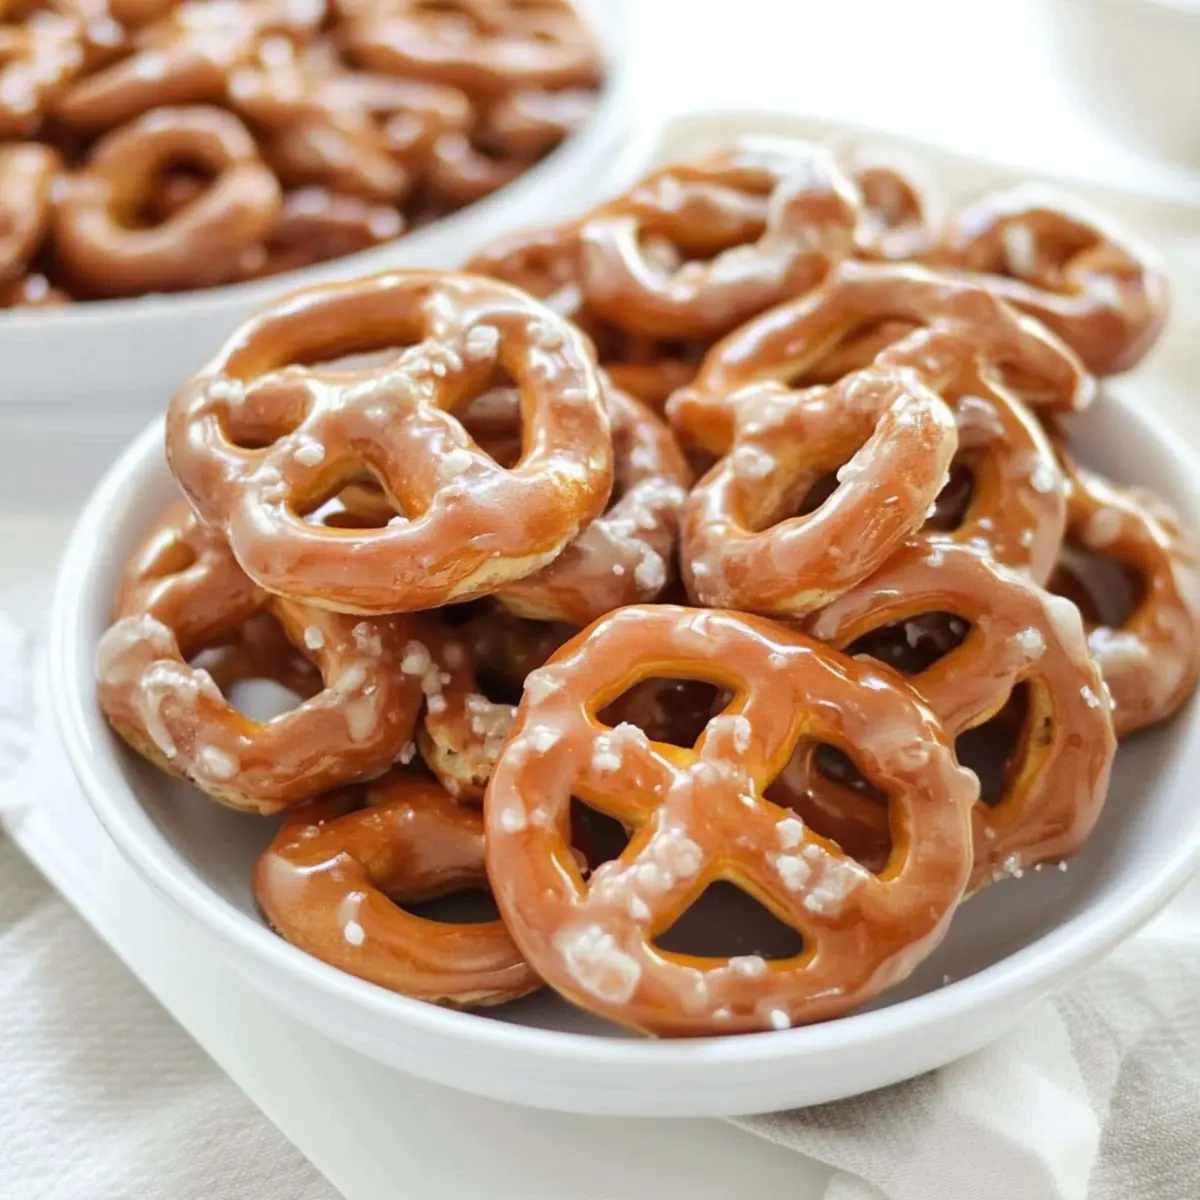
These Crunchy Caramel Pretzels are perfect for meal prep, allowing you to enjoy this delightful treat whenever you need a sweet snack! You can coat the mini pretzels in the caramel mixture up to 24 hours in advance, just be sure to spread them out on the cooling rack without overlapping. Once they are fully coated, allow the pretzels to cool completely, then store them in an airtight container at room temperature to maintain their crunch. When you’re ready to serve, simply bake them at 200°F for 20-30 minutes to restore their crispiness. This make-ahead option not only saves you time on busy days but ensures every bite remains just as delicious!
How to Store and Freeze Caramel Pretzels
Room Temperature: Keep your Caramel Pretzels in an airtight container at room temperature for up to 1 week to maintain their crisp texture.
Fridge: Although not necessary, if you prefer, you can store them in the fridge for up to 2 weeks; however, this may affect their crispiness.
Freezer: For longer storage, place them in a freezer-safe container for up to 2 months. When ready to enjoy, simply thaw at room temperature.
Reheating: If you’d like them warm, preheat your oven to 200°F, spread the pretzels on a baking sheet, and heat for about 5-10 minutes until warm and crunchy again.
What to Serve with Crunchy Caramel Pretzels
Satisfying your sweet tooth is just the beginning—pair these delightful bites with complementary flavors that elevate your snacking experience.
- Chocolate Drizzle: A simple drizzle of melted chocolate adds a rich layer of decadence, enhancing the sweet and salty contrast.
- Creamy Dip: Try a vanilla or cream cheese dip for a tangy balance that beautifully offsets the sweetness of the caramel pretzels.
- Fresh Fruit: Juicy strawberries or apple slices bring a refreshing, crisp texture and a hint of natural sweetness to your snack spread.
- Nutty Topping: A sprinkle of crushed pecans or almonds adds a crunchy texture to the pretzels, providing an extra layer of richness.
Imagine serving the pretzels on a platter—each crunchy bite perfectly accompanied by a burst of fresh fruit or chocolate as guests mingle and munch.
- Sparkling Beverage: Pair with a bubbly lemonade or sparkling water to cleanse the palate and highlight the flavors of the caramel.
- Coconut Macaroons: These chewy, sweet cookies create a fun contrast with the crunch of the pretzels while maintaining that indulgent treat vibe.
- Salted Caramel Sauce: Drizzle some more caramel sauce over the pretzels for those who can’t get enough of that sweet, buttery goodness.
- Ice Cream: A scoop of vanilla or salted caramel ice cream on the side offers a creamy contrast that enhances your sweet snack sensation.
Expert Tips for Caramel Pretzels
- Stir Continuously: Always stir the caramel mixture constantly while cooking to prevent it from burning. This ensures a smooth consistency for your Caramel Pretzels.
- Don’t Overlap: Make sure the pretzels are evenly coated and not overlapping on the cooling rack. This allows for even drying and prevents stickiness.
- Temperature Check: Use a candy thermometer to monitor the caramel cooking temperature closely. Achieving exactly 305°F leads to the perfect crunchy texture.
- Be Quick: Work swiftly when coating the mini pretzels in caramel for even coverage. The caramel thickens as it cools, making it harder to coat later.
- Cool Completely: Allow the Caramel Pretzels to cool fully before serving. This step is crucial for achieving that satisfying crunch in every bite!
Caramel Pretzels Variations & Substitutions
Feel free to explore your creativity and cater these delightful treats to your taste buds!
- Chocolate Drizzle: Drizzle melted chocolate over cooled pretzels for an indulgent twist. Dark or milk chocolate works beautifully for a rich flavor.
- Nutty Crunch: Add crushed nuts, like almonds or pecans, to the caramel mixture for an extra texture boost. The nutty essence complements the caramel and adds a satisfying crunch!
- Spicy Kick: Mix in a touch of cayenne pepper or chili powder into the caramel for a fiery surprise that contrasts with the sweetness. This delightful kick elevates your snacking experience!
- Sea Salt Sprinkle: After coating the pretzels, sprinkle them lightly with sea salt before baking. This enhances the sweet-salty balance, creating a mouthwatering treat everyone will adore.
- Caramel Swirl: For a delightful variation, try mixing in a swirl of your favorite caramel sauce into the coating. It adds extra flavor and richness, enhancing that stick-to-your-teeth goodness!
- Vanilla Bean: Swap the vanilla extract for vanilla bean paste or fresh vanilla beans to elevate the flavor profile further. The flecks of vanilla will provide a lovely visual and taste experience.
- Cinnamon Sugar: Before baking, toss the coated pretzels in a mixture of cinnamon and sugar. This warm spice blend adds a cozy, sweet touch perfect for chilly evenings.
- Pumpkin Spice: For a fall twist, blend in a dash of pumpkin spice into the caramel mix, and pair it with your favorite seasonal beverage for a festive treat! You might even enjoy them with a cozy cup of pumpkin spice latte to complete the experience.
Feel free to take a moment to reflect on how these variations can bring fun new flavors to your caramel creations!
Caramel Pretzels Recipe FAQs
How do I choose the right pretzels for this recipe?
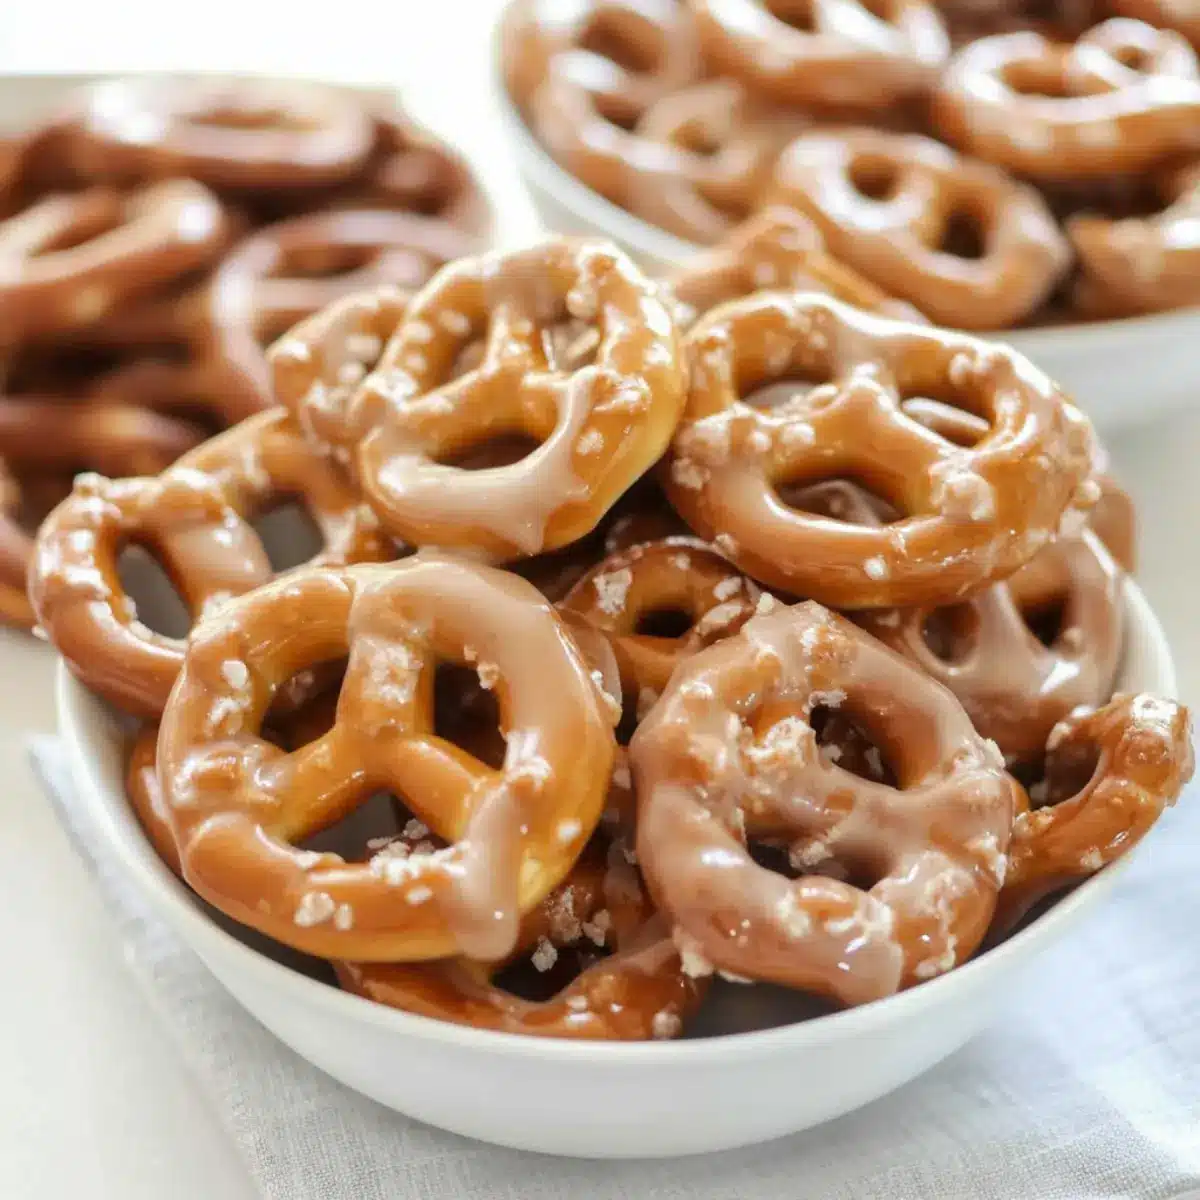
Absolutely! Mini pretzels are perfect for this recipe because they offer a great crunch and salty flavor. However, you can also use regular-sized pretzels if you prefer a bigger bite. Just ensure that each pretzel is well-coated in caramel for the best flavor.
How should I store my Caramel Pretzels?
To keep your Caramel Pretzels fresh, store them in an airtight container at room temperature for up to 1 week. This helps maintain their delicious crunch. If you notice them getting soft, try placing a piece of bread in the container—this can absorb moisture and help retain their crispness.
How can I freeze leftover Caramel Pretzels?
For longer storage, you can freeze your Caramel Pretzels for up to 2 months. Place them in a single layer on a baking sheet to freeze initially, then transfer them to a freezer-safe container with parchment paper between layers. When you’re ready to enjoy, simply thaw them at room temperature for about 30 minutes.
What if my caramel burns while cooking?
Very! If your caramel burns, it’s essential to keep stirring constantly while cooking to prevent it from reaching that point. If you do find that the mixture has burnt, it’s best to start over with a new batch. For perfect caramel, watch the temperature closely—aim for that 305°F mark for a flawless, crunchy coating!
Are Caramel Pretzels suitable for those with dietary allergies?
Absolutely! This recipe is vegetarian-friendly; however, be cautious with the ingredients you use. If you have a nut allergy, ensure your mini pretzels are safe and check that the butter used doesn’t contain any added allergens. Always read labels for any hidden ingredients, especially for store-bought items.
Can I add other flavors or toppings?
The more the merrier! You can absolutely customize your Caramel Pretzels. Drizzling melted chocolate over them once cooled adds a luscious layer, or sprinkling with sea salt brings out that sweet and salty flavor even more! Depending on your preferred taste, you can experiment with crushed nuts or sprinkles, too!
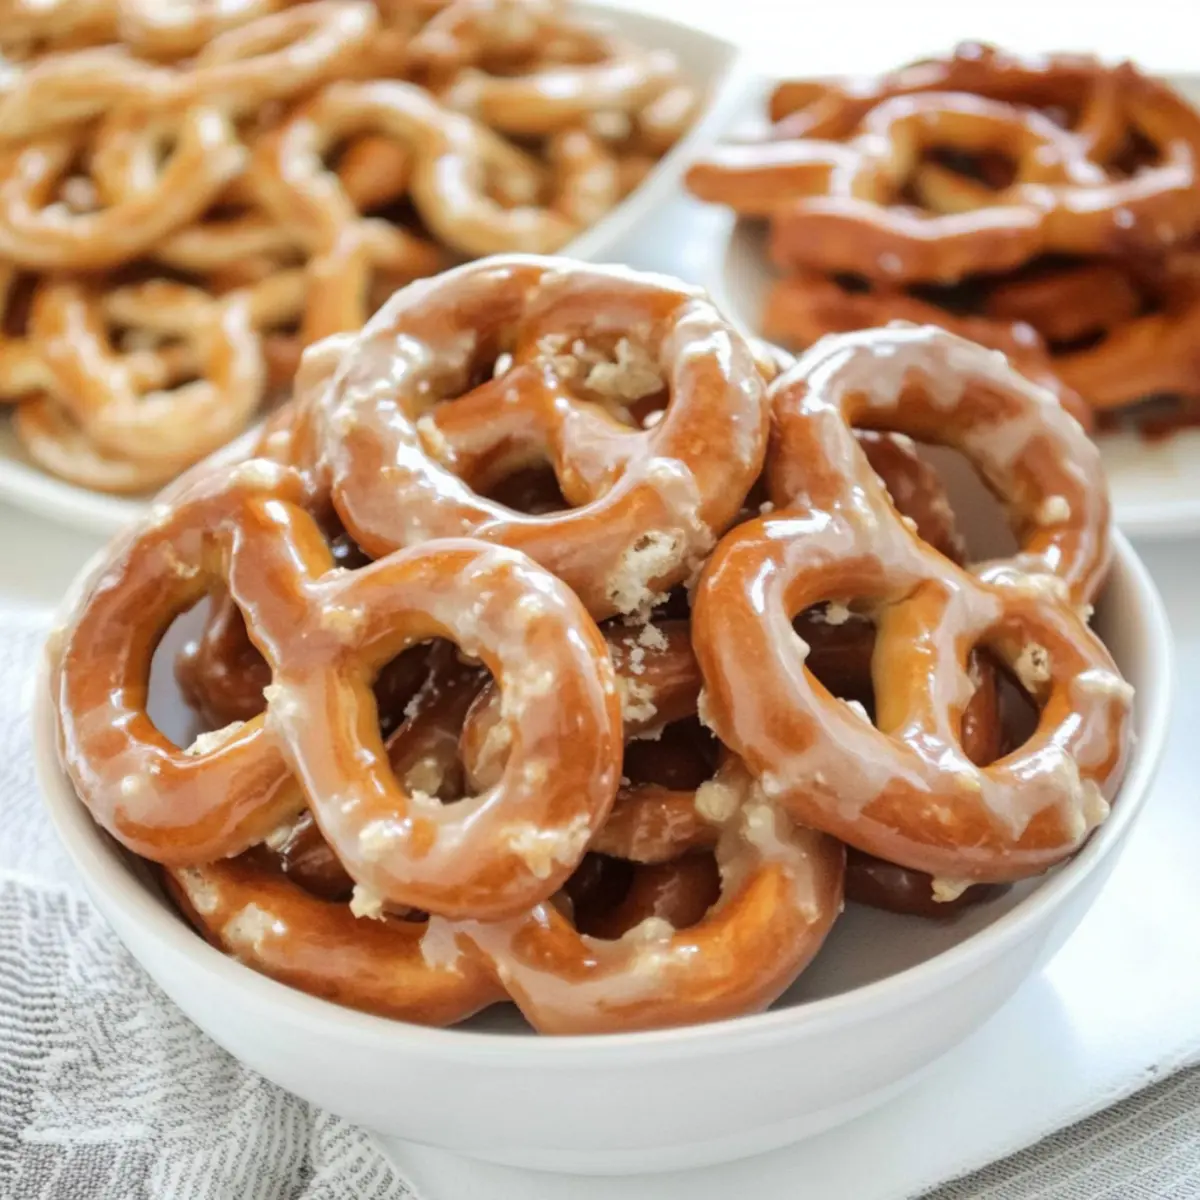
Sweet & Crunchy Caramel Pretzels You Can't Resist
Ingredients
Equipment
Method
- Preheat oven to 200°F, line a baking sheet with foil, and lightly spray with non-stick cooking spray.
- In a medium saucepan, combine butter, sugar, and water over medium heat, stirring continuously until melted.
- Bring to a boil and cook until temperature reaches 305°F, about 10-15 minutes. Remove from heat and add vanilla.
- Add mini pretzels to caramel mixture, stirring well to coat each one.
- Transfer caramel-coated pretzels to the cooling rack in a single layer.
- Bake in preheated oven for 20-30 minutes to enhance crunch and remove stickiness.
- Let cool completely on the rack before serving.
Leave a Reply