
The moment I pulled that warm, crusty Garlic Herb Dutch Oven Bread from the oven, a wave of nostalgia wrapped around me, transporting me to my grandmother’s kitchen where fresh bread was always a staple. This recipe effortlessly blends the fragrant notes of garlic and fresh herbs into a rustic loaf that is simply irresistible. What I adore most about this method is the no-knead preparation and the hands-off time it allows; you can easily whip up a beautiful, homemade bread while juggling a busy schedule. Whether it’s the inviting aroma wafting through your home or the sheer joy of sharing warm slices at dinner, this easy and flavorful bread will elevate any meal. Ready to experience the magic of home baking? Let’s dive into this delicious bread adventure together!
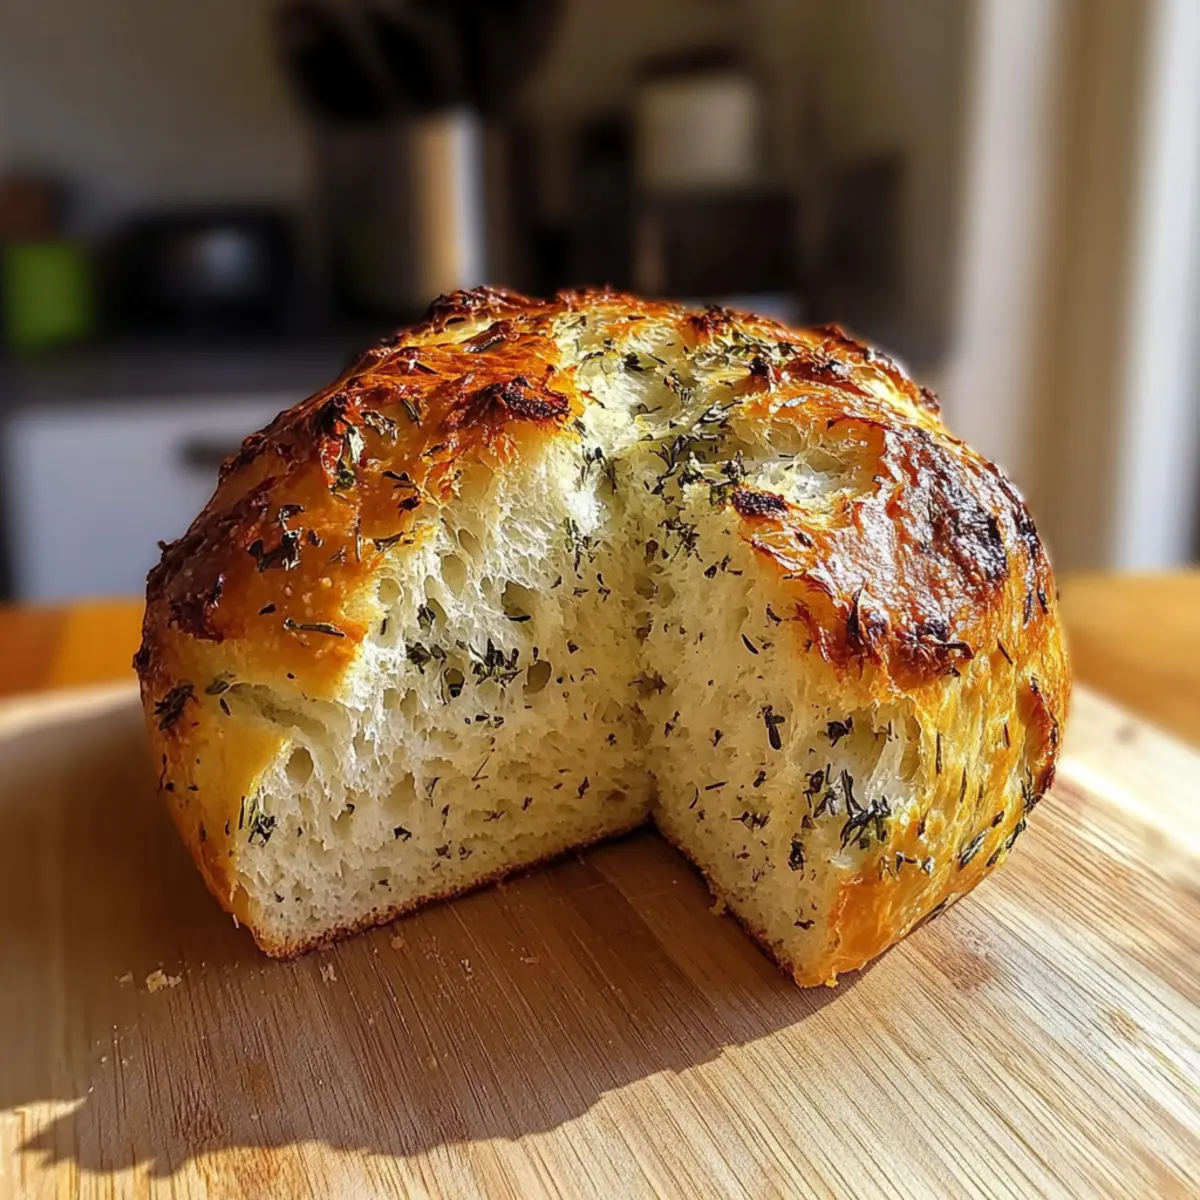
Why is this bread a must-try?
Effortless baking: With a no-knead technique, you can enjoy fresh bread without the stress of complex processes.
Aromatic delight: Infused with garlic and herbs, each bite bursts with flavor, transforming your meals into gourmet experiences.
Versatile companion: Perfect with soups, salads, or as a standalone treat; this rustic bread adapts to any dining occasion.
Time-saving magic: The long resting period works while you go about your day, making this a busy cook’s best friend.
Impressive results: Serve this stunning loaf to guests, and they’ll think you’ve spent hours in the kitchen! Try pairing it with a warm bowl of Cheddar Garlic Herb soup for an unbeatable combination.
Garlic Herb Dutch Oven Bread Ingredients
Get ready to indulge in homemade goodness!
For the Dough
- All-purpose flour – Provides structure and texture; for a heartier loaf, substitute with whole wheat flour.
- Salt – Enhances overall flavor; use kosher or sea salt for best results.
- Instant yeast – Leavens the bread without needing activation; active dry yeast can be used if activated in warm water first.
- Warm water – Hydrates the flour and activates the yeast; ensure it’s just warm, not hot, to avoid killing the yeast.
- Minced garlic – Infuses the bread with aromatic flavor; roast it for a milder taste if desired.
- Fresh herbs (rosemary and thyme) – Adds a fresh, earthy taste; feel free to swap with dried herbs or other favorites like oregano or basil.
- Olive oil – Prevents sticking and contributes to a golden crust; melted butter can be used for a richer flavor.
This Garlic Herb Dutch Oven Bread promises easy, flavorful moments in the kitchen. Enjoy your baking adventure!
Step‑by‑Step Instructions for Garlic Herb Dutch Oven Bread
Step 1: Mix the Dry Ingredients
In a large mixing bowl, combine 3 cups of all-purpose flour, 1.5 teaspoons of salt, and 2 teaspoons of instant yeast. Stir the ingredients together until uniformly blended, ensuring no clumps remain. This foundation will give your Garlic Herb Dutch Oven Bread its structure, so make sure everything is well incorporated before proceeding.
Step 2: Add Wet Ingredients
Pour in 1.5 cups of warm water (ideally around 110°F or 43°C), along with 2 tablespoons of minced garlic and 2 tablespoons of finely chopped fresh herbs, like rosemary and thyme. Use a wooden spoon to stir until a shaggy dough forms, ensuring all the flour is hydrated. The dough’s rough and sticky texture indicates it is ready for the next phase.
Step 3: Let the Dough Rest
Cover the bowl tightly with plastic wrap or a kitchen towel to keep the moisture in. Allow the dough to rest at room temperature for 12 to 18 hours. During this time, it will rise and develop wonderful flavors. You’ll know it’s ready when the surface is dotted with bubbles and the dough has roughly doubled in size.
Step 4: Preheat the Oven and Dutch Oven
After the resting period, preheat your oven to 450°F (230°C). Place an empty Dutch oven (with its lid) inside the oven to heat as well. This step is crucial; a hot Dutch oven ensures a crusty exterior on your Garlic Herb Dutch Oven Bread, making it beautifully rustic and satisfying.
Step 5: Shape and Oil the Dough
Once the Dutch oven is heated, carefully remove it using oven mitts. Drizzle about 1 tablespoon of olive oil into the pot, swirling it to coat the bottom. Gently scrape the rested dough onto a floured surface, taking care not to overwork it. Shape it into a rough ball, then transfer it to the oiled pot, seam side up.
Step 6: Bake Covered
Cover the Dutch oven with its lid and place it back in the hot oven. Bake for 30 minutes, allowing the steam to create a perfect crust as the dough bakes. You’ll notice a delightful aroma filling your kitchen—this is the magic of making Garlic Herb Dutch Oven Bread at work!
Step 7: Bake Uncovered
After 30 minutes, carefully remove the lid to expose the dough. Continue baking for an additional 15 to 20 minutes, until the bread is a rich golden brown. This step transforms your loaf into a beautifully crusty masterpiece, with a soft and chewy interior waiting inside.
Step 8: Cool Before Slicing
Remove the Dutch oven from the oven and carefully lift the bread out using a spatula or tongs. Let it cool on a wire rack for at least 30 minutes before slicing. This cooling time allows the crumb structure to settle, ensuring your slices of Garlic Herb Dutch Oven Bread are perfect for toasting or serving alongside your favorite dishes.
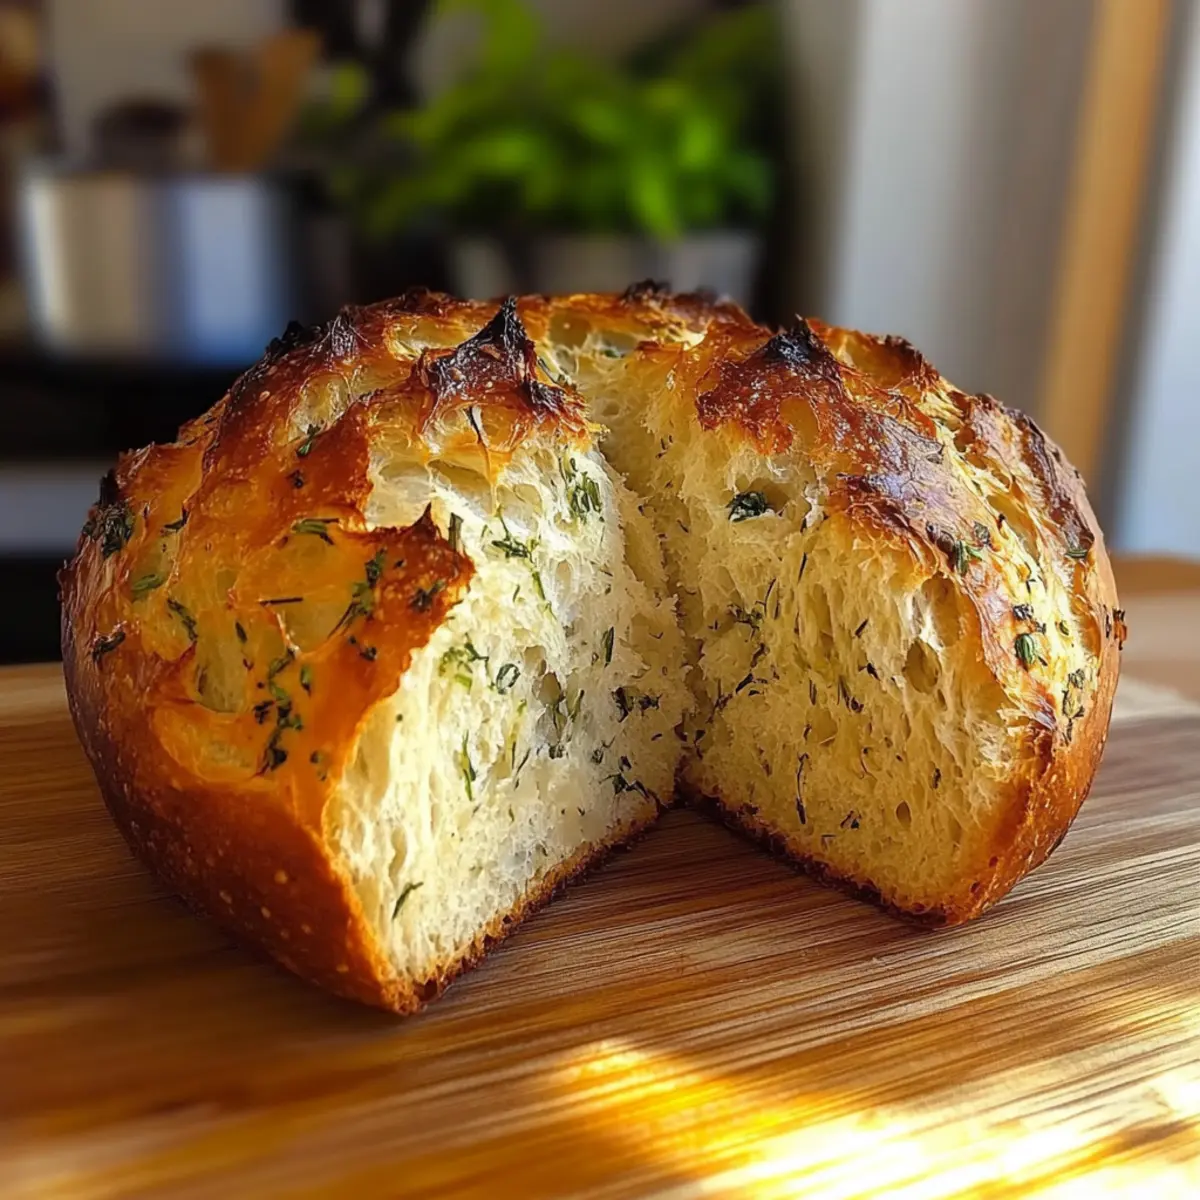
How to Store and Freeze Garlic Herb Dutch Oven Bread
Room Temperature: Store leftover bread in a paper bag to maintain its crustiness for up to 3 days. Avoid plastic bags, as they can make the bread soggy.
Fridge: It’s best to avoid refrigerating this Garlic Herb Dutch Oven Bread, as it can lead to a stale texture; if necessary, consume within 2 days.
Freezer: For longer storage, slice the bread and wrap it tightly in plastic wrap and aluminum foil. It can be frozen for up to 3 months without losing flavor.
Reheating: To enjoy your frozen bread, simply thaw at room temperature, then reheat in a 350°F (175°C) oven for about 10 minutes to restore its crusty exterior.
Variations of Garlic Herb Dutch Oven Bread
Customize this delightful loaf to suit your taste buds and creative flair! The aroma of freshly baked bread only gets better with personal touches.
-
Cheesy Delight: Add 1 cup of shredded cheese, like feta or cheddar, to the dough for a rich, savory flavor twist. Imagine the ooey-gooey goodness melting with every delightful bite.
-
Sun-Dried Tomato Surprise: Fold in ½ cup of chopped sun-dried tomatoes for bursts of bright flavor. The earthy tomatoes contrast beautifully with aromatic herbs, giving your bread a delightful Mediterranean touch.
-
Herb Explorer: Swap rosemary and thyme for your favorite herbs, like oregano or basil. This experimentation can unveil entirely new flavor profiles that suit any meal perfectly!
-
Roasted Garlic Twist: Instead of fresh garlic, use roasted garlic for a sweeter, more mellow flavor. Its smooth, caramelized taste brings warmth to every slice, ideal for comforting family dinners.
-
Whole Wheat Variation: Substitute half of the all-purpose flour with whole wheat flour for a nuttier flavor and extra nutrition. This hearty version pairs well with soups or stews, adding rustic charm to your table.
-
Garlic-Free Option: For a milder taste, simply omit the garlic, allowing the herb flavors to shine. This variation caters wonderfully to those who prefer a more subtle herb-infused loaf.
-
Seasonal Spice: In the fall, add a dash of pumpkin spice for a warm, inviting flavor. This unexpected twist brings warmth to your kitchen and is perfect for holiday gatherings.
-
Spicy Kick: Mix in crushed red pepper flakes for a gentle heat that lifts the bread to new flavor heights. It adds a delicious edge that complements soups or savory dishes, making every bite exciting.
Feel free to explore these variations and discover your own unique combinations. Pair your favorite flavors with a hearty soup like Cheddar Garlic Herb or a rich pasta dish for a truly comforting meal!
What to Serve with Garlic Herb Dutch Oven Bread
Transform your dining experience by exploring these delightful pairings that elevate your meal.
-
Creamy Tomato Soup: The tangy richness of tomato soup beautifully complements the herbal notes of the bread, making for a comforting classic.
-
Fresh Garden Salad: Crisp greens and vibrant colors offer a contrast to the warm, crusty bread, creating a refreshing balance on your plate. Drizzle with a light vinaigrette for extra zing.
-
Savory Cheese Platter: Pair your bread with a selection of cheeses, such as sharp cheddar, creamy brie, or tangy goat cheese for a delightful appetizer or snack that dazzles the taste buds.
-
Herbed Olive Oil Dip: A mixture of high-quality olive oil with fresh herbs and a hint of balsamic vinegar is a match made in heaven. Dip warm bread into the fragrant oil for an unforgettable taste sensation.
-
Roasted Chicken: The savory flavors of roasted chicken harmonize perfectly with this rustic bread, perfect for sopping up delicious juices.
-
Spicy Arrabbiata Pasta: The heat of arrabbiata sauce brings a kick that pairs nicely with the mild garlic and herb flavors of the bread, creating a comforting yet exciting dish.
-
Decadent Chocolate Cake: For dessert, surprise your guests with slices of rich chocolate cake. The sweetness will contrast beautifully with the loaf’s savory notes, rounding off the meal perfectly.
Enjoy these pairings and let your Garlic Herb Dutch Oven Bread steal the show!
Expert Tips for Garlic Herb Dutch Oven Bread
-
Preheat Perfectly: Ensure your Dutch oven is fully preheated for at least 30 minutes. This promotes a beautifully crispy crust, essential for perfect Garlic Herb Dutch Oven Bread.
-
Gentle Handling: Be gentle when shaping your dough. Overworking can lead to dense bread; keep it shaggy and simple for that perfect chewy texture.
-
Patience is Key: Allow the dough to rest for the full 12 to 18 hours. This long fermentation enhances the flavor, making your garlic herb bread more aromatic and delicious.
-
Moisture Matters: When combining wet and dry ingredients, ensure your warm water isn’t too hot. Scalding water can kill the yeast, preventing your bread from rising properly.
-
Experiment with Herbs: Don’t hesitate to mix up the herbs! While rosemary and thyme are delightful, including your favorites can make this Garlic Herb Dutch Oven Bread truly unique.
Make Ahead Options
Garlic Herb Dutch Oven Bread is perfect for meal prep enthusiasts! You can mix the dry ingredients (3 cups of all-purpose flour, 1.5 teaspoons of salt, and 2 teaspoons of instant yeast) and keep them stored in an airtight container for up to 3 days. Additionally, you can prepare the dough itself and let it rest at room temperature for up to 24 hours before baking. Just be sure to cover it with plastic wrap to retain moisture and flavor. When you’re ready to bake, simply follow the same steps for preheating the Dutch oven and baking the bread. This way, you’ll have fresh, homemade Garlic Herb Dutch Oven Bread with minimal effort, making busy weeknights just a little easier!
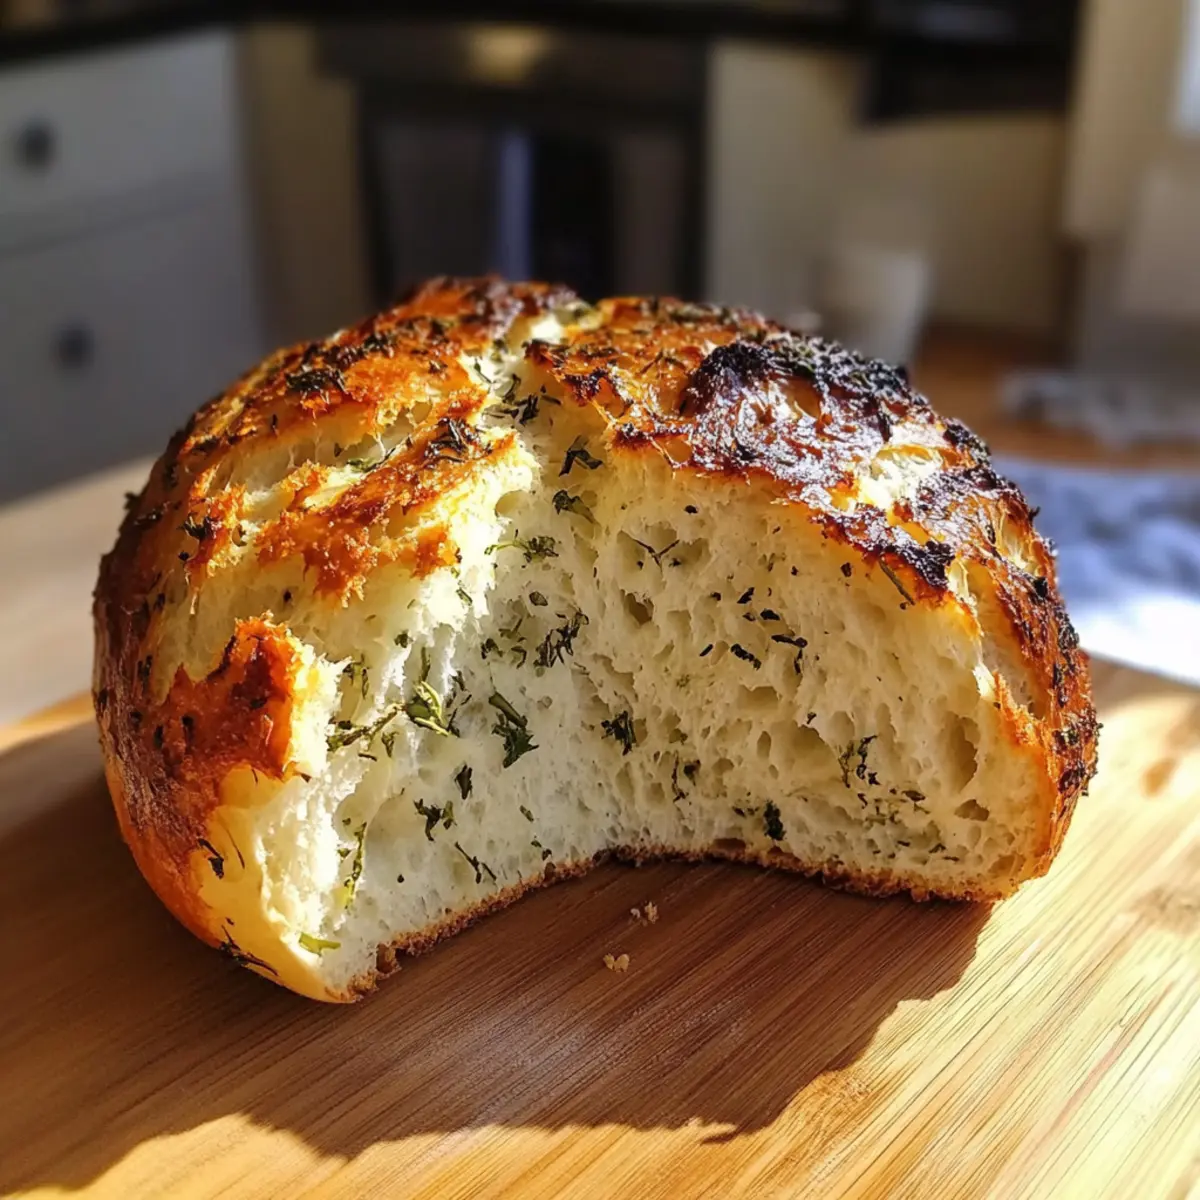
Garlic Herb Dutch Oven Bread Recipe FAQs
What type of flour should I use for the best results?
Absolutely, I recommend using all-purpose flour for a balanced structure and texture. However, if you’re looking for a heartier loaf, whole wheat flour is a fantastic substitute. Just keep in mind that it may yield a denser bread, but the flavors will still shine through beautifully.
How should I store leftover Garlic Herb Dutch Oven Bread?
To keep your bread delicious and crusty, store it in a paper bag at room temperature for up to 3 days. This method allows air to circulate, preventing sogginess. If you find it’s getting a bit stale, you can always slice and freeze it for longer storage. Just be sure to wrap it tightly!
Can I freeze Garlic Herb Dutch Oven Bread? If so, how?
Yes, you can freeze it! Slice your bread and wrap each slice tightly in plastic wrap, followed by aluminum foil. This helps protect from freezer burn, and your bread will stay fresh for up to 3 months. When you’re ready to enjoy it, simply thaw at room temperature and reheat in a 350°F (175°C) oven for about 10 minutes to restore that crusty exterior.
What if my dough doesn’t rise properly?
If you notice your dough hasn’t risen much, it could be due to the water being too hot, which can kill the yeast. Ensure your warm water is at around 110°F (43°C). Also, make sure your yeast is fresh. Try to use instant yeast for this recipe, as it doesn’t require activation and can be mixed directly with the dry ingredients.
Can I use dried herbs instead of fresh?
Very much so! If you don’t have fresh herbs handy, dried herbs can work just as well. A general rule of thumb is to use about one-third the amount of dried herbs as you would use fresh. So, if the recipe calls for 2 tablespoons of fresh herbs, you would use about 2 teaspoons of dried herbs instead.
Is Garlic Herb Dutch Oven Bread safe for those with allergies?
For those with gluten allergies, this recipe is not suitable as it contains all-purpose flour. However, if you’re just avoiding certain ingredients, feel free to customize! For instance, replace the garlic with roasted garlic or omit it entirely for a milder flavor. Always check that your other ingredients, like oils and salts, are allergy-friendly too!
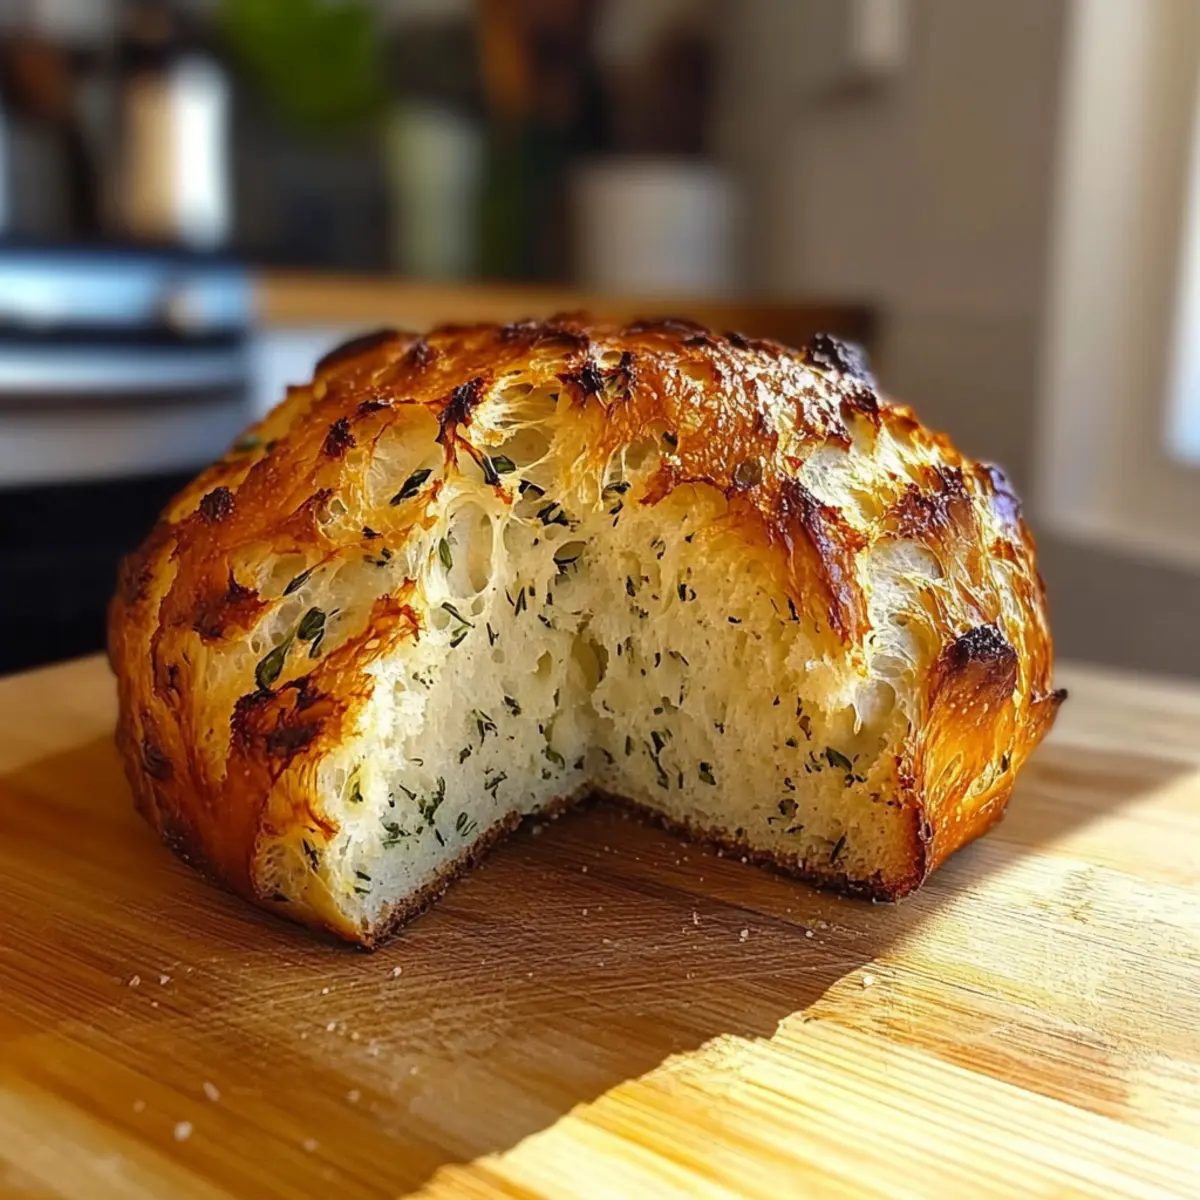
Garlic Herb Dutch Oven Bread for Effortless Home Baking
Ingredients
Equipment
Method
- In a large mixing bowl, combine 3 cups of all-purpose flour, 1.5 teaspoons of salt, and 2 teaspoons of instant yeast. Stir until well blended.
- Pour in 1.5 cups of warm water, 2 tablespoons of minced garlic, and 2 tablespoons of finely chopped fresh herbs. Mix until a shaggy dough forms.
- Cover the bowl tightly and let the dough rest at room temperature for 12 to 18 hours.
- Preheat your oven to 450°F (230°C), placing an empty Dutch oven inside.
- Remove the hot Dutch oven, drizzle 1 tablespoon of olive oil inside, and shape the rested dough into a ball. Transfer it to the pot, seam side up.
- Cover the pot and bake for 30 minutes.
- Remove the lid and bake for an additional 15 to 20 minutes until golden brown.
- Cool on a wire rack for at least 30 minutes before slicing.
Leave a Reply