
As I rummaged through the pantry last week, a little voice in my head whispered for something tasty yet healthy. That’s when I stumbled upon my jar of peanut butter, and an idea sparked: Quick No-Bake Peanut Butter Energy Balls! These gems are a revelation for busy days, melding sweet and nutty flavors in a chewy bite that both kids and adults will love. Best of all, they come together in just 45 minutes with zero baking required, making them the ultimate gluten-free snack for school lunchboxes or a midday pick-me-up. Not only are they a breeze to whip up, but they can also be easily customized to suit any palate or dietary need. Ready to get your snack game on with these delightful energy balls? Let’s dive in!
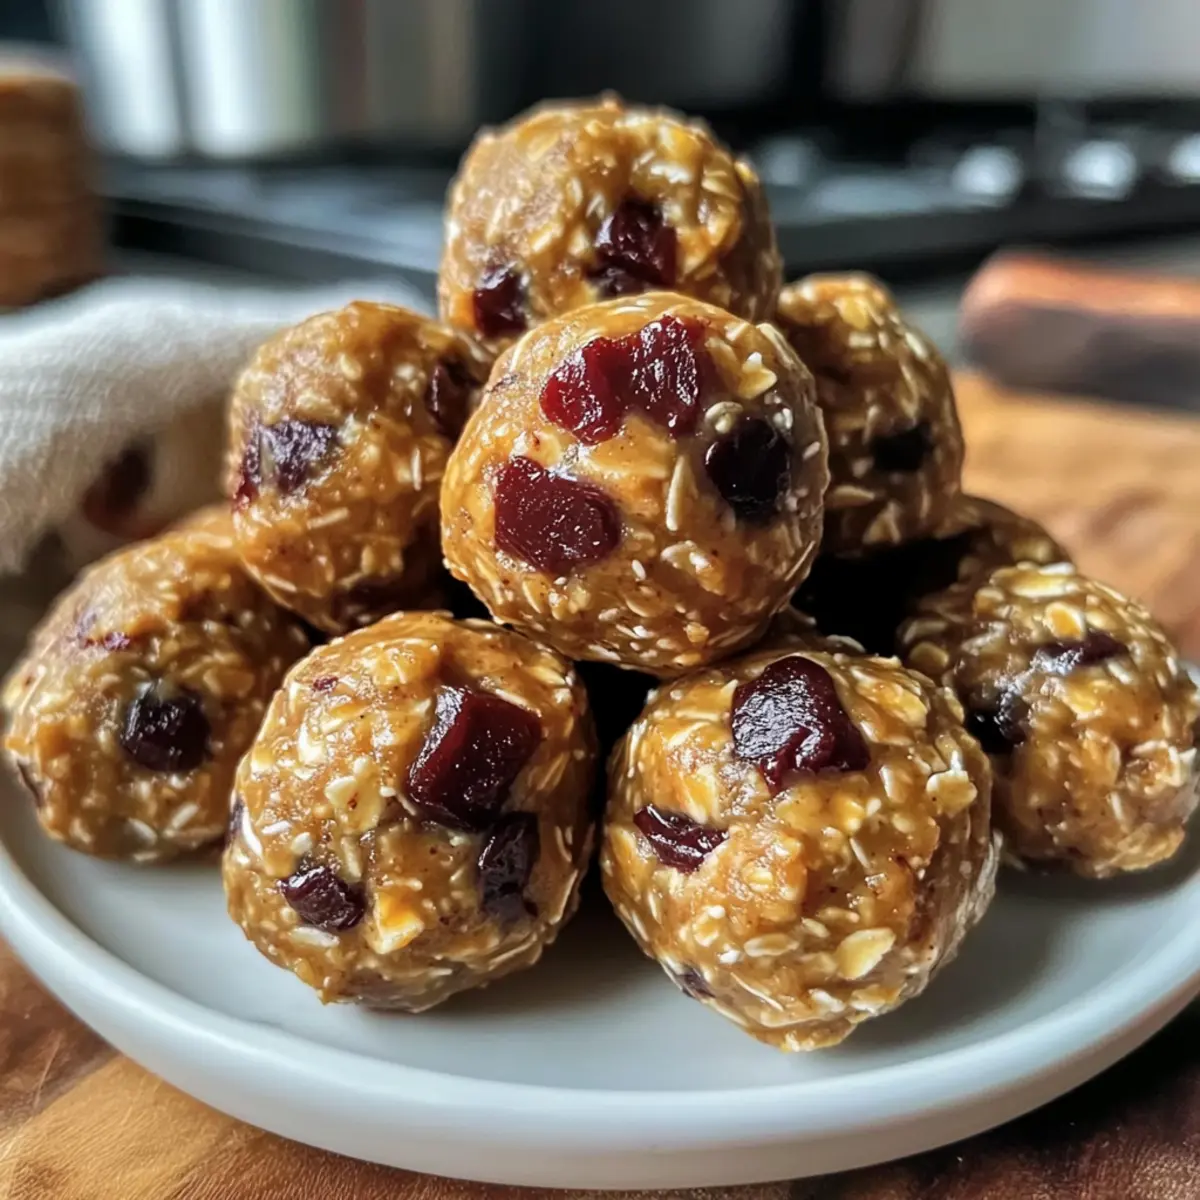
Why are these energy balls a must-try?
Quick Preparation: These No-Bake Peanut Butter Energy Balls come together in just 45 minutes, making them an incredibly swift option for busy days.
Customizable Goodness: You can easily modify the recipe to match dietary preferences, swapping in nut-free butters or adding your favorite nuts and dried fruits.
Kid-Friendly Appeal: These snacks are not only healthy but also a hit with kids, perfect for school lunchboxes or after-school munchies.
Nutrient-Packed Options: Packed with wholesome ingredients like oats and flaxseed, they deliver protein, fiber, and healthy fats, ensuring everyone stays energized.
Perfect for Meal Prep: Make a batch ahead of time and store them in the fridge or freezer to enjoy throughout the week—no more last-minute snack dilemmas!
For even more delicious energy options, check out my Bake Peanut Butter recipe for a tasty twist!
No-Bake Peanut Butter Energy Balls Ingredients
For the Base
• Rolled Oats – Provides structure and fiber; substitute with gluten-free oats if needed.
• Peanut Butter – Adds creaminess and rich flavor; for a nut-free version, swap it with sunflower seed butter.
• Honey – Acts as a natural sweetener and binding agent; maple syrup is a great vegan alternative.
For the Flavor
• Chocolate Chips – Adds sweetness and a delicious chocolate flavor; dark chocolate chips can offer a richer taste.
• Sea Salt – Enhances the flavor and balances sweetness; omit for a low-sodium version.
• Vanilla Extract (optional) – Adds depth; almond extract can also bring a lovely twist.
For the Boost
• Flaxseed Meal – Contributes fiber and healthy fats; ground chia seeds can be a good substitute.
• Options for Add-Ins – Consider espresso powder for a mocha kick, or mix in various nuts or dried fruits for extra texture.
Whip up these No-Bake Peanut Butter Energy Balls and experience the delight of wholesome snacking!
Step‑by‑Step Instructions for No-Bake Peanut Butter Energy Balls
Step 1: Mix the Base Ingredients
In a large mixing bowl, combine rolled oats, peanut butter, honey, flaxseed meal, and a pinch of sea salt. Use a spatula or wooden spoon to mix until everything is well incorporated, forming a sticky mixture. This step typically takes about 5 minutes and should look smooth and cohesive before you proceed.
Step 2: Add Flavor Enhancers
Next, fold in your chosen add-ins such as chocolate chips and vanilla extract. Continue stirring until all ingredients are evenly distributed throughout the mixture. The chocolate should begin to melt slightly, adding a delicious richness to the No-Bake Peanut Butter Energy Balls. This step should take around 2–3 minutes.
Step 3: Adjust the Consistency
If your mixture seems too dry and crumbly, gradually add more peanut butter or honey, one tablespoon at a time. Conversely, if it’s too sticky, sprinkle in extra oats until the texture feels just right. The goal is to achieve a moldable consistency that holds together easily—this should take about 5 minutes of adjustments.
Step 4: Shape into Balls
With clean hands, scoop about a tablespoon of the mixture and roll it into a tight ball, approximately one inch in diameter. Lightly dampen your hands with water to prevent sticking if needed. Place these energy balls on a parchment-lined baking sheet, ensuring they’re spaced out to allow for easy transfer later—this should take around 10 minutes.
Step 5: Chill for Texture
Transfer the baking sheet to the refrigerator and let the No-Bake Peanut Butter Energy Balls chill for at least 30 minutes. This cooling period allows them to firm up and enhances the flavor as the ingredients meld together. Keep an eye out for a firm, but chewy texture by the end of this chilling time.
Step 6: Store and Enjoy
Once chilled, transfer the energy balls to an airtight container. They can be stored in the fridge for up to a week or frozen for up to three months. If freezing, lay them out on a single layer before placing them in a freezer-safe bag. Enjoy your delicious No-Bake Peanut Butter Energy Balls as a wholesome snack whenever hunger strikes!
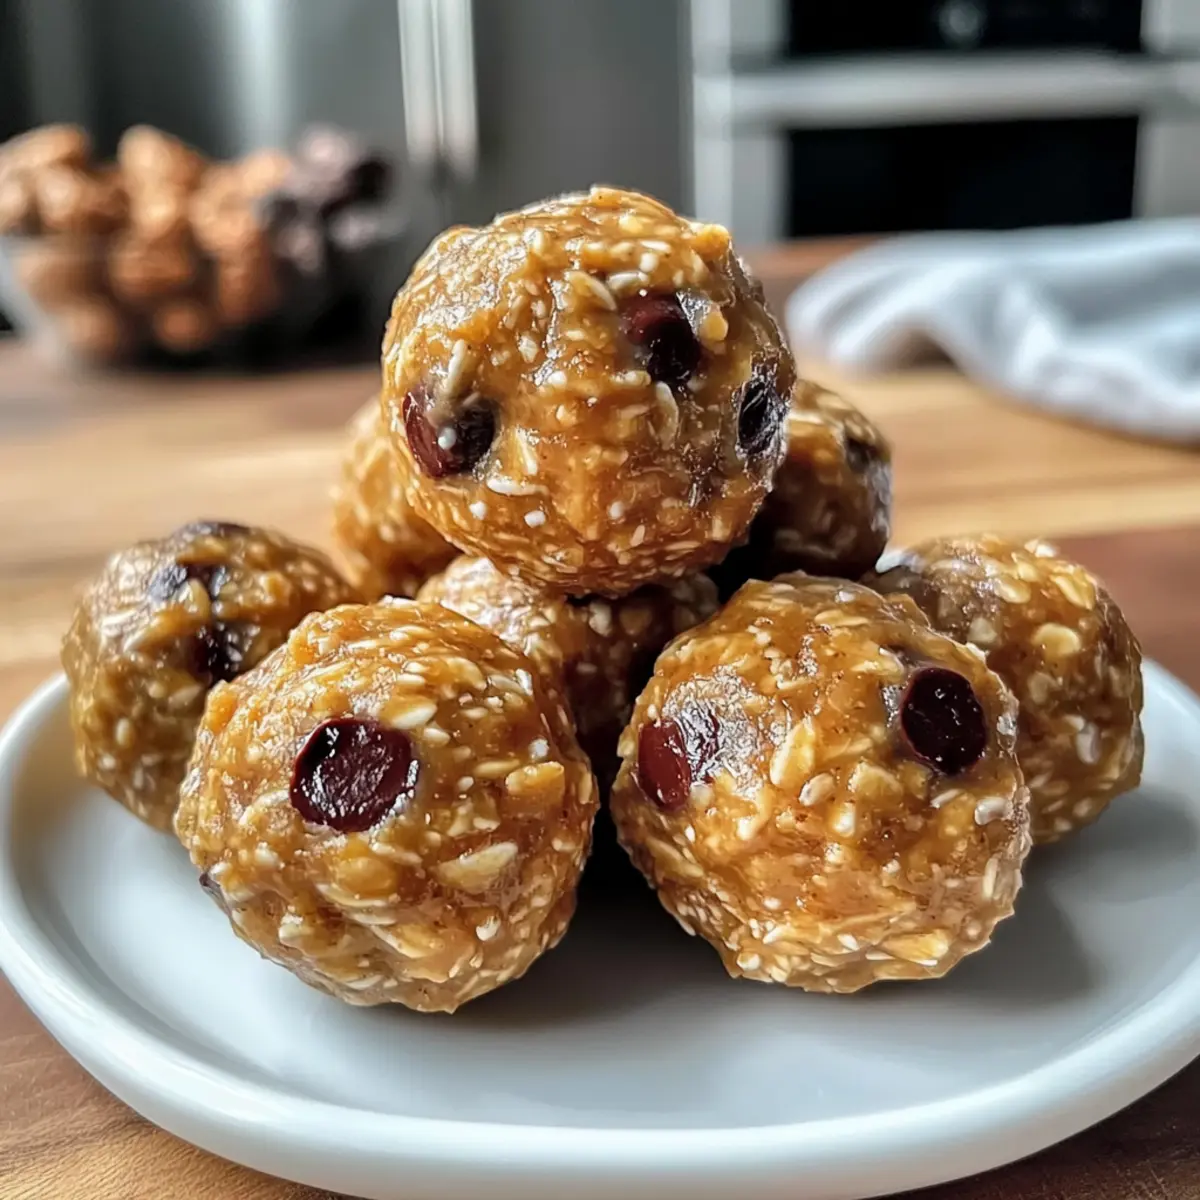
Expert Tips for No-Bake Peanut Butter Energy Balls
• Chill for Best Flavor: Allow the energy balls to chill for at least 30 minutes to enhance the flavor and achieve a perfect texture.
• Consistency Check: If the mixture is too dry, add a bit more honey or peanut butter. If it’s too sticky, incorporate additional oats to balance it out.
• Damp Hands Trick: Lightly dampen your hands with water while rolling the balls to prevent sticking and make the process smoother.
• Custom Add-Ins: Feel free to experiment by adding ingredients like dried fruits, nuts, or even a dash of cinnamon for unique flavor profiles in your No-Bake Peanut Butter Energy Balls.
• Storage Tips: Keep them in an airtight container in the fridge for up to a week or freeze for longer shelf life—enjoy wholesome snacks anytime!
Make Ahead Options
These No-Bake Peanut Butter Energy Balls are excellent for meal prep, ensuring that you have a healthy snack ready at a moment’s notice! You can prepare the mixture and shape the energy balls up to 24 hours in advance, simply store them in an airtight container in the refrigerator. The chilled energy balls will maintain their chewy texture and flavor for the next day. If you want to prepare even further ahead, they can be frozen for up to 3 months; just roll them into balls, place them on a baking sheet, freeze until solid, and transfer to a freezer-safe bag. When ready to enjoy, thaw them for 10-15 minutes at room temperature, and they’ll be just as delicious!
No-Bake Peanut Butter Energy Balls Variations
Feel free to let your creativity shine as you customize these delightful energy balls!
- Nut-Free: Swap peanut butter with sunflower seed butter for a tasty nut-free option that’s perfect for school lunches.
- Vegan Delight: Use maple syrup instead of honey to keep these energy balls vegan-friendly while maintaining their sweetness.
- Choco-Lovers: Mix in dark chocolate chips for a richer chocolatey flavor, making these bites even more indulgent.
- Protein Boost: Add a scoop of your favorite protein powder for an extra energy kick, perfect for post-workout snacking.
- Fruit Fusion: Incorporate dried fruits like cranberries or apricots for a chewy, fruity twist, enhancing the flavor profile.
- Spicy Kick: Sprinkle in a hint of cinnamon or a pinch of cayenne for those who enjoy a little heat among the sweetness.
- Different Butters: Experience the flavor by switching peanut butter with almond butter or cashew butter for luxurious alternatives.
Explore these variations to create energy balls that cater to your family’s tastes! Don’t forget to check out my recipe for Texas Roadhouse Butter as another delicious twist for your snacks. Enjoy mixing and matching!
What to Serve with Quick No-Bake Peanut Butter Energy Balls
These delightful energy balls make for a versatile snack that can be paired beautifully with a variety of delightful accompaniments.
-
Creamy Greek Yogurt: A dollop adds a protein-packed counterpart while offering a tangy contrast to the sweet energy balls. Pair with a drizzle of honey for extra sweetness.
-
Fresh Apple Slices: Crispy and juicy apples provide a refreshing crunch, balancing the chewy texture of the energy balls and offering a burst of flavor.
-
Nutty Trail Mix: A handful of trail mix adds an extra crunch factor and can introduce a variety of flavors, from savory to sweet, that elevate the snack experience.
-
Banana Smoothie: Blend bananas with a splash of almond milk for a frothy, creamy drink that complements the nutty notes in the energy balls. Perfect for breakfast or snack time!
-
Fruit Salad: A vibrant bowl of mixed fruits brings a bright, fresh taste that lightens up your snack time while adding a splash of color to your plate.
-
Dark Chocolate Dipped Strawberries: These indulgent bites offer a touch of decadence, balancing the wholesome nature of the energy balls with their rich, chocolatey sweetness.
-
Coconut Water: A refreshing drink choice, coconut water hydrates and provides electrolytes, illuminating your snack experience with its tropical taste.
-
Cheese Plate: Include cheeses like cheddar or gouda for a savory kick that contrasts the sweetness of the energy balls, creating a balanced snack spread that pleases all palates.
-
Herbal Iced Tea: Quench your thirst with a refreshing homemade herbal iced tea, adding a light, aromatic touch that pairs smoothly with the flavors of your snacks.
-
Granola Parfait: Layering energy balls in a parfait with yogurt, berries, and granola creates a visually appealing and delectable snack that’s rich in nutrients!
How to Store and Freeze No-Bake Peanut Butter Energy Balls
Fridge: Store in an airtight container for up to 1 week. This keeps your energy balls fresh and ready for snacking anytime.
Freezer: For longer storage, freeze the energy balls in a single layer for up to 3 months. After freezing, transfer to a freezer-safe bag, ensuring they’re well sealed.
Thawing: When ready to enjoy, thaw the No-Bake Peanut Butter Energy Balls for about 10-15 minutes at room temperature; they’ll be perfect for a quick snack!
Make Ahead: Feel free to prepare a batch in advance to make the weekdays easier; they’re ideal for packing in lunchboxes or grabbing on-the-go.
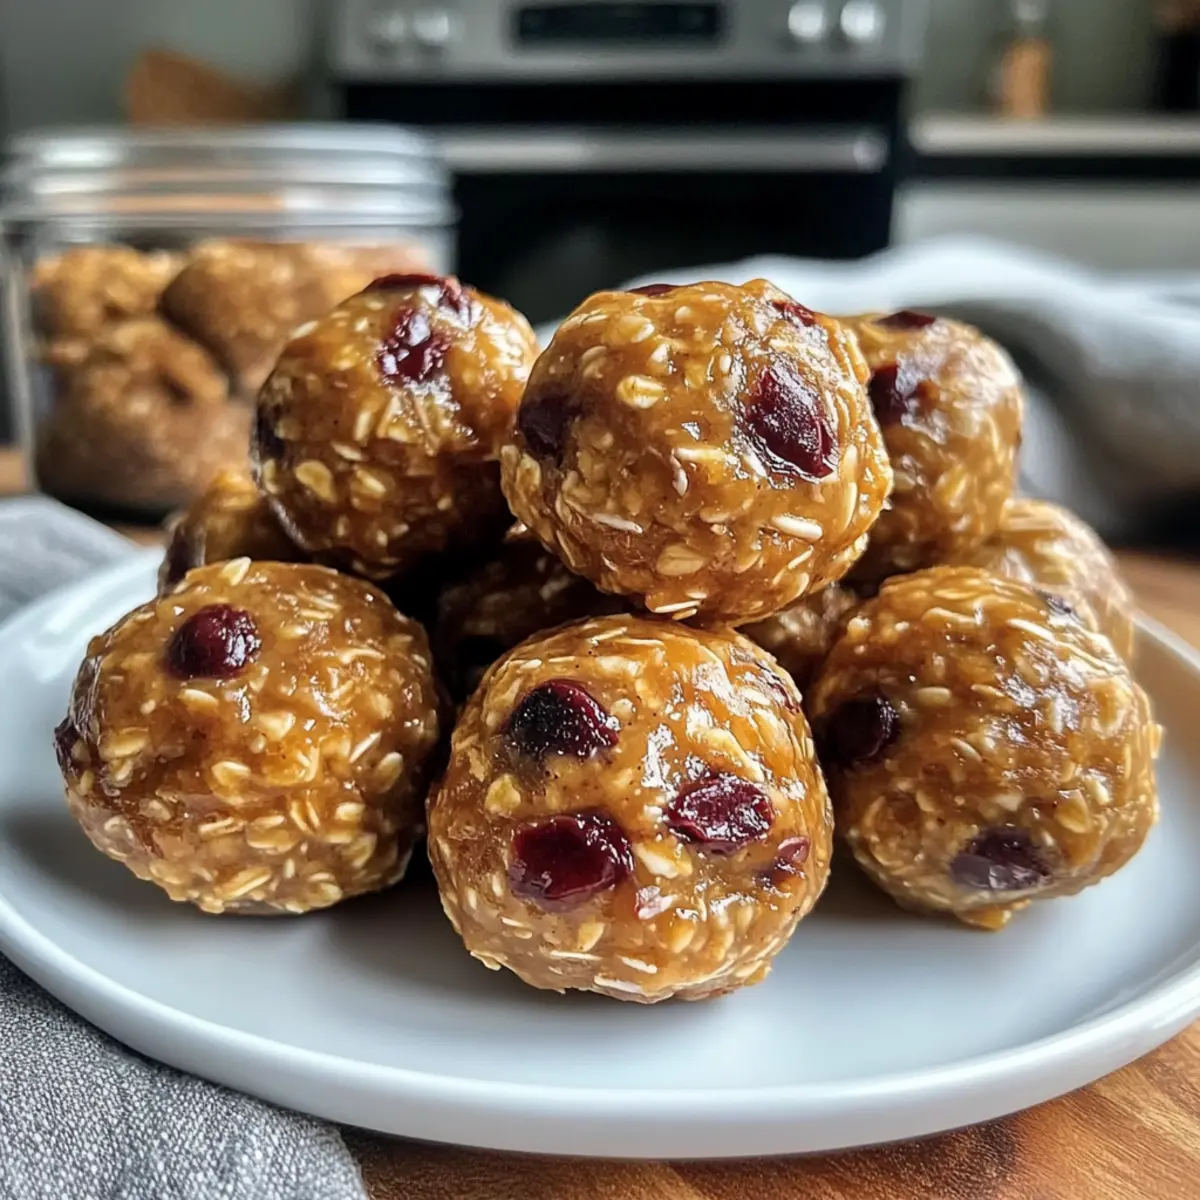
No-Bake Peanut Butter Energy Balls Recipe FAQs
How do I select the right oats for this recipe?
Absolutely! For the best results in your No-Bake Peanut Butter Energy Balls, look for rolled oats. These provide the perfect texture and structure. If you’re aiming for a gluten-free option, choose oats that are labeled certified gluten-free to avoid cross-contamination.
How should I store my energy balls, and for how long will they last?
Very! You can store your No-Bake Peanut Butter Energy Balls in an airtight container in the refrigerator for up to 1 week. This keeps them fresh and ready for snacking! If you want to keep them longer, freeze the balls in a single layer for up to 3 months. Just transfer them to a freezer-safe bag after freezing to save space.
What are the best freezing instructions for these energy balls?
I often make these energy balls in batches and freeze them for convenience! To freeze, lay them out on a parchment-lined baking sheet in a single layer to prevent sticking. Once frozen solid (this takes about 1-2 hours), transfer them to a freezer-safe bag or container. Don’t forget to label it with the date for easy reference!
What should I do if my mixture is too dry or too sticky?
The more the merrier! If your mixture feels too dry, simply add in more honey or peanut butter one tablespoon at a time and mix until well combined. If it’s too sticky, sprinkle in extra oats gradually until you reach a moldable consistency. This will help ensure your energy balls hold together nicely!
Can I customize the ingredients for allergy considerations?
Absolutely! If you’re making these for children or others with allergy concerns, be sure to opt for nut-free alternatives like sunflower seed butter and omit chocolate chips that may contain allergens. Always check ingredient labels to ensure safety and cater to any specific dietary needs.
How do I ensure my energy balls hold their shape?
Very important! If your No-Bake Peanut Butter Energy Balls fall apart after chilling, you might need to adjust the ratio of oats and peanut butter next time. Aim for a sticky yet moldable mixture that holds its shape when rolled. Lightly dampening your hands while rolling can also help keep them together.
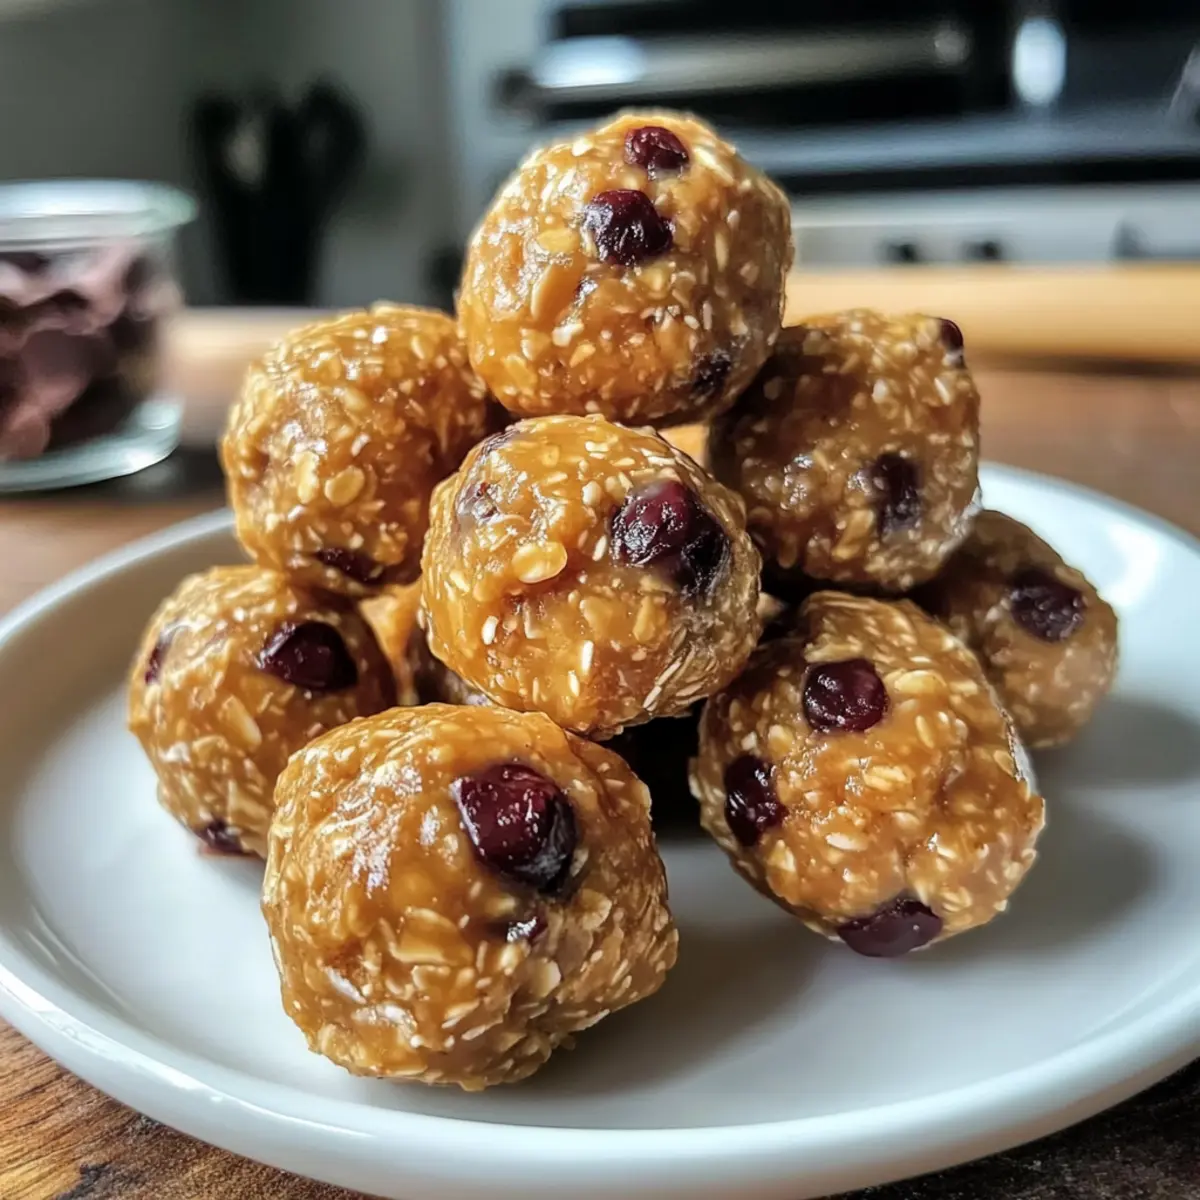
No-Bake Peanut Butter Energy Balls for Your Busy Days
Ingredients
Equipment
Method
- In a large mixing bowl, combine rolled oats, peanut butter, honey, flaxseed meal, and a pinch of sea salt. Mix until everything is well incorporated, forming a sticky mixture.
- Fold in your chosen add-ins such as chocolate chips and vanilla extract. Continue stirring until all ingredients are evenly distributed.
- If your mixture seems too dry, gradually add more peanut butter or honey. If it's too sticky, sprinkle in extra oats until the texture feels just right.
- Scoop about a tablespoon of the mixture and roll it into a tight ball. Place these energy balls on a parchment-lined baking sheet.
- Transfer the baking sheet to the refrigerator and let the energy balls chill for at least 30 minutes.
- Once chilled, transfer the energy balls to an airtight container. They can be stored in the fridge for up to a week or frozen for up to three months.
Leave a Reply