
There I stood, eyes scanning the kitchen counter, when I stumbled upon a canister of rolled oats, whispering promises of a quick, healthy snack. That’s when I decided to whip up some No-Bake Protein Balls, a delightful fusion of taste and nutrition that has become my go-to solution for satisfying cravings. This recipe is perfect for busy days—you can pre-make these effortless bites in minutes, ensuring you always have a hearty energy boost at your fingertips! Plus, they’re naturally sweetened, making them a hit with both kids and adults alike. If you’re looking for a high-protein snack that’s not only fun to make but also customizable with your favorite sweeteners, you’re in for a real treat. Curious about how easy it is to make these wholesome delights? Let’s dive into the recipe!
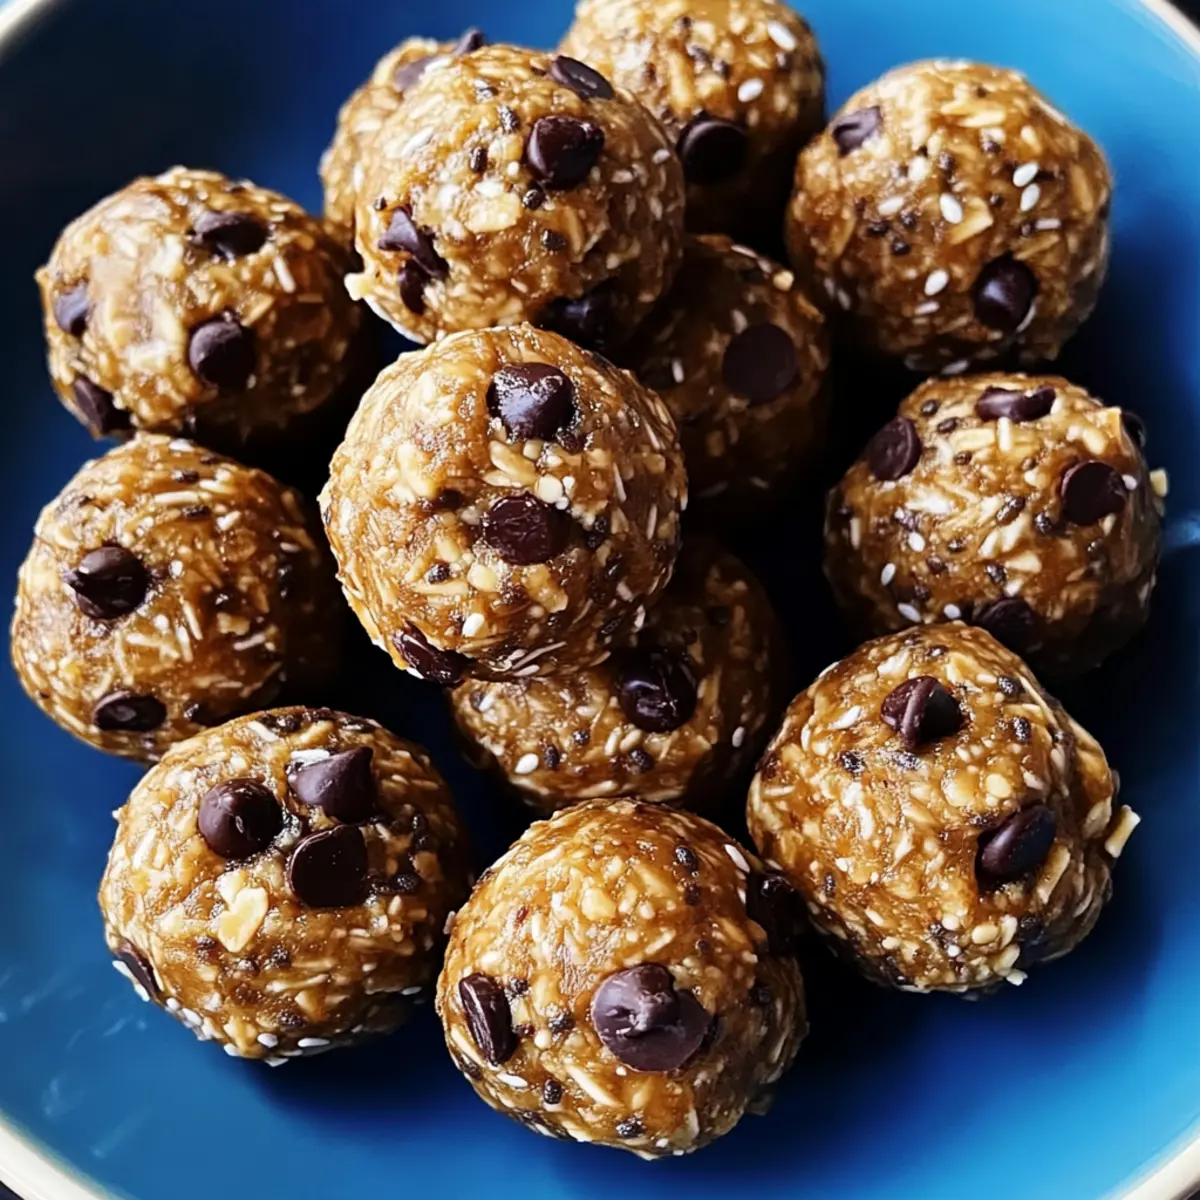
Why You’ll Love No-Bake Protein Balls
Quick and Easy: These No-Bake Protein Balls are whipped up in just a few minutes, making them perfect for busy evenings or unexpected cravings. Healthy Energy Boost: Packed with protein and nutrients, they provide a satisfying snack that you can enjoy anytime. Customizable Sweeteners: Whether you prefer honey or maple syrup, you can adjust the sweetness to suit your taste. Crowd-Pleasing Treat: Kids love them, making snack time fun and nutritious! For more delightful options, check out my Pumpkin Cheesecake Balls for another tasty treat that’s quick to prepare.
No-Bake Protein Balls Ingredients
• Perfect for a quick and nutritious snack!
For the Base
- Rolled Oats – Provides structure and fiber; opt for gluten-free oats if needed.
- Natural Peanut Butter – Adds a creamy texture and healthy fats; can substitute with almond or cashew butter.
- Honey or Maple Syrup – Serves as a natural sweetener and binding agent; adjust according to your desired sweetness level.
- Vanilla Protein Powder – Boosts protein content and flavor; feel free to use any flavor of protein powder.
For the Mix-ins
- Mini Chocolate Chips – Introduce sweetness and a delightful chocolate flavor; dark chocolate or carob chips are healthier alternatives.
- Chia Seeds – A great source of omega-3 fatty acids and fiber; flaxseeds can be an alternate choice.
For Flavor Enhancement
- Vanilla Extract – Deepens the overall flavor; this is optional but highly recommended.
- Pinch of Salt – Balances out the sweetness for a more rounded taste.
Now that you have all the essentials gathered, let’s get ready to mix them into something delicious! These No-Bake Protein Balls are not only simple to make but also a customizable delight that everyone will love!
Step‑by‑Step Instructions for No-Bake Protein Balls
Step 1: Combine Dry Ingredients
In a large mixing bowl, add 1 cup of rolled oats, 1 scoop of vanilla protein powder, 2 tablespoons of chia seeds, and a pinch of salt. Use a spatula or wooden spoon to mix them together until well combined. You want to see an even distribution of the dry ingredients, which will help create a sturdy base for your No-Bake Protein Balls.
Step 2: Incorporate Wet Ingredients
Next, add in 1 cup of natural peanut butter, 1/2 cup of honey (or maple syrup), and 1 teaspoon of vanilla extract to the dry mixture. Using the spatula, stir vigorously for about 2–3 minutes until a thick, sticky dough forms. Make sure everything is well integrated; the mixture should be pliable and hold together without being too dry.
Step 3: Mix in Chocolate Chips
Now, gently fold in 1/2 cup of mini chocolate chips until they are evenly distributed throughout the dough. This step should take about 1–2 minutes, ensuring that each protein ball will have a delightful hint of chocolate in every bite. The dough should remain sticky but still manageable.
Step 4: Shape the Balls
Using a cookie scoop or your hands, scoop out tablespoon-sized portions of the mixture and roll them into balls. Aim for uniformity so that they all cook evenly. This should take around 5–7 minutes, and you’ll notice how the No-Bake Protein Balls begin to take shape, creating a fun and satisfying process.
Step 5: Chill for Firmness
Place the formed protein balls on a parchment-lined baking sheet, ensuring they are spaced out. Refrigerate the balls for at least 30 minutes to allow them to firm up, making them easier to handle and enhancing their chewy texture. You’ll know they’re ready when they feel more solid to the touch.
Step 6: Store and Enjoy
Once the No-Bake Protein Balls are set, transfer them to an airtight container. Enjoy them chilled or at room temperature! These tasty snacks can be stored in the refrigerator for up to a week or frozen for up to three months. Be sure to thaw them in the fridge before enjoying, keeping your healthy snack ready for any time cravings!
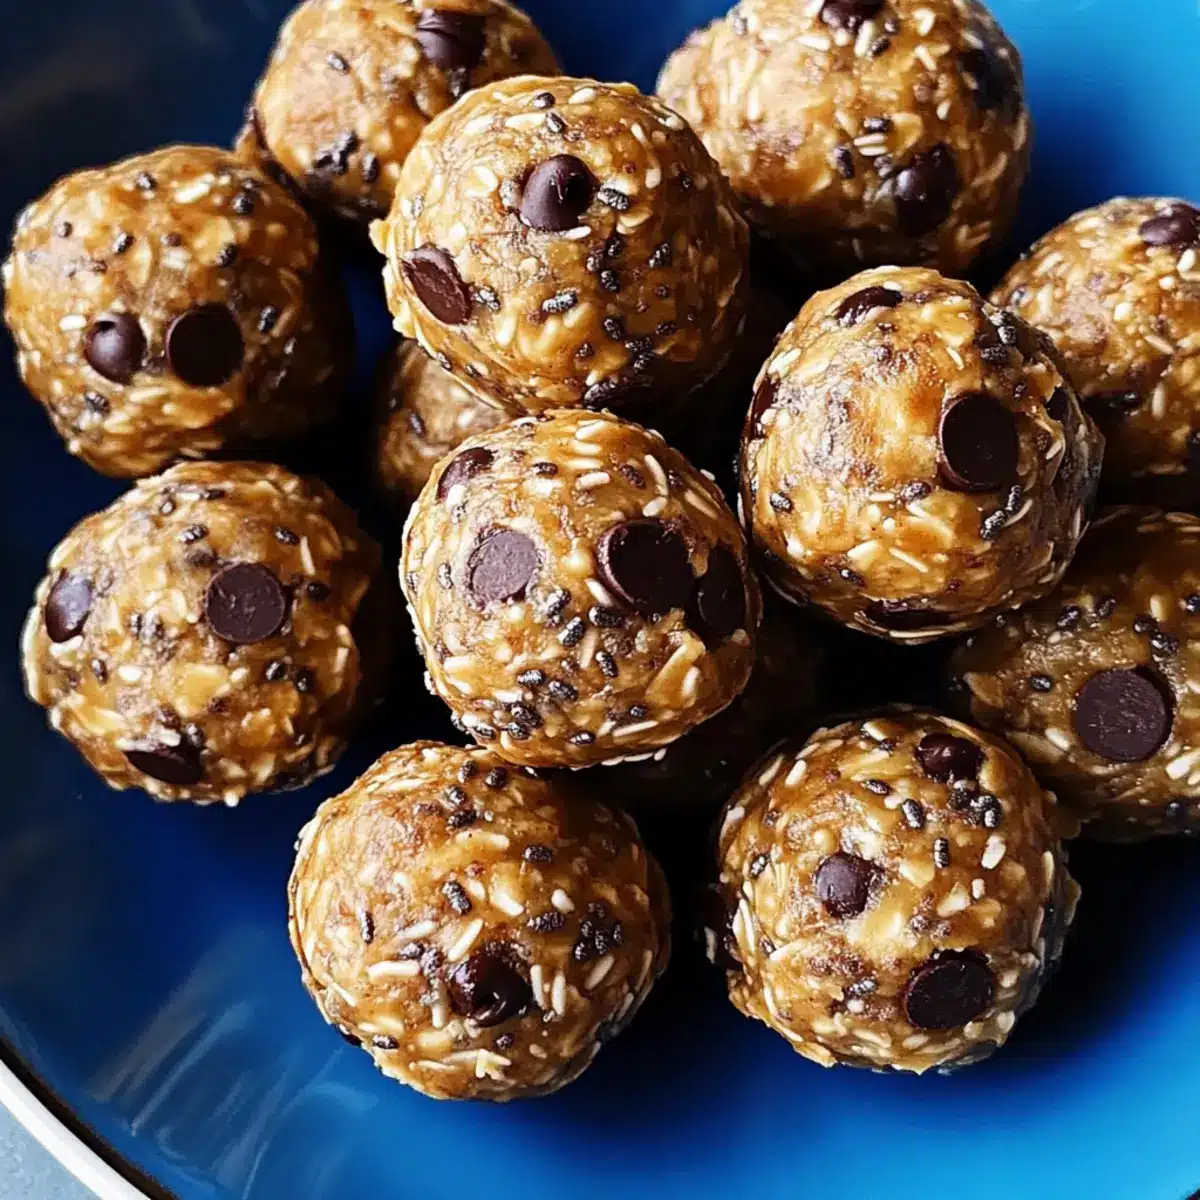
No-Bake Protein Balls Variations
Feel free to get creative with your No-Bake Protein Balls—there’s no limit to how you can personalize this delightful snack!
-
Nut-Free Alternative: Substitute peanut butter with sunflower seed butter for a nut-free version. This still delivers creaminess without any allergens.
-
Sweetness Swap: Swap honey for agave syrup or date syrup to cater to different taste preferences. Both options contribute a lovely sweetness with a hint of caramel.
-
Chocolate Lovers: Add 1–2 tablespoons of unsweetened cocoa powder to the dry ingredients for a rich chocolate flavor. This treats your taste buds to a delightful cocoa experience!
-
Fruit-Filled Goodness: Toss in chopped dried fruits like apricots or figs for a burst of flavor and texture. The chewy fruits pair nicely with the crunch of oats for a well-rounded bite.
-
Crunchy Texture: Combine in some crushed nuts or seeds to elevate the crunch factor. Almonds or pumpkin seeds add delightful nutty flavor while enhancing the protein content.
-
Protein Power Boost: Use flavored protein powder, like chocolate or cookies and cream, to infuse extra taste into your balls. Your snack time will become a fun and flavor-packed experience!
-
Spicy Kick: Stir in a sprinkle of cinnamon or nutmeg for an aromatic twist that leads to a warm and comforting flavor profile. These spices not only taste fantastic but can add health benefits too.
-
Mix-Up Base Ingredients: Experiment with rolled oats by using a blend of oats and puffed rice for a lighter, airy texture. A unique twist that’s just as satisfying!
With these variations, you’ll never tire of enjoying your No-Bake Protein Balls. For more inspiration, check out my delicious 4-Ingredient No-Bake Peanut Butter Chocolate Bars that offer an easy twist on treats that everyone loves!
Tips for the Best No-Bake Protein Balls
- Sticky Mixture: Ensure the mixture holds together well; if it’s crumbly, add a bit more honey or peanut butter for binding.
- Uniform Size: Use a cookie scoop for evenly sized protein balls, ensuring consistent texture and cooking time for each bite.
- Chill for Texture: Refrigerating the balls not only makes them firmer but also enhances their chewy texture, making each bite more enjoyable.
- Customization is Key: Feel free to experiment with different nut butters or sweeteners to make these No-Bake Protein Balls truly your own!
- Mix-In Magic: Add dried fruits or seeds for extra flavor and nutrition; think cranberries or pumpkin seeds for a delightful twist!
What to Serve with No-Bake Protein Balls
Elevate your snack game by pairing these delightful protein-packed bites with complementary options that round out your meal.
-
Fresh Fruit Salad: This vibrant mix of seasonal fruits adds a refreshing burst of flavor that balances the rich, nutty taste. Juicy berries and crisp apples create a delightful contrast to the chewy protein balls.
-
Greek Yogurt: Creamy and tangy, a dollop of Greek yogurt makes a perfect companion, offering extra protein and a luscious texture. Try drizzling honey or sprinkling some granola on top for added crunch.
-
Nut Mix: A handful of mixed nuts brings a satisfying crunch and healthy fats, enhancing the nutty flavors of the protein balls. The combination of savory and sweet makes for an irresistible snack.
-
Smoothie Bowl: A thick, fruity smoothie served in a bowl topped with seeds and nuts complements the protein balls’ chewiness. It’s a colorful, healthful way to fuel up after a workout.
-
Dark Chocolate: A few squares of dark chocolate provide a rich, intense sweetness that pairs exquisitely with the protein balls’ flavors. The bitterness of dark chocolate accentuates their subtle sweetness.
-
Cottage Cheese: Creamy and filling, cottage cheese can be enjoyed alongside the protein balls for a power-packed snack. Add some fruit or a sprinkle of cinnamon for extra flavor.
-
Herbal Tea: A warm cup of herbal tea can be a soothing beverage choice, lending a moment of calm alongside the energizing protein bites. Go for chamomile or peppermint to enhance the treat experience.
-
Homemade Trail Mix: Combine dried fruits, seeds, and a sprinkle of cacao nibs together with your protein balls for a sweet and satisfying snack that’s perfect for on-the-go.
-
Carrot and Celery Sticks: Crunchy veggies provide a fresh and nutritious contrast to the protein balls’ dense texture. Pair them with a light dip for added flavor.
Feel free to mix and match these options to create your ideal snack or light meal, and savor the deliciousness!
How to Store and Freeze No-Bake Protein Balls
Fridge: Keep your No-Bake Protein Balls in an airtight container in the refrigerator for up to 1 week to maintain freshness.
Freezer: For extended storage, freeze the protein balls for up to 3 months in a sealed container or freezer bag.
Thawing: When ready to enjoy, gently thaw in the fridge overnight for a quick snack any time of the day.
Portion Control: If you find yourself snacking frequently, consider portioning out individual servings before freezing to simplify healthy eating!
Make Ahead Options
These No-Bake Protein Balls are ideal for meal prep, allowing busy home cooks to enjoy healthy snacks without last-minute effort! You can prepare the mixture up to 24 hours in advance; just mix the dry ingredients (oats, protein powder, chia seeds, and salt) and store them in an airtight container. Combine the wet ingredients (peanut butter, honey, and vanilla extract) just before forming the balls for optimal freshness. Once you roll the mixture into balls, refrigerate them for at least 30 minutes to set. For the best quality, keep them stored in an airtight container in the refrigerator for up to one week or freeze for up to three months—simply thaw in the fridge before serving to enjoy just as delicious!
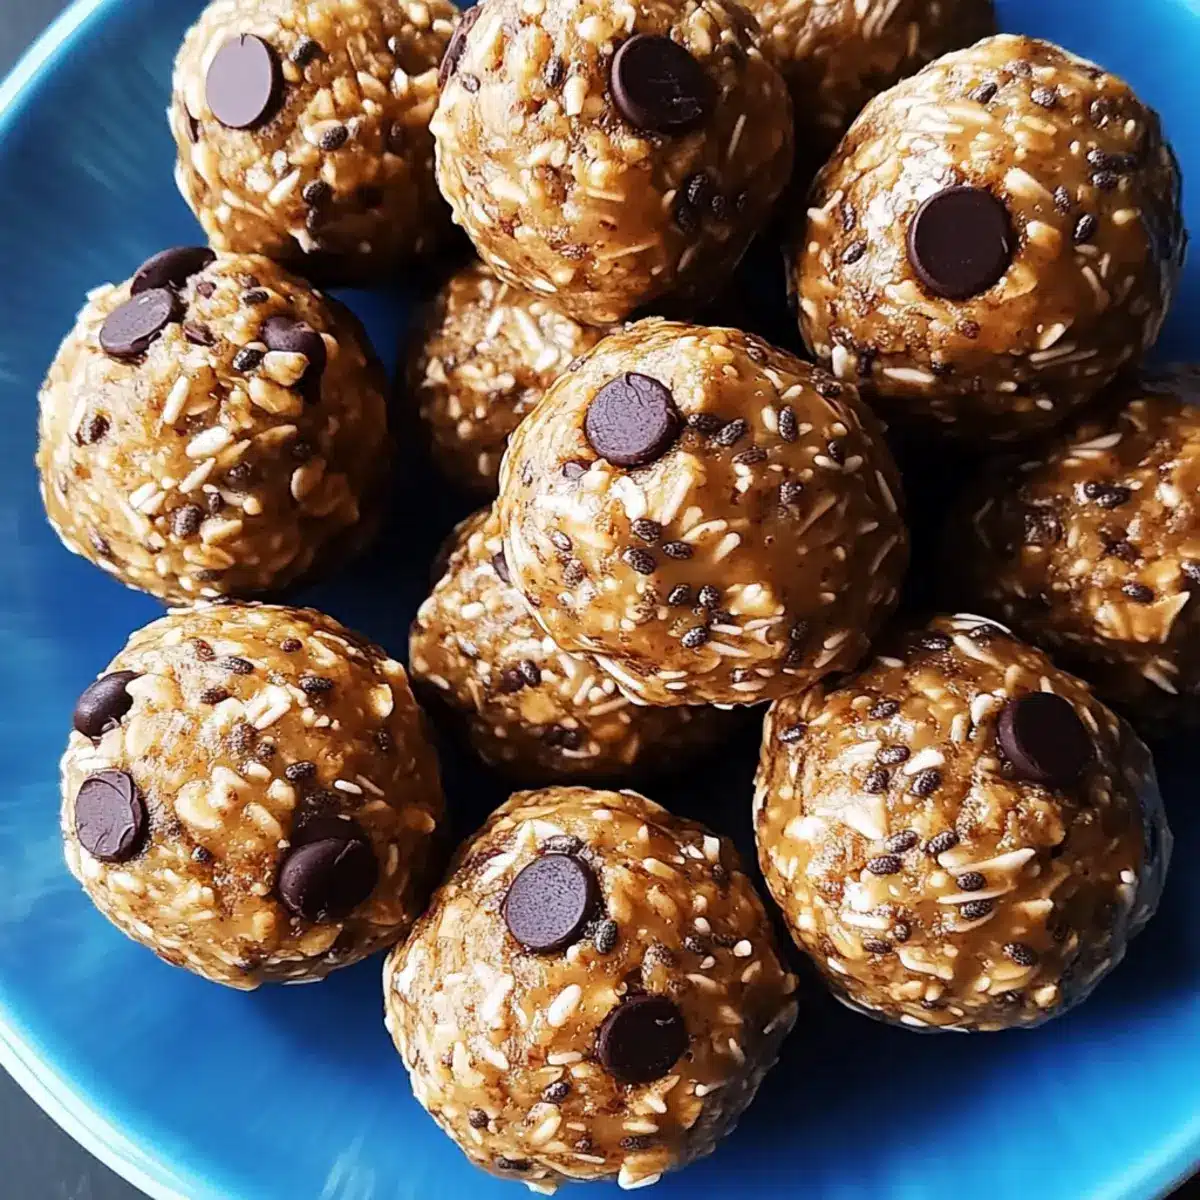
No-Bake Protein Balls Recipe FAQs
What type of oats should I use for No-Bake Protein Balls?
Absolutely! Rolled oats are best because they provide structure and fiber. If you need a gluten-free option, make sure to use certified gluten-free rolled oats. Avoid instant oats, as they will not give you the same chewy texture.
How long can I store No-Bake Protein Balls in the refrigerator?
These delicious snacks can be stored in an airtight container in the refrigerator for up to 1 week. To keep them fresh and tasty, make sure that the container is tightly sealed to prevent any moisture from getting in.
Can I freeze No-Bake Protein Balls?
Yes, you can! Place them in a sealed container or freezer bag, and they’ll stay fresh for up to 3 months in the freezer. When you’re ready to enjoy them, simply take them out and let them thaw in the fridge overnight. This way, they’ll be nice and cool for a refreshing snack!
What should I do if my protein ball mixture is too dry?
Very good question! If the mixture feels too crumbly and isn’t holding together, simply add more honey or peanut butter—start with one tablespoon at a time. Mix well after each addition until you achieve a thick, sticky dough that holds together nicely.
Are No-Bake Protein Balls safe for kids with nut allergies?
For sure! If you’re preparing these for someone with a nut allergy, you can easily substitute the peanut butter with sunflower seed butter, which offers a similar texture without the nuts. Always double-check your ingredients for any potential allergens.
Can I substitute sweeteners in No-Bake Protein Balls?
Absolutely! You have the freedom to use whatever natural sweetener you prefer. Honey provides a distinct flavor, while maple syrup is a delightful alternative that adds a different kind of sweetness. Feel free to experiment to find the taste you love most!
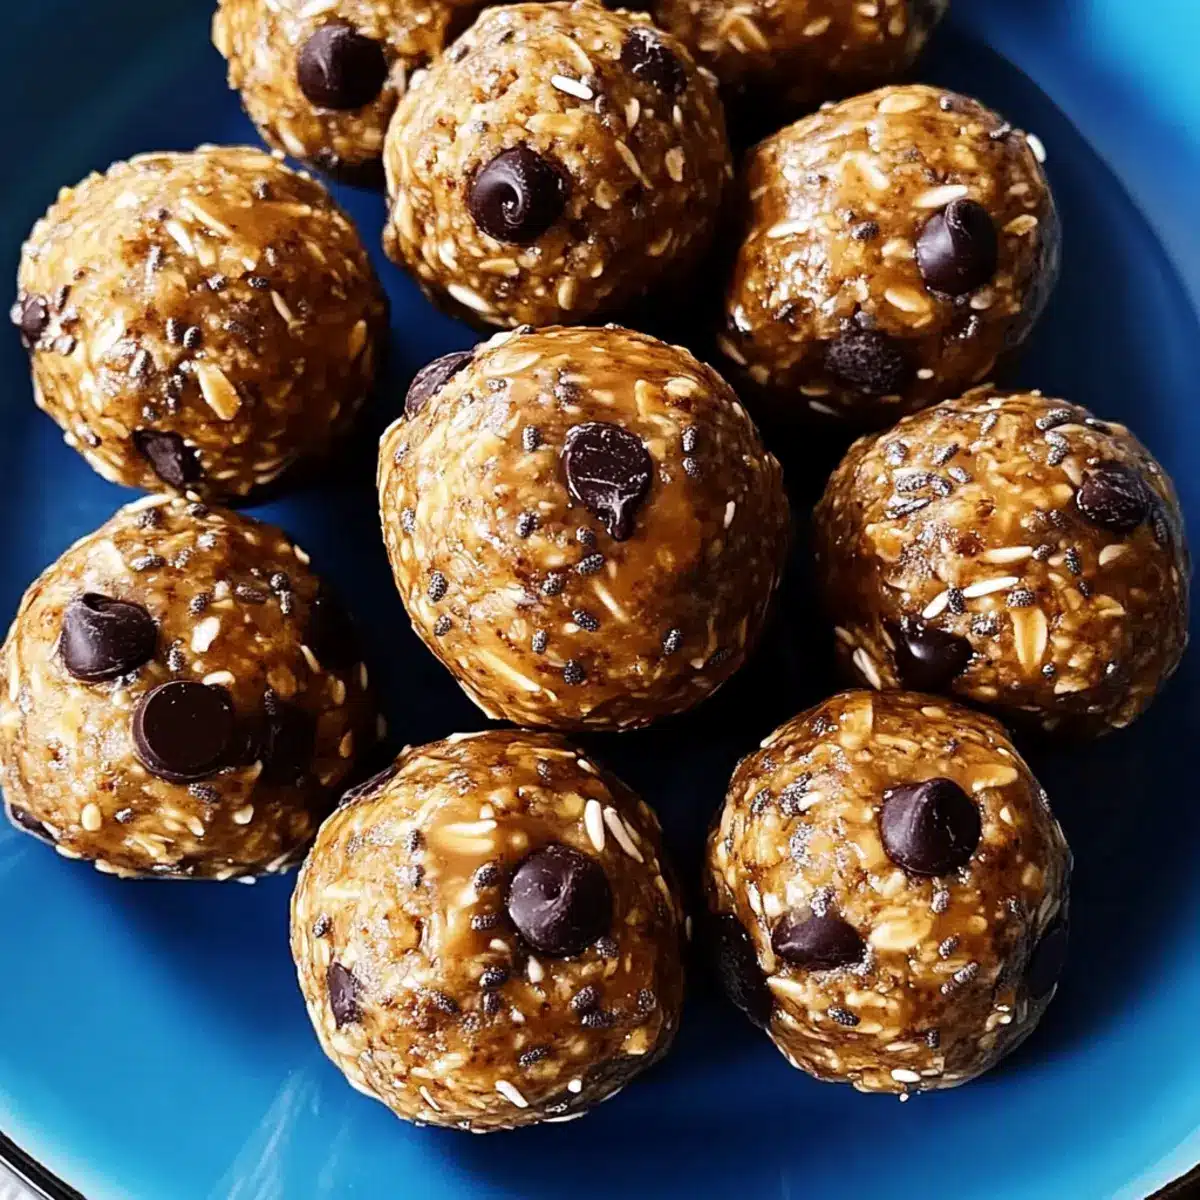
No-Bake Protein Balls: Your Quick, Healthy Snack Fix
Ingredients
Equipment
Method
- In a large mixing bowl, combine rolled oats, vanilla protein powder, chia seeds, and salt.
- Add natural peanut butter, honey (or maple syrup), and vanilla extract to the dry mixture and stir until a thick dough forms.
- Gently fold in mini chocolate chips until evenly distributed throughout the dough.
- Scoop out tablespoon-sized portions and roll them into balls.
- Place the protein balls on a parchment-lined baking sheet and refrigerate for at least 30 minutes.
- Once chilled, transfer them to an airtight container and enjoy!
Leave a Reply